
Triggered Campaigns
Triggered campaigns are a way for you to send emails in response to user actions or custom events.
Example 1: Thank you for your Purchase
Suppose you wish to send a thank you email after a customer has made a purchase. You can do so in 4 easy steps:
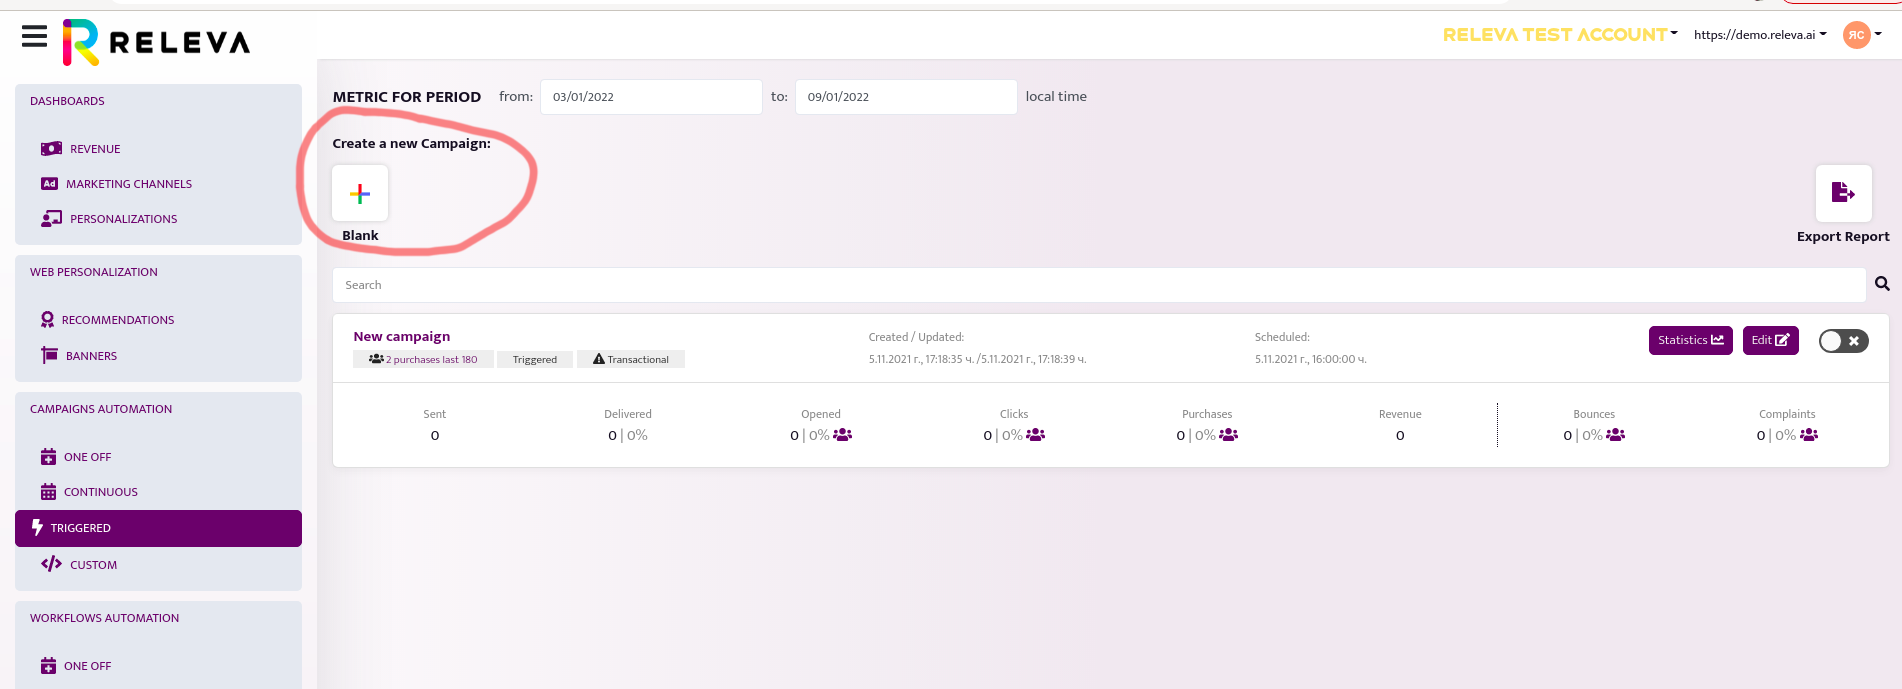
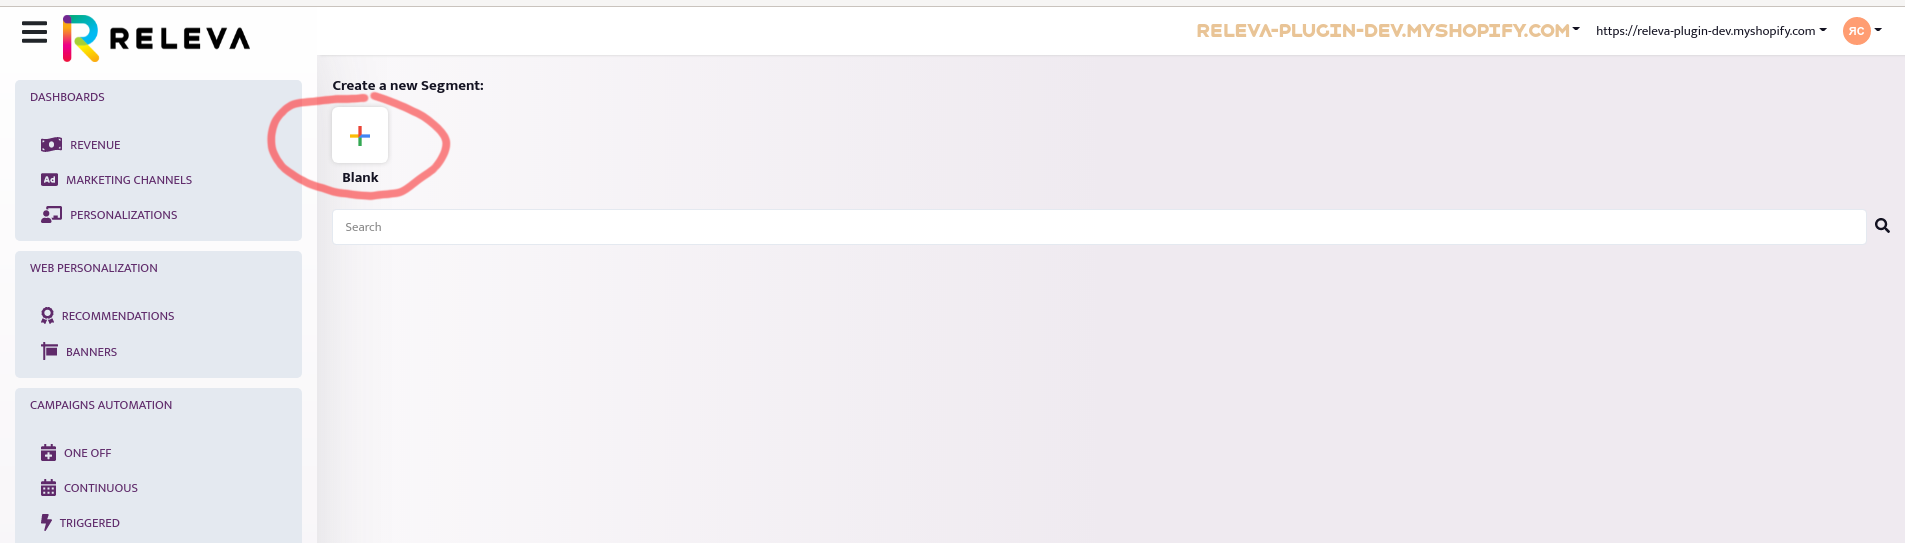
Step 1: Open Releva , got to Triggered Campaigns, and click on the Create a new campaign button.
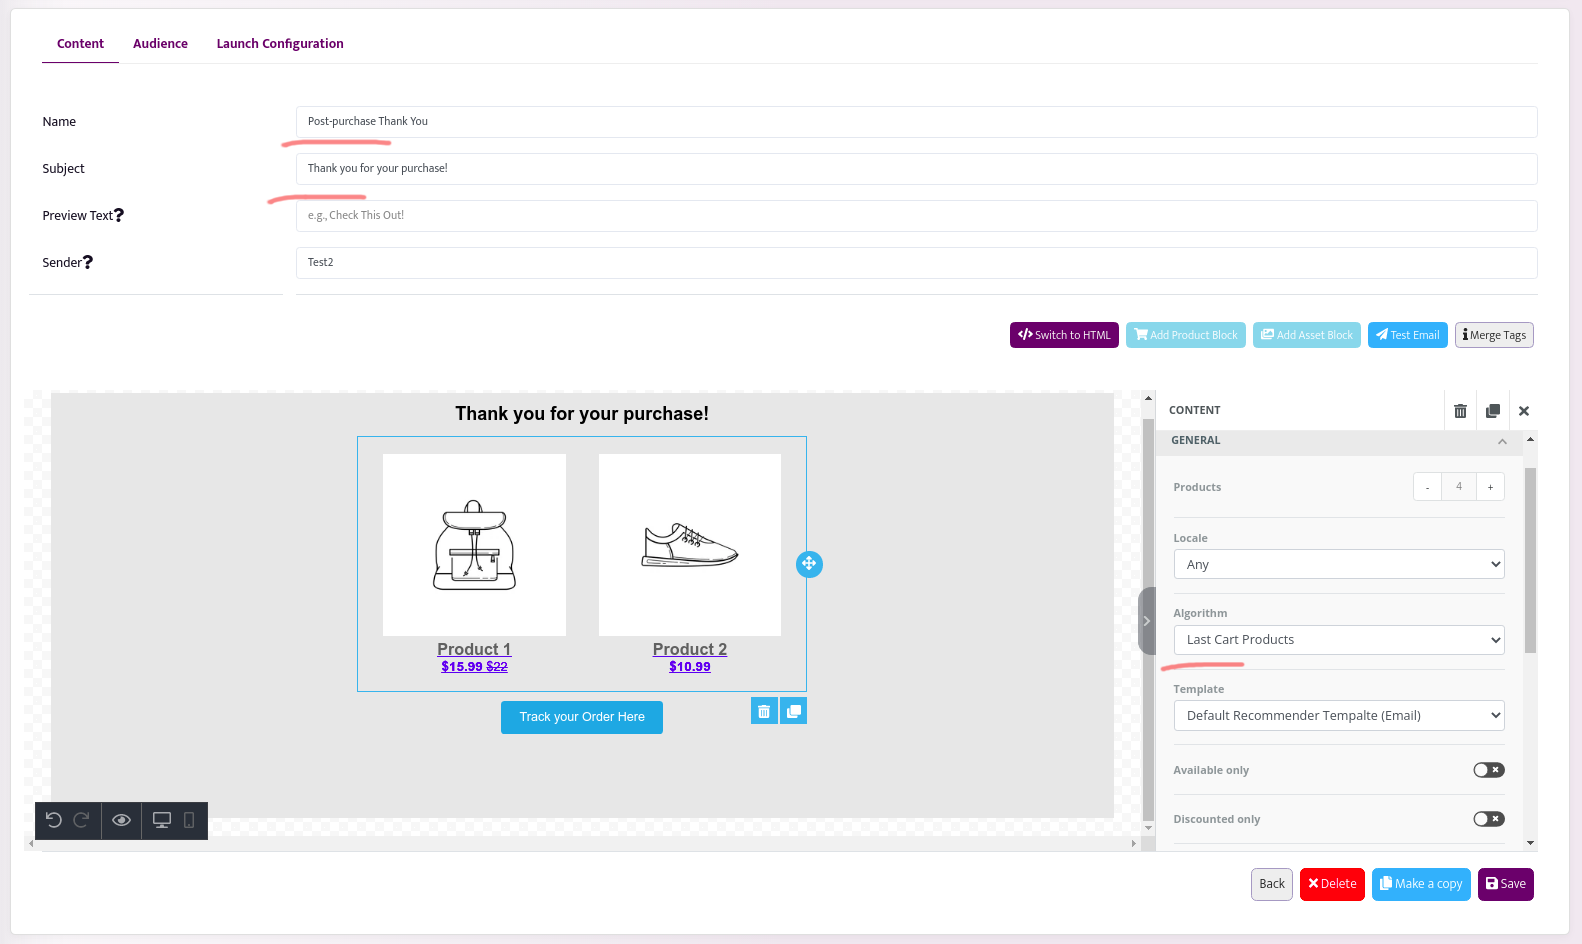
Step 2: Now, let’s your campaign a name, for ex. Post-purchase Thank You. Next, let’s subject to something meaningful, for example Thank you for your purchase! Then, go ahead and add some context. A nice header text, and an image of your brand. Then, you can add a recommender and configure it to show the products in the user’s cart. You can do so by setting Algorithm to Last Cart Products. Make sure that Available only, Discounted only, and any other options that may interfere with showing the customer’s cart as-is are disabled. To make sure the email looks good, you can send yourself a test email by using the Test Email button on the right. Once you have finished writing and testing your content, just click Next!
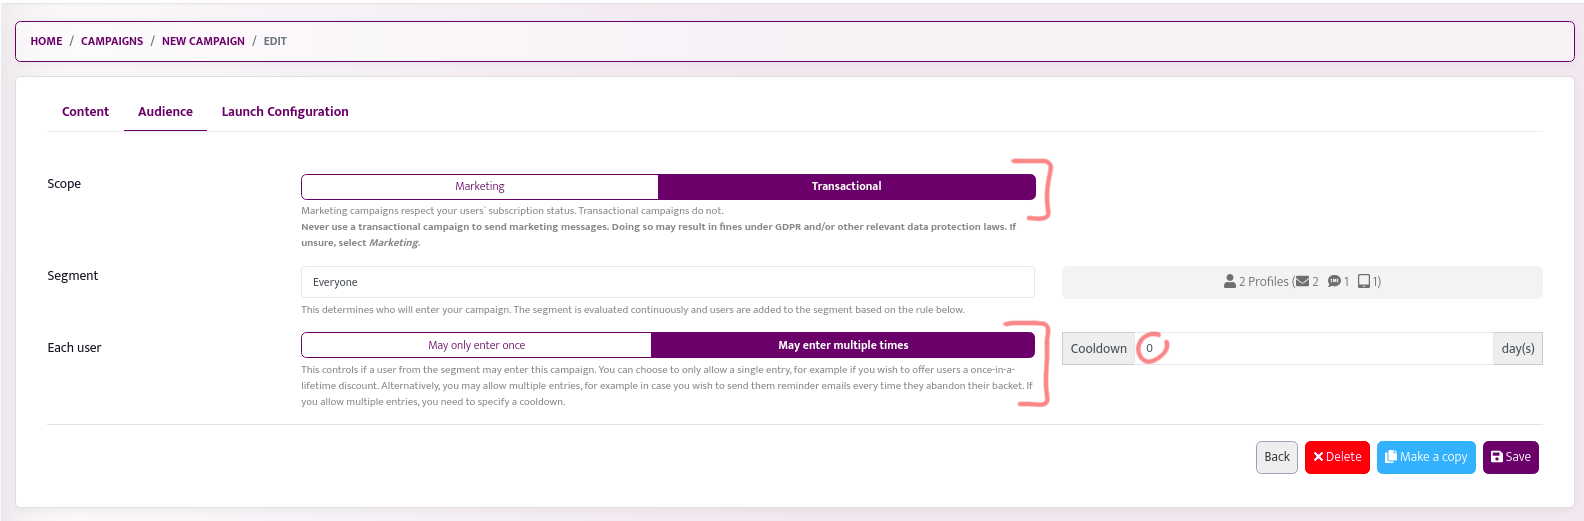
Step 3: Next, let’s specify who can enter this campaign. Since you normally would like to inform your customers that their order was received regardless of whether they are subscribed for marketing communication or not, you might want to change the campaign scope to Transactional. If you would like a customer to receive this email not only once, but every time they make an order, you should change the Each user behavior to May re-enter multiple times, and set the cooldown to 0 day(s). Then, click Next to proceed to the final step.
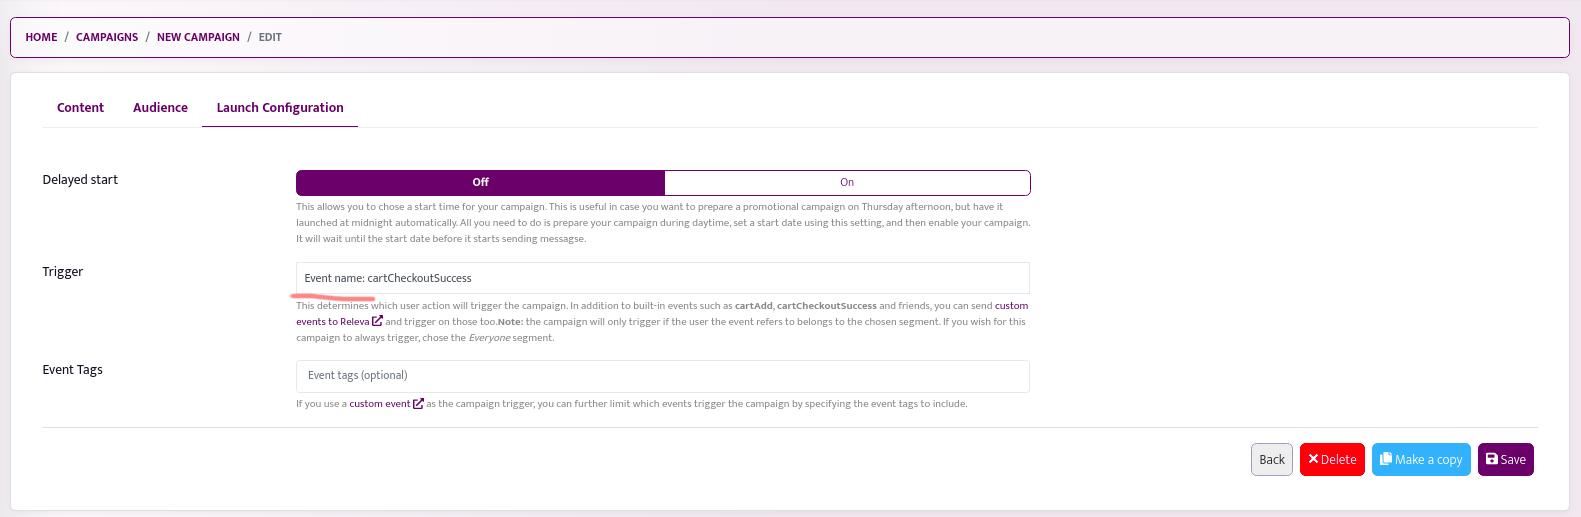
Step 4: Finally, you should select what action should trigger this campaign. For our case, we should choose Event name: cartCheckoutSuccess as our trigger. Then, click Save!
That’s it! Now, you will see your new campaign in the list of triggered campaigns. You can activate it at any time by using the corresponding toggle.

Example 2: First Purchase Thank You
Suppose you wish to only send an email on a customer’s first purchase. Here is how you can do this:
Step 1: Follow the steps from Example 1.
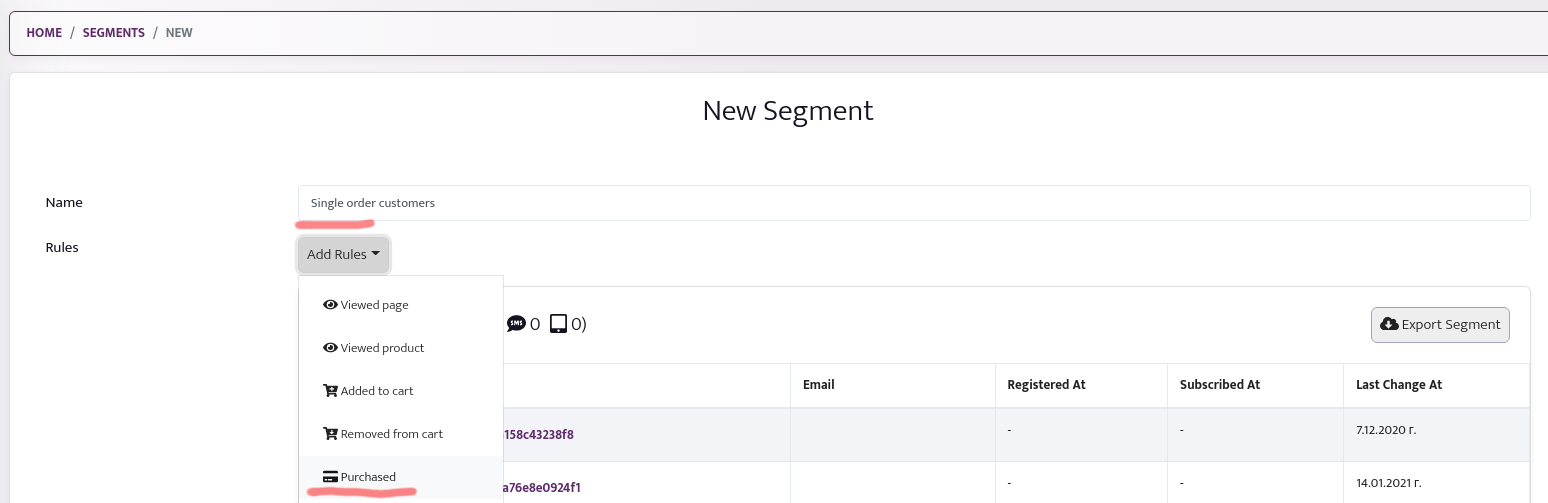
Step 2: Create a segment that will include only customers who have made a single purhcase. To do so, go to Segments, and create a new segment.
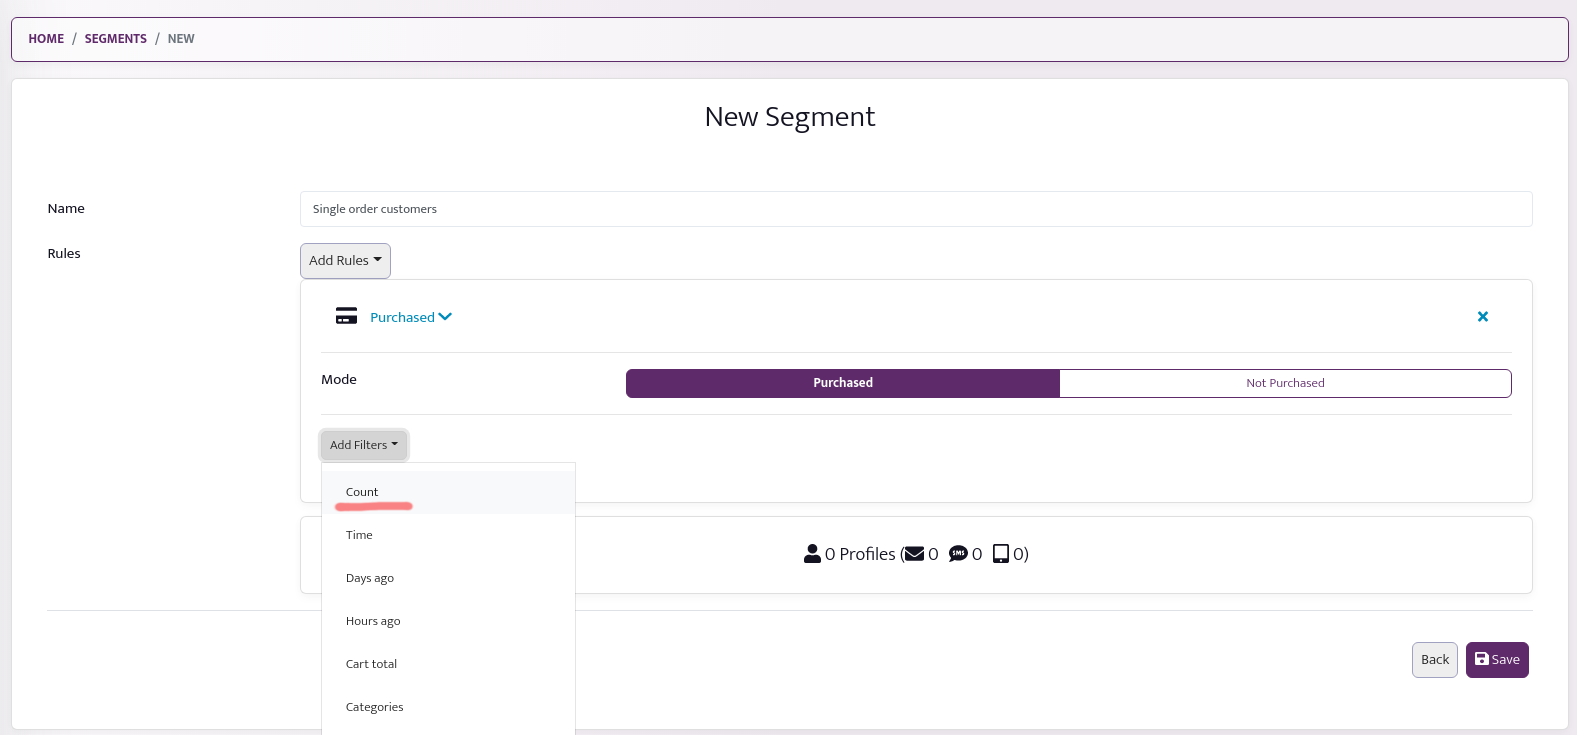
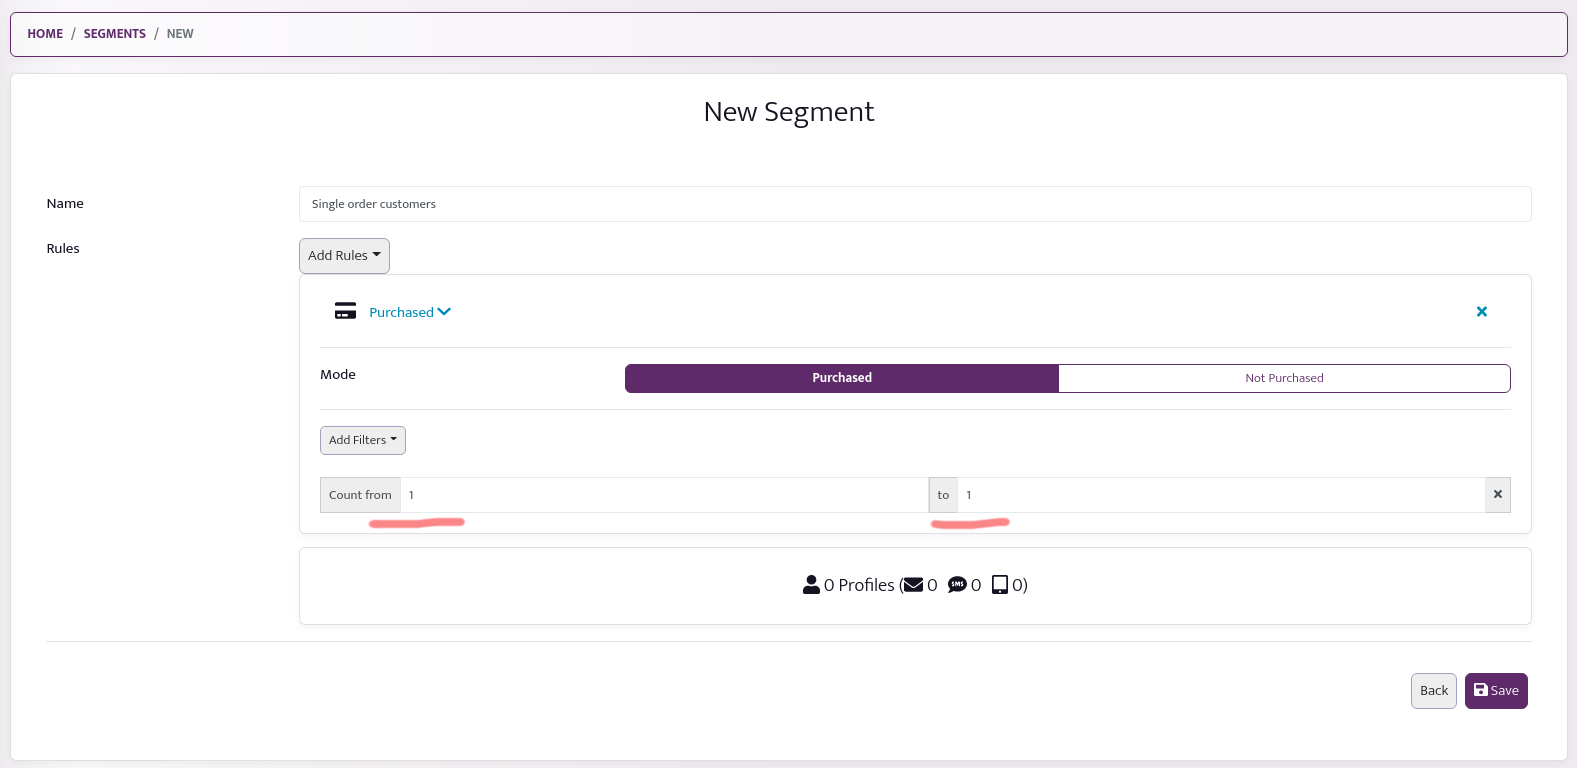
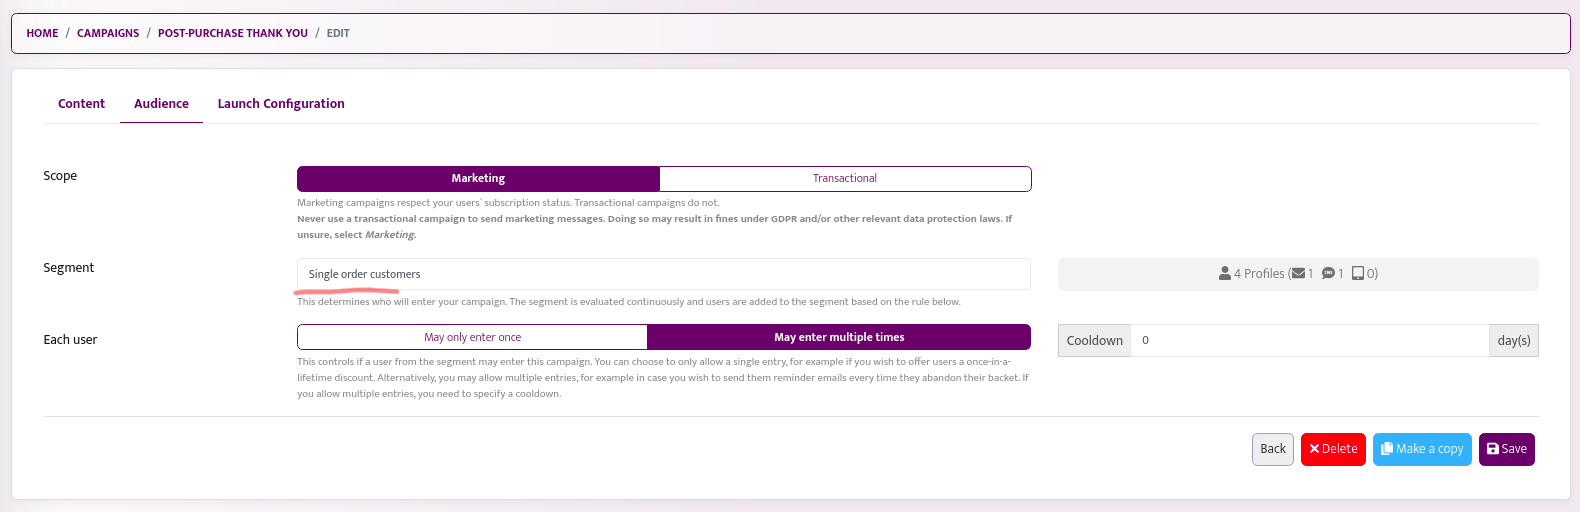
Let’s call it Single order customers. From the Add Rules dropdown, add the Purchased rule.
Then, from the Add Filter dropdown, select the Count filter.
Finally, type 1 and 1 in the from and to boxes, respectively.
Step 3: Change the segment of your campaign. To do this, go back to Triggered Campaigns, find your campaign, and choose the segment you just created (Single order customers) from the segment dropdown. Then hit Save.
Example 3: Collect Feedback on Order Delivery (Custom Event Example)
Suppose you wish to collect customer feedback after an order has been delivered. To do so, your developer needs to send a custom event to Releva using the Custom Events API when the order is marked as delivered. You can call the event “orderDelivery”.
Once you have started sending these events, you will be able to create a campaign that is triggered by these events. To set up the campaign, you can follow the first example, but instead of selecting “cartCheckoutSuccess” as trigger, select “orderDelivery” from within the Launch Configuration tab.

We are here to help.
If you need furhter assistance implementing your use case, feel free to drop us a line at support@releva.ai.