With this article, we will guide you how to easily install and setup the Releva.ai application through your MerchantPro account. Simply follow the steps below:
Installation of the Releva.ai app in MerchantPro #
- Login to your MerchantPro account.
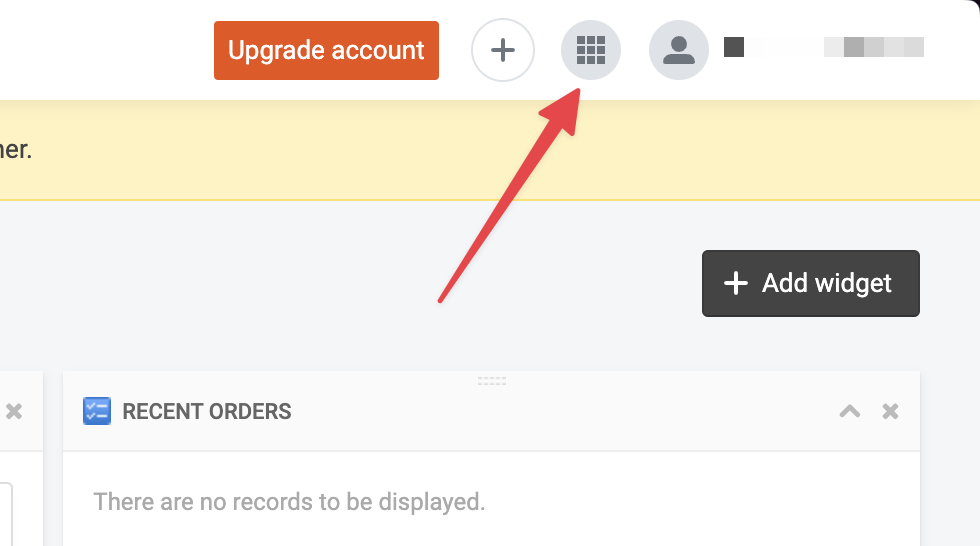
- At the top-right corner of your screen, click on the My Apps
- When the page loads, you’ll be automatically greeted by all of your installed applications. To visit the MerchantPro App Store, you have two options (both of them will take you to the same place):
- Click on the second tab All Applications.
- click on the button Go to App Store.

- In the App Store, you can find all applications available for you to try and you can find Releva in the Marketing section. You can either search for it manually by scrolling down, or utilize Ctrl + F (for Windows) and cmd + F (for Mac) in order to find it quicker.
- When you find our app, click on the Install button:

- Doing so will open a modal (pop-up window) with the Details of our app and an Install Application button at the bottom. When you’re ready, click on it:

- After you’ve clicked on the button, you’ll be redirected to another page with several checkboxes and a toggle for the newsletter subscribers. Once ready, click on the Install application button at the buttom:

Please, make sure all six of the checkboxes are selected and the toggle for Sync newsletter subscribers is turned ON as in the screen above.
All of them are required for the application to function properly and for you to get the full benefit of it.
- After the installation is completed, you will be redirected back to the My apps tab where you will see the newly installed Releva app. In the middle, click on the arrow button which will take you to the next step in the activation of the app:

- In a new browser tab, will take you to Releva’s Get started page to finish the installation and integration of the app with your MerchantPro store. On this step, please do take your time to read the Terms of Use and Pricing Policy after which place a checkmark on both and click the Accept button to proceed forward:

- Next, choose your plan according to your needs and Monthly Active Users (MAUs). Here’s it’s important to note the lower tier plans have limitations in terms of the number of emails that can be sent monthly but at any point, you’d be able to Upgrade, if necessary, via the Releva Admin panel. After you’ve selected your plan, click on the button at the bottom right corner:

- Having completed the previous step, another tab will be opened with the Payment provider Viva Wallet where you’d have to enter your CC details. When ready, click on the Submit button to continue forward with the activation:

Here it’s important to mention that this is simply a pre-authorization of your card and you will not be charged.
In addition, most bank institutions nowadays will require some form of 2FA (Two-Factor Authentication) or MFA (Multi-Factor Authentication) for online payments. If you do receive such notification from your bank, make sure to approve it otherwise the Payment authorization will fail and you won’t be able to proceed forward.
- Once the Card Authorization has gone through successfully, you will be redirected back to the Get Started page and greeted by the You are all set! message. Congratulations!

- If you wish, you can click on the purple button Go to dashboard which will take you to the admin panel of your shop in Releva.
- Congratulations! You’ve now installed the app and your 30 day FREE trial has now started. If you’re wondering what the next steps should be, feel free to visit this article.
There was an error with the Payment authorization #
In the event of you experience an error message after hitting the Submit button, you can follow these steps:
- Click on the Add Payment button which will redirect you once again to the page to enter your CC credentials:

- Follow the instruction on the screen and make sure you’ve entered the correct information as visible on your card.
- Most bank institutions nowadays require an additional authentication for the transactions so make sure you have this enabled and you approve of the transaction.
- After the above steps and requirements have been met, you’ll see a confirmation screen and be redirected to the next steps.


