

Customize how the Sales Agent looks on your site
The Customize tab decides what the Sales Agent looks like on your site: the name in the chat window, the line that invites shoppers to ask, the launcher shape, the notification bar, how products show in replies, and the colors. This guide walks through every setting and shows the result on a page of a site. To choose the pages where the chat shows, see Choose where the Sales Agent appears. For how the Sales Agent works, read How the Sales Agent works.
Before you start
Section titled “Before you start”- The Sales Agent is switched on for your shop. Until then, the page has no tabs. Releva turns the Sales Agent on for your shop the first time: only a Releva super admin can make the first switch-on, so contact Releva.
- To use your own brand colors, confirm your brand first, in the How-To Guide step Confirm your brand. See Get started with Releva.
- For your own launcher icon, have the image ready as a web address (http or https), or upload it to Assets.
-
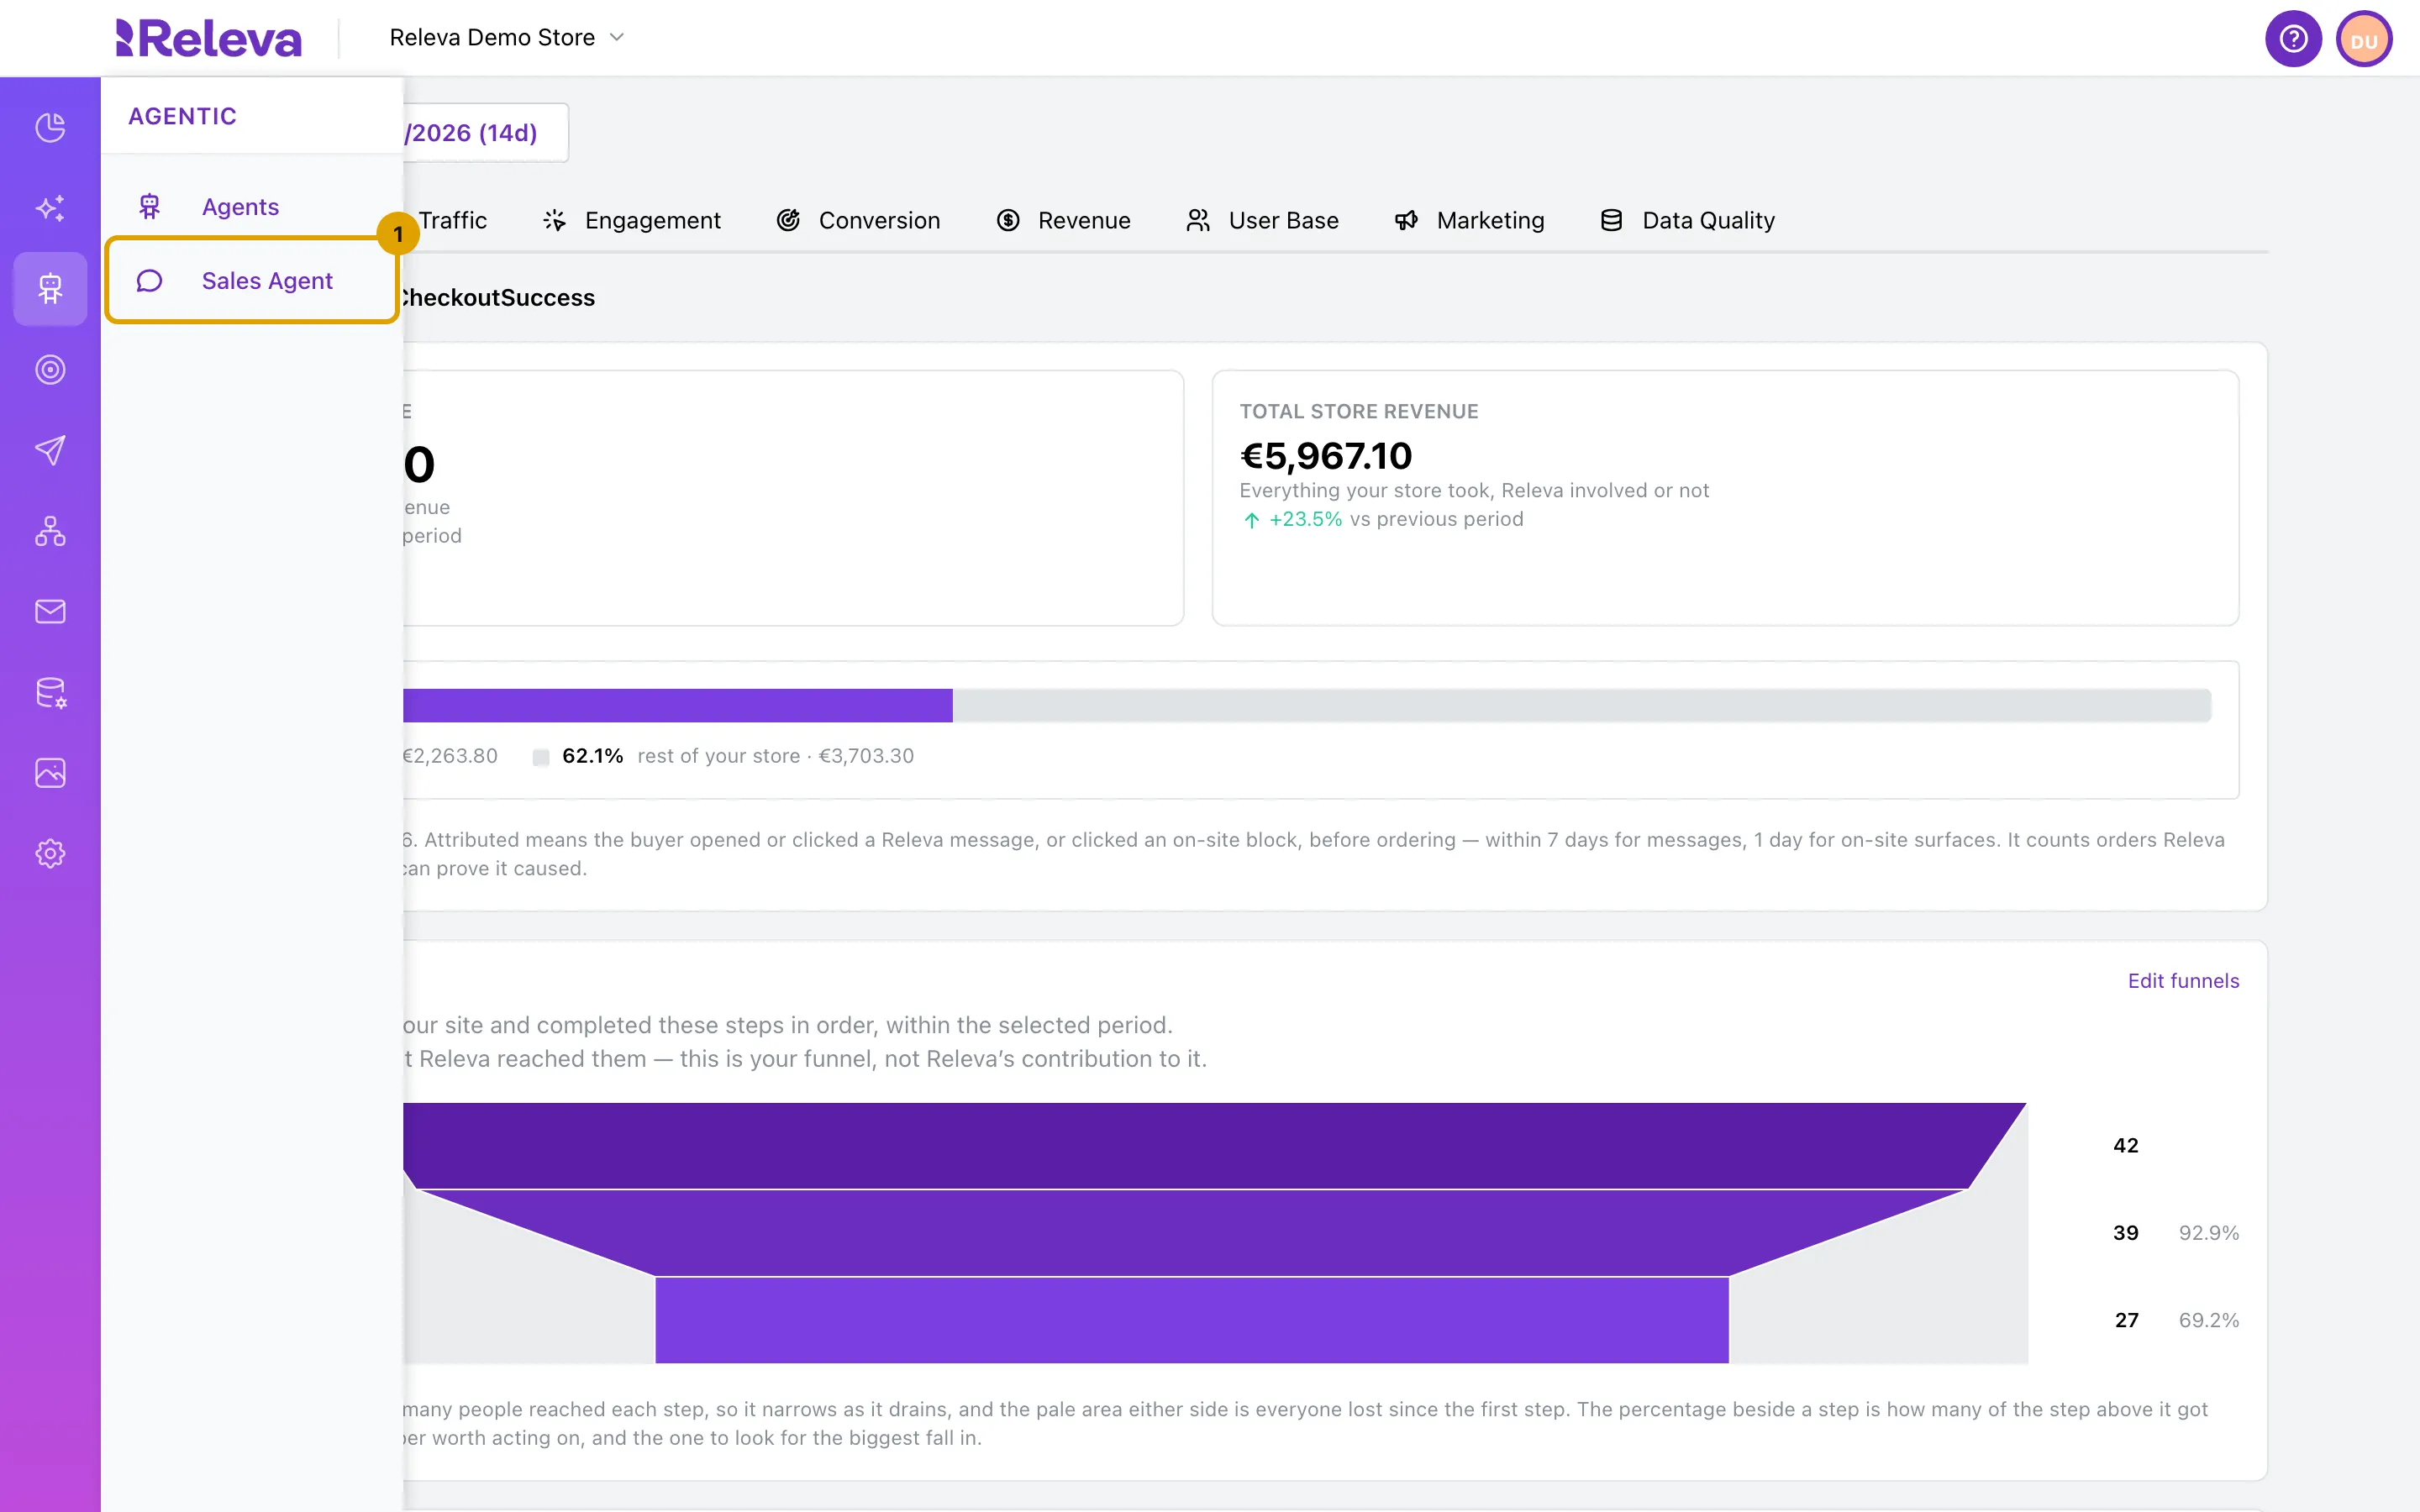
In the sidebar, open Agentic and select Sales Agent.
-
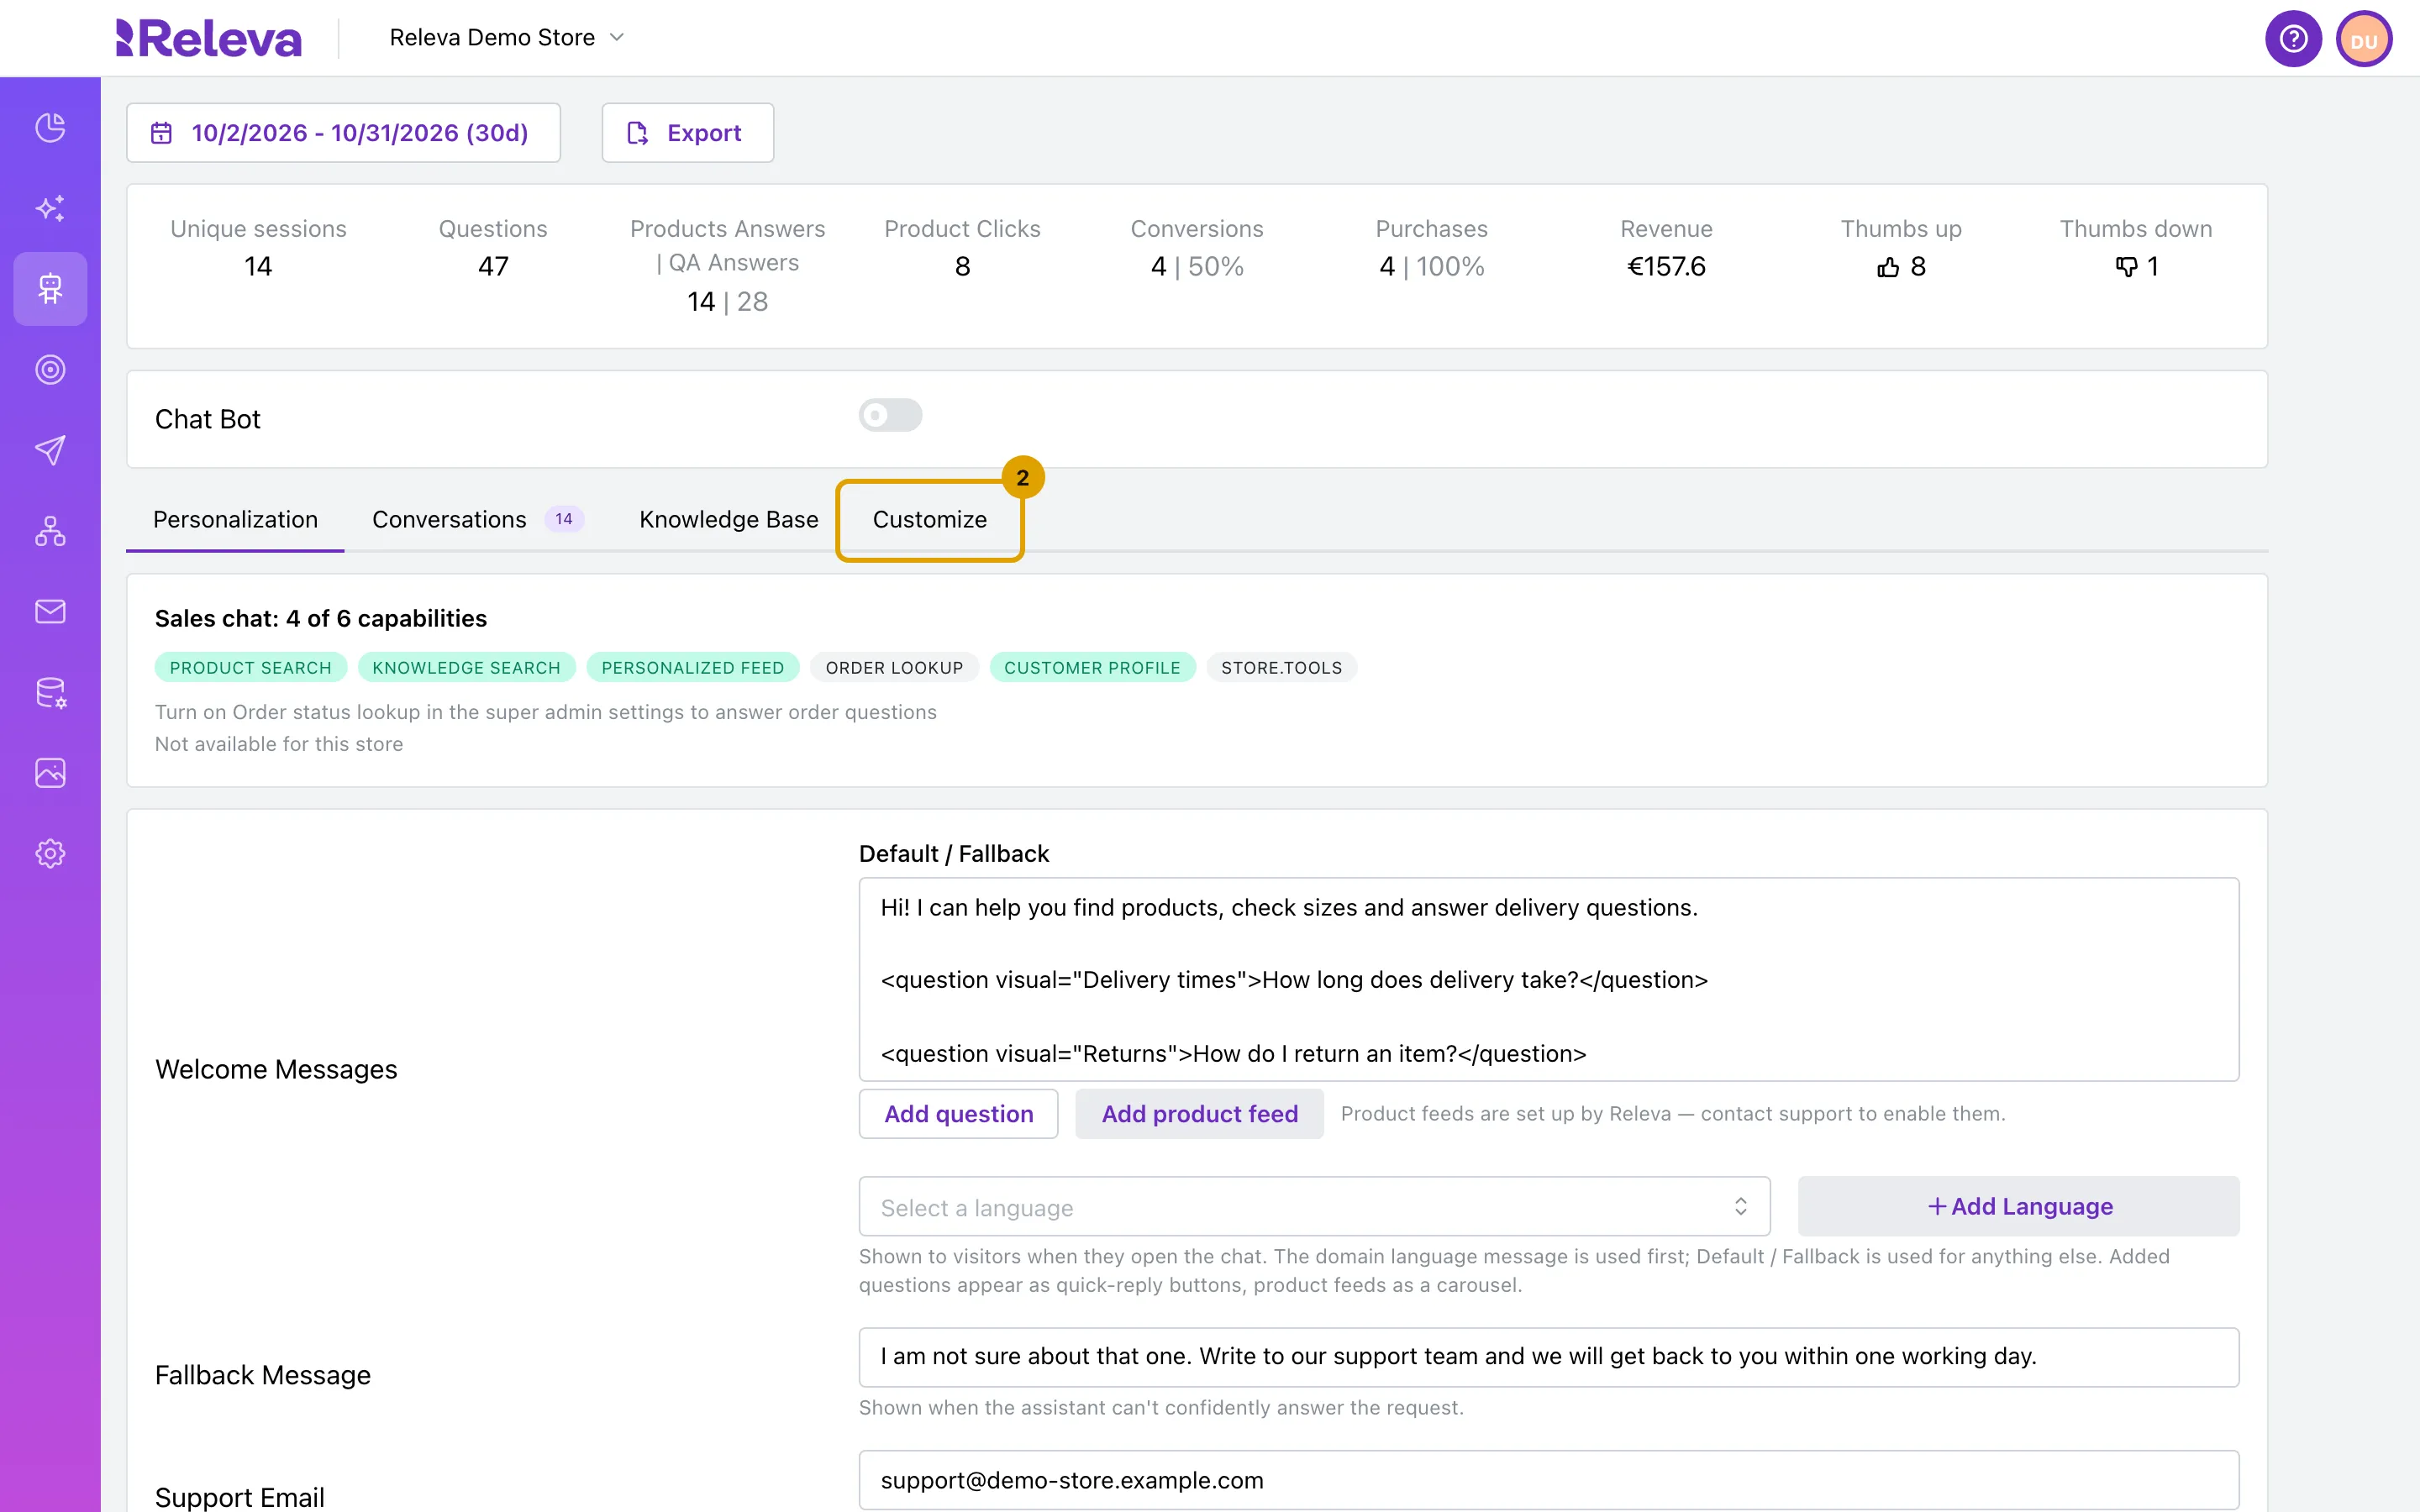
Select the Customize tab.
-
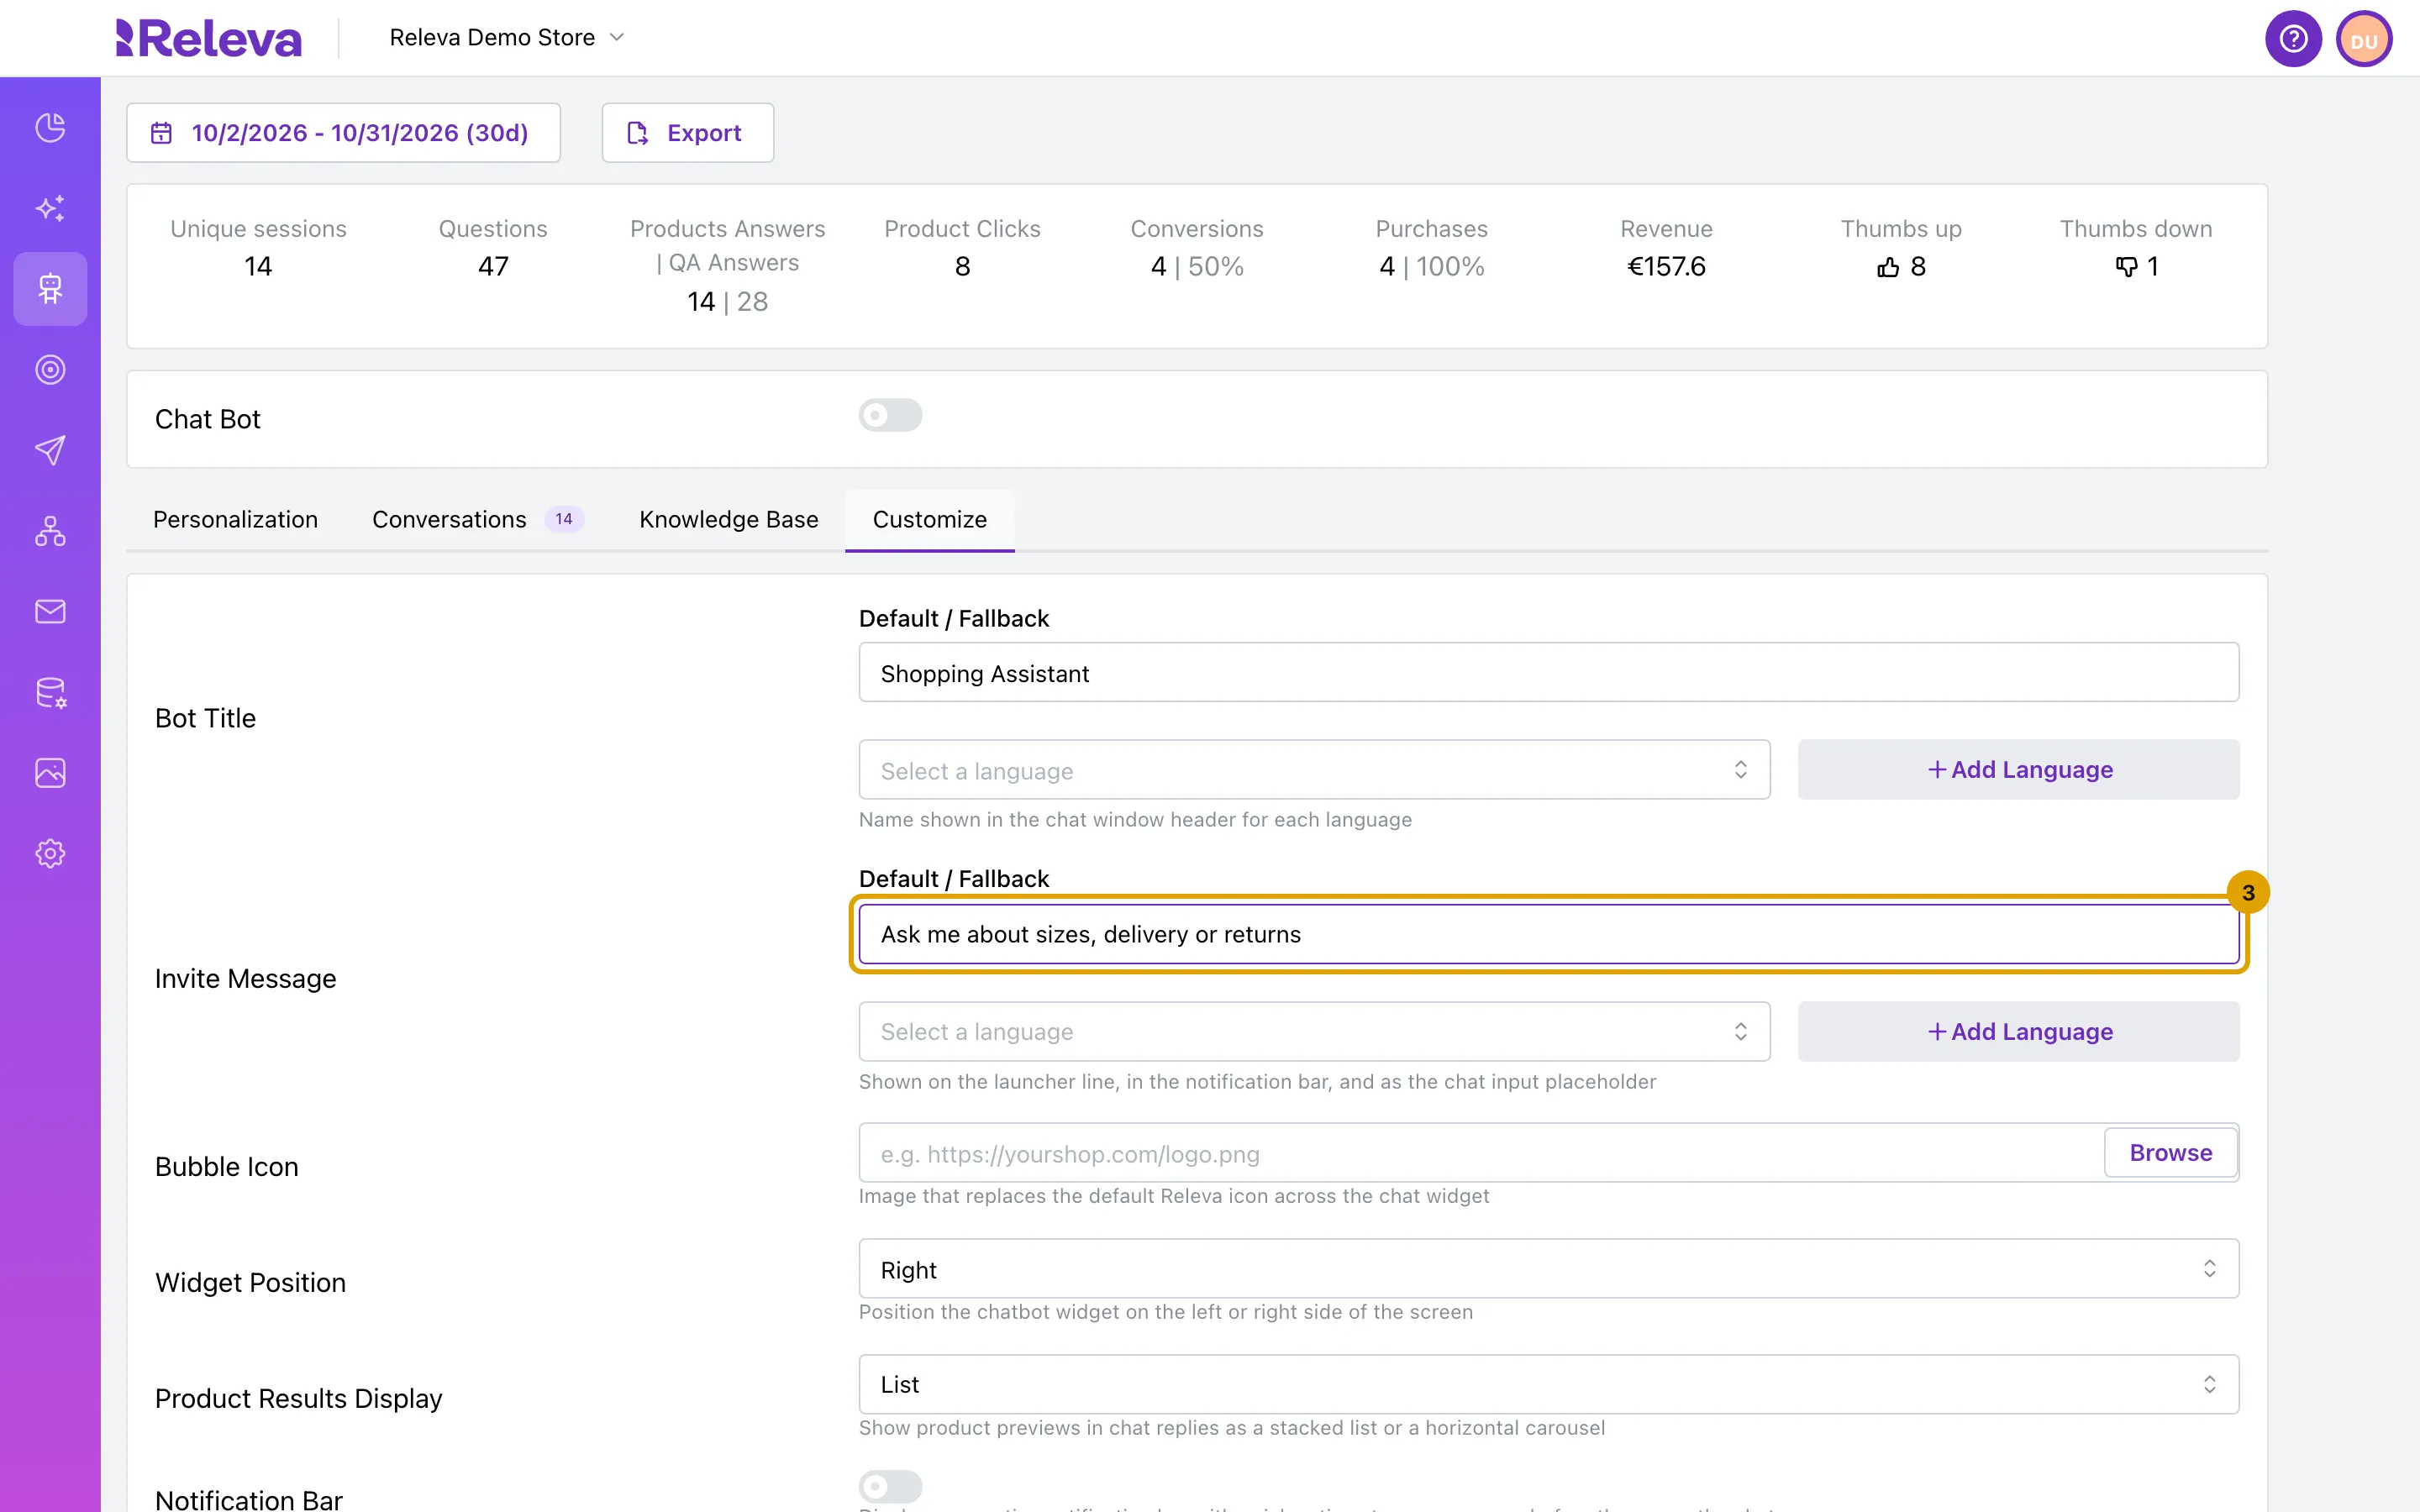
In Bot Title, enter the name shown in the chat window header. In Invite Message, enter the line that invites shoppers to ask.
The invite message shows on the line bar, in the notification bar and in the chat’s message box. The Default / Fallback row is used for every language without its own row. To add another language, choose it in Select a language and select Add Language.
-
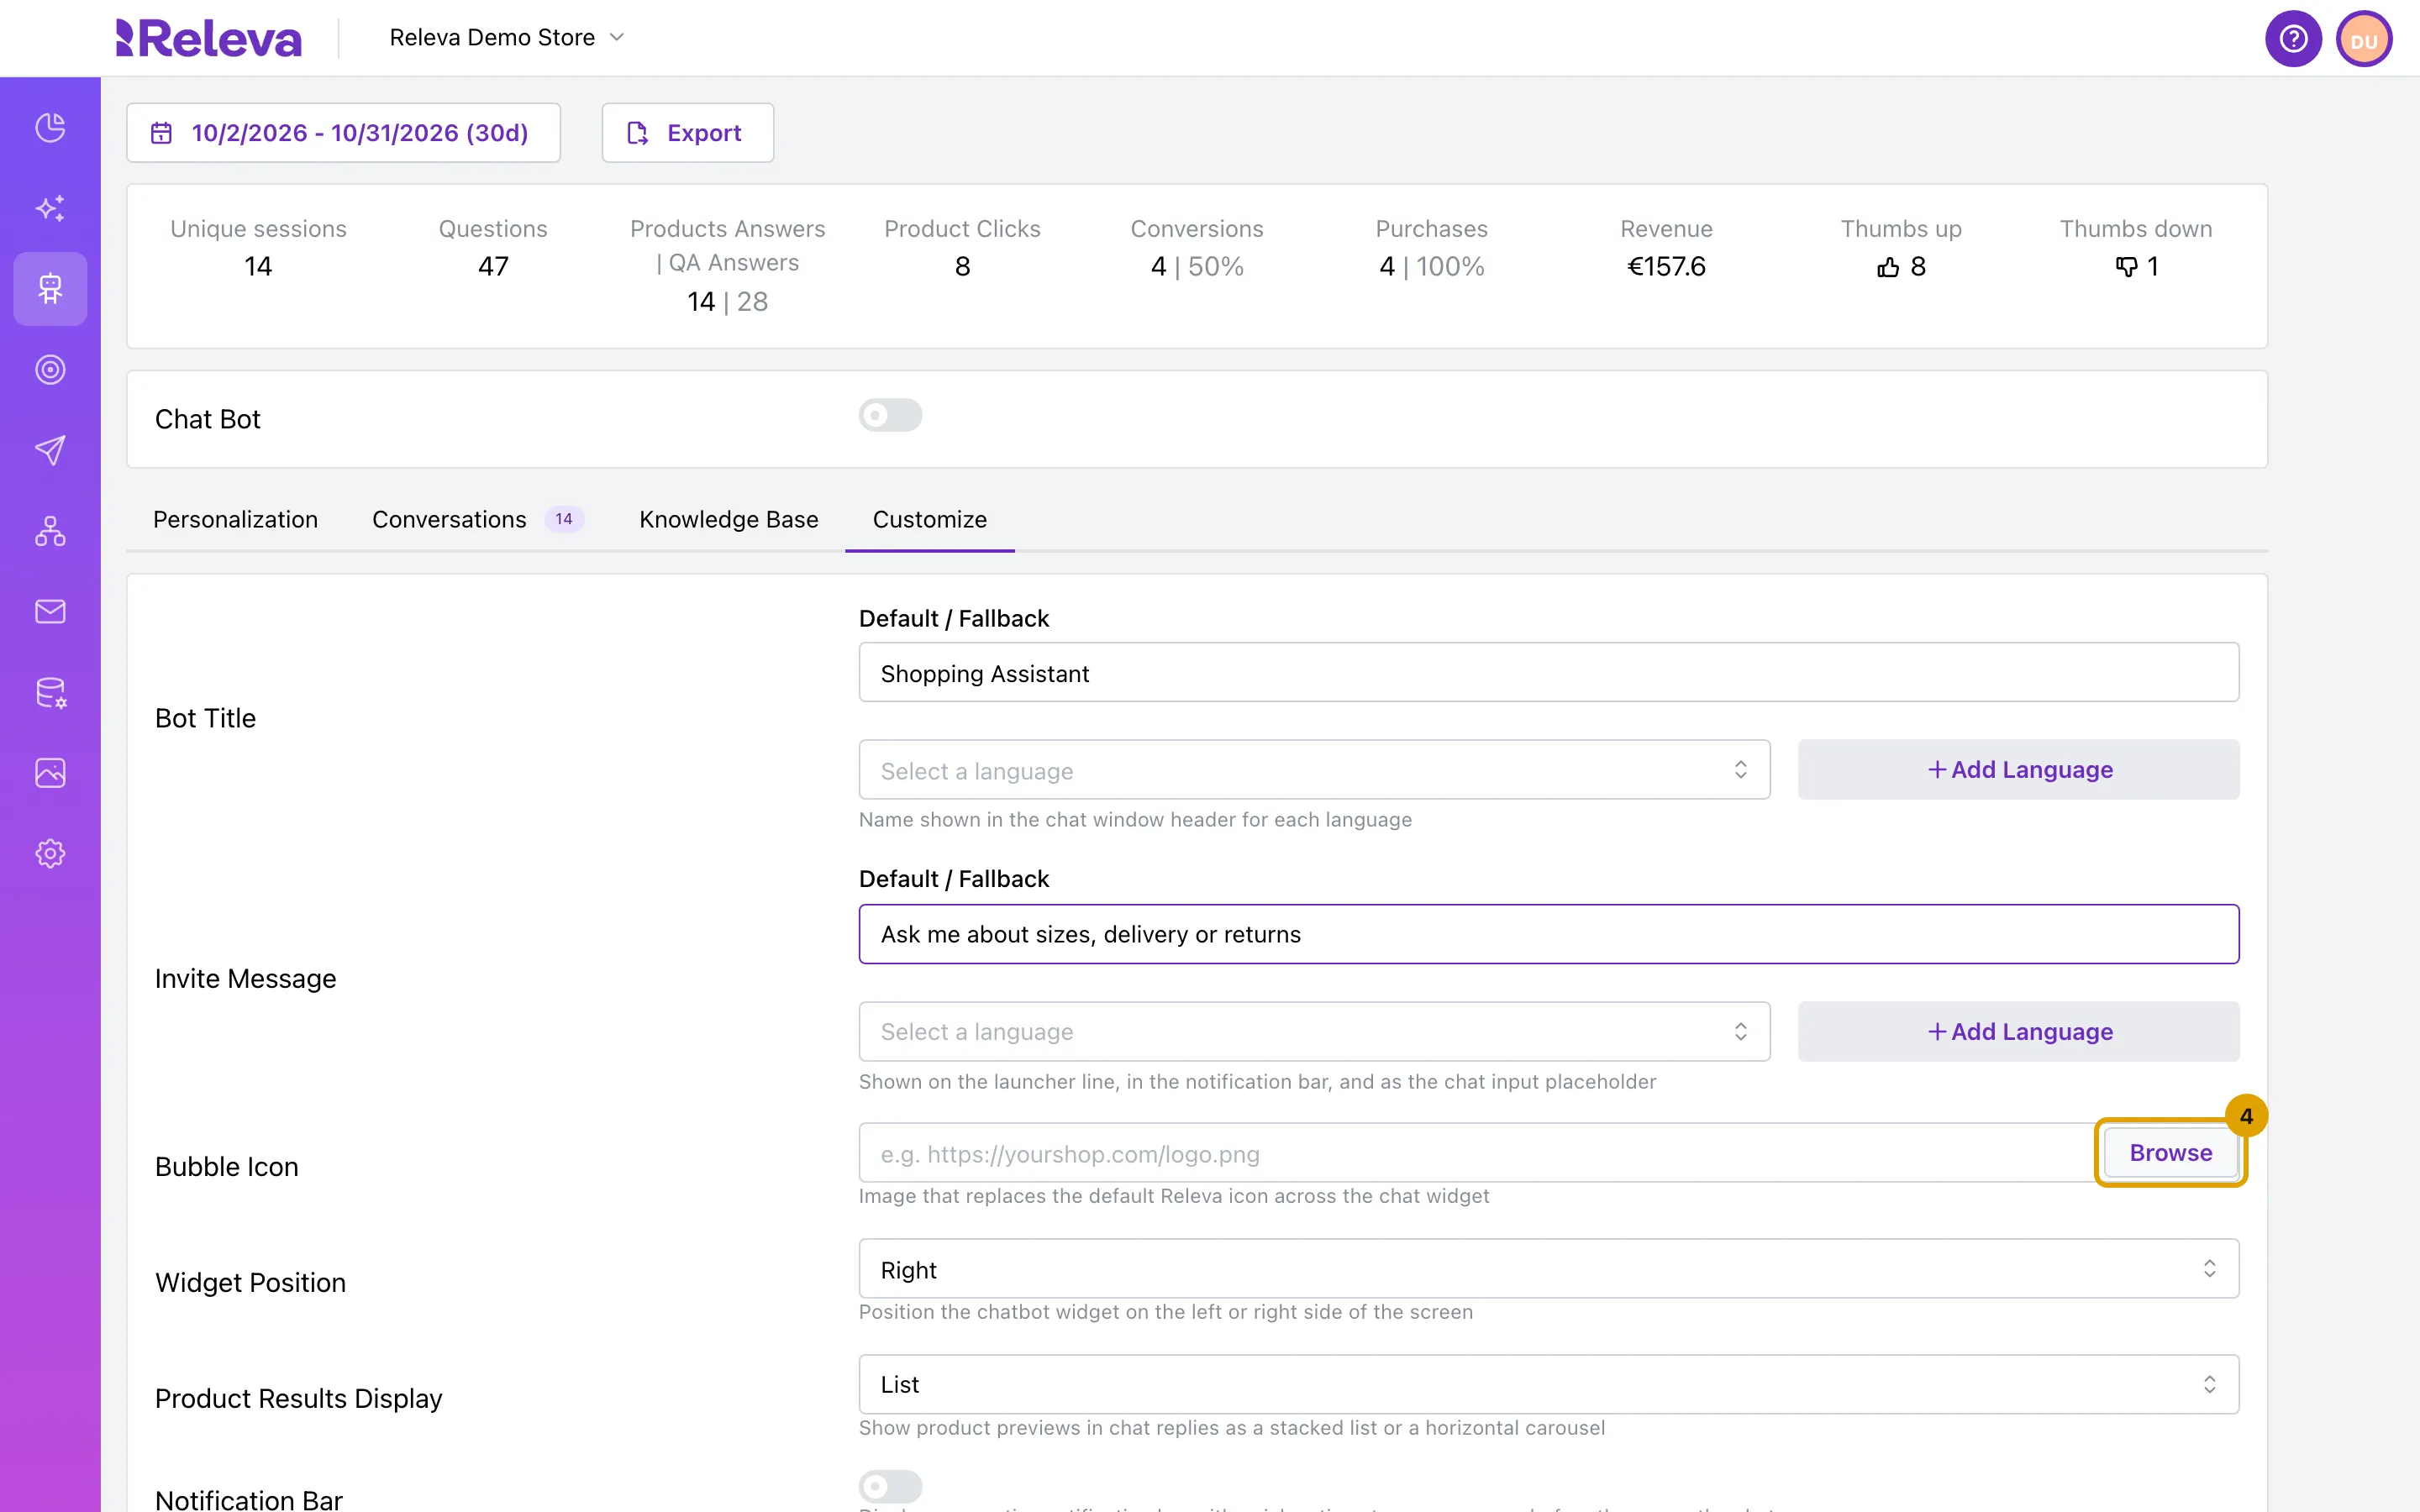
Optional: in Bubble Icon, paste the web address of your own icon, or select Browse to pick an image from Assets.
Your icon replaces the Releva icon everywhere in the chat. Leave the field empty to keep the Releva icon.
-
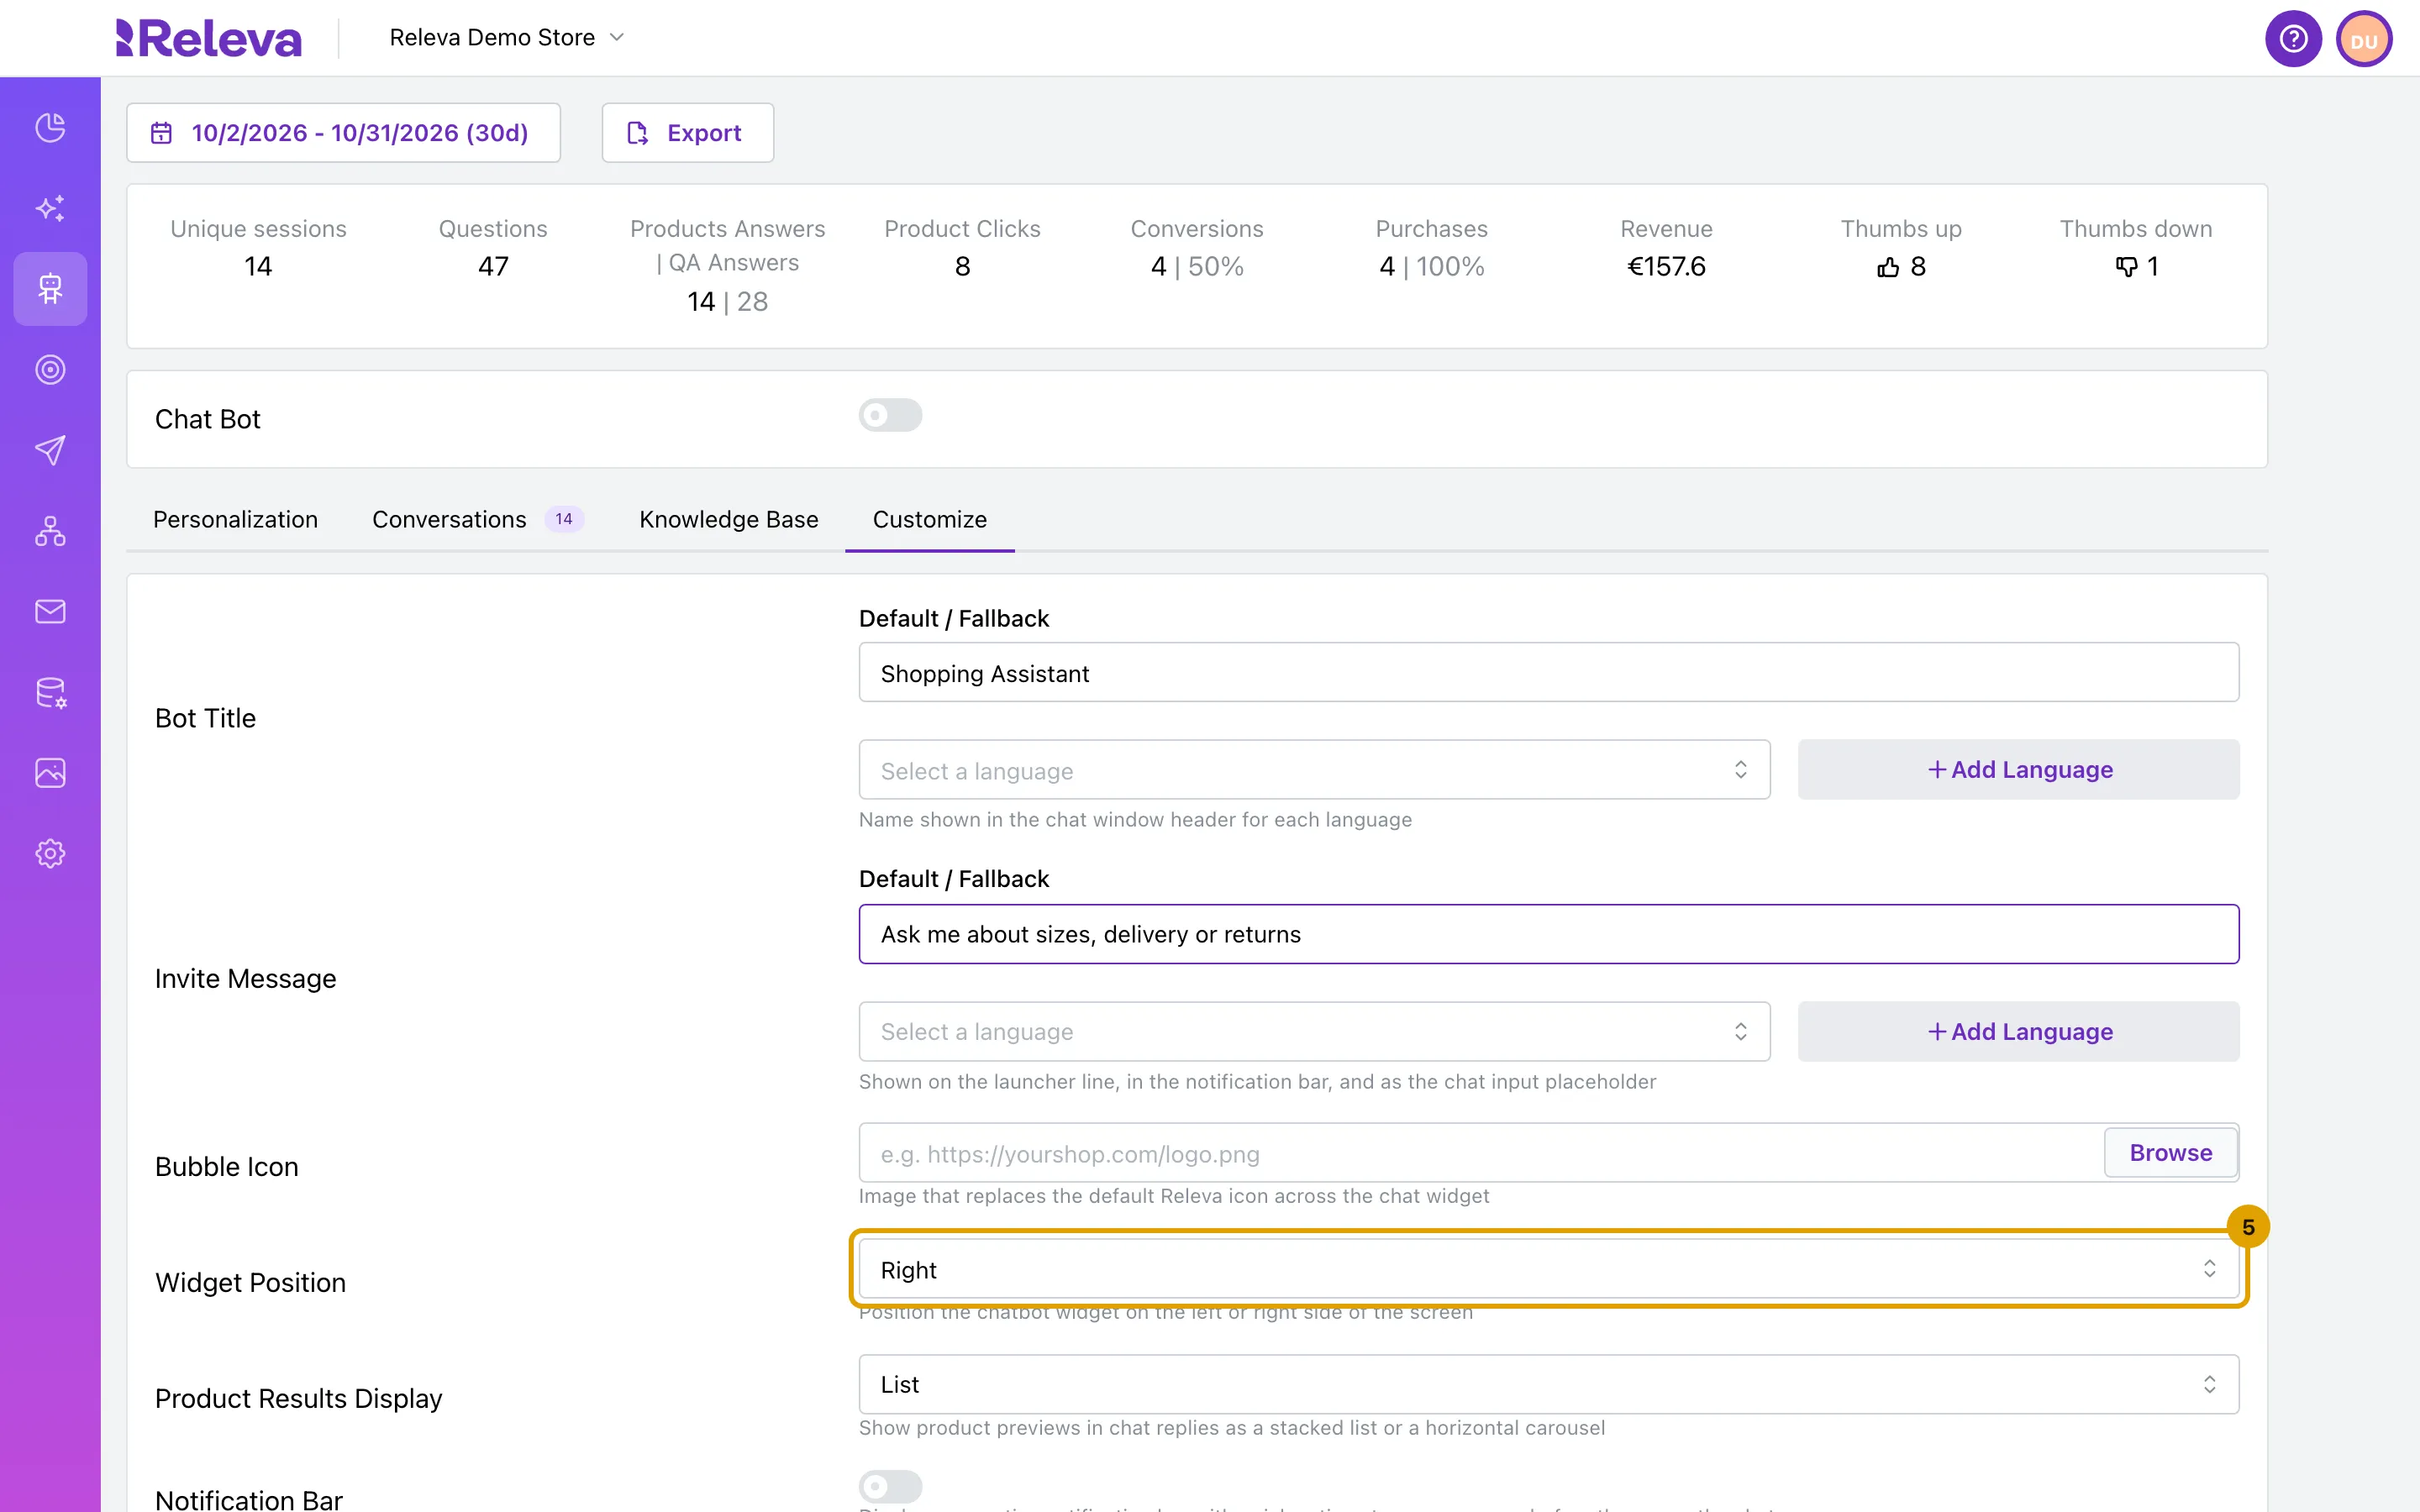
In Widget Position, choose Right or Left: the side of the screen where the launcher and the chat window sit.
-
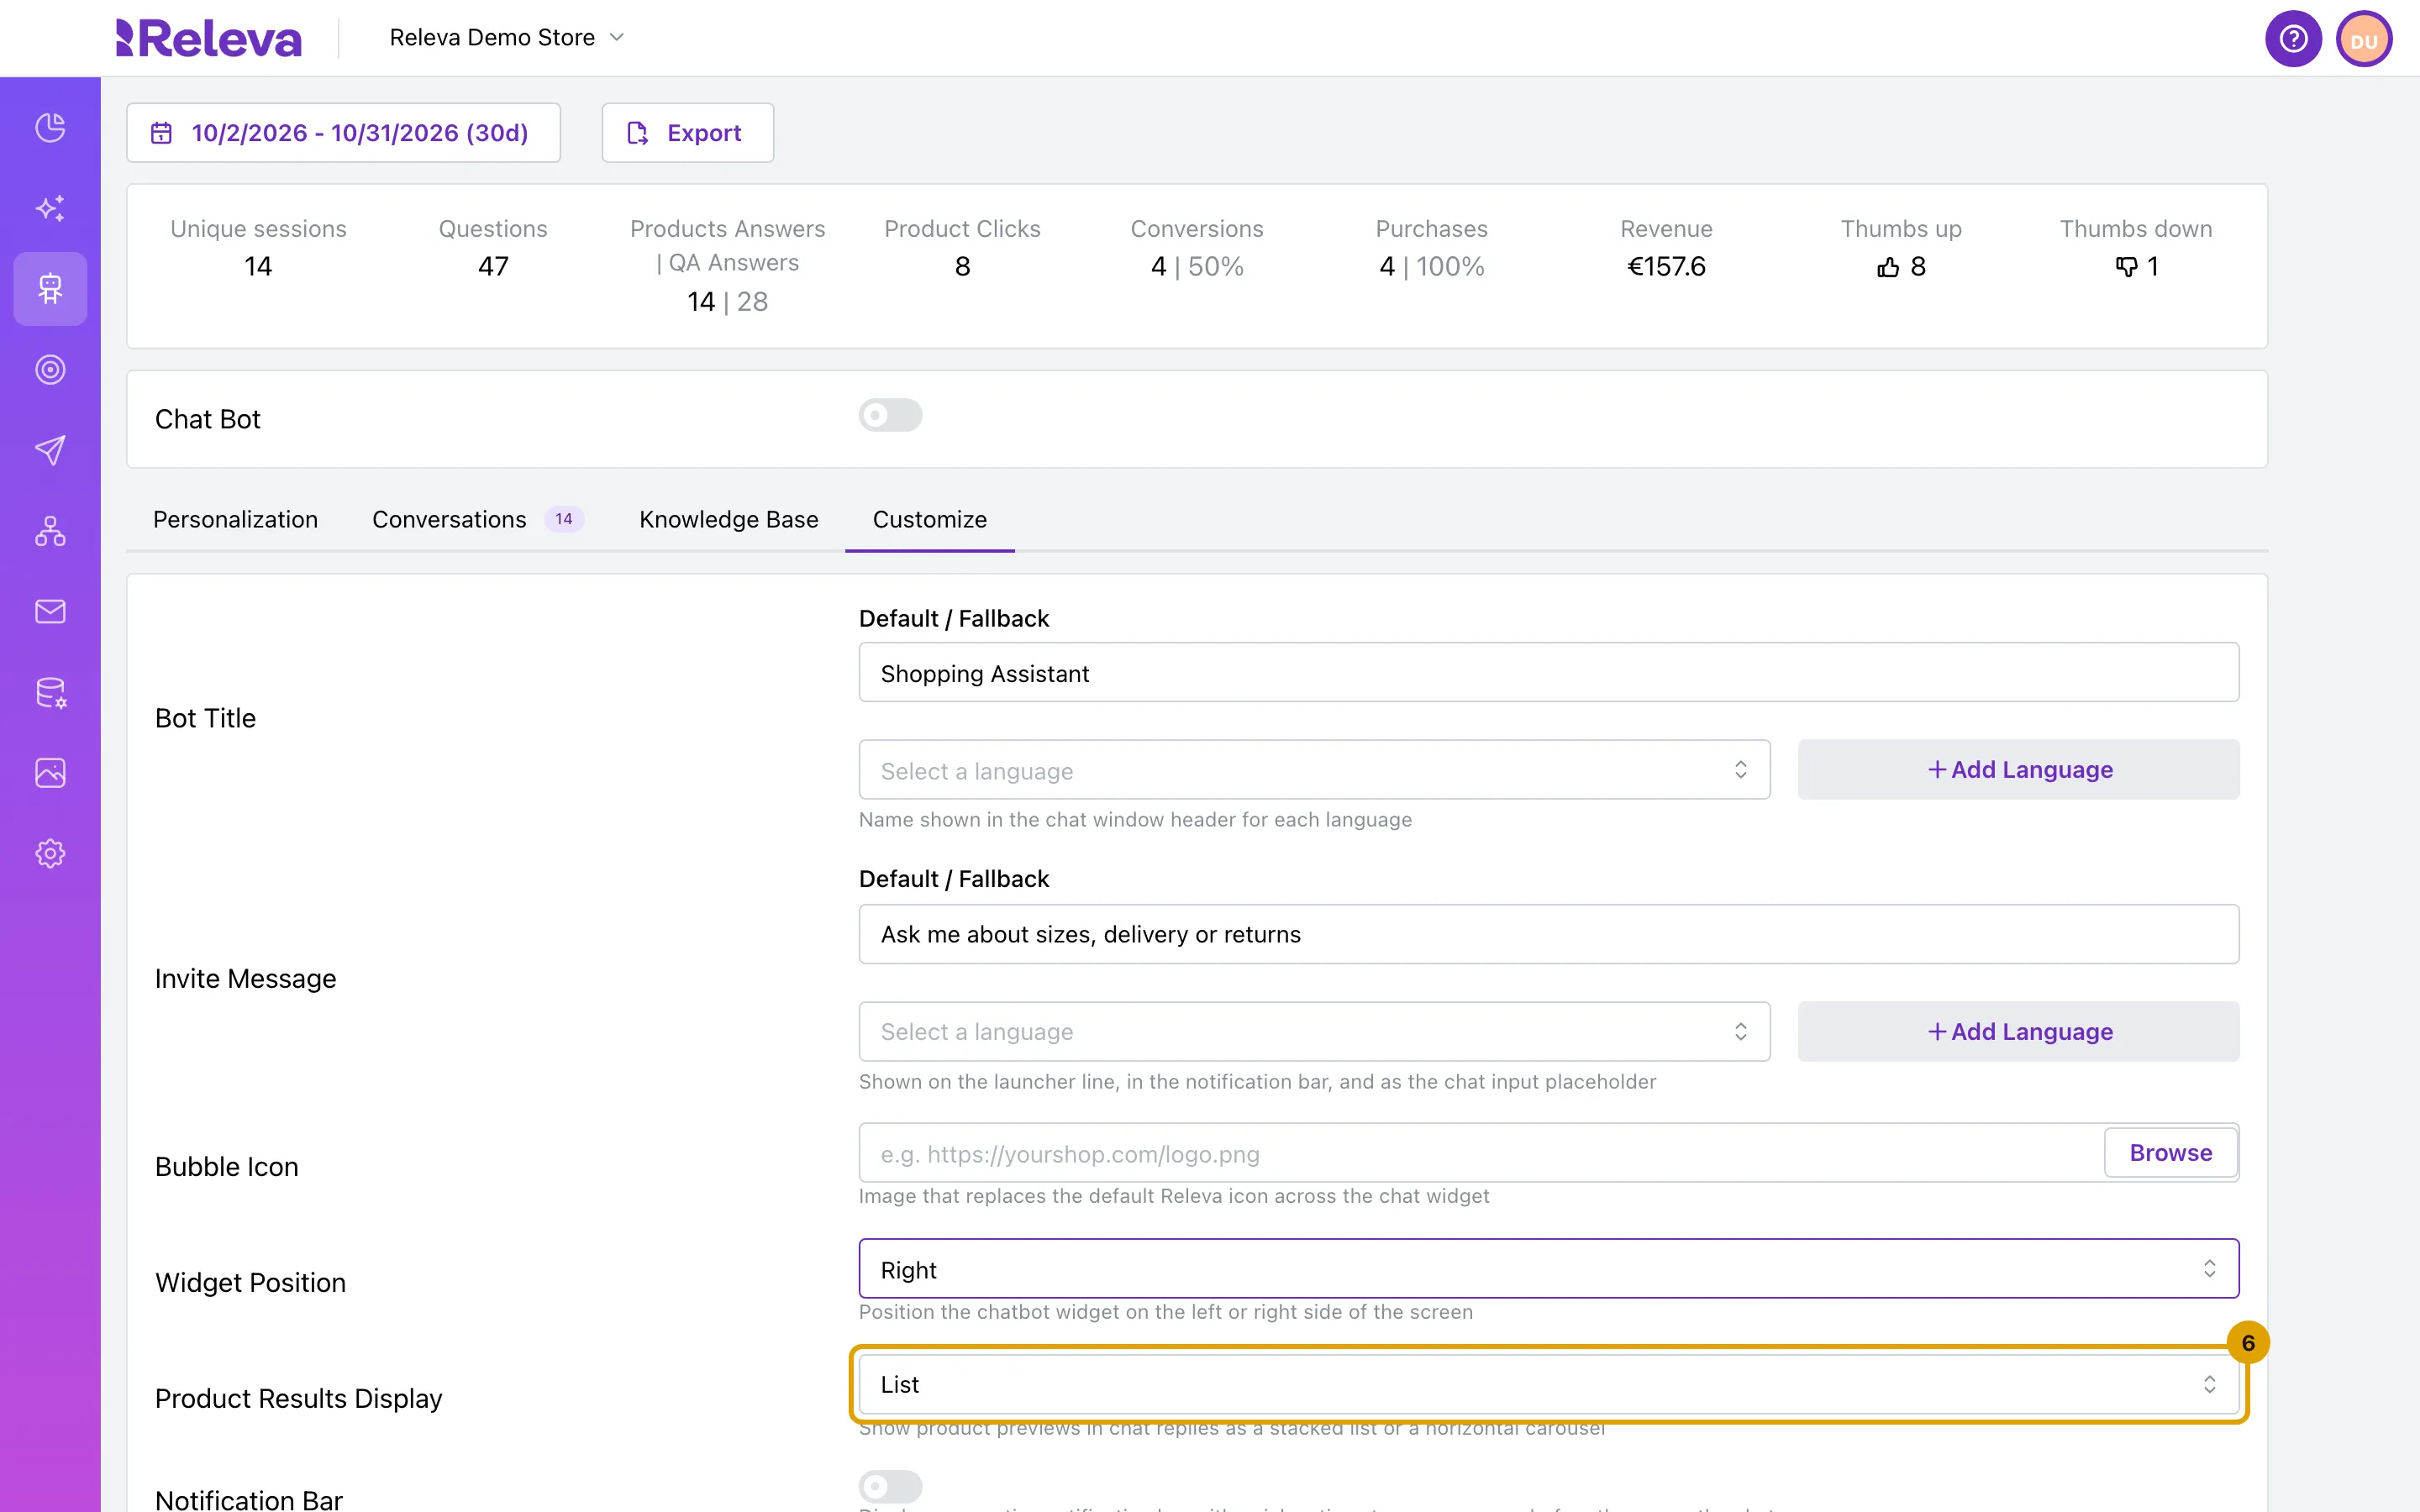
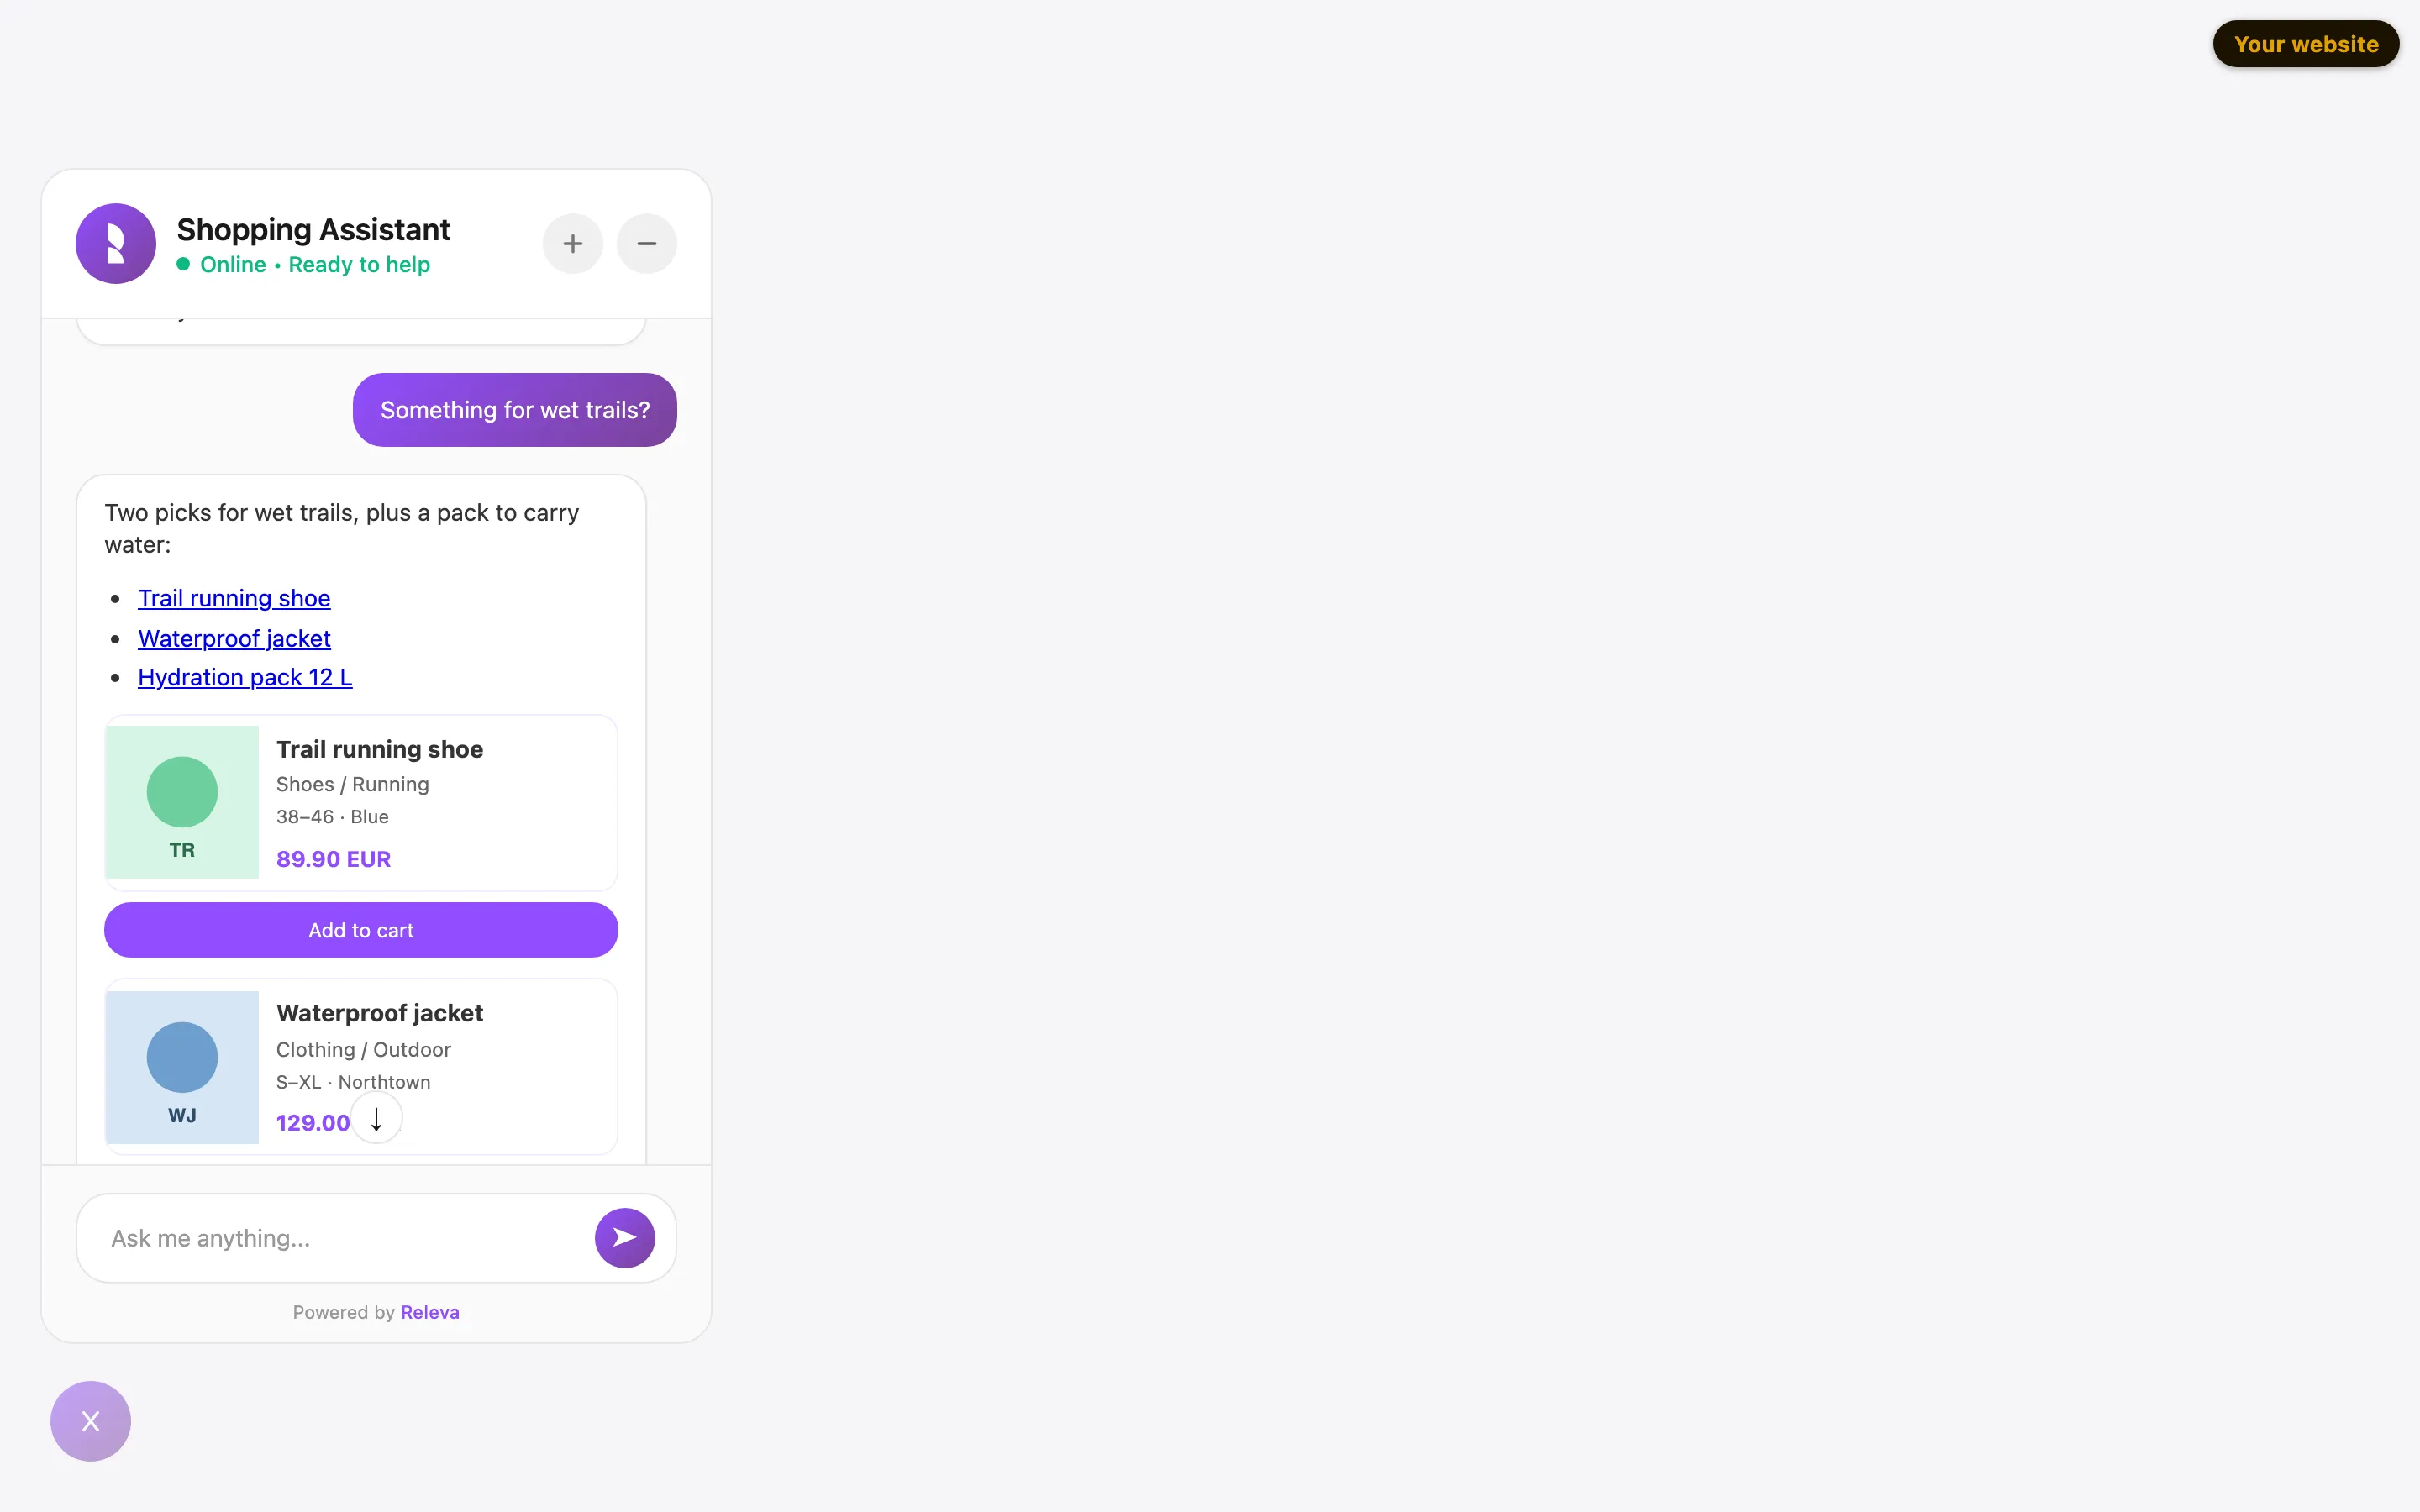
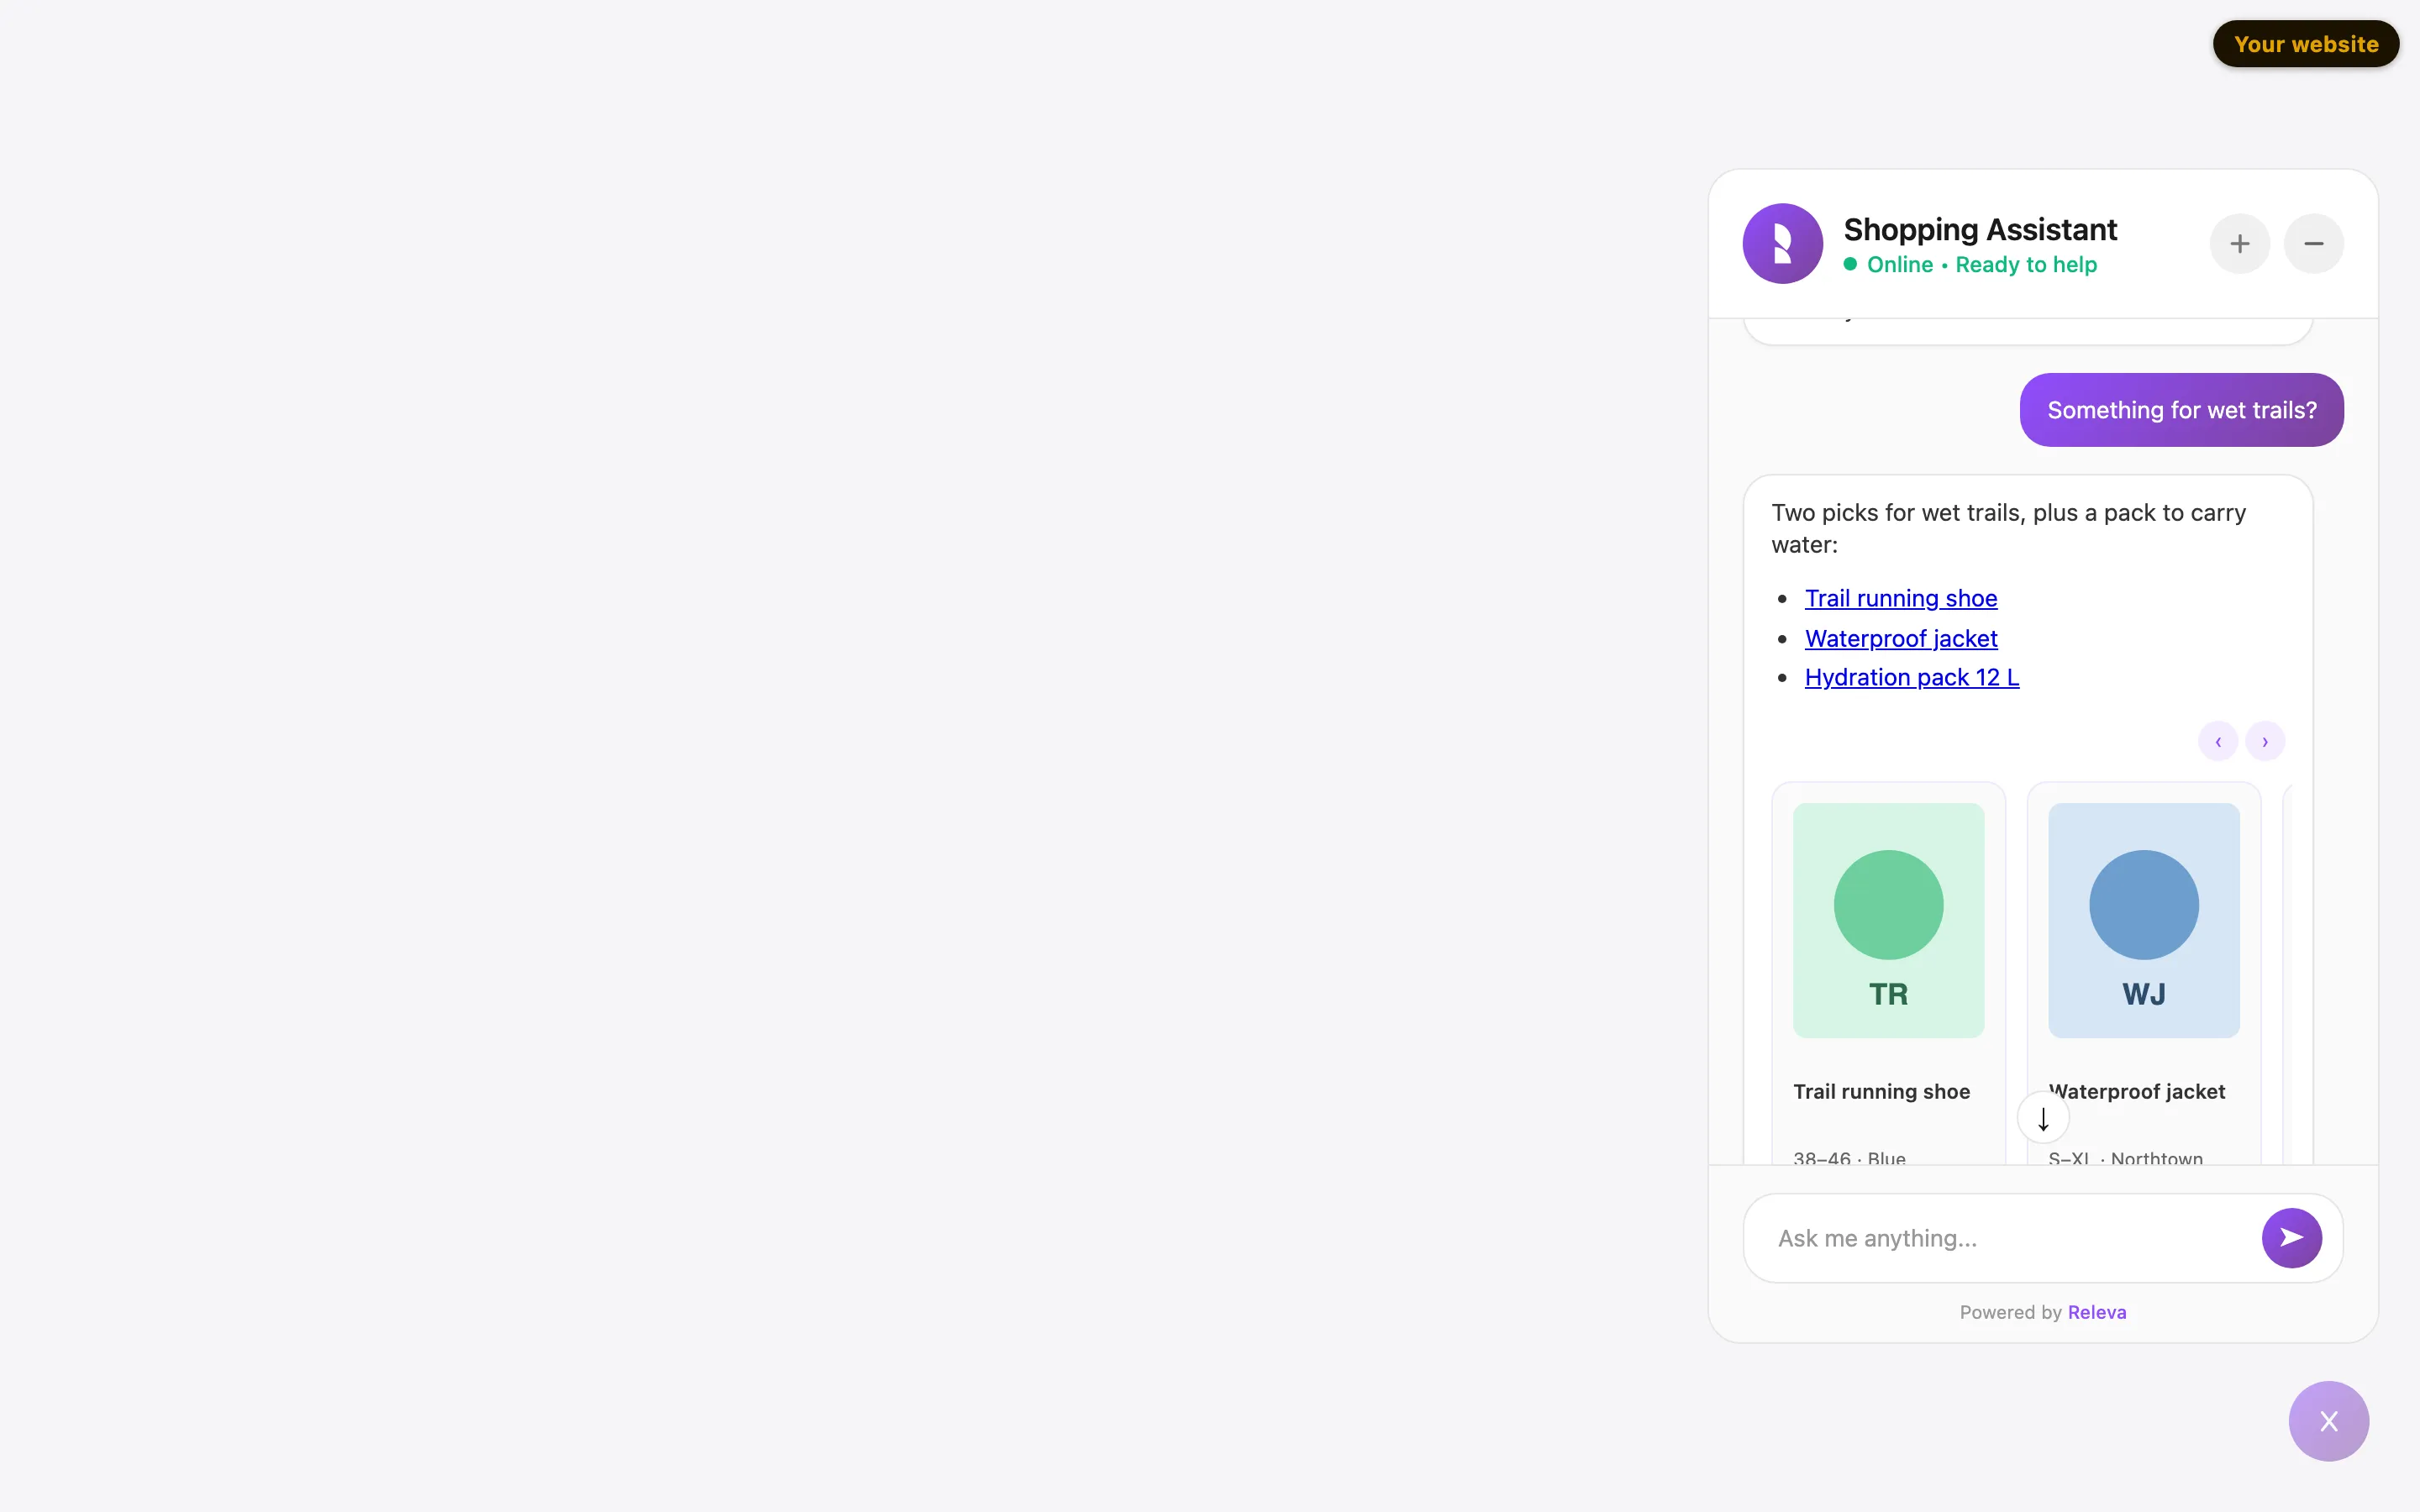
In Product Results Display, choose how products show in replies: List stacks them, Carousel puts them side by side so shoppers swipe through them.
On your site, with Widget Position set to Left and List:
With Carousel:
Buttons on product cards, such as Add to cart, show only when Releva has set them up for your shop.
-
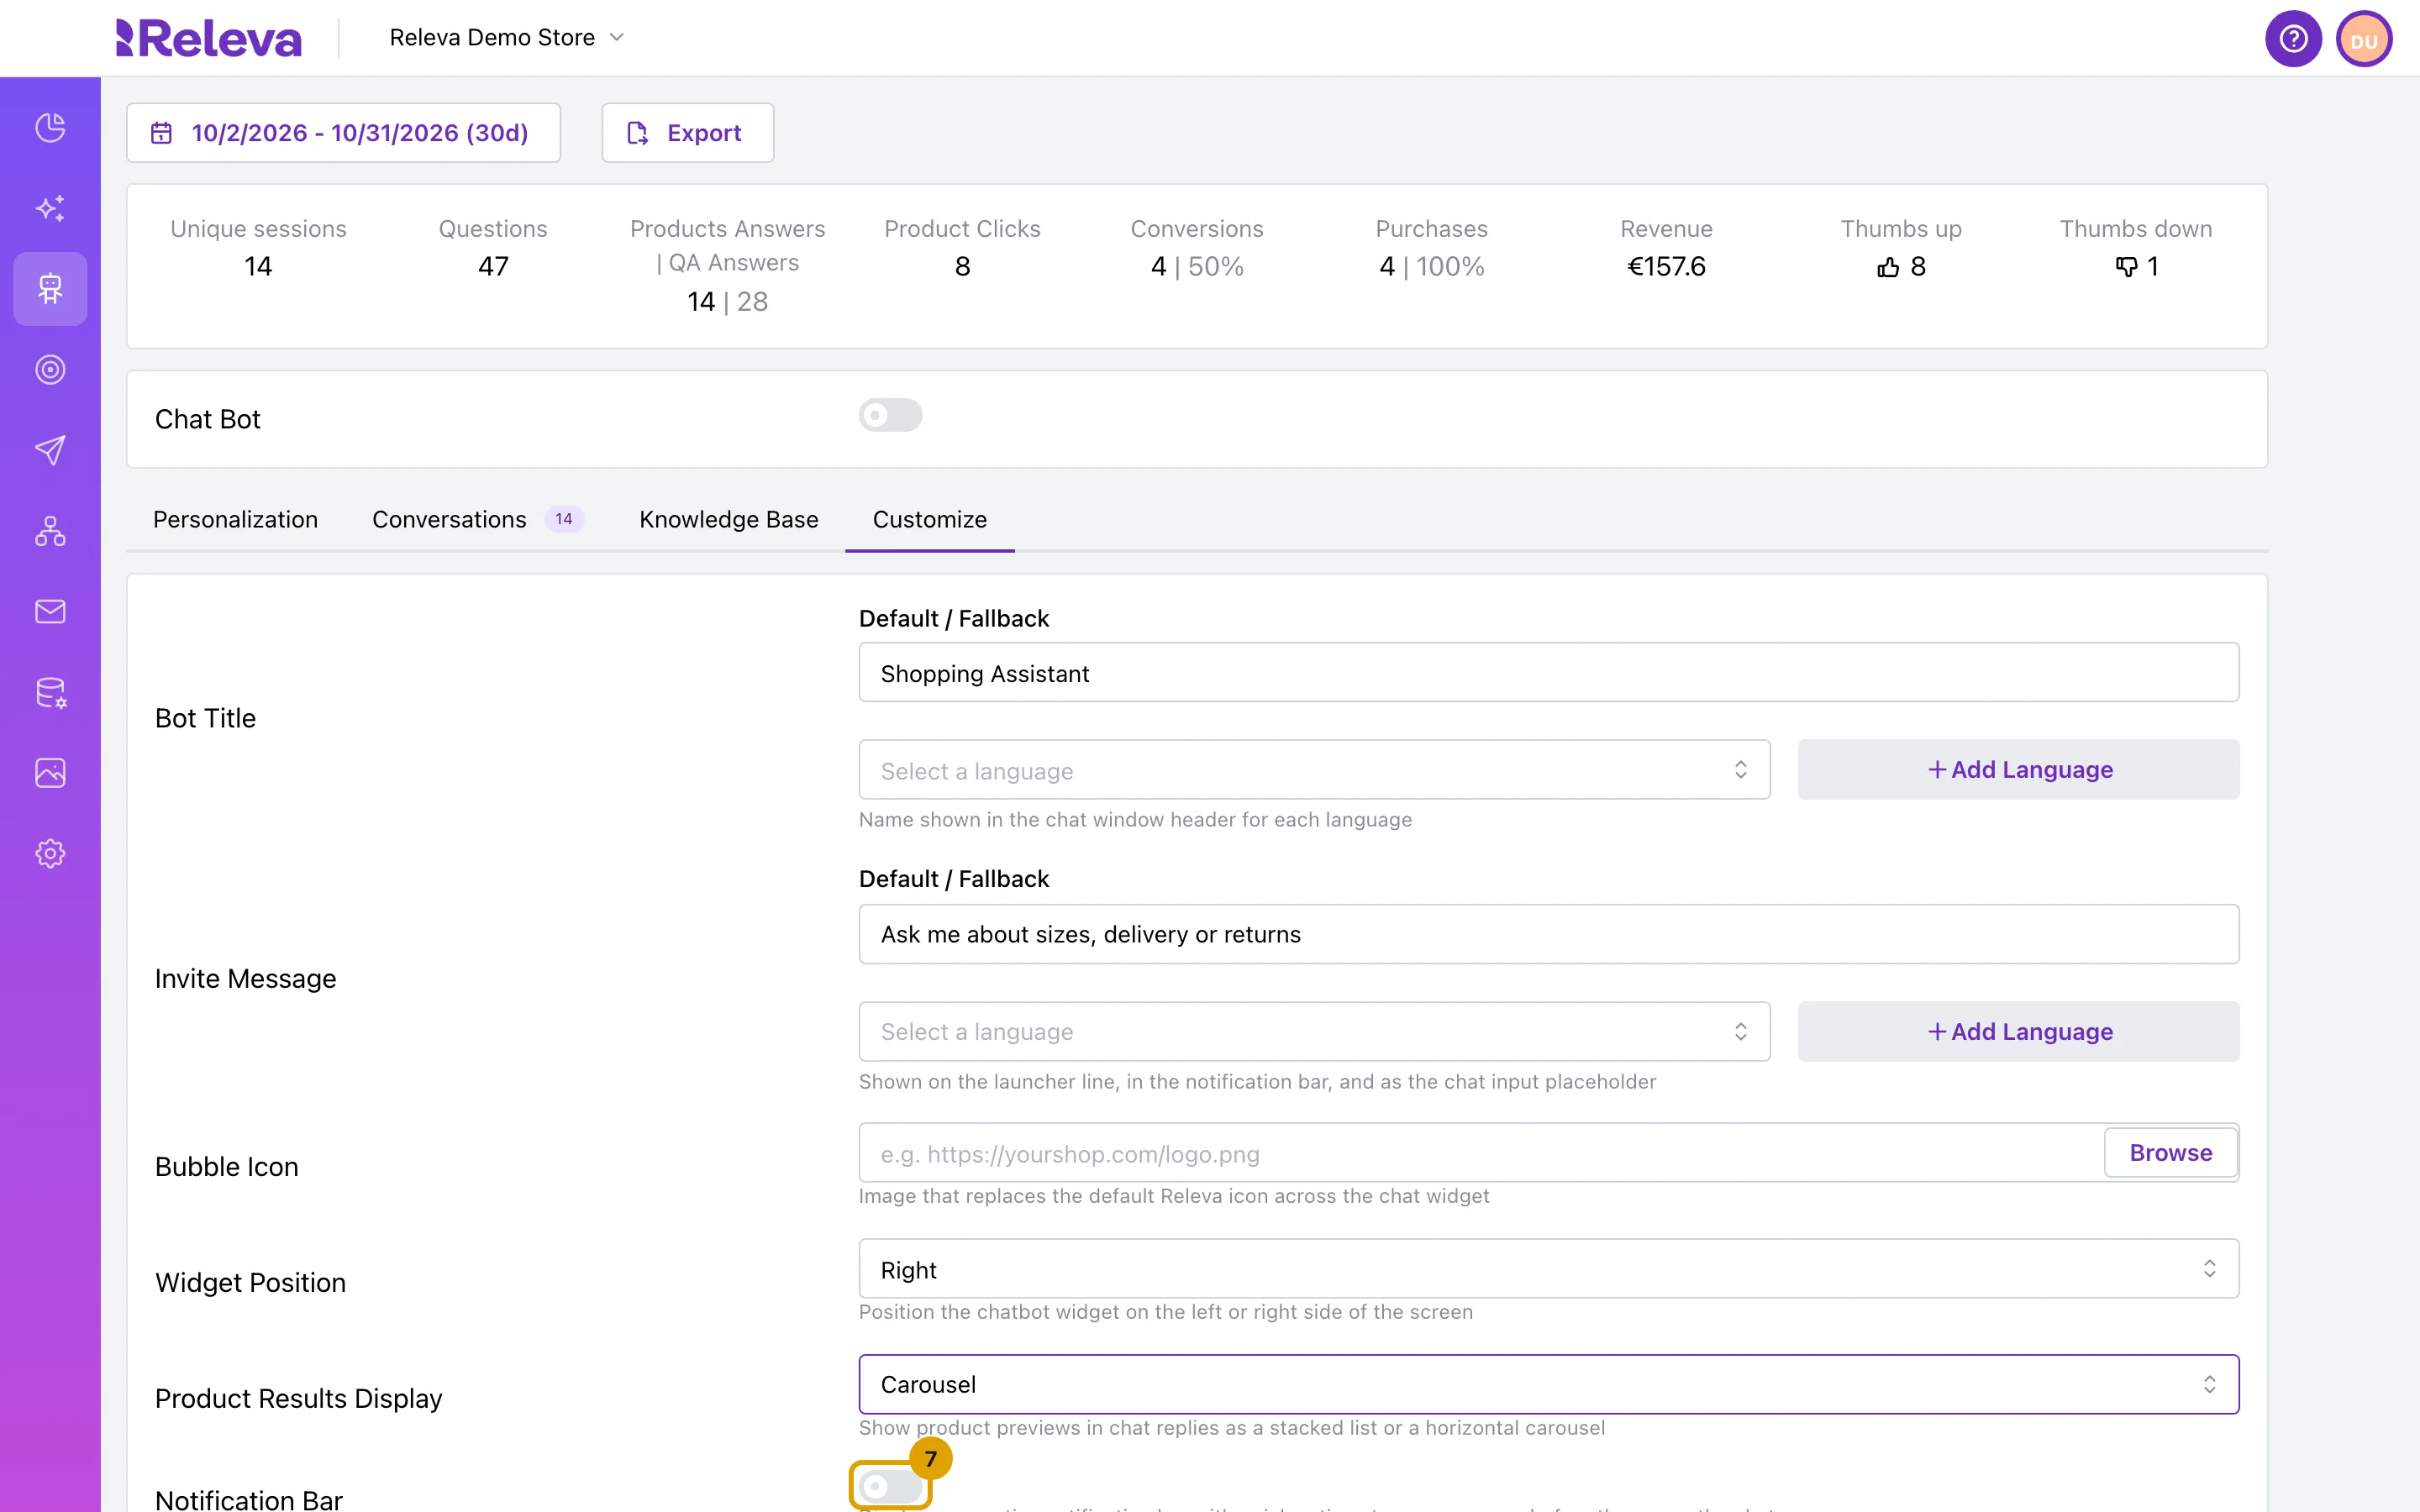
Optional: turn on Notification Bar to show a short message above the launcher before shoppers open the chat.
Releva chooses the message for each shopper, for example a new or a returning visitor, in the language of the page.
-
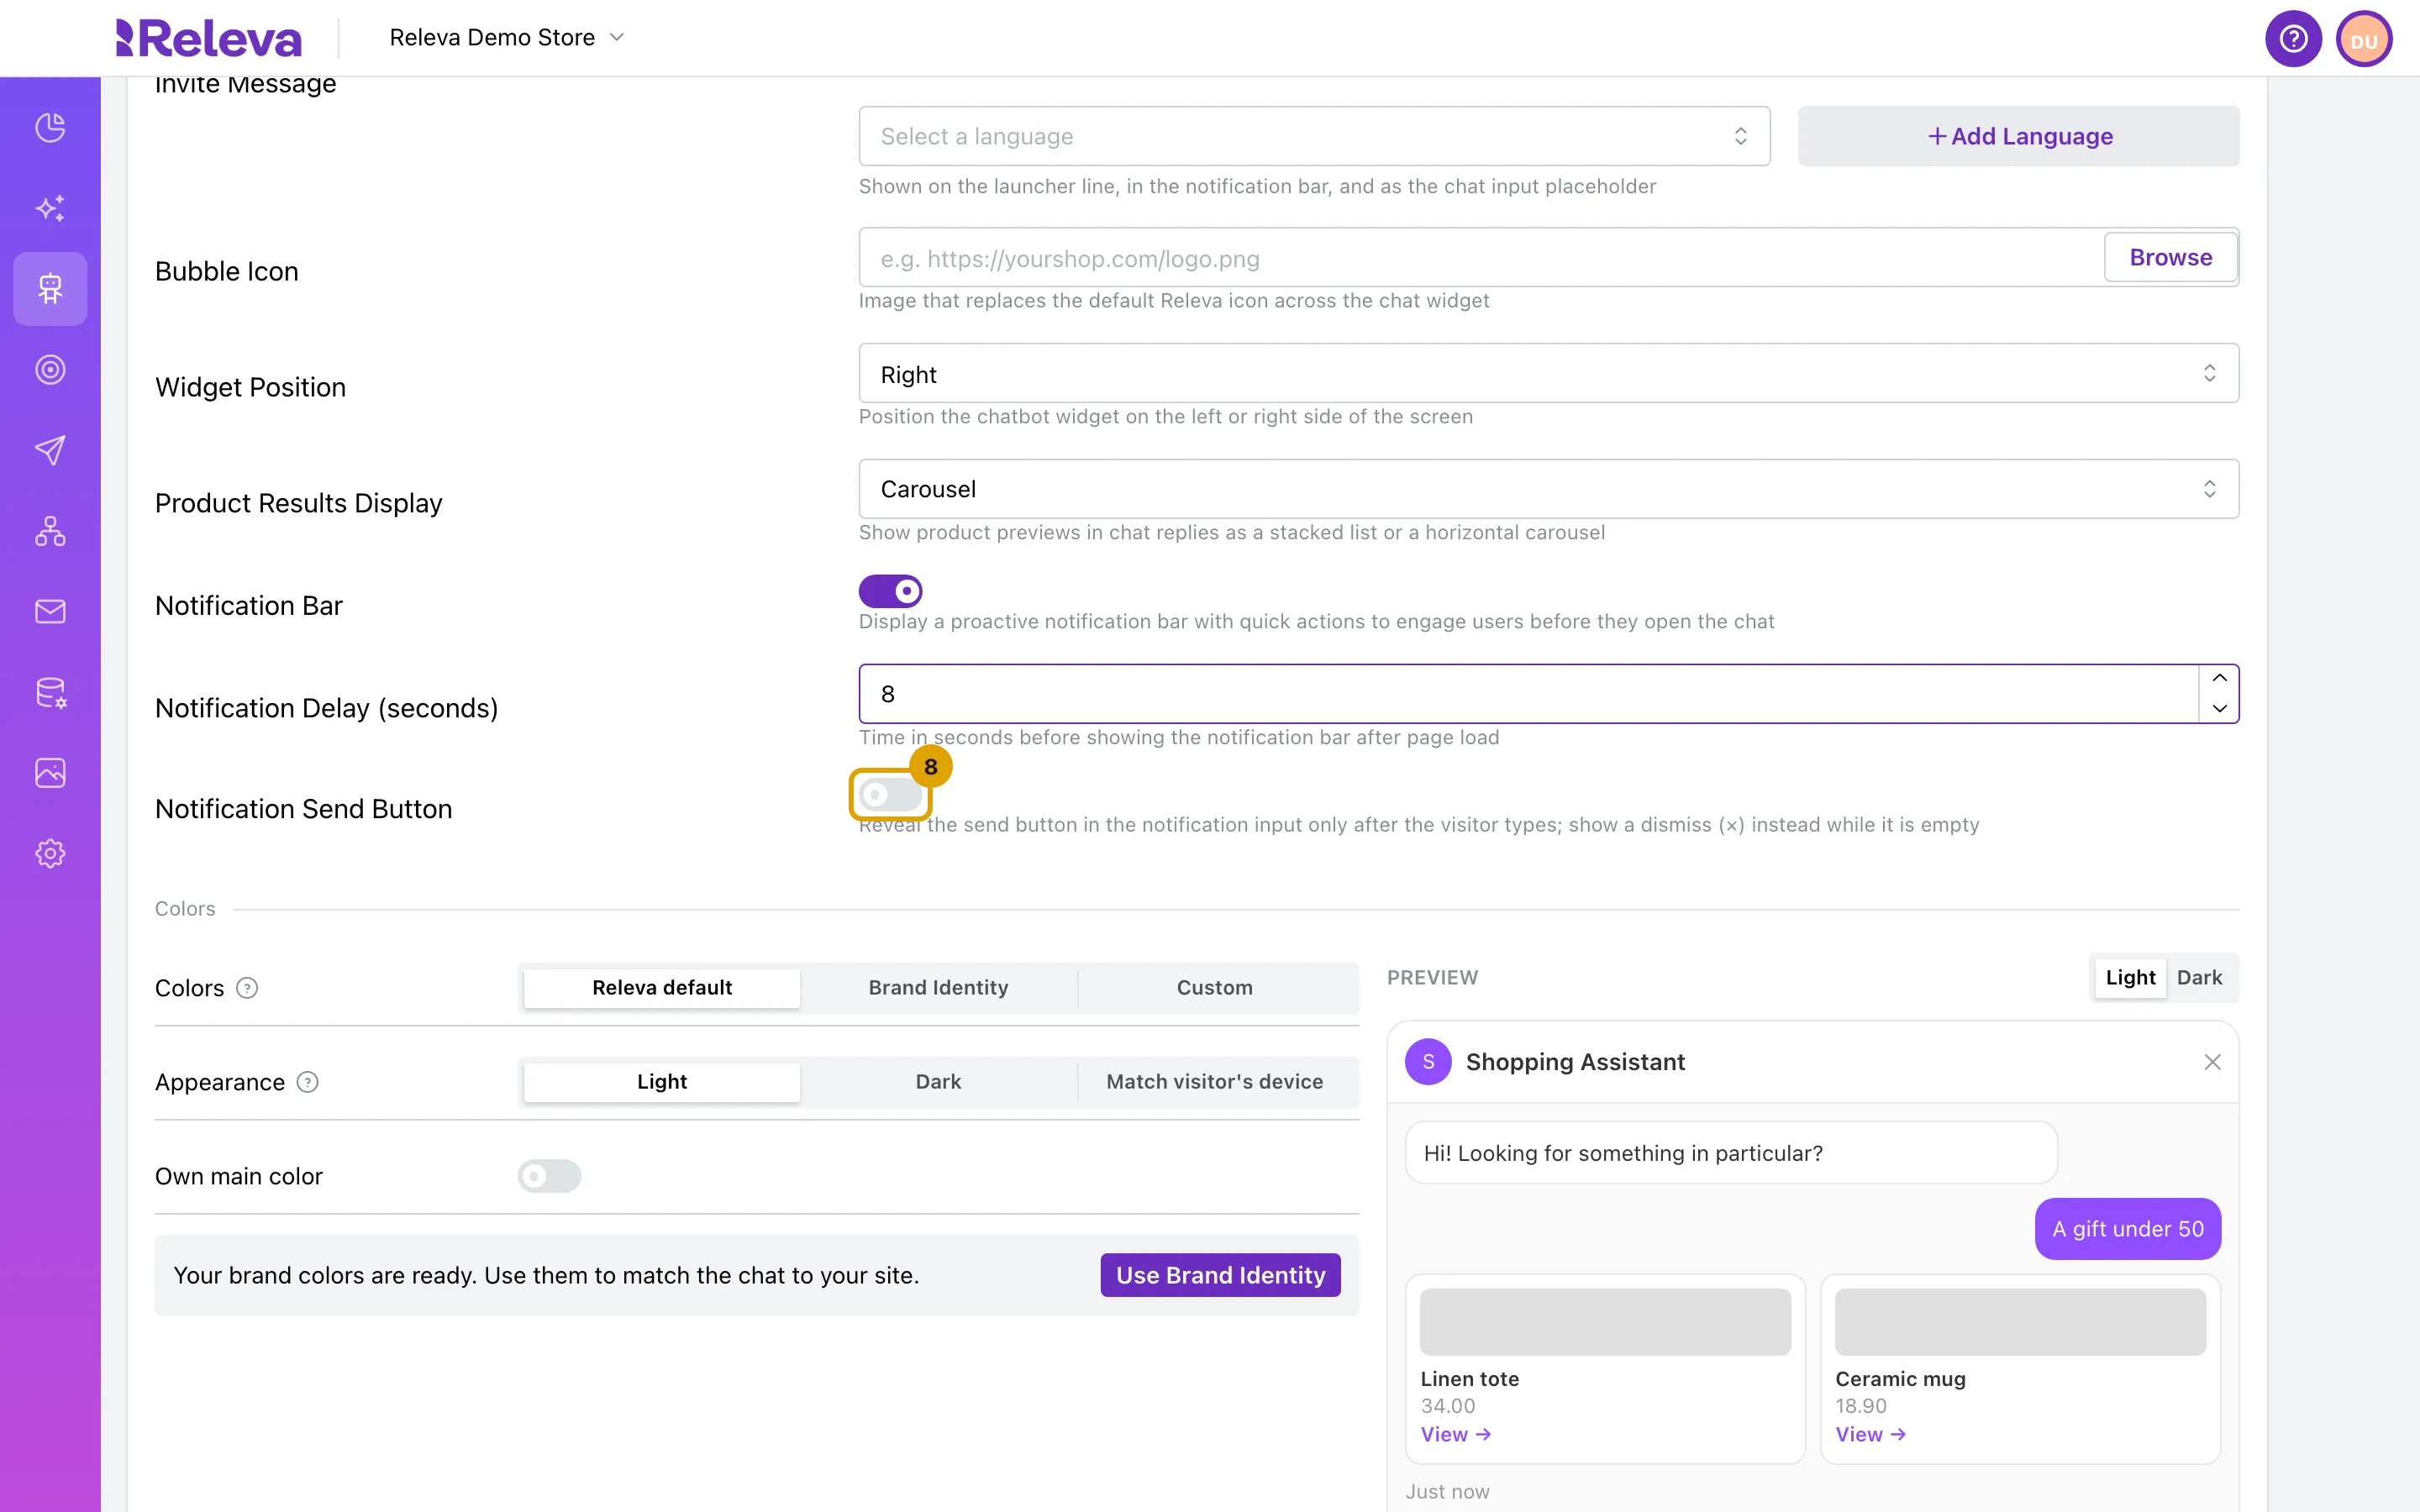
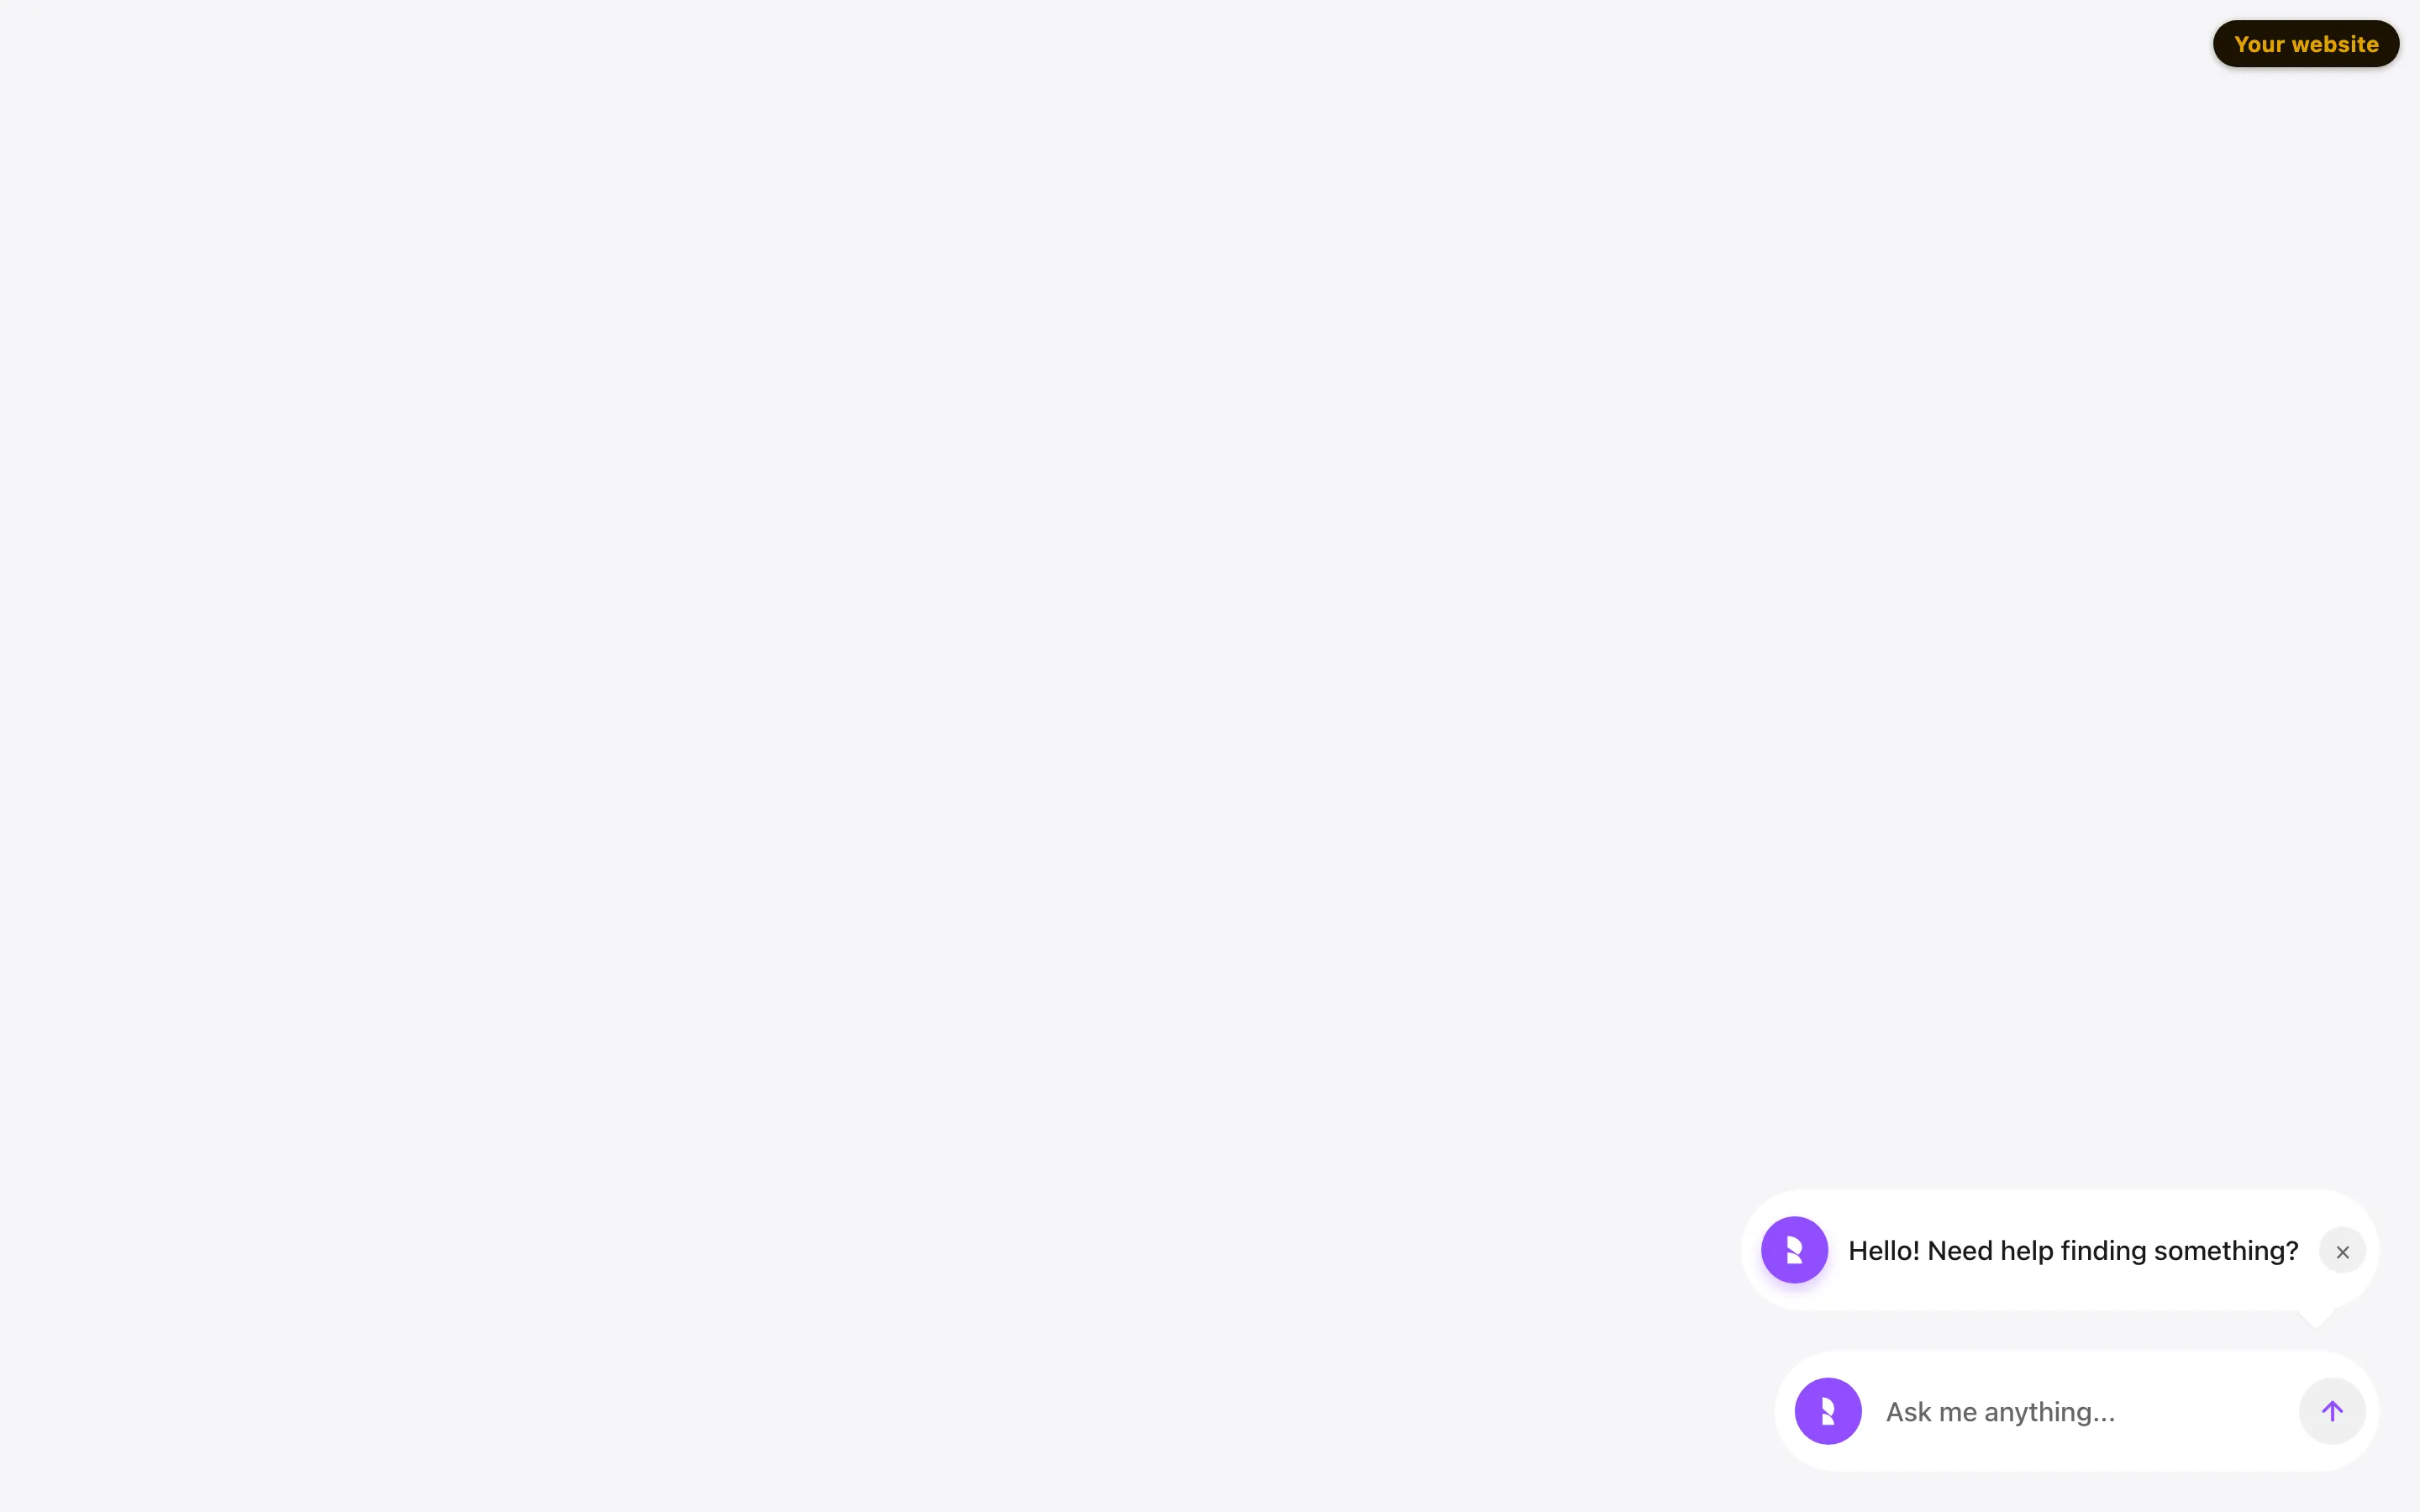
Set Notification Delay (seconds), the time after the page loads before the bar shows (1 to 60). Turn on Notification Send Button to show the send button in the bar only after the shopper types; while the box is empty, the bar shows a × to close it.
On your site, the bar opens by itself above the launcher:
-
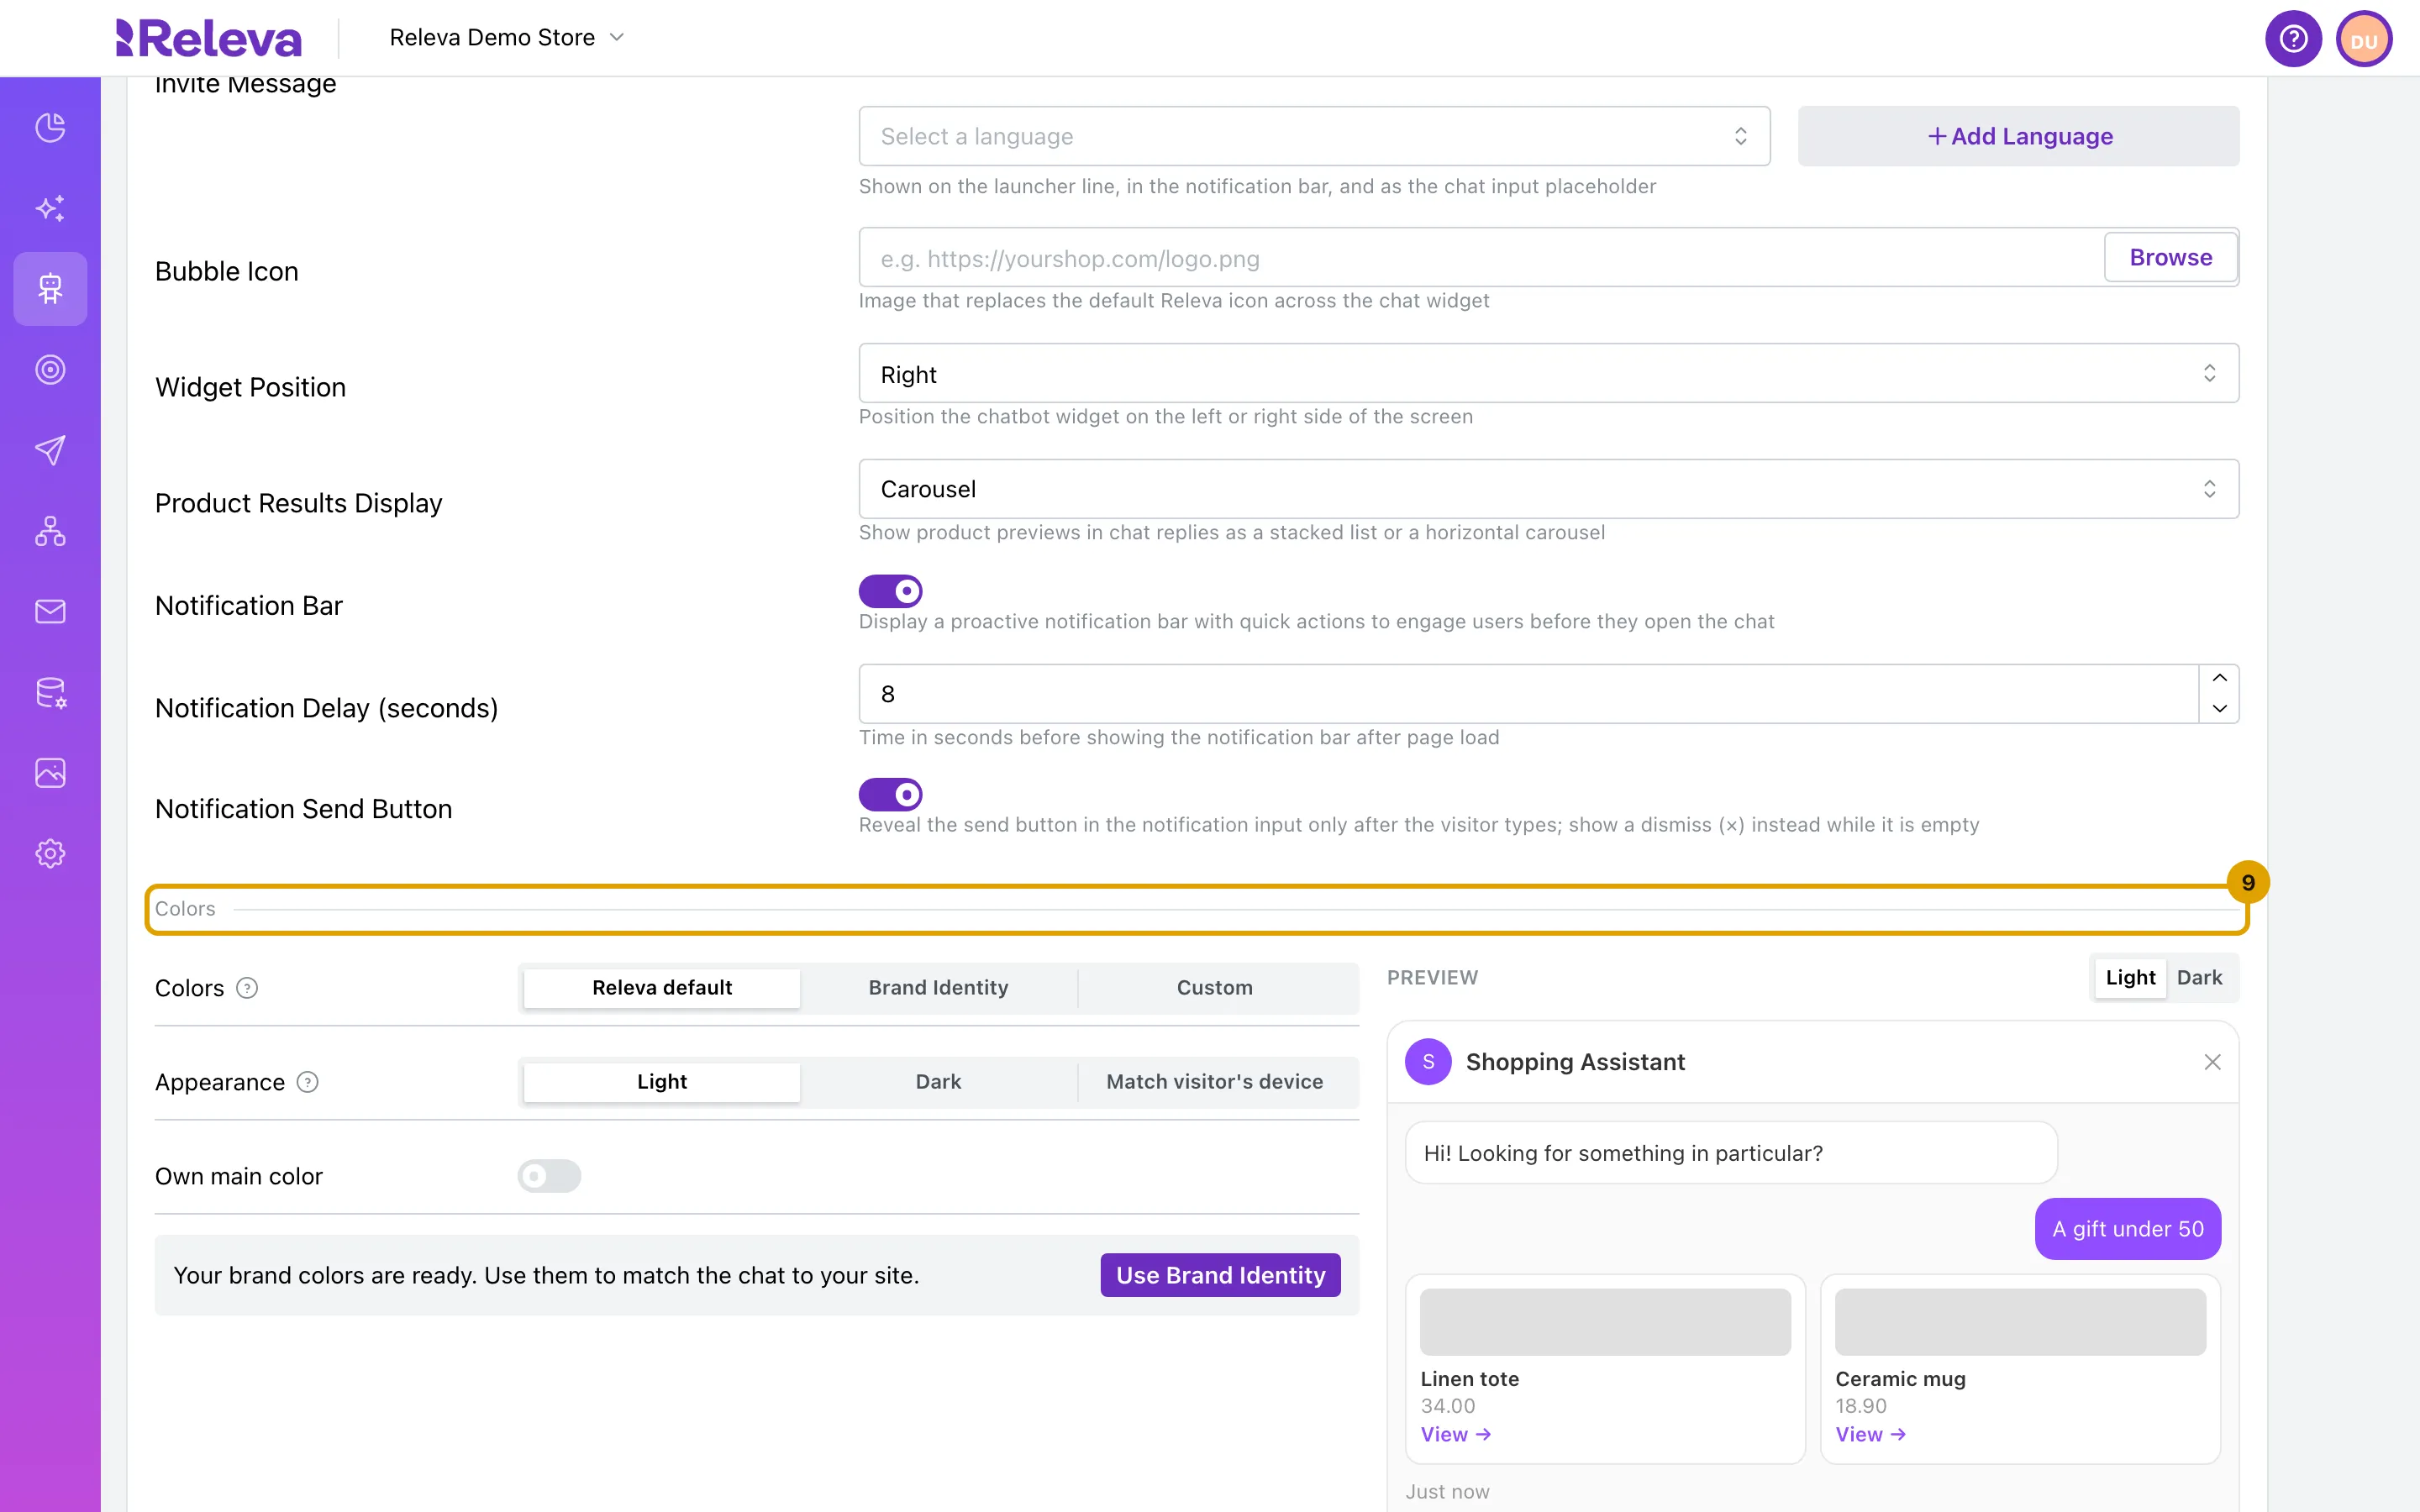
Under Colors, choose where the chat takes its colors from. Releva default keeps Releva’s colors. The Preview on the right shows the result as you change it.
With Releva default, you can turn on Own main color and pick a Main color for the launcher, the shopper’s messages, the send button and links.
-
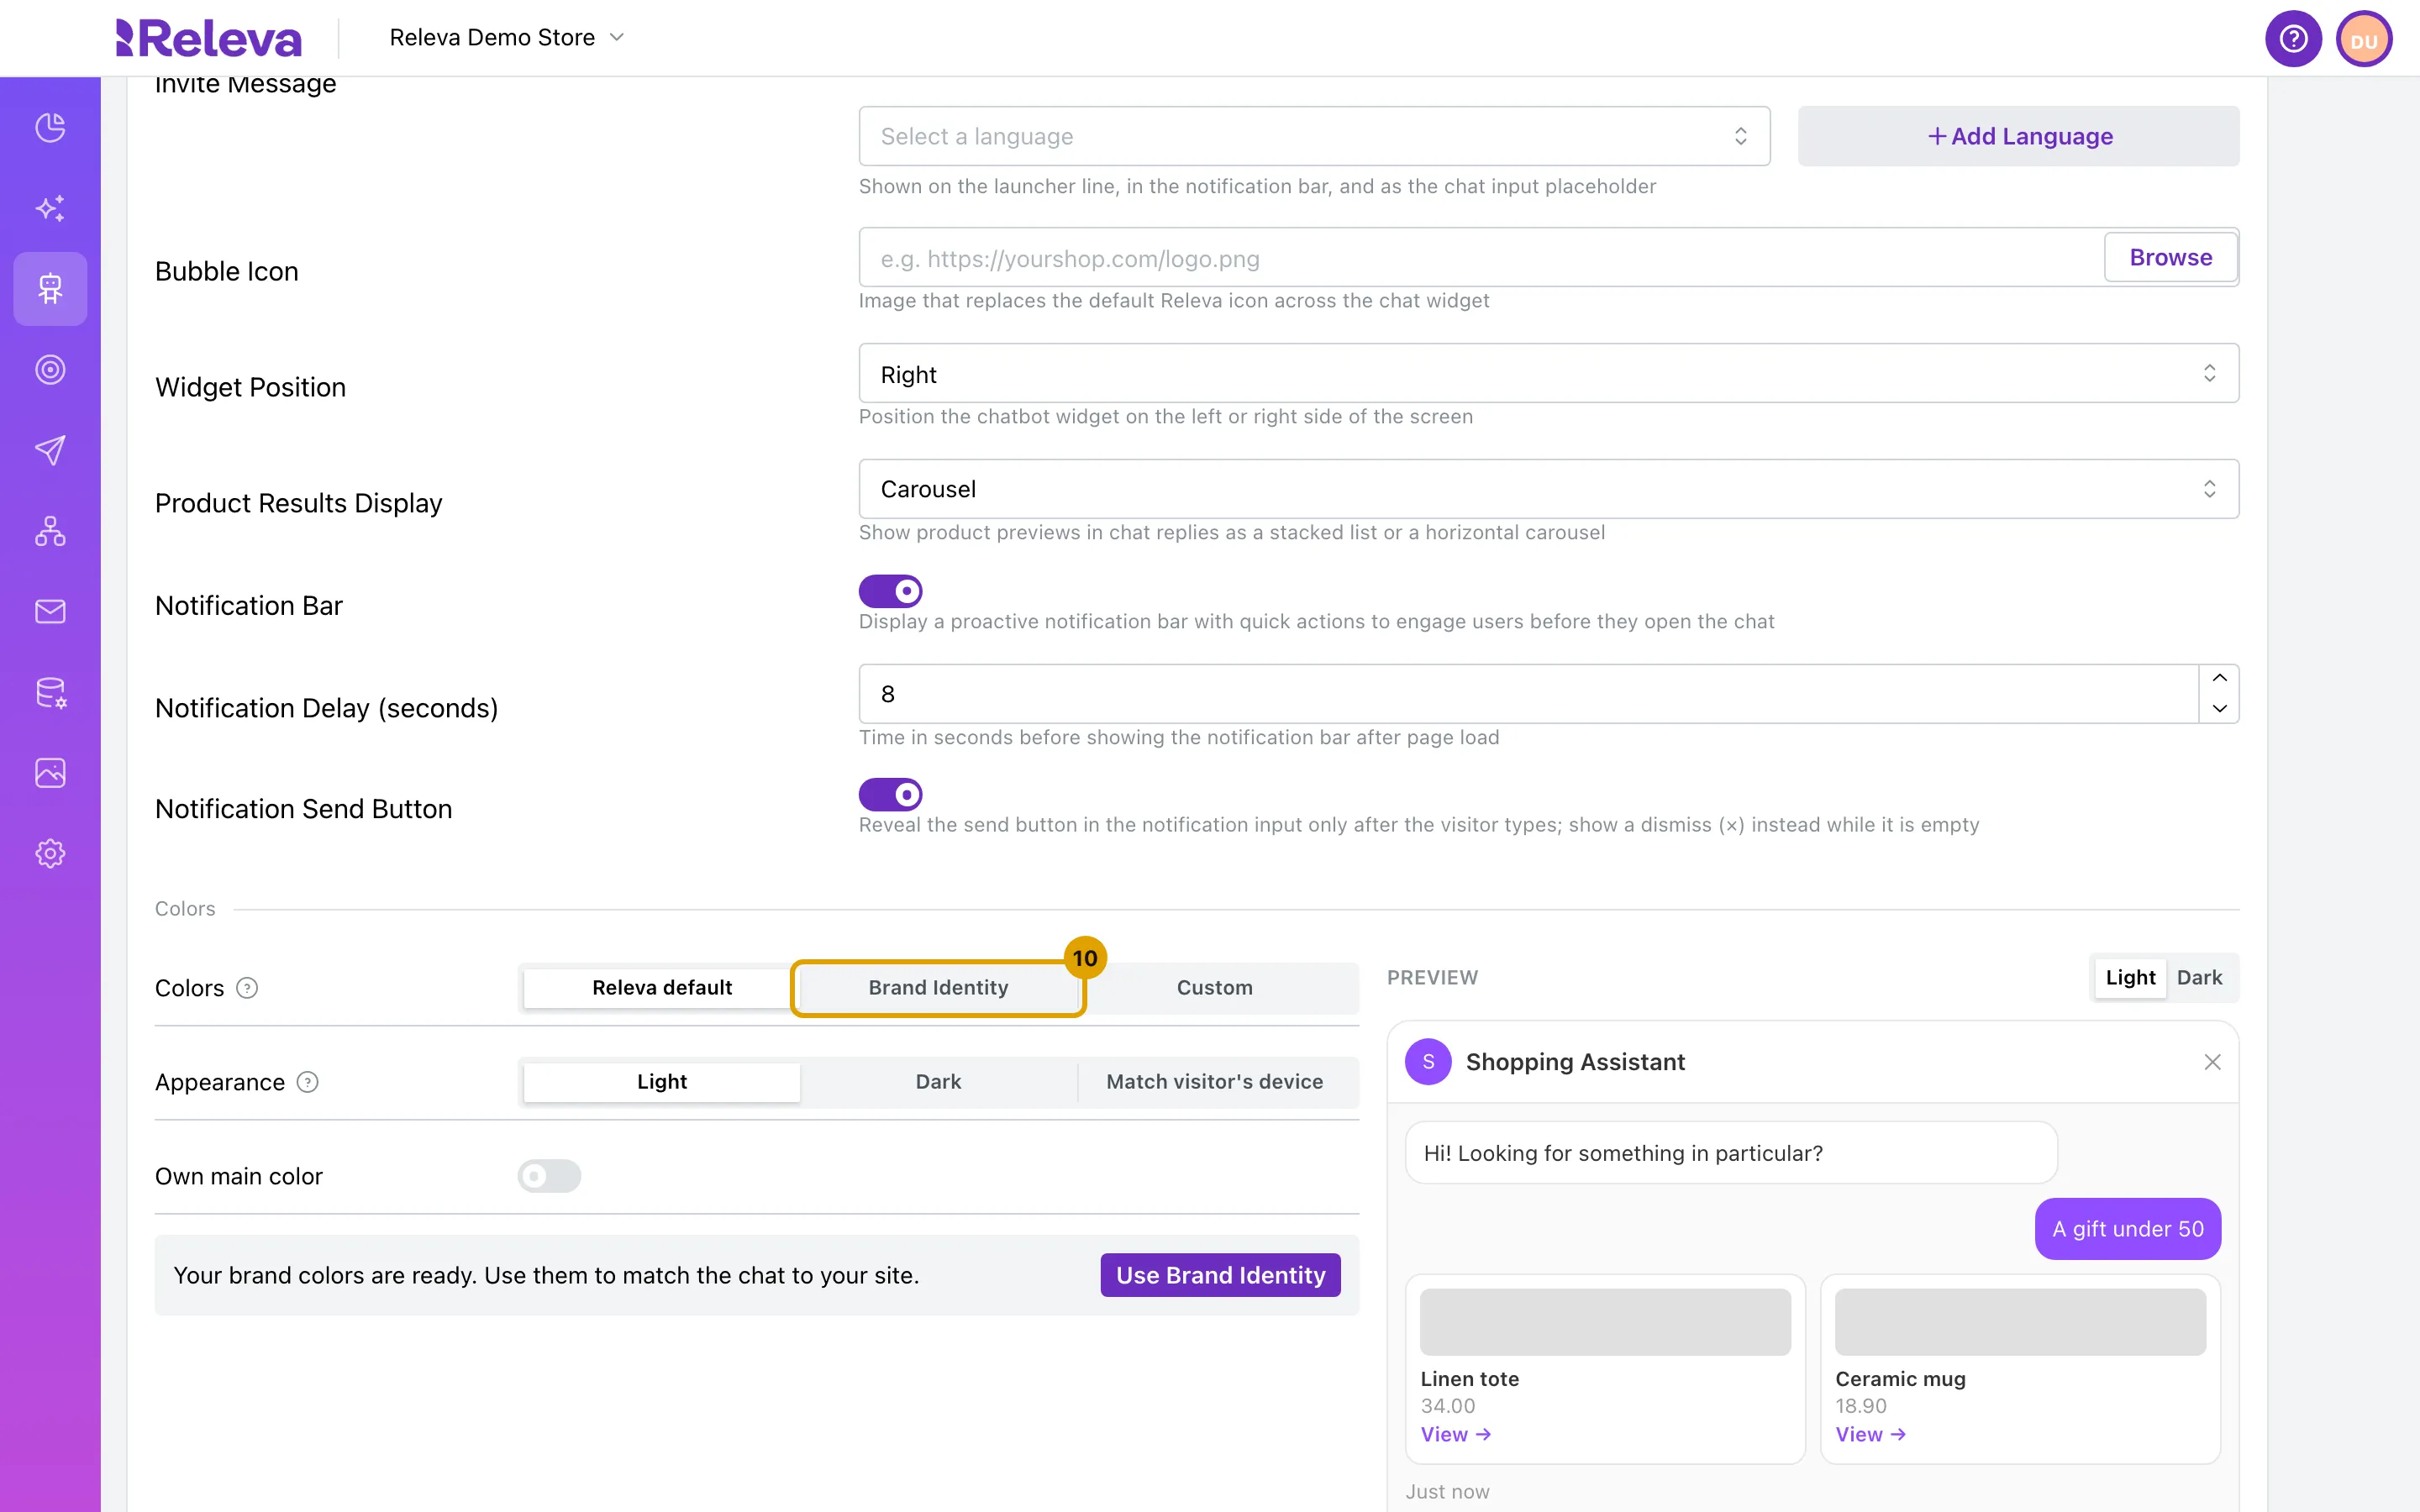
To match your site, select Brand Identity.
The chat then uses the colors of your confirmed Brand Identity and follows them when you change them there. Brand Identity can be selected only when your brand colors are confirmed.
-
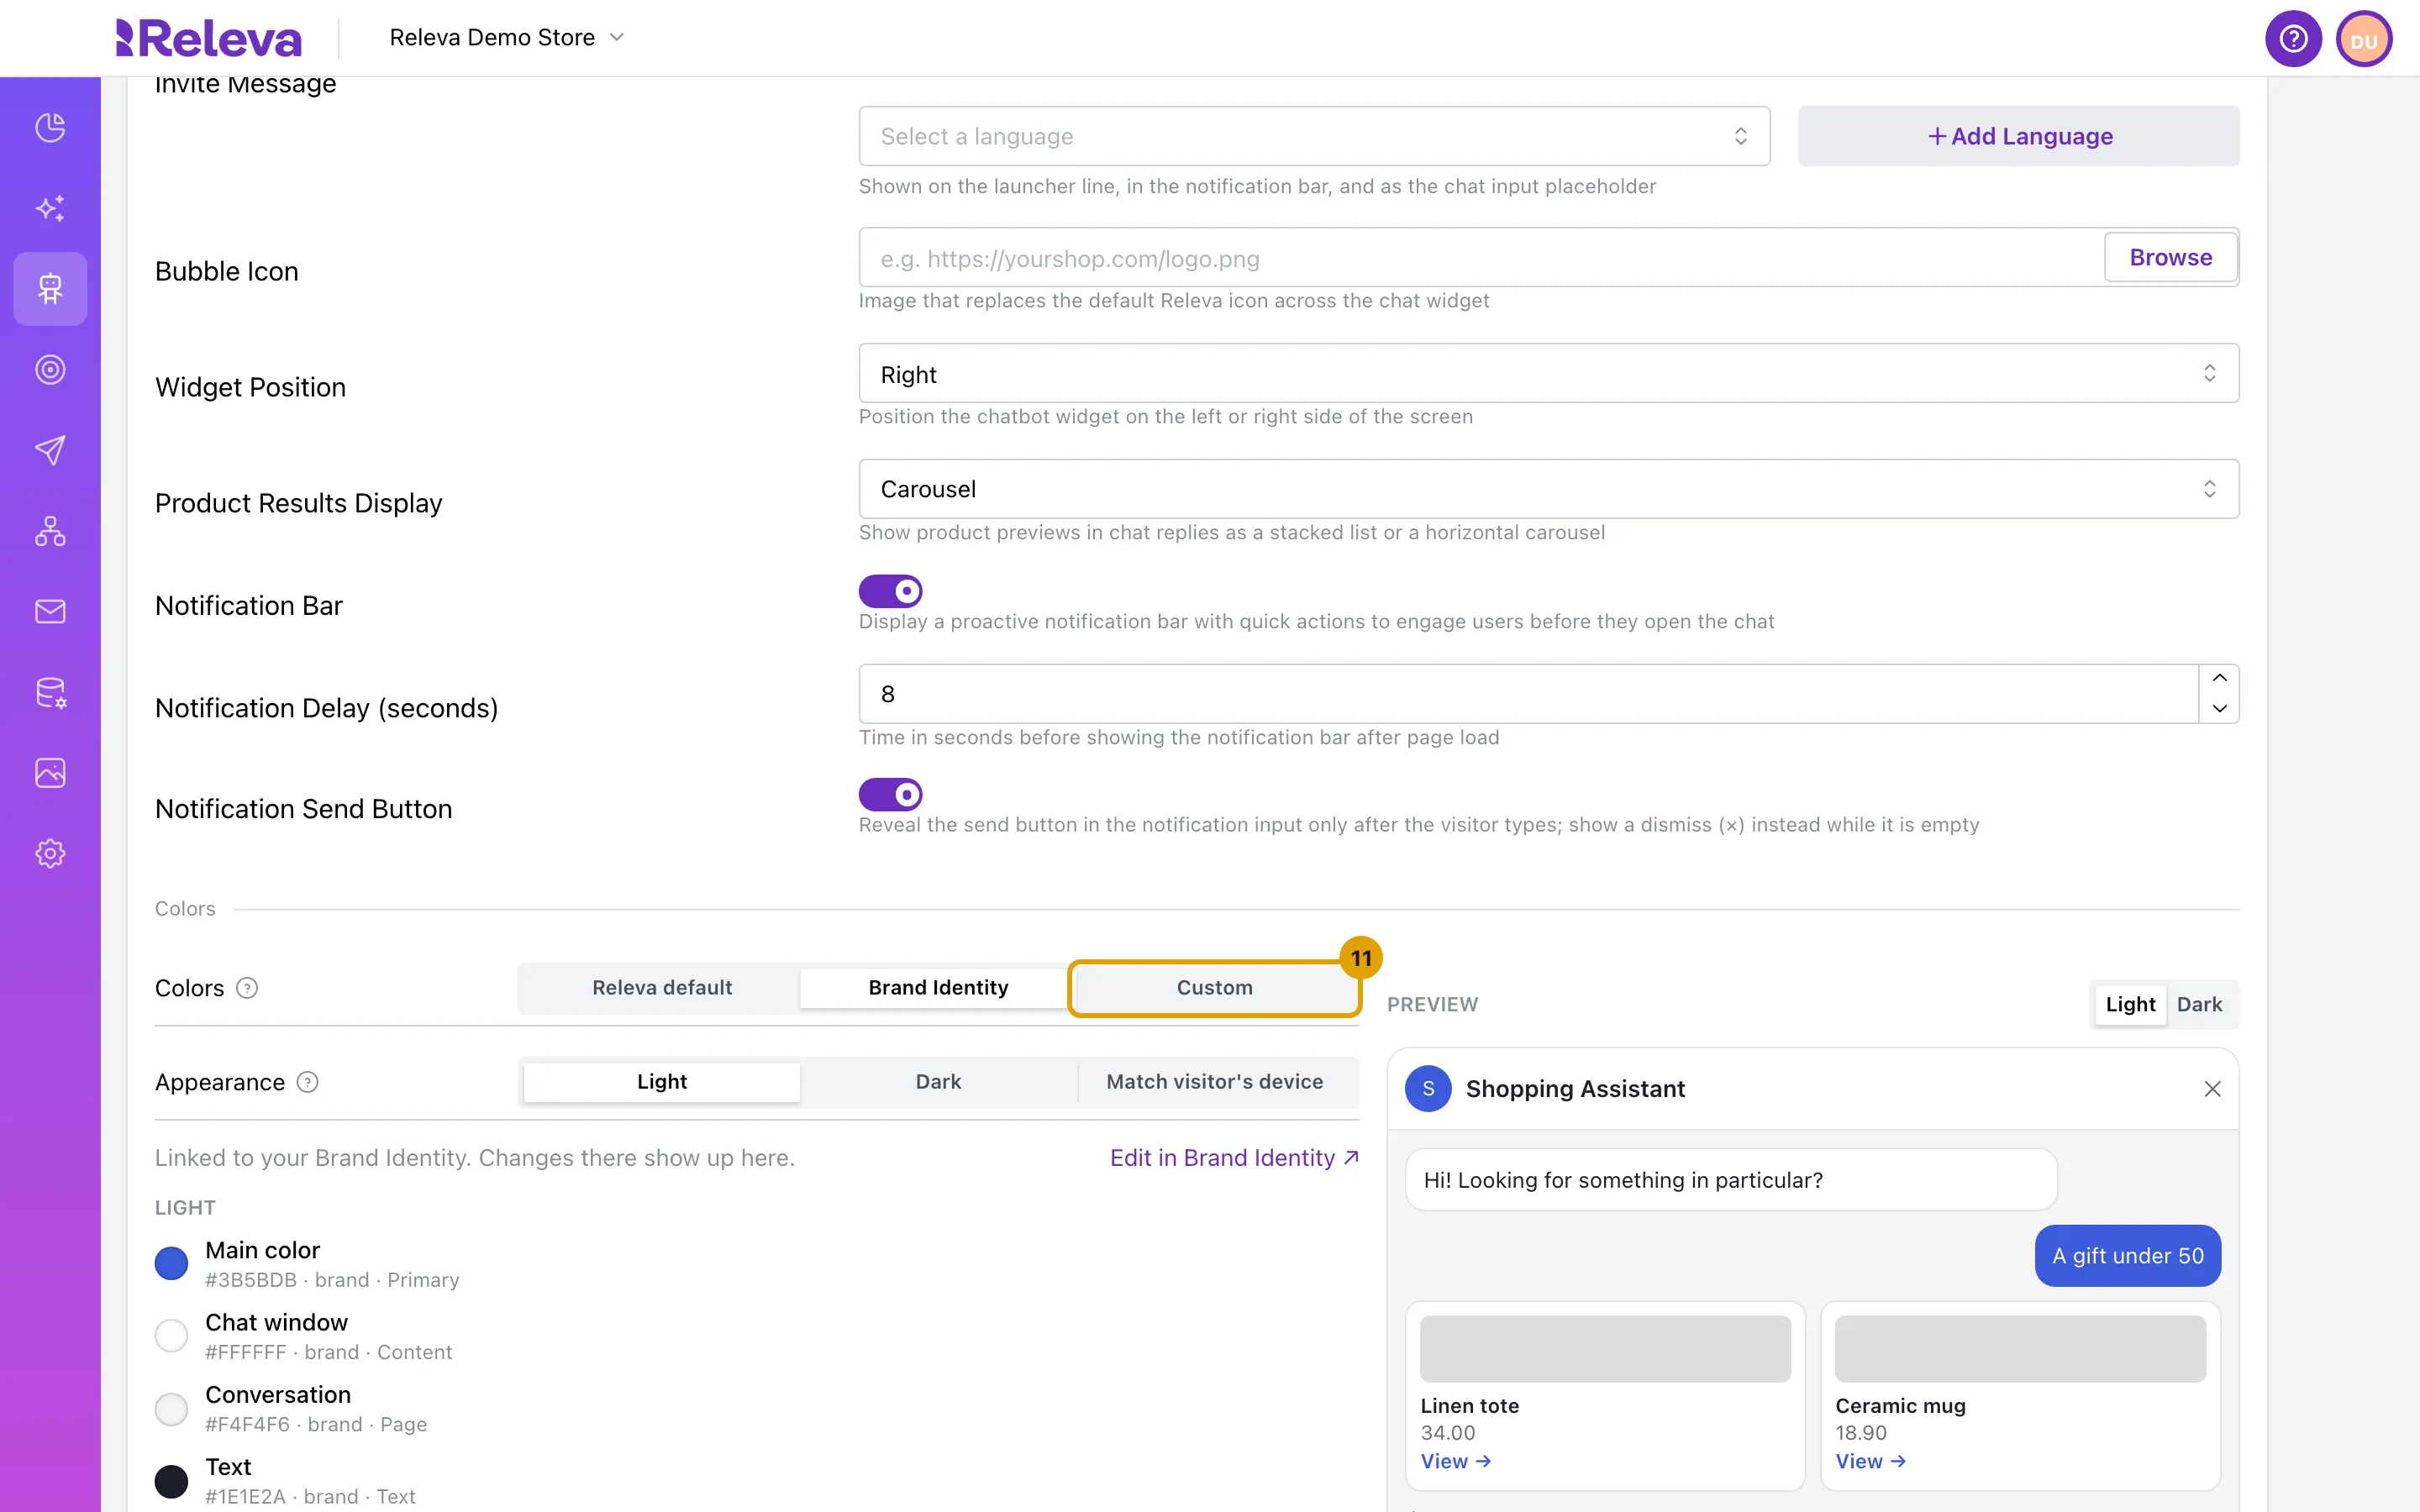
To change single colors, select Custom, then set each color: Main color, Chat window, Conversation, Text and Muted text.
Colors you do not change keep following your brand. A warning shows when text is hard to read on its background; select Fix to use a readable color, or Reset to go back to the brand color.
-
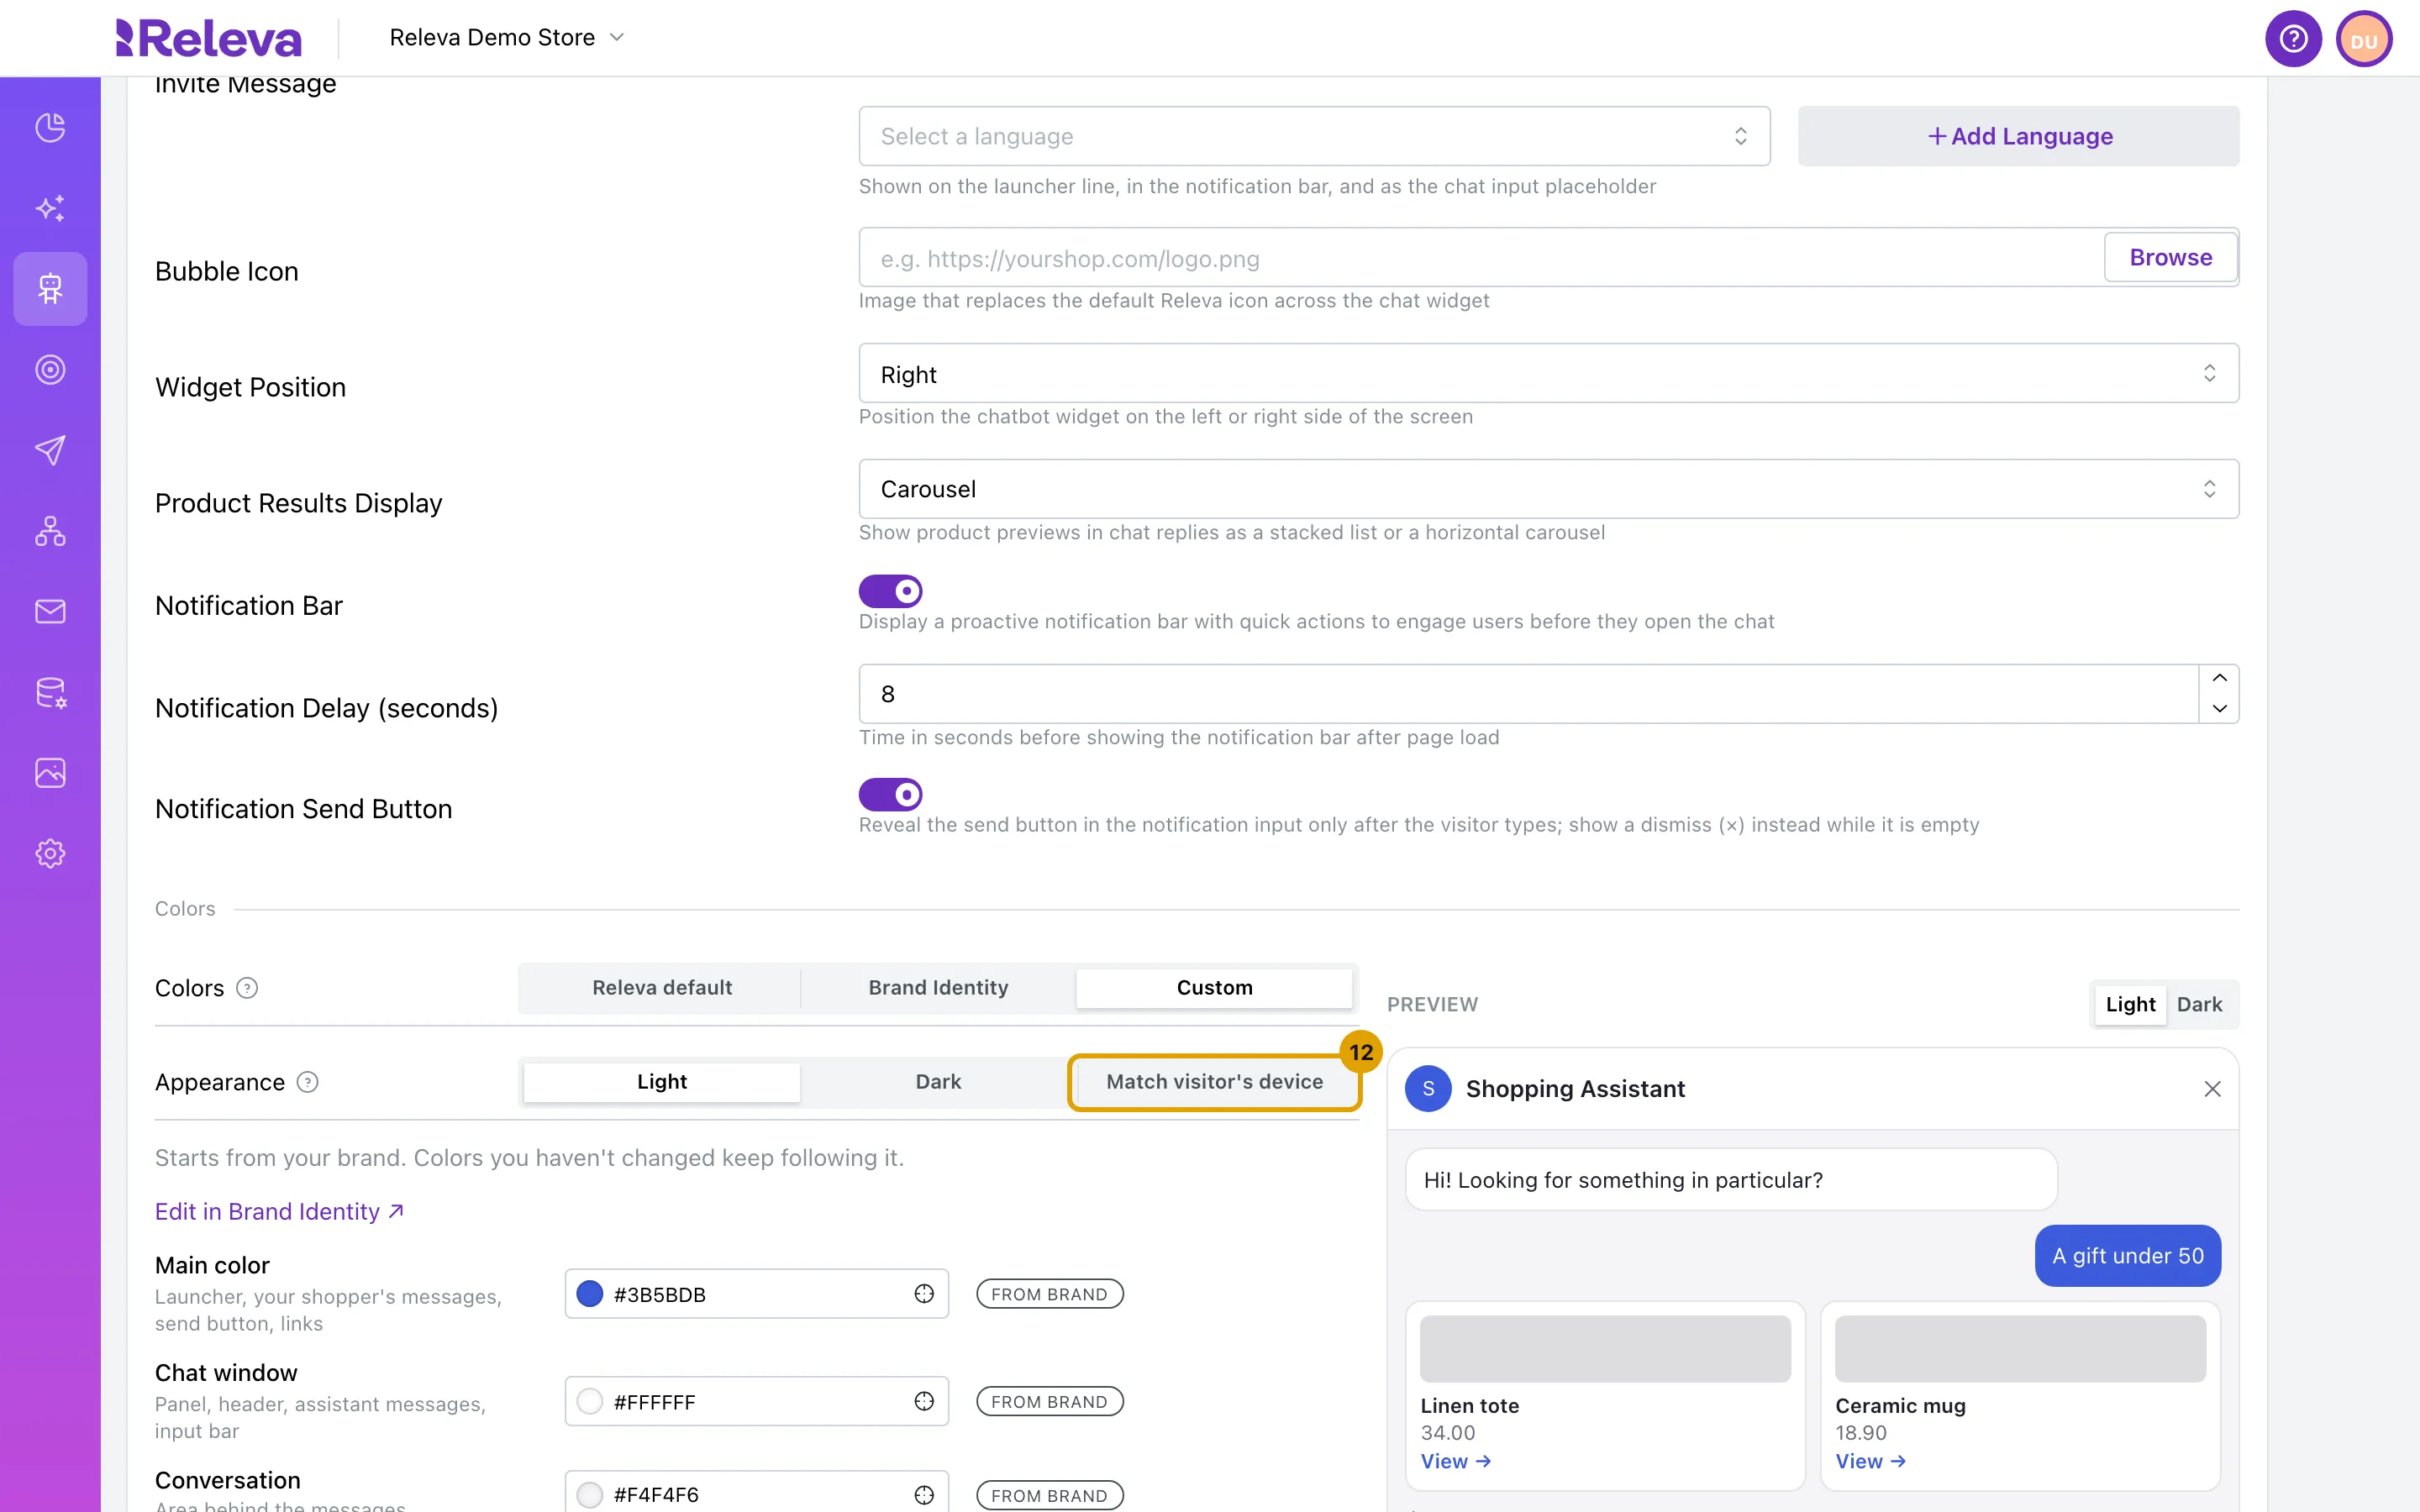
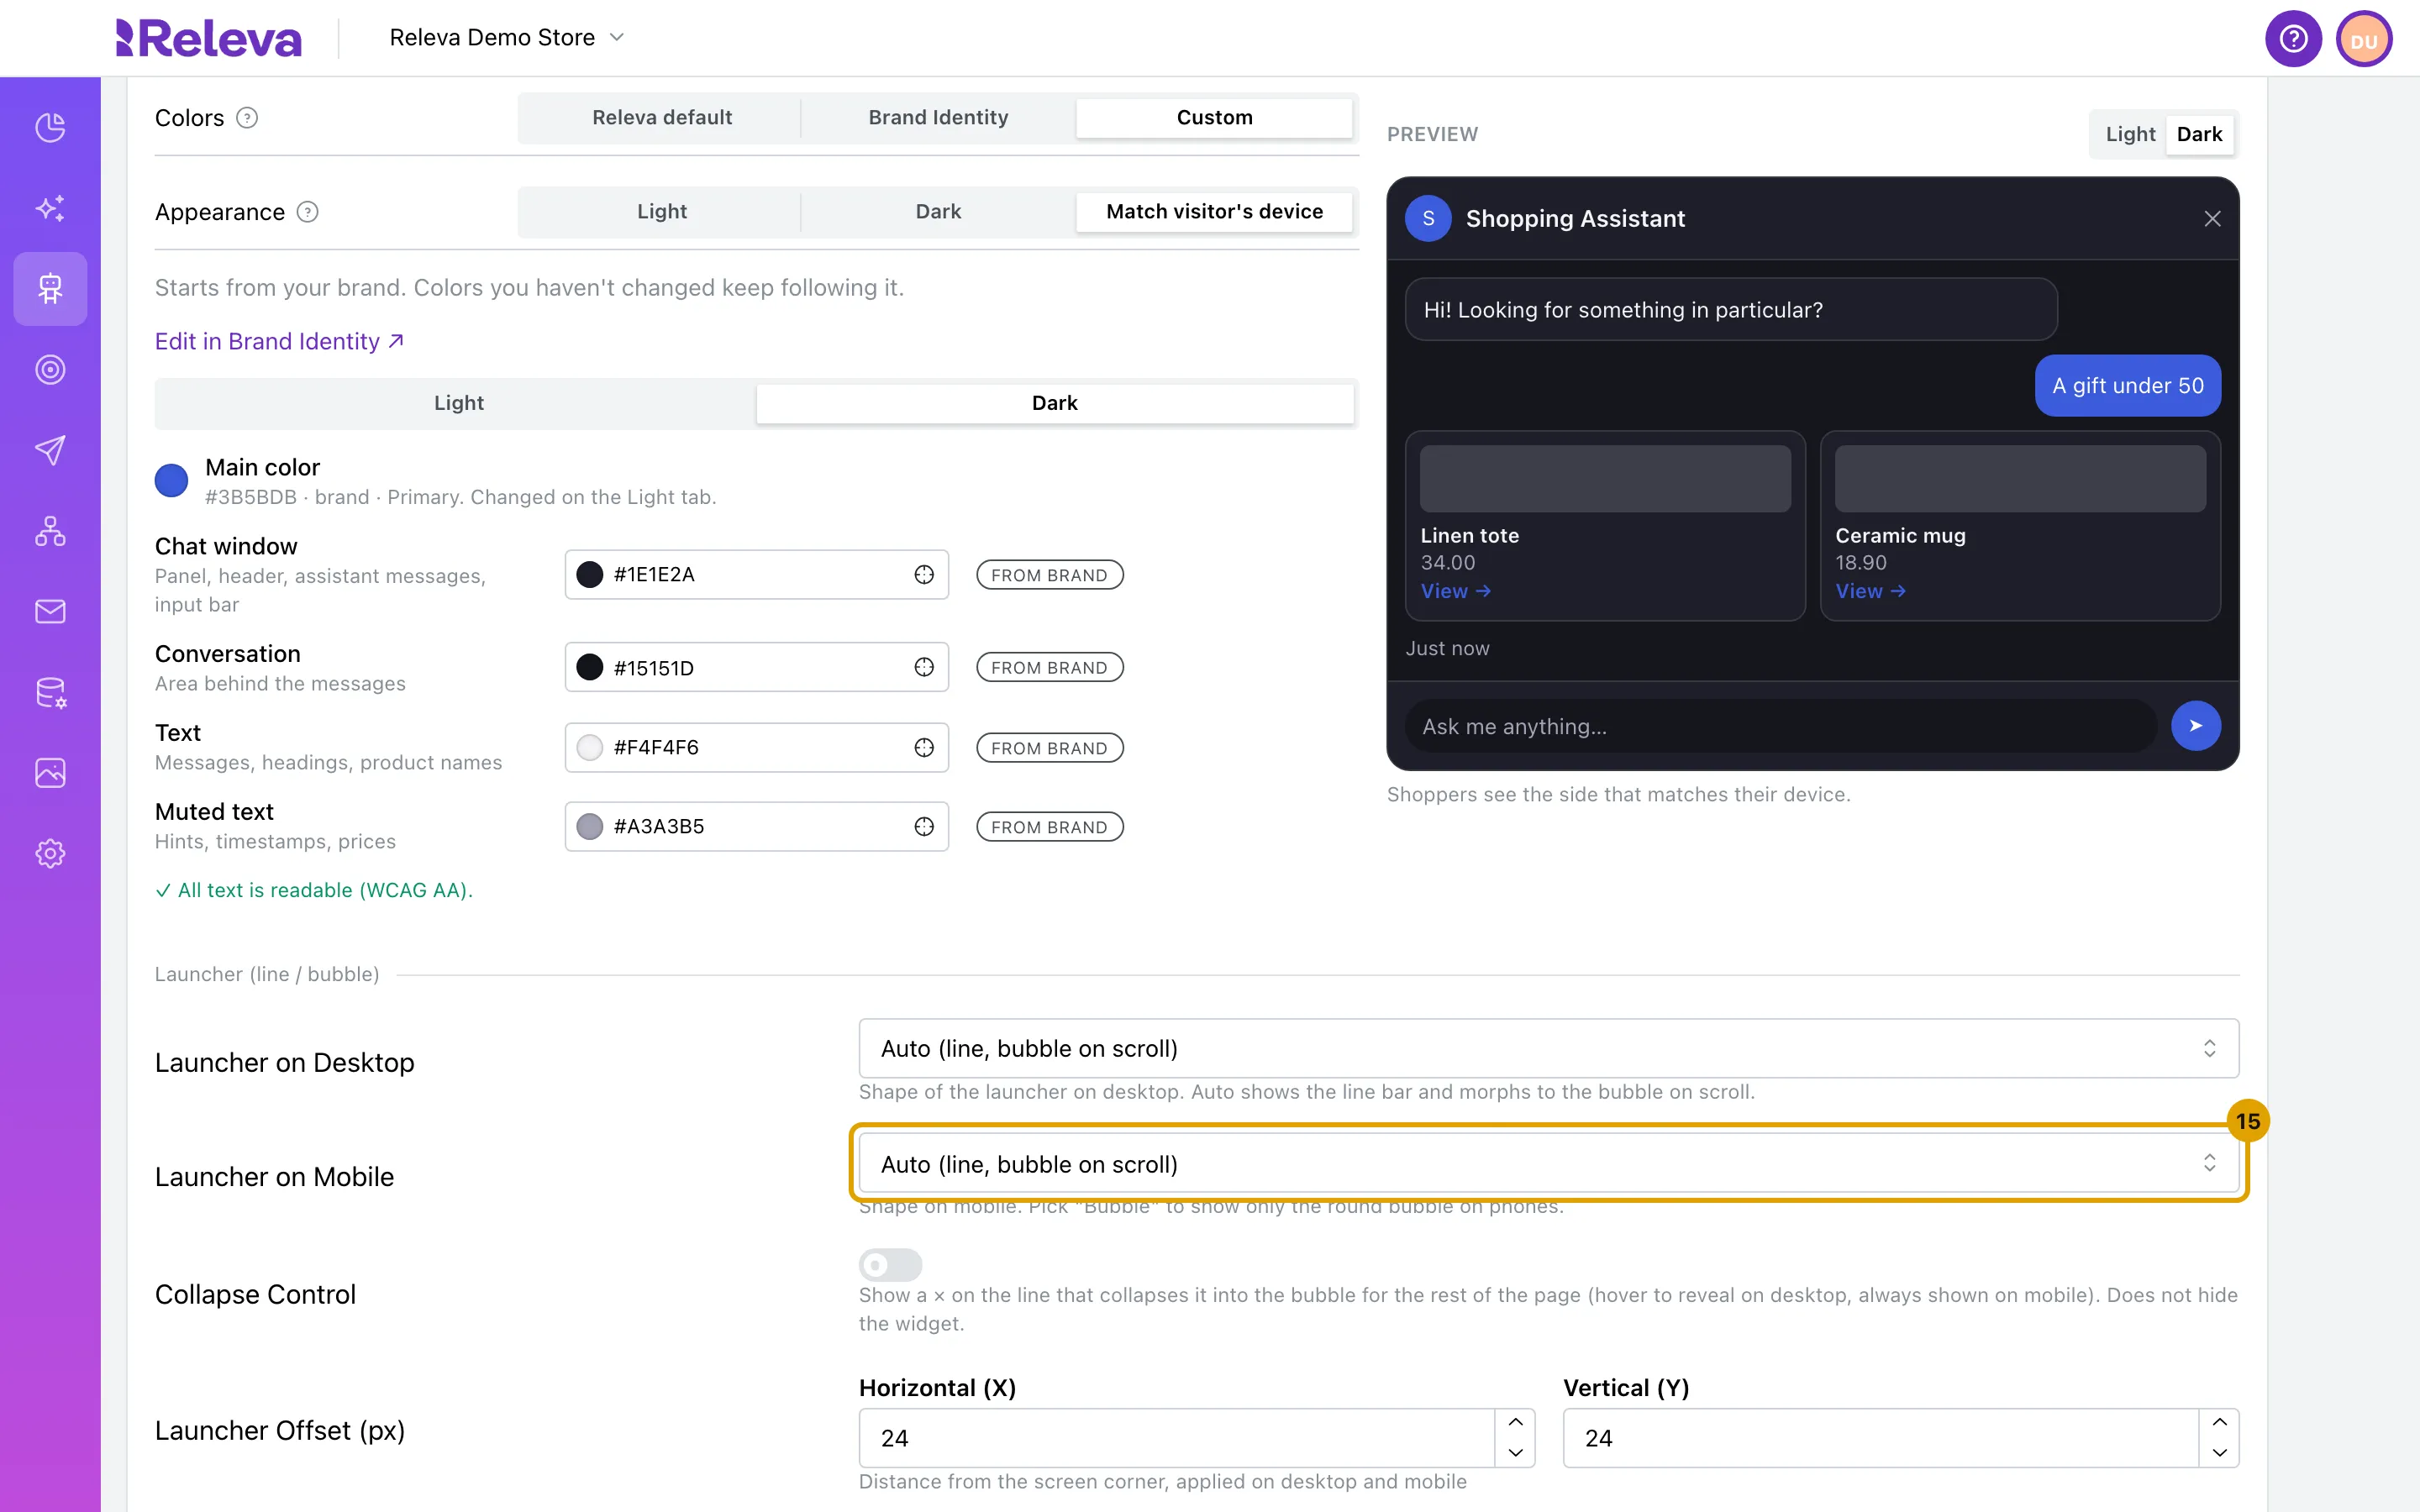
In Appearance, choose Light, Dark or Match visitor’s device.
Match visitor’s device shows the dark chat window to shoppers whose phone or computer is set to dark mode. With Dark or Match visitor’s device and Custom colors, a Light / Dark switch above the colors lets you set each side. The dark Main color follows the one you set on Light.
-
In the preview, select Dark to check the dark chat window before you save.
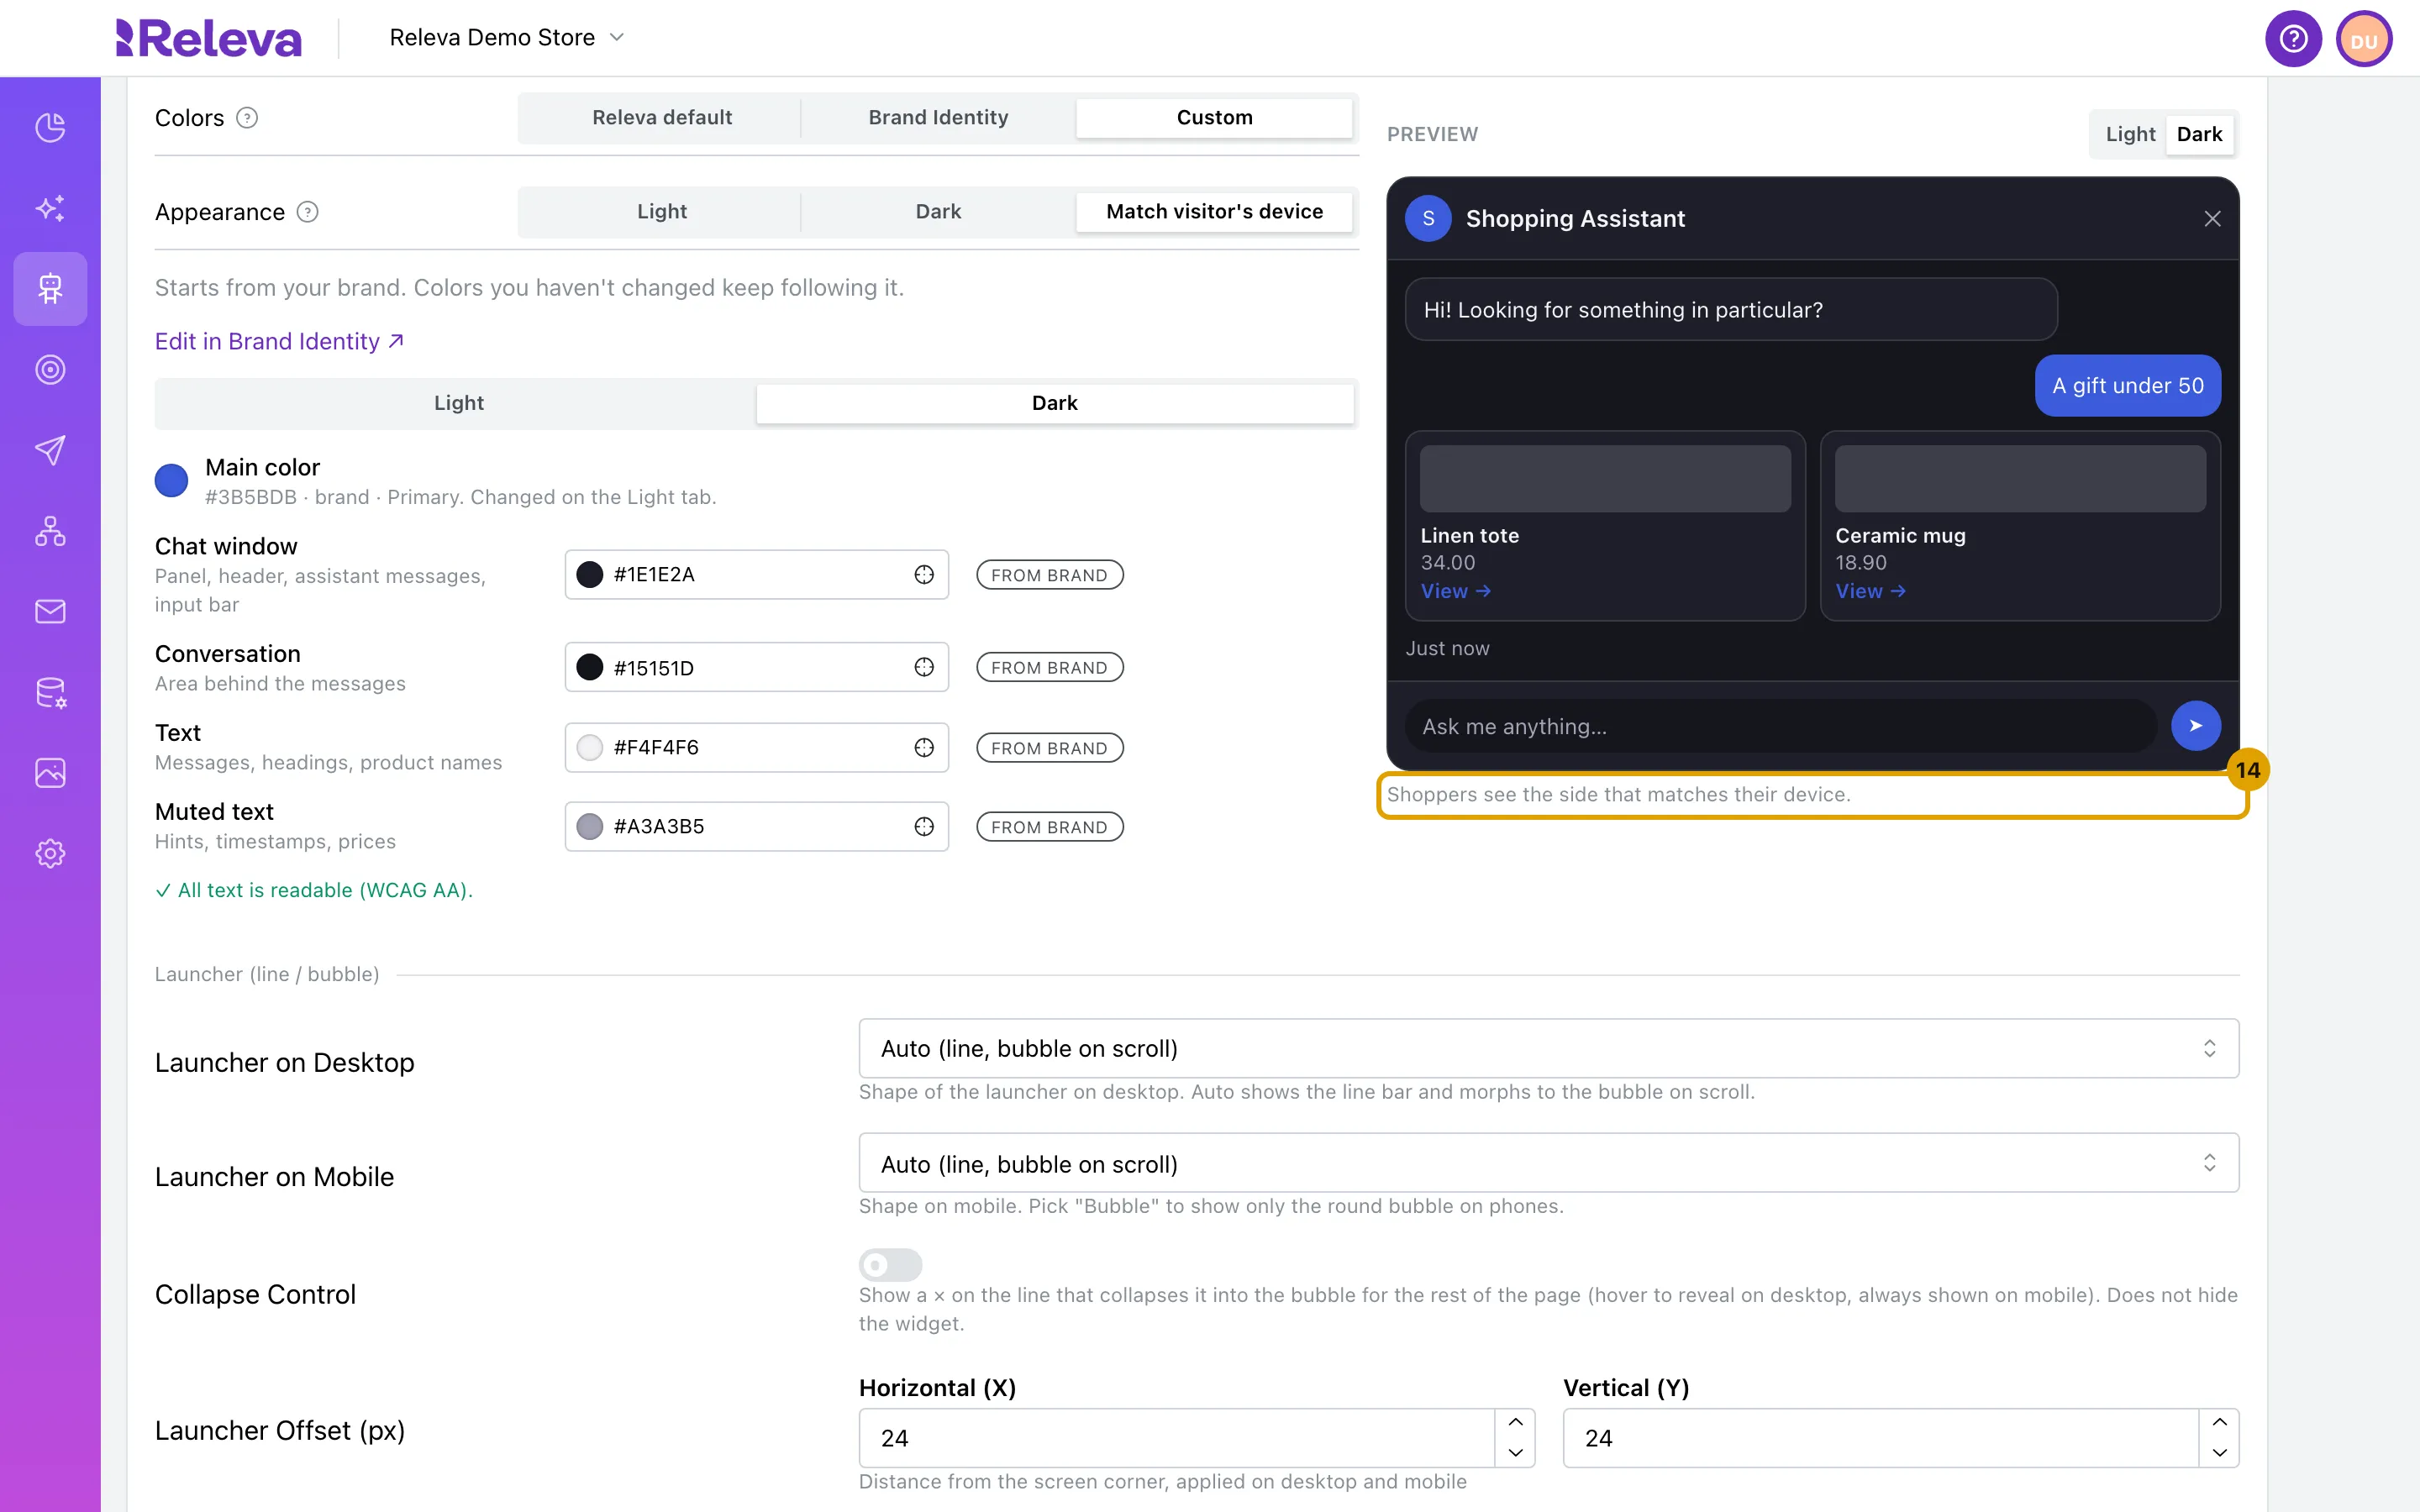
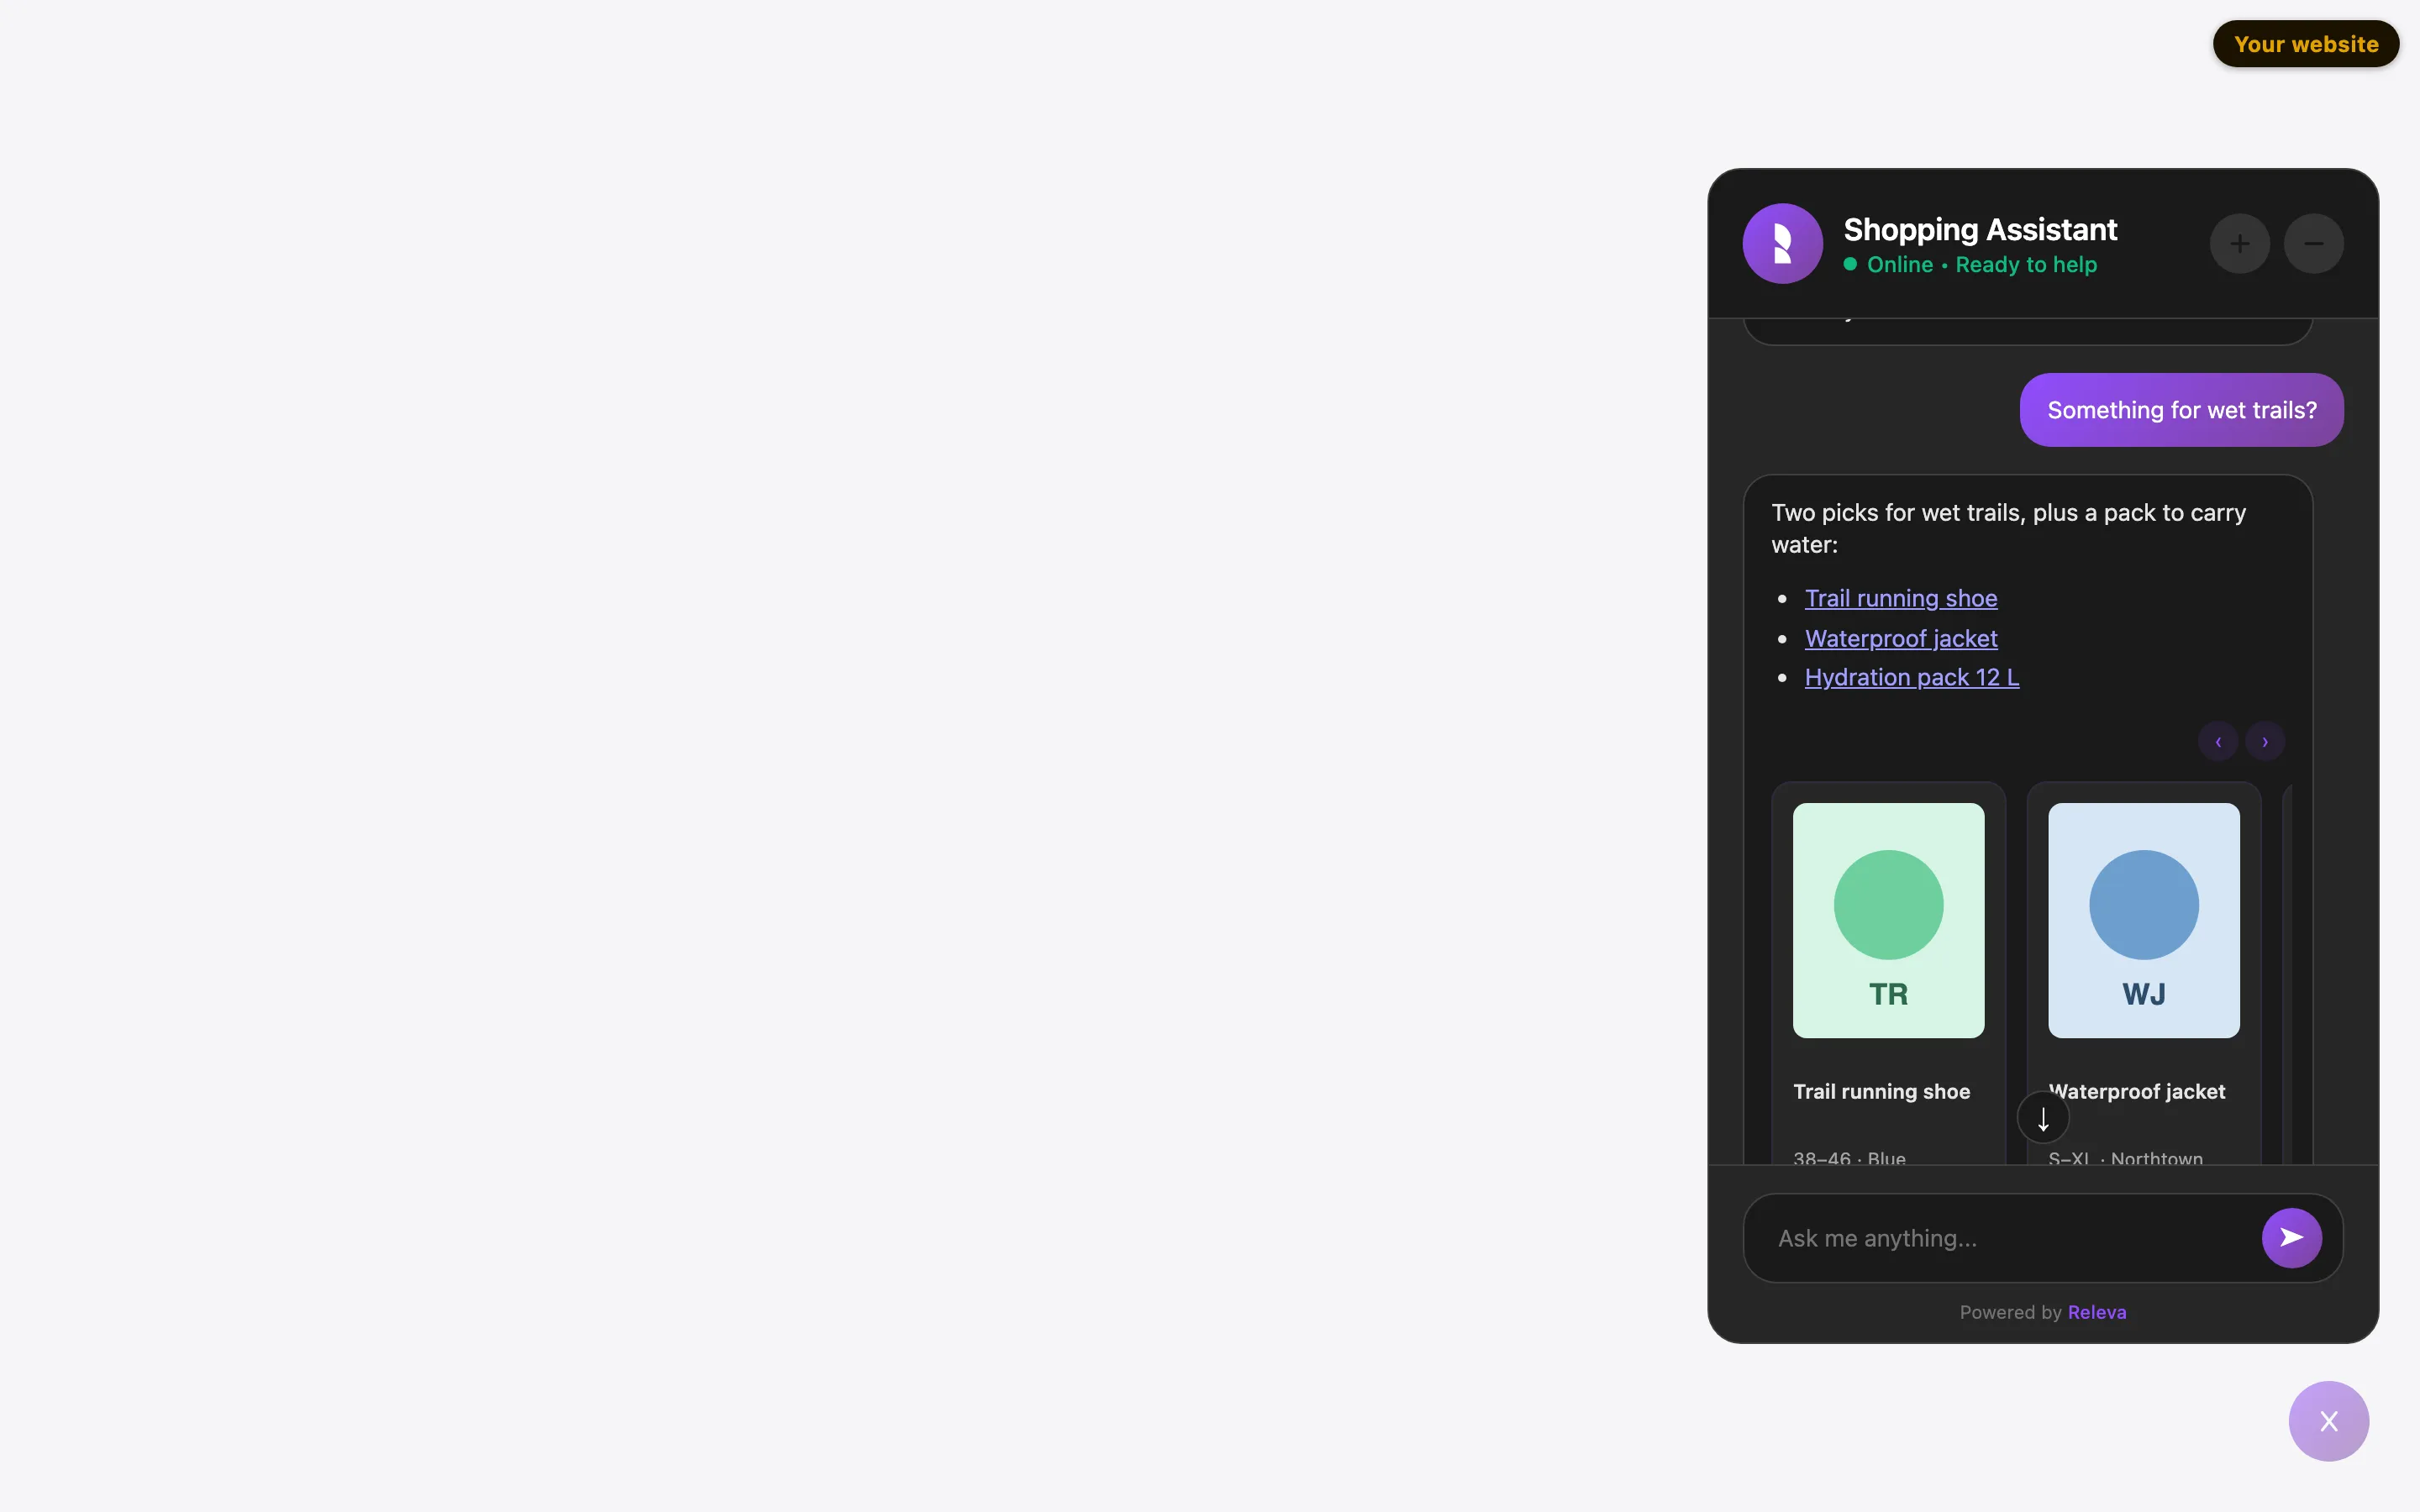
On your site, the dark chat window looks like this:
-
Under Launcher (line / bubble), choose the launcher shape in Launcher on Desktop and Launcher on Mobile:
- Auto (line, bubble on scroll): the line bar, which turns into the bubble while the shopper scrolls.
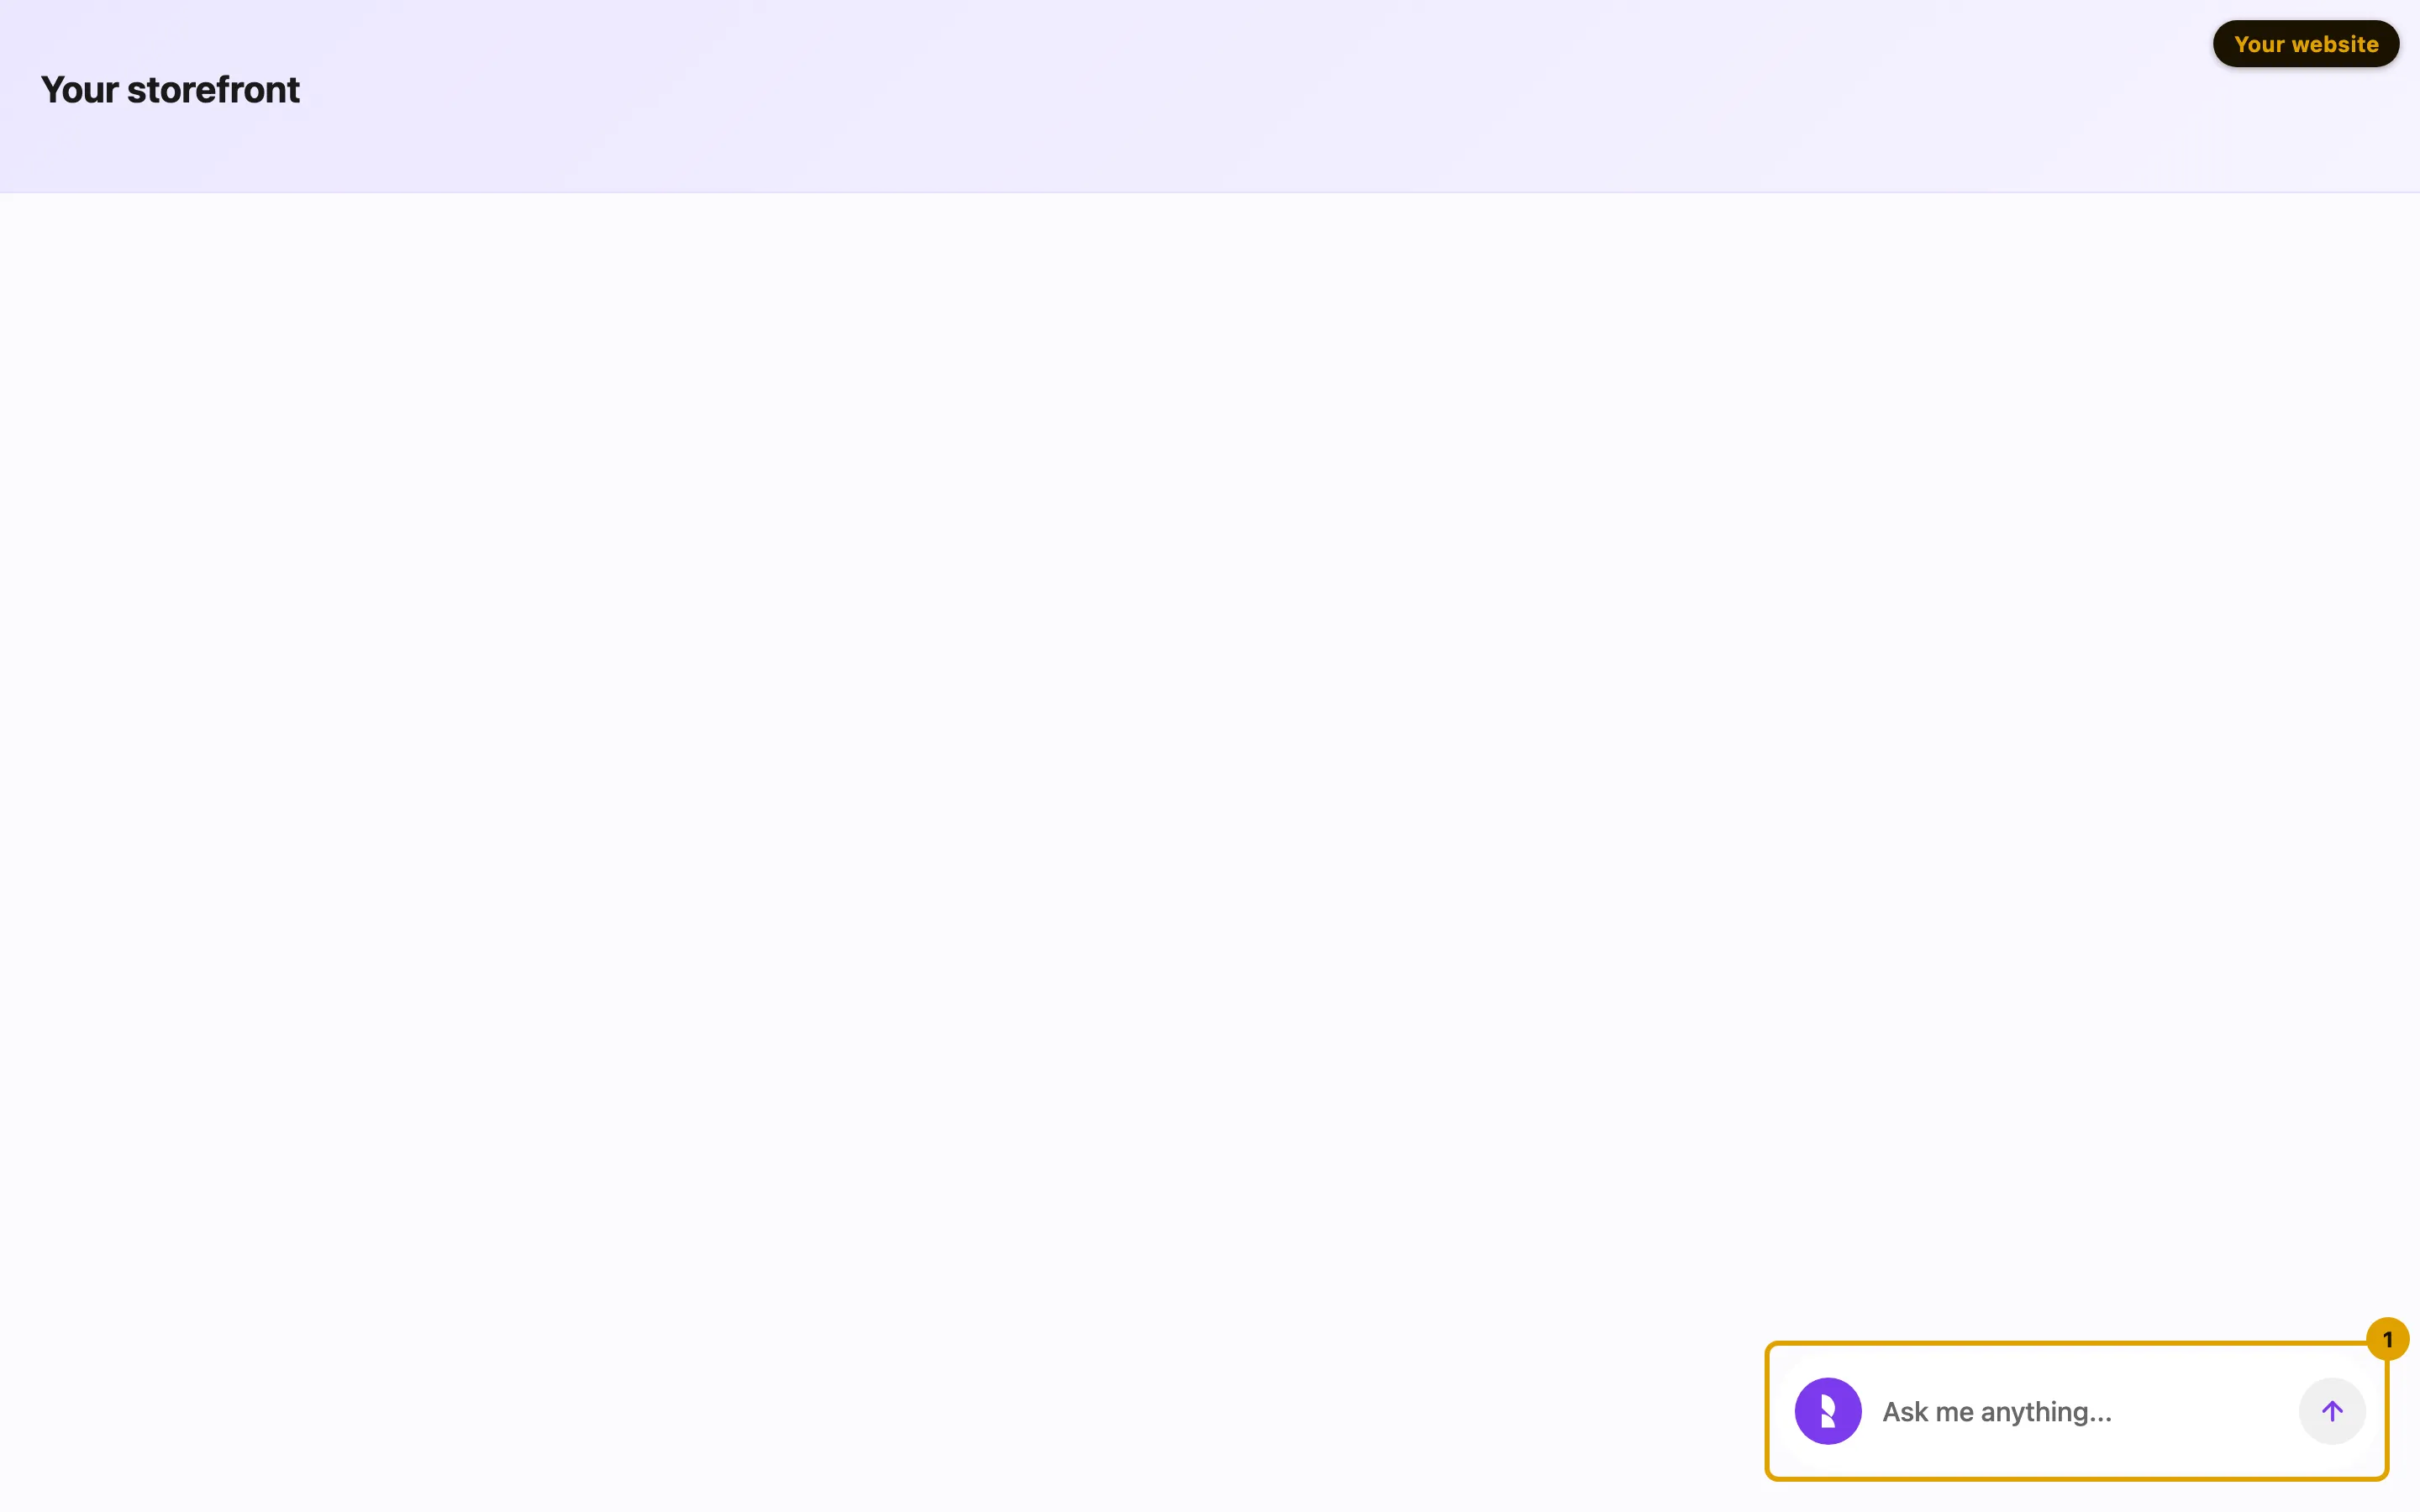
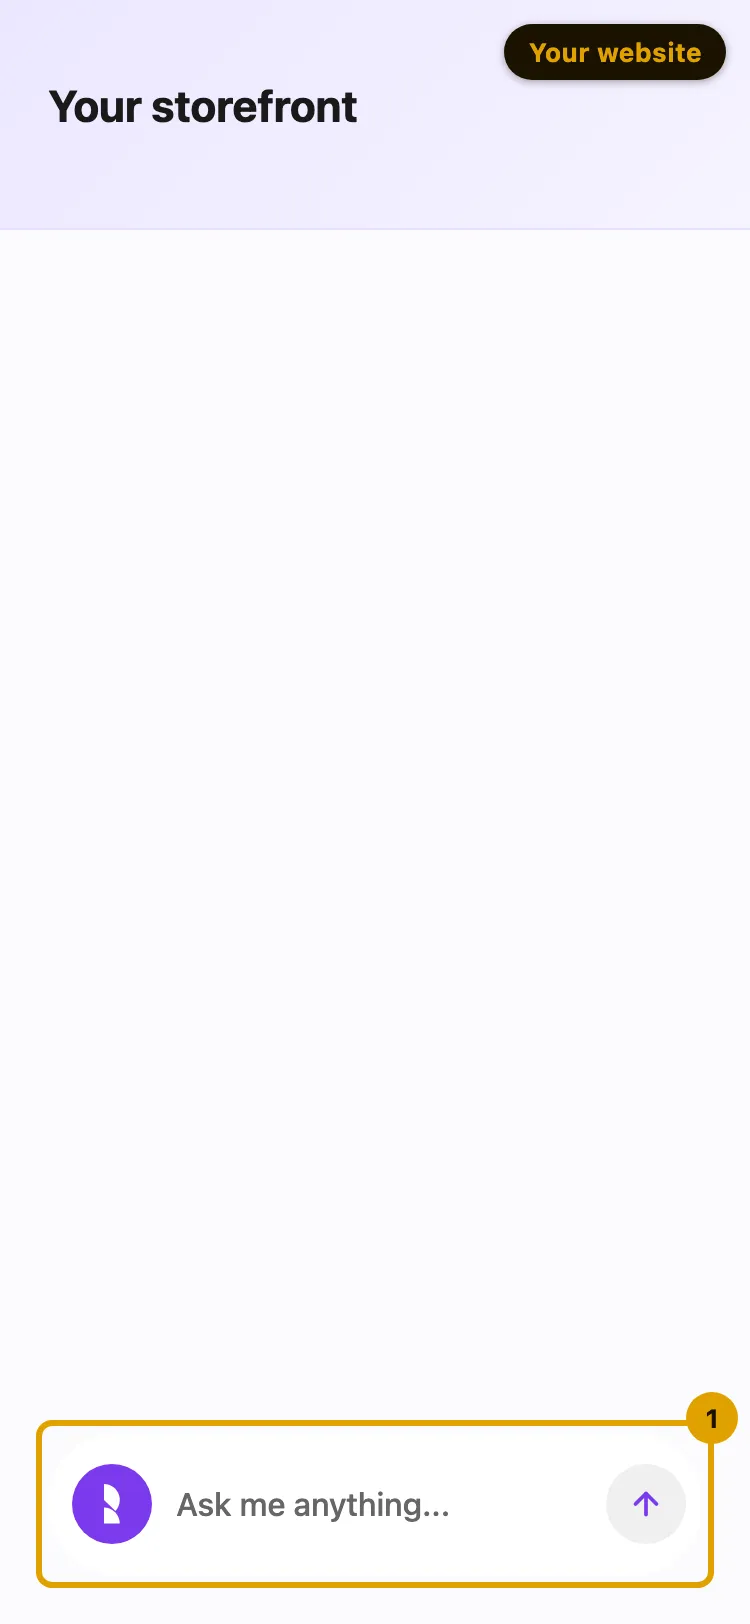
- Line bar: a bar with your invite message at the bottom of the page.
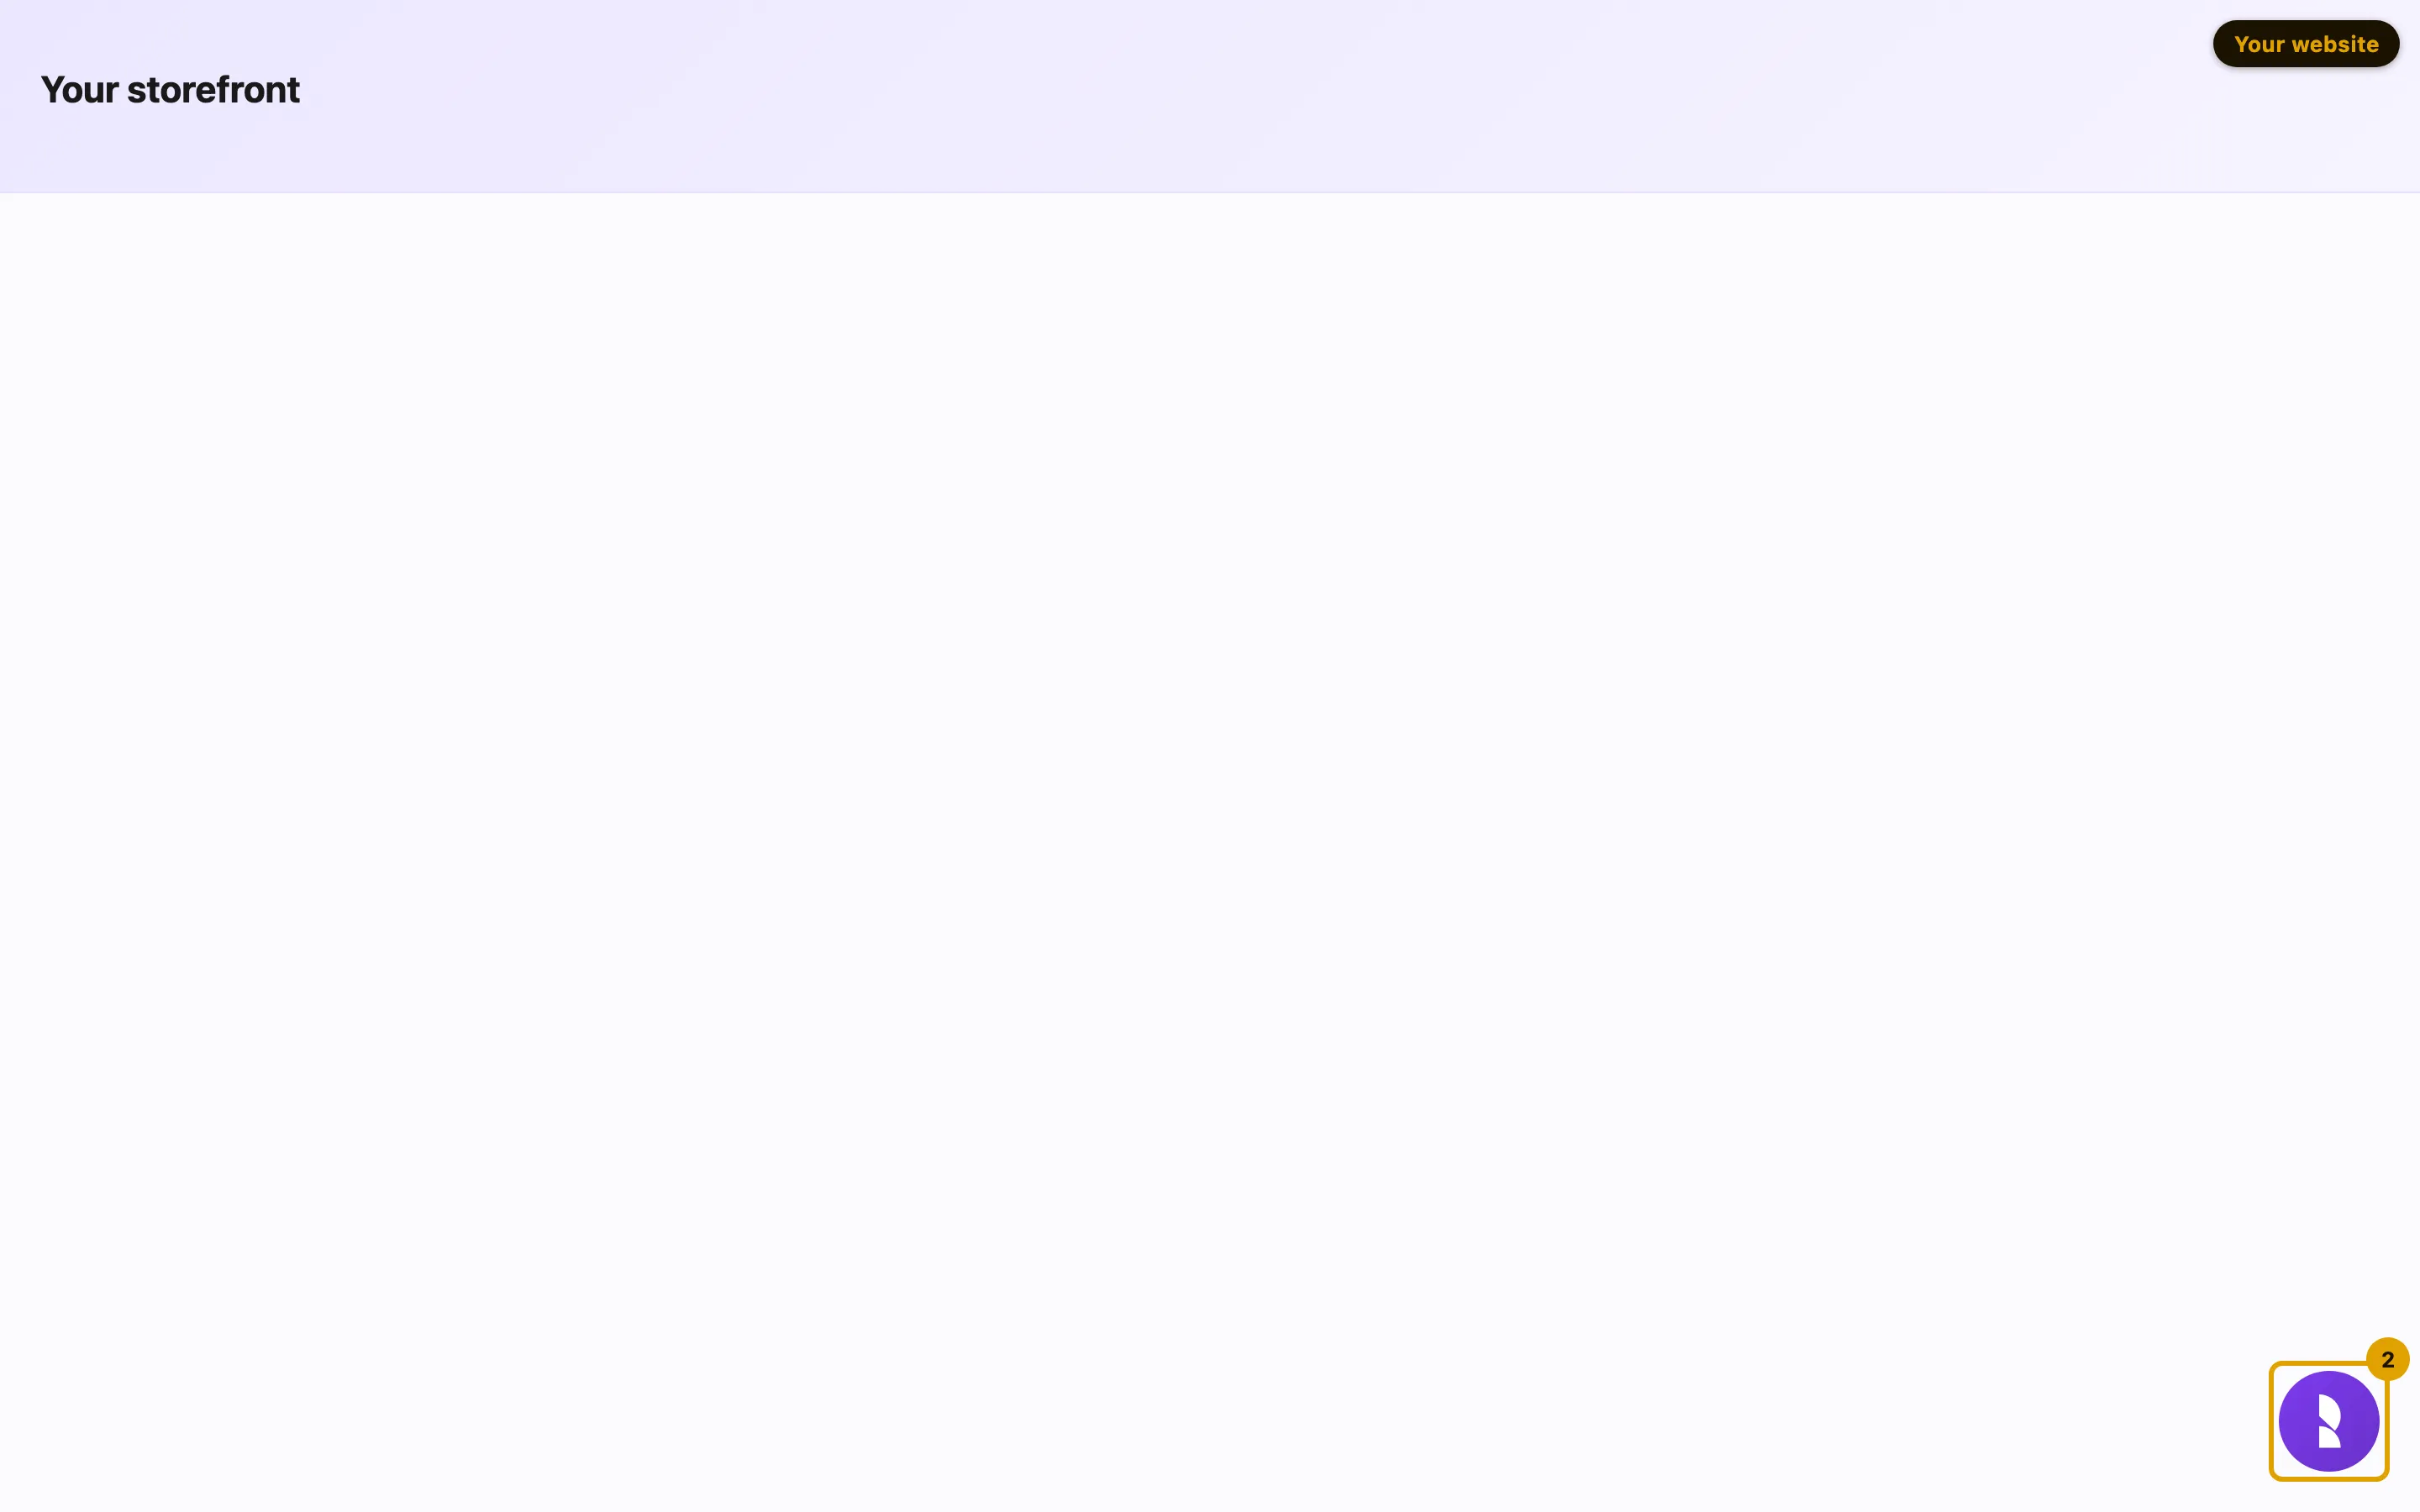
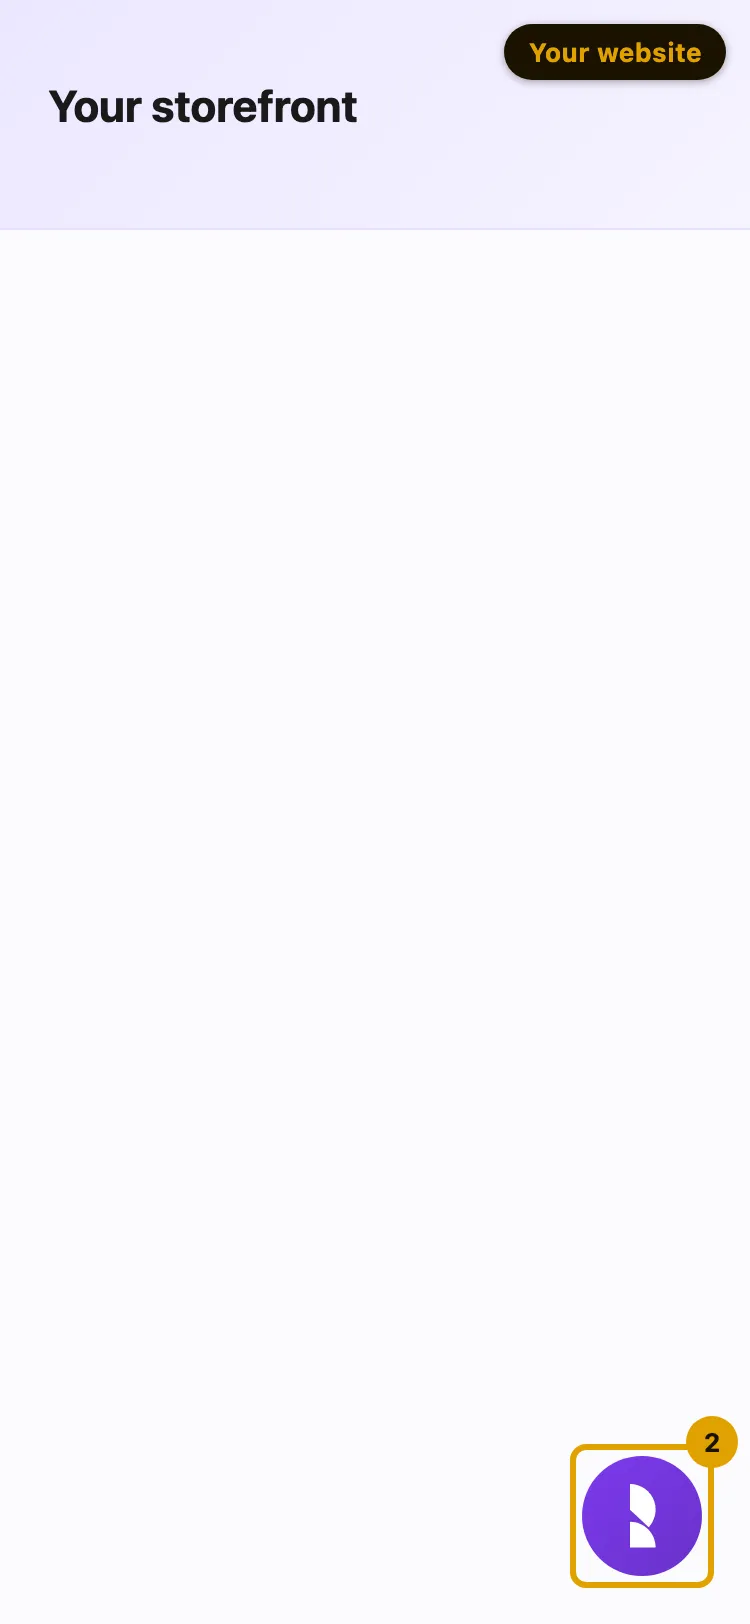
- Bubble: a round button in the corner.
The line bar and the bubble on a desktop page:
The line bar and the bubble on a phone:
-
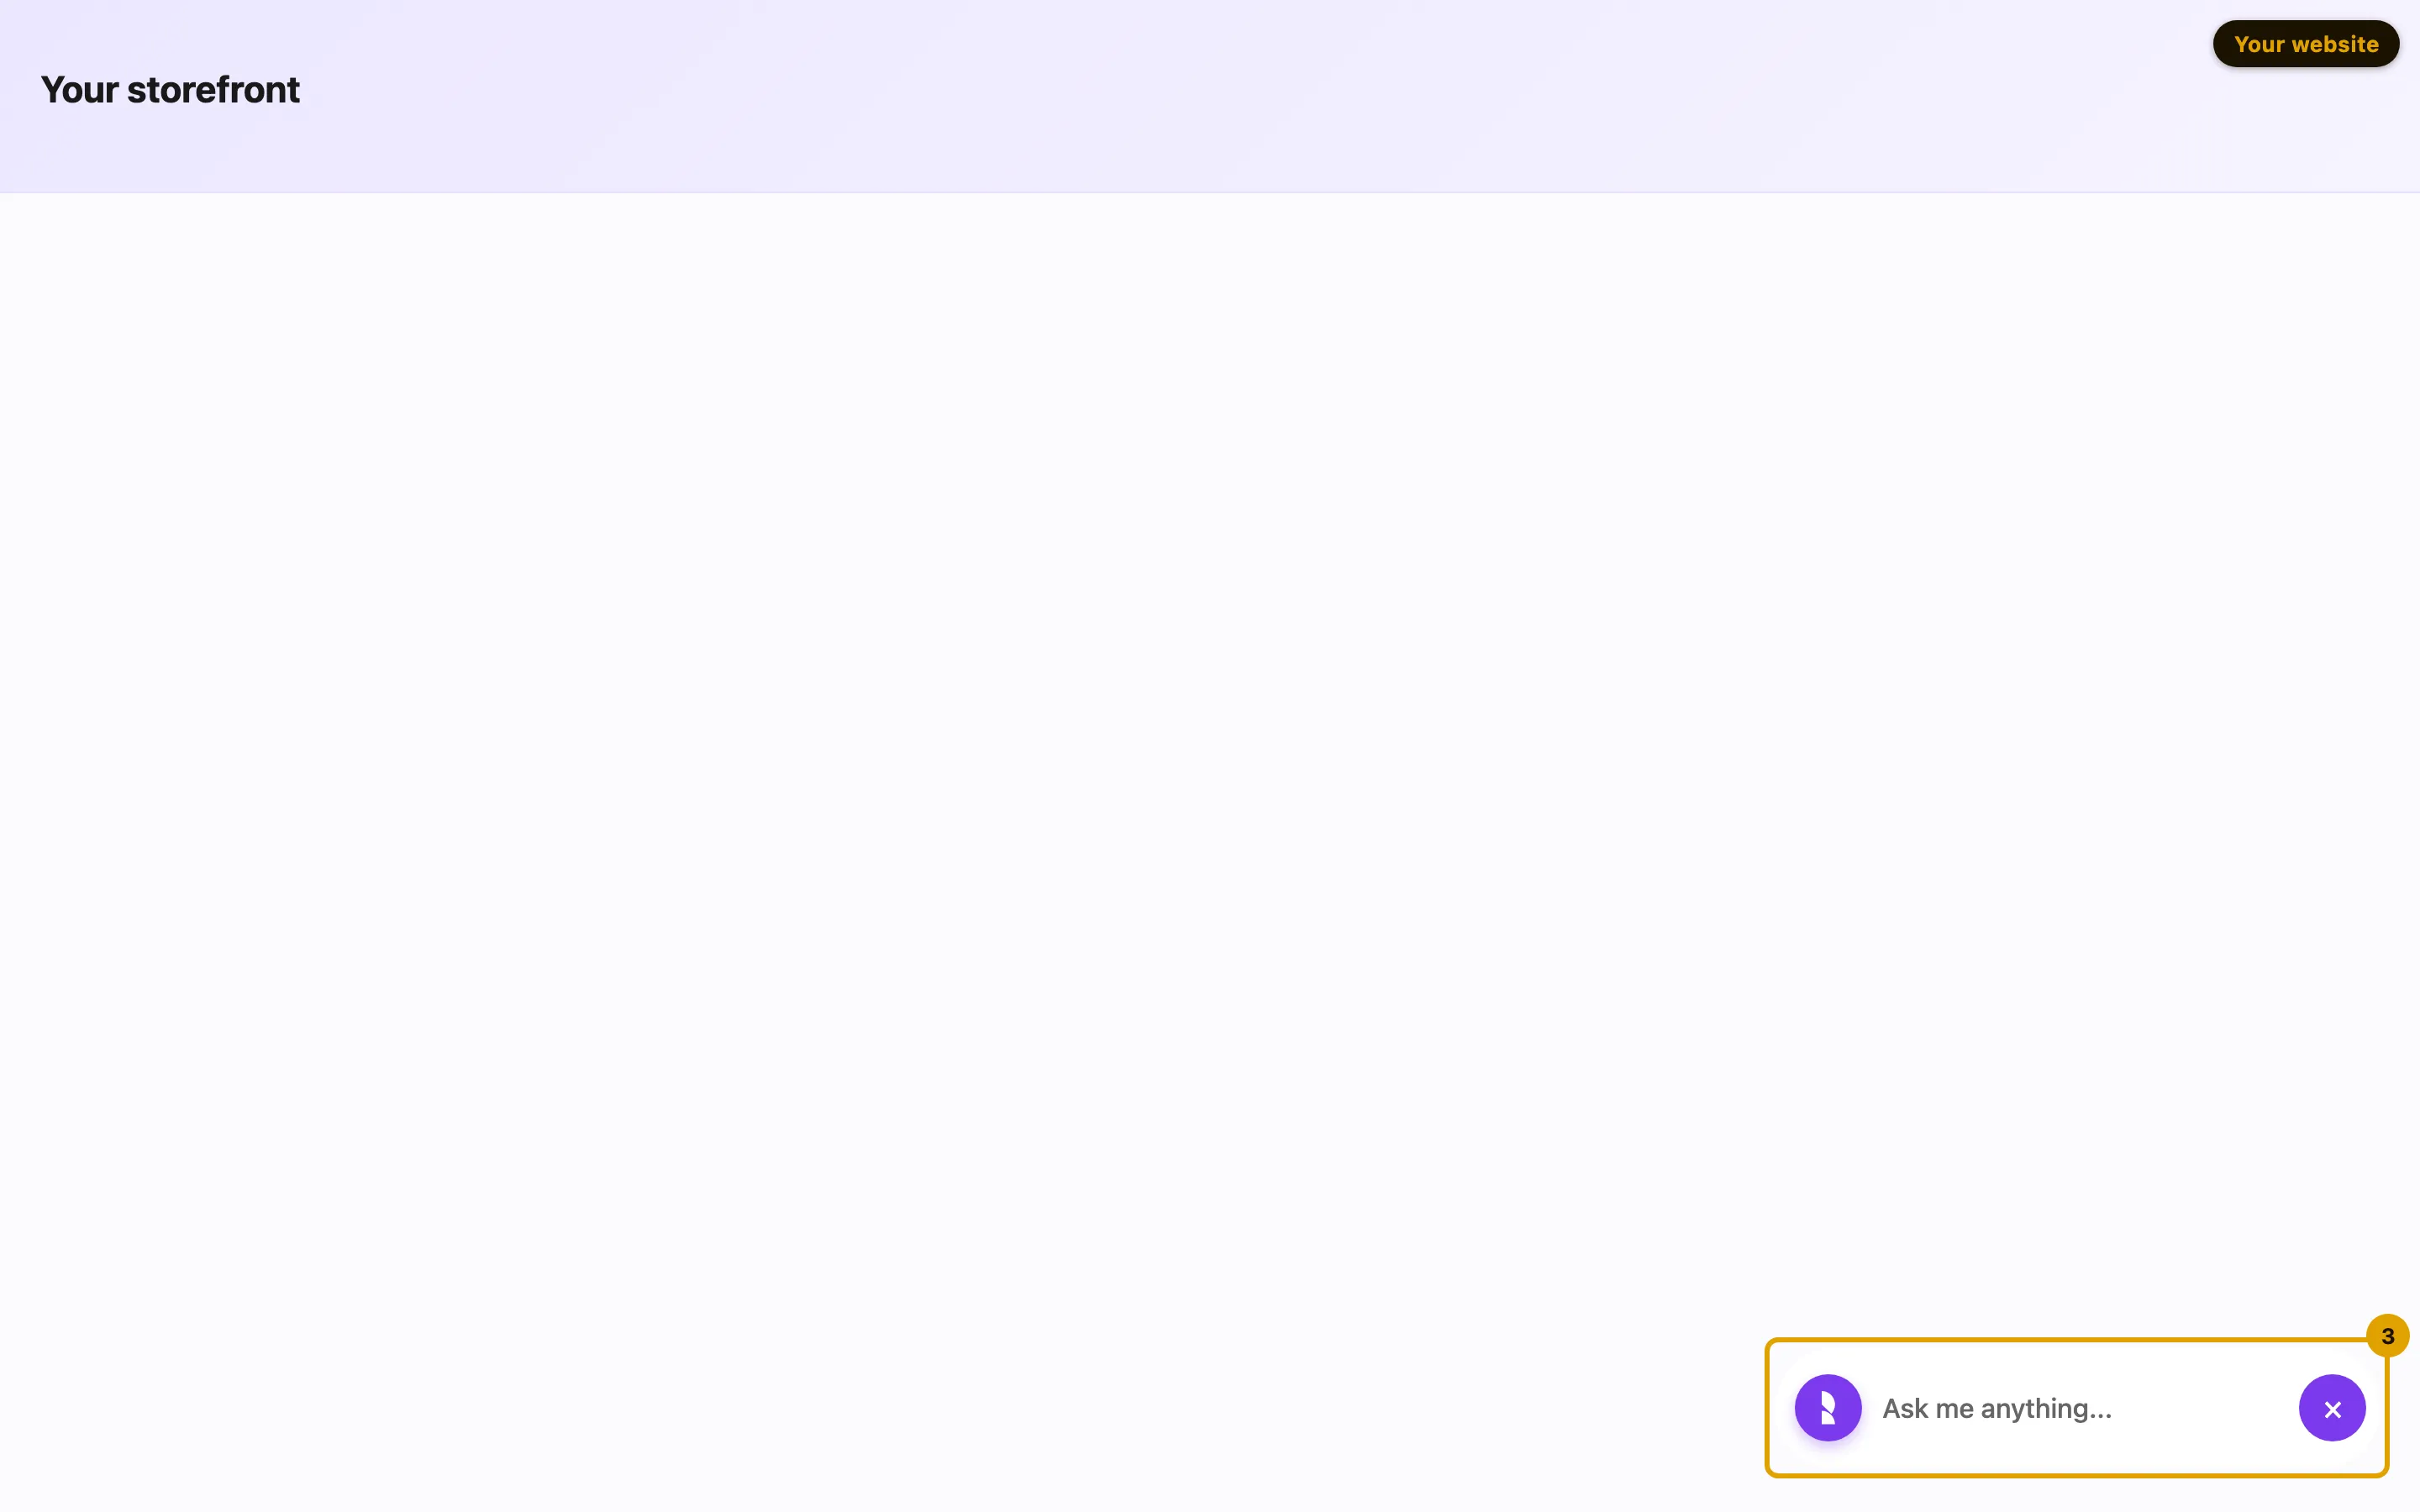
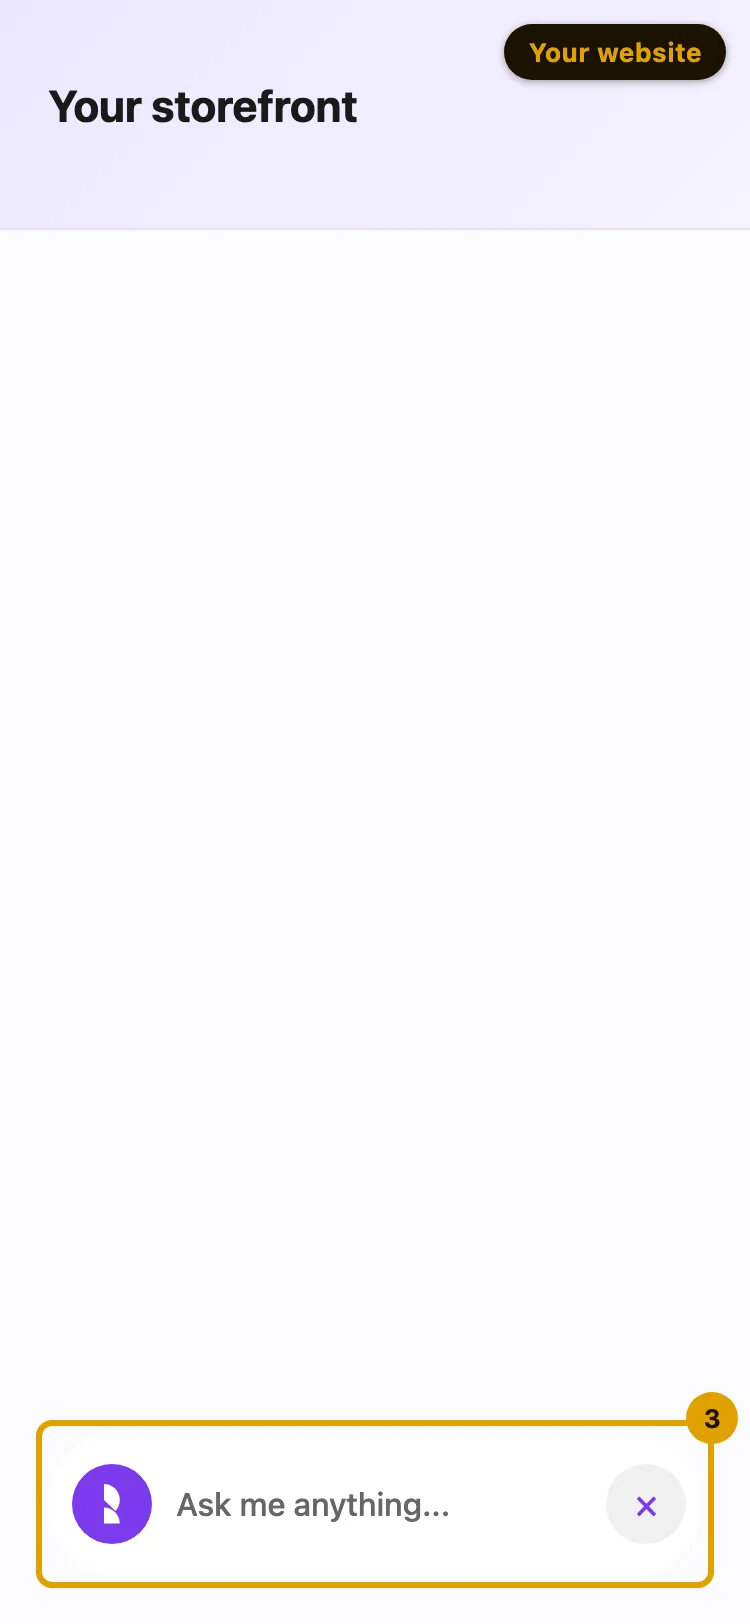
Optional: turn on Collapse Control to put a × on the line bar. It folds the line into the bubble for the rest of the page; it does not hide the chat.
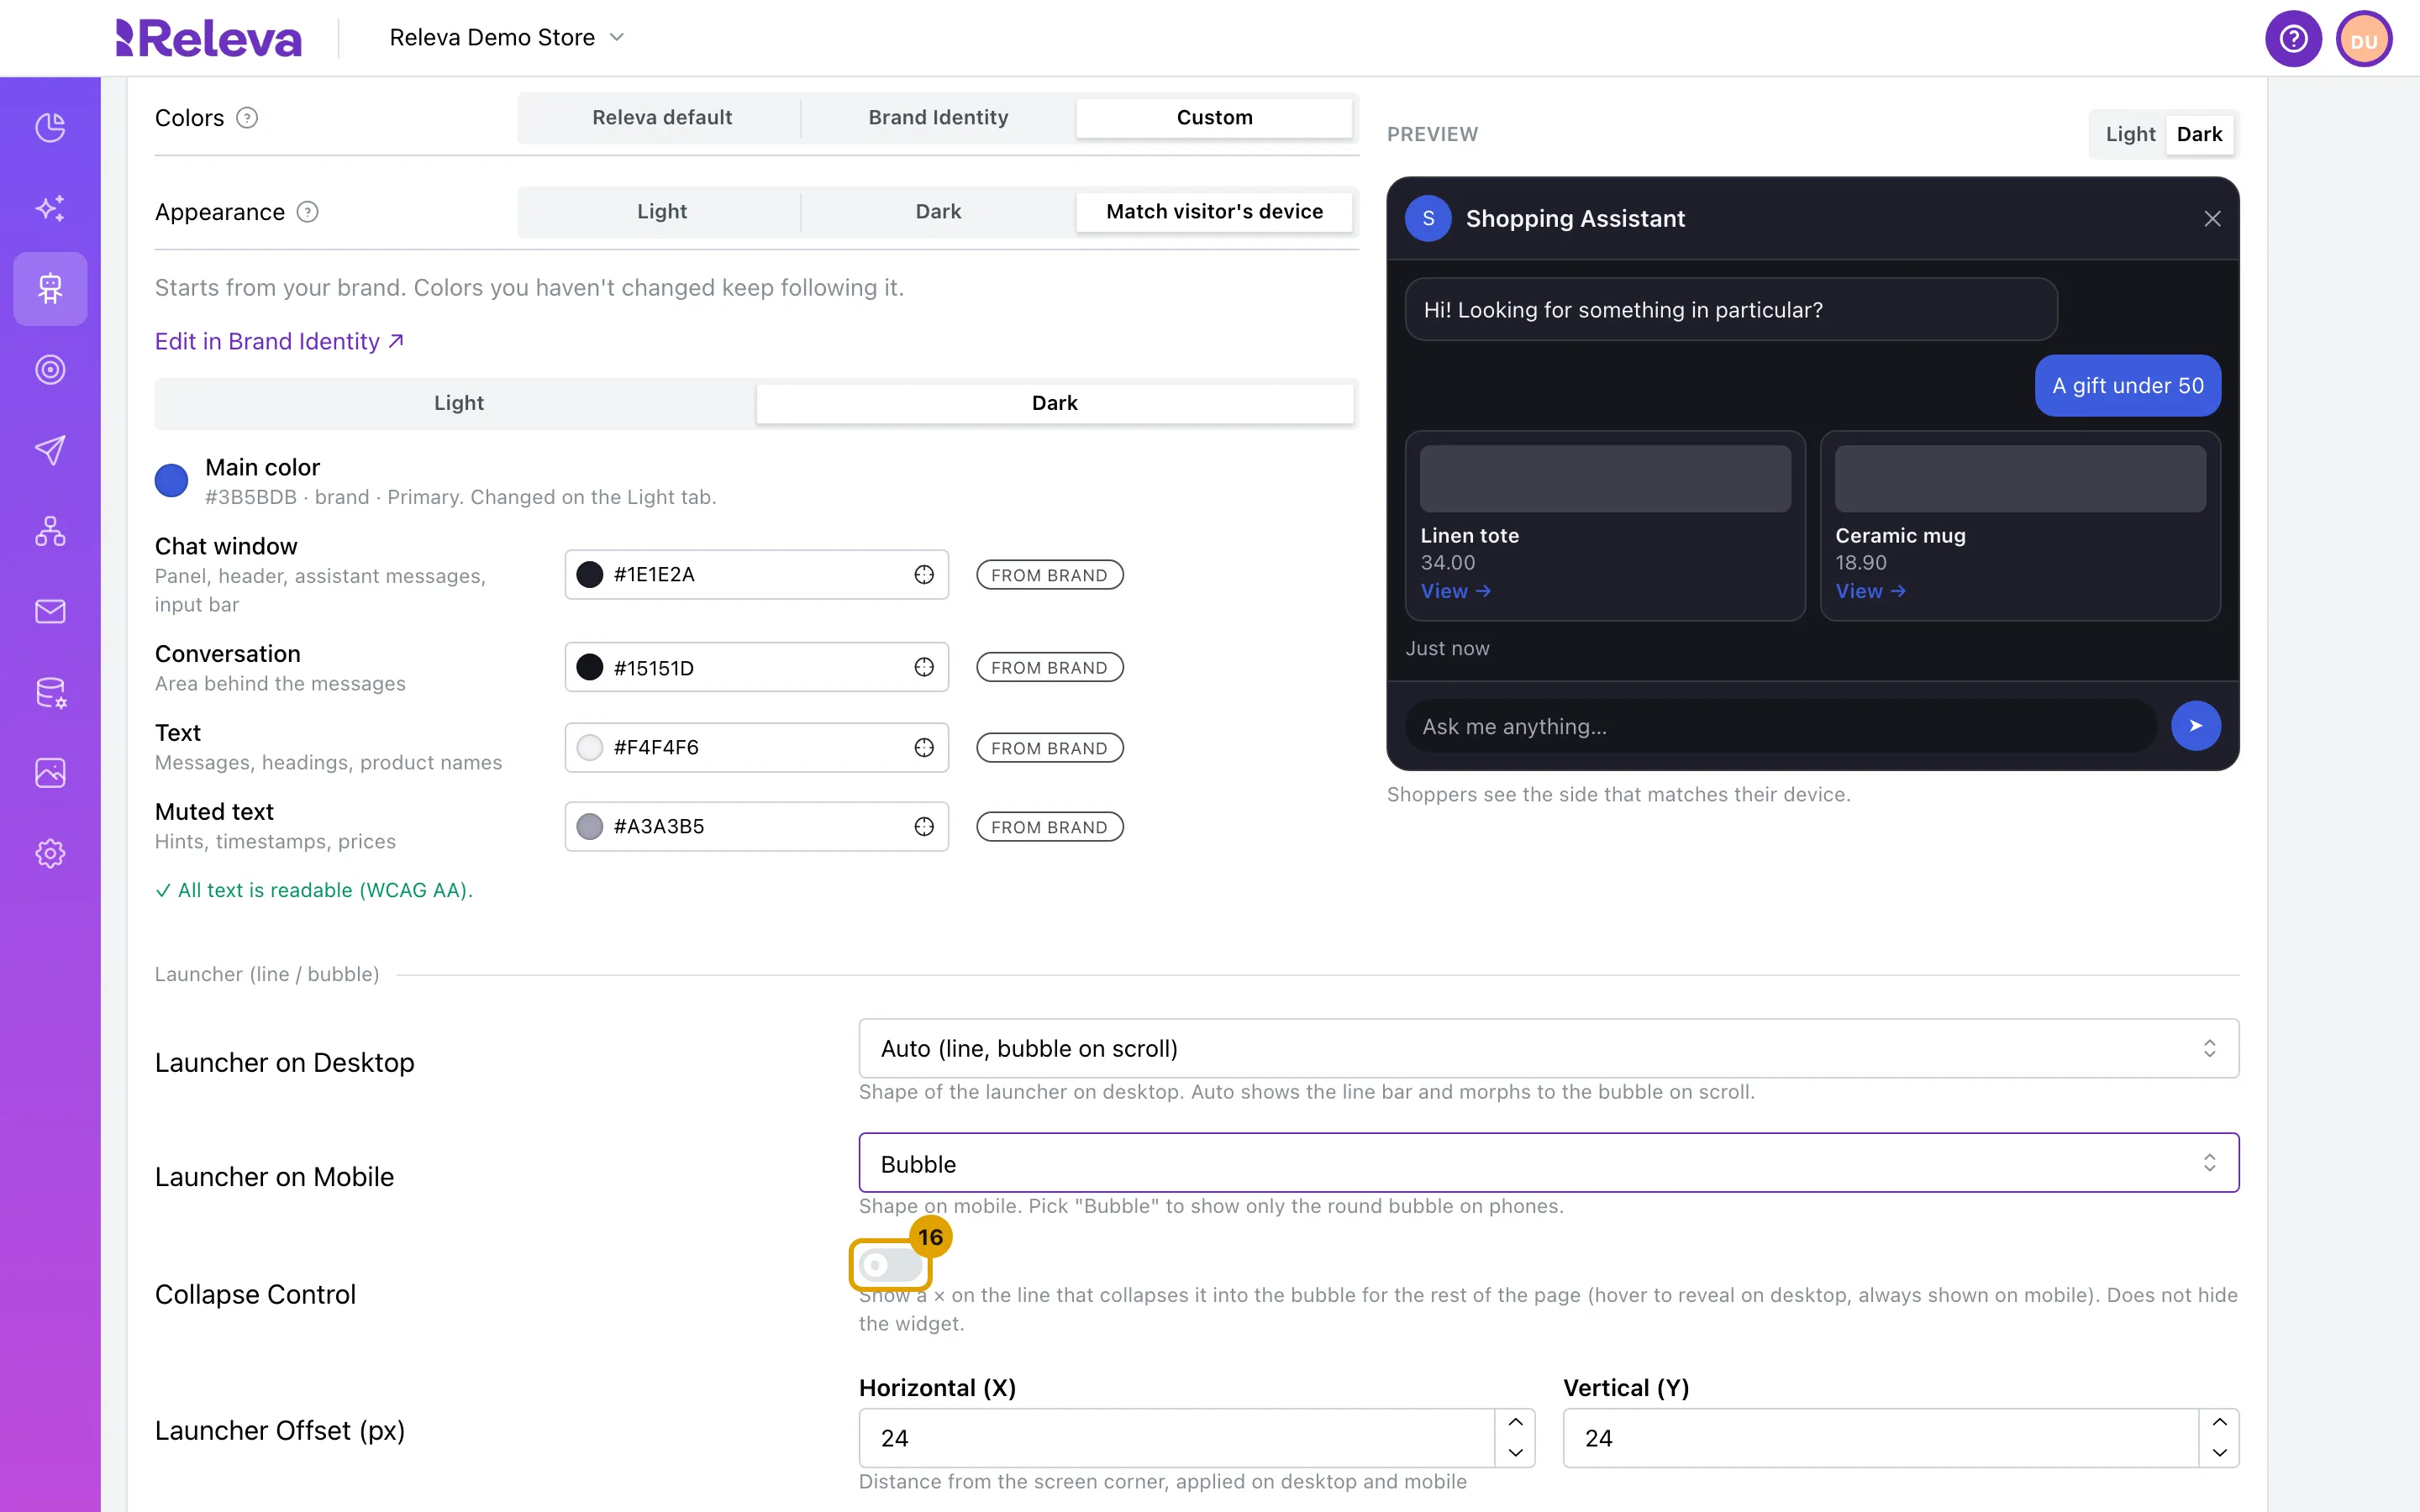
On desktop the × shows when the shopper points at the line bar; on phones it always shows:
-
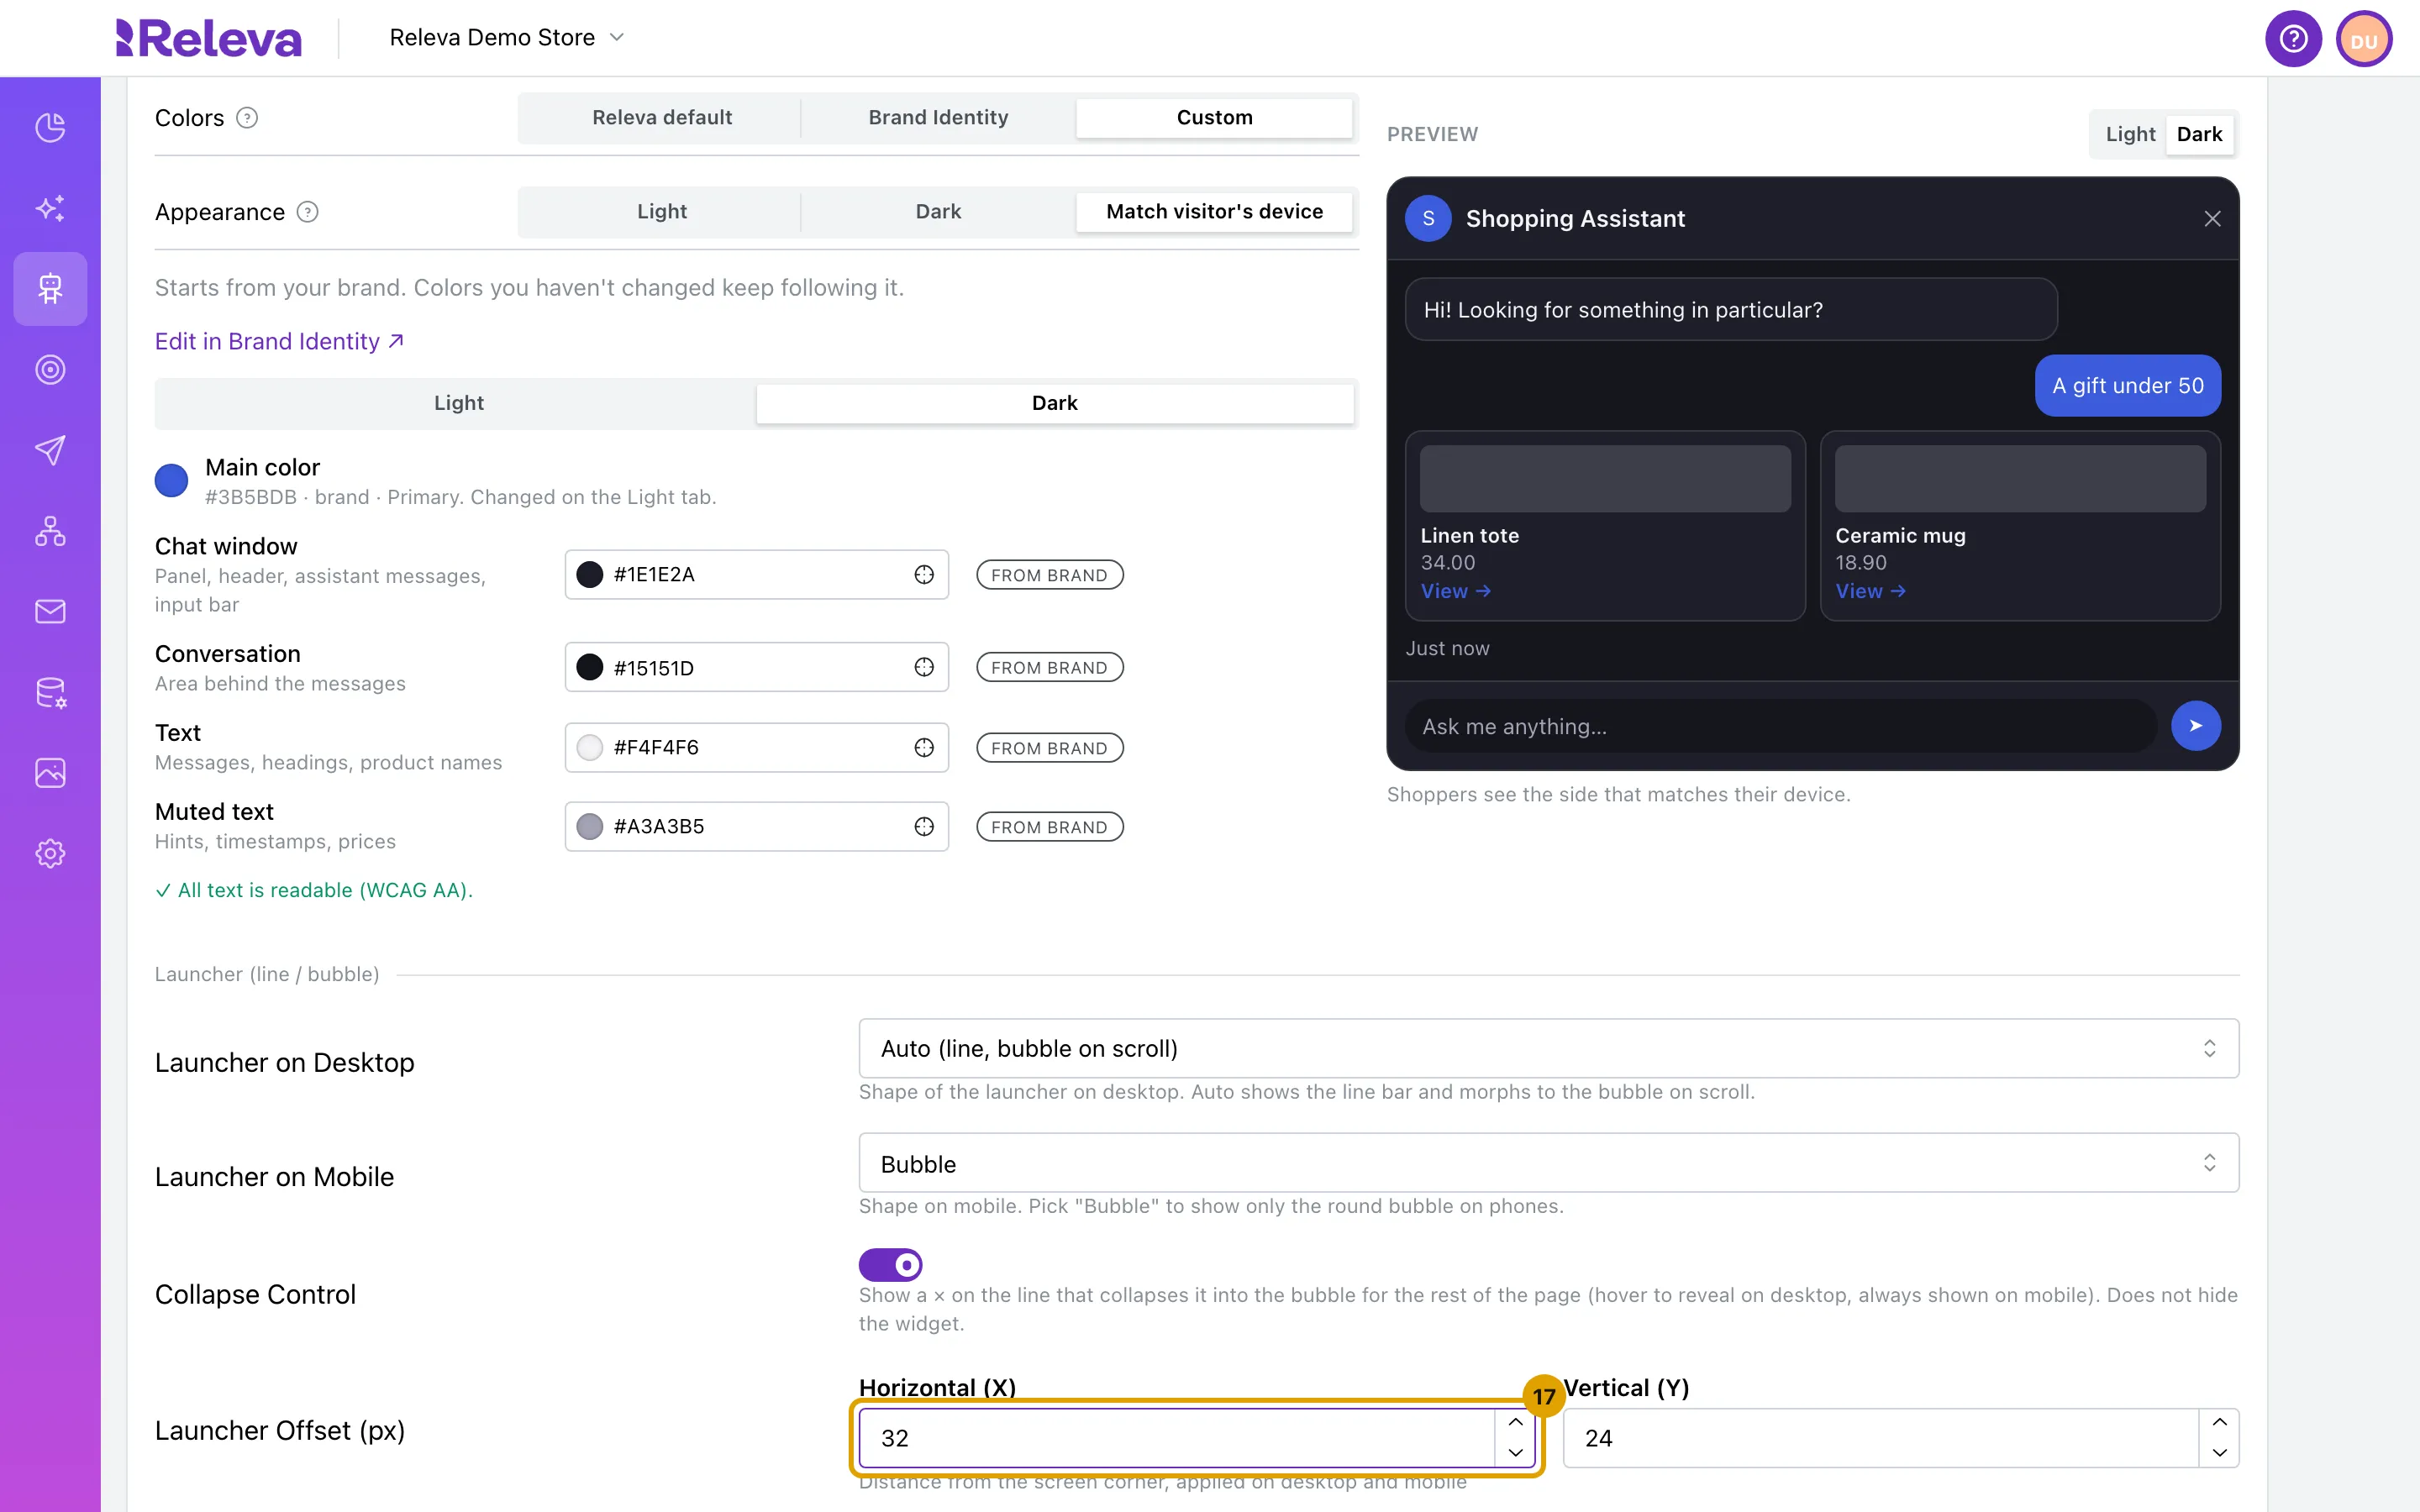
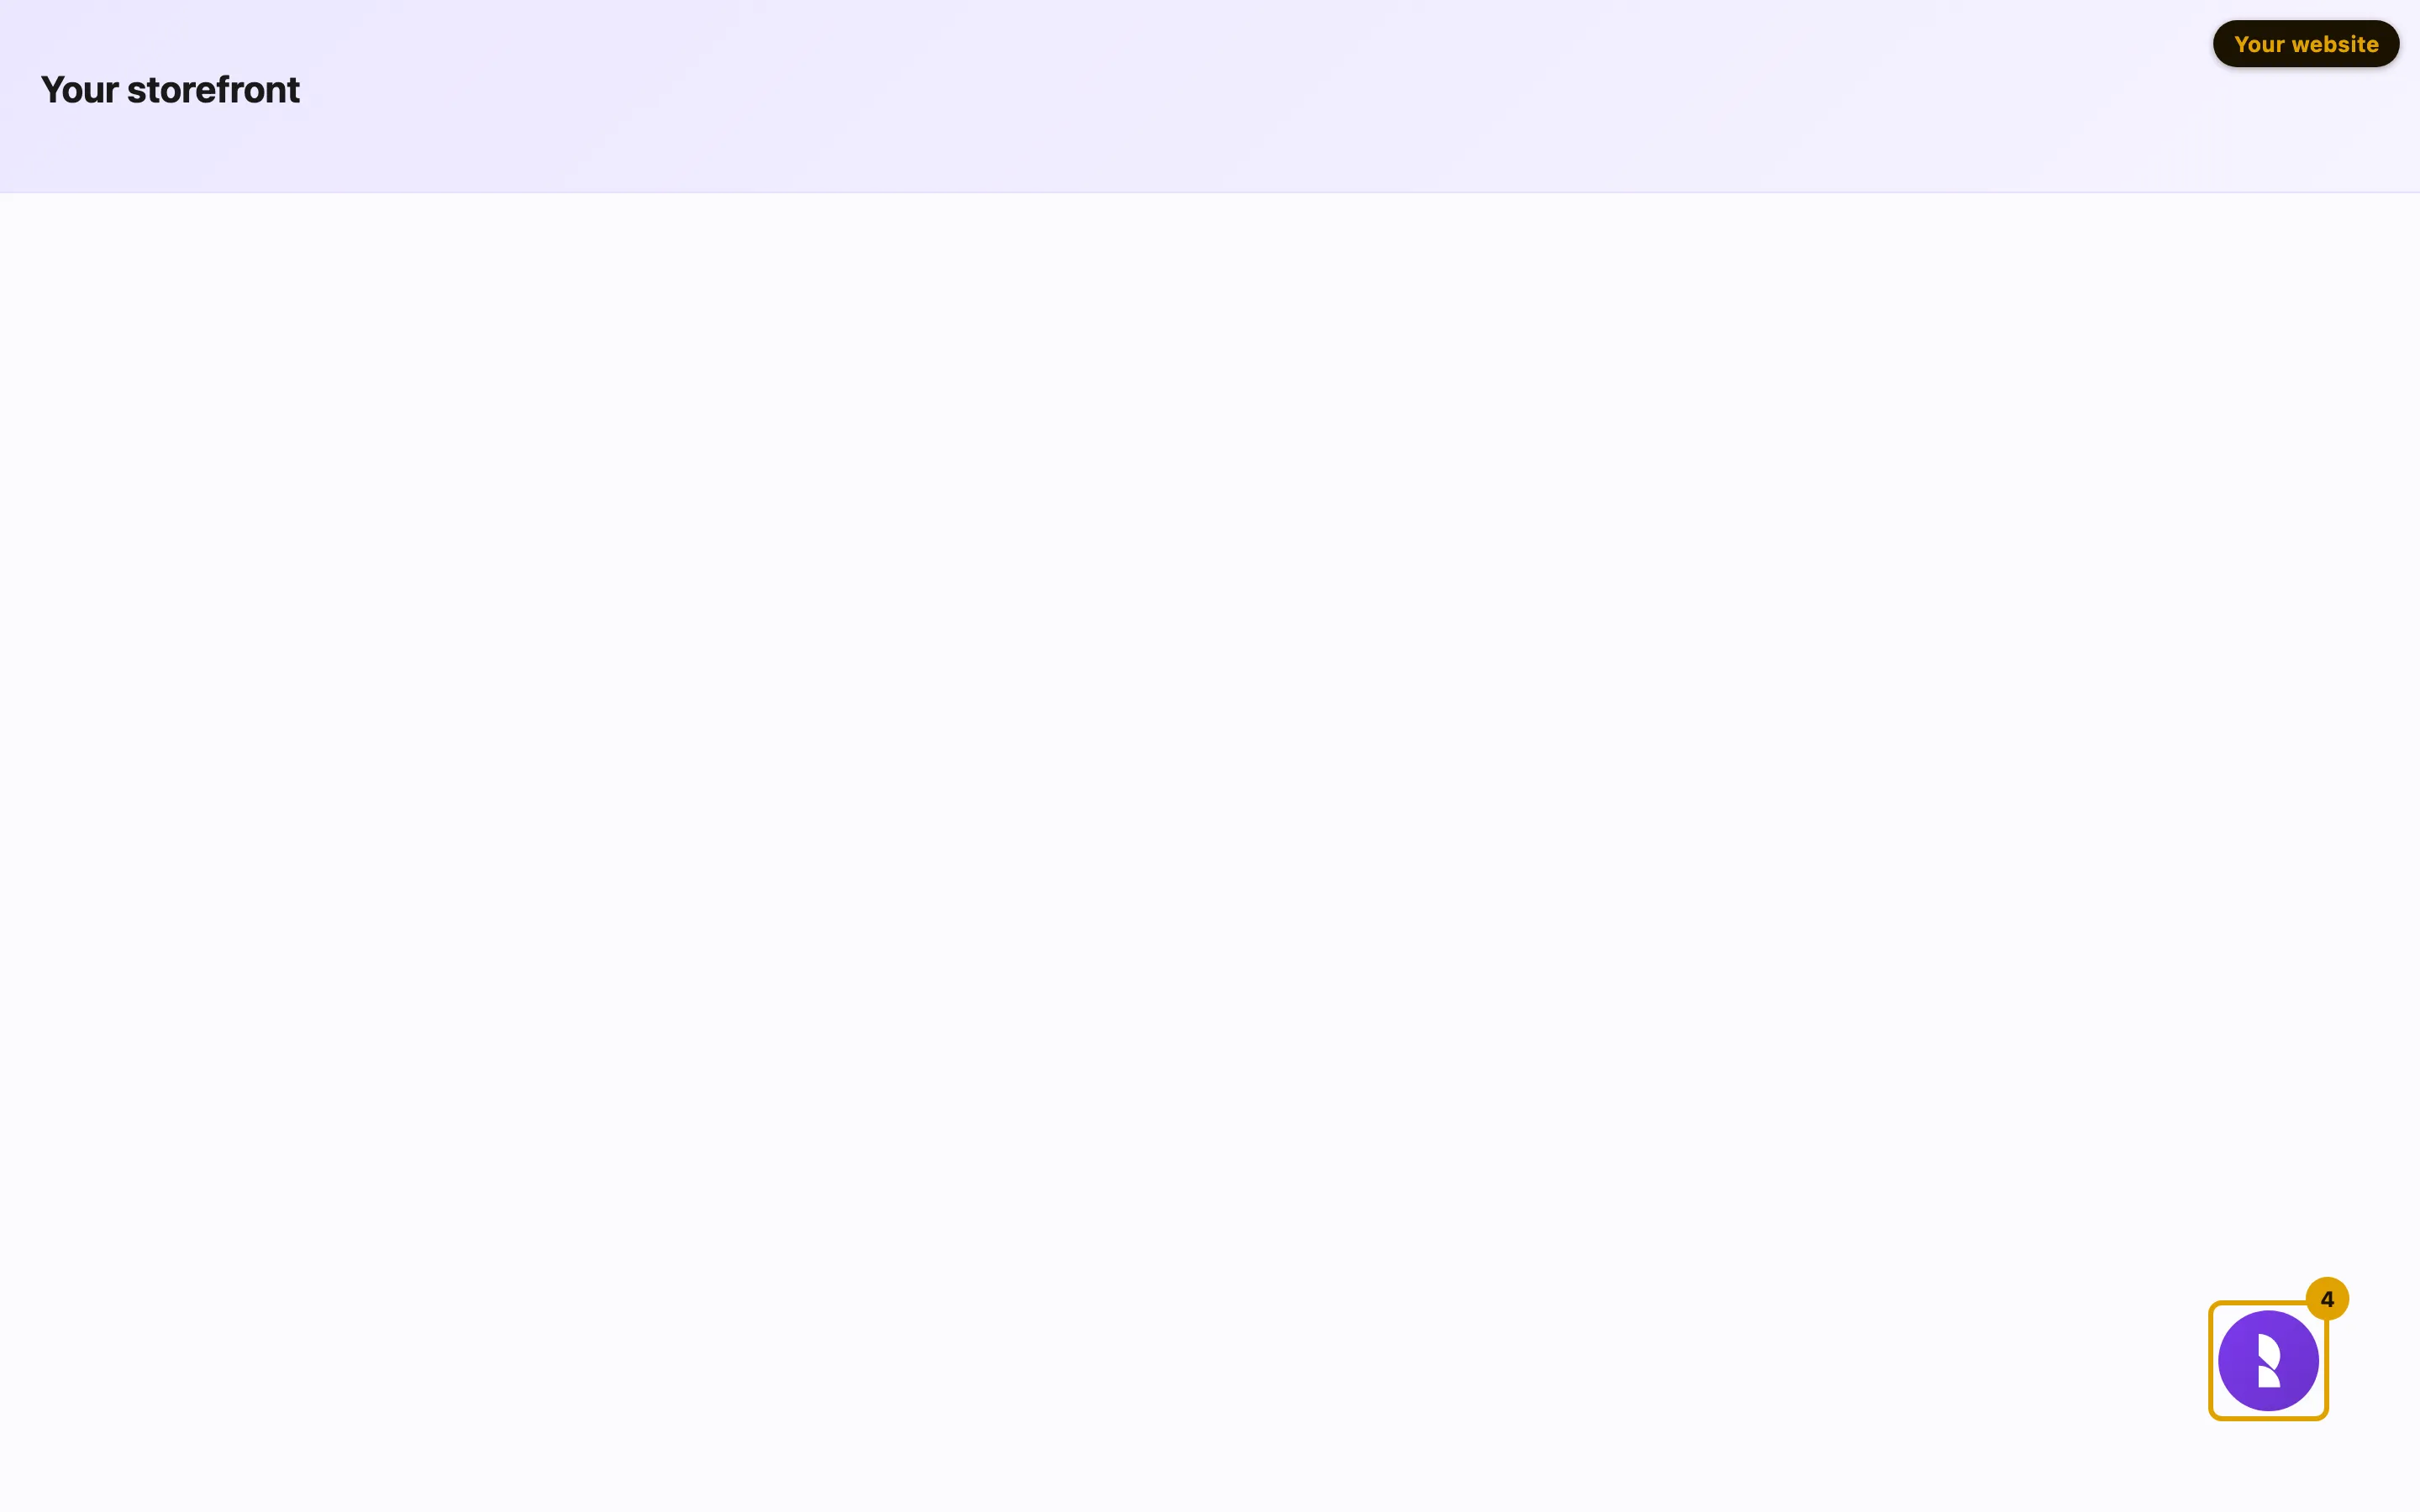
Optional: in Launcher Offset (px), set Horizontal (X) and Vertical (Y), the distance of the launcher from the screen corner (0 to 200, 24 by default). The offset applies on desktop and mobile.
With both set to 60, the bubble sits further from the corner:
-
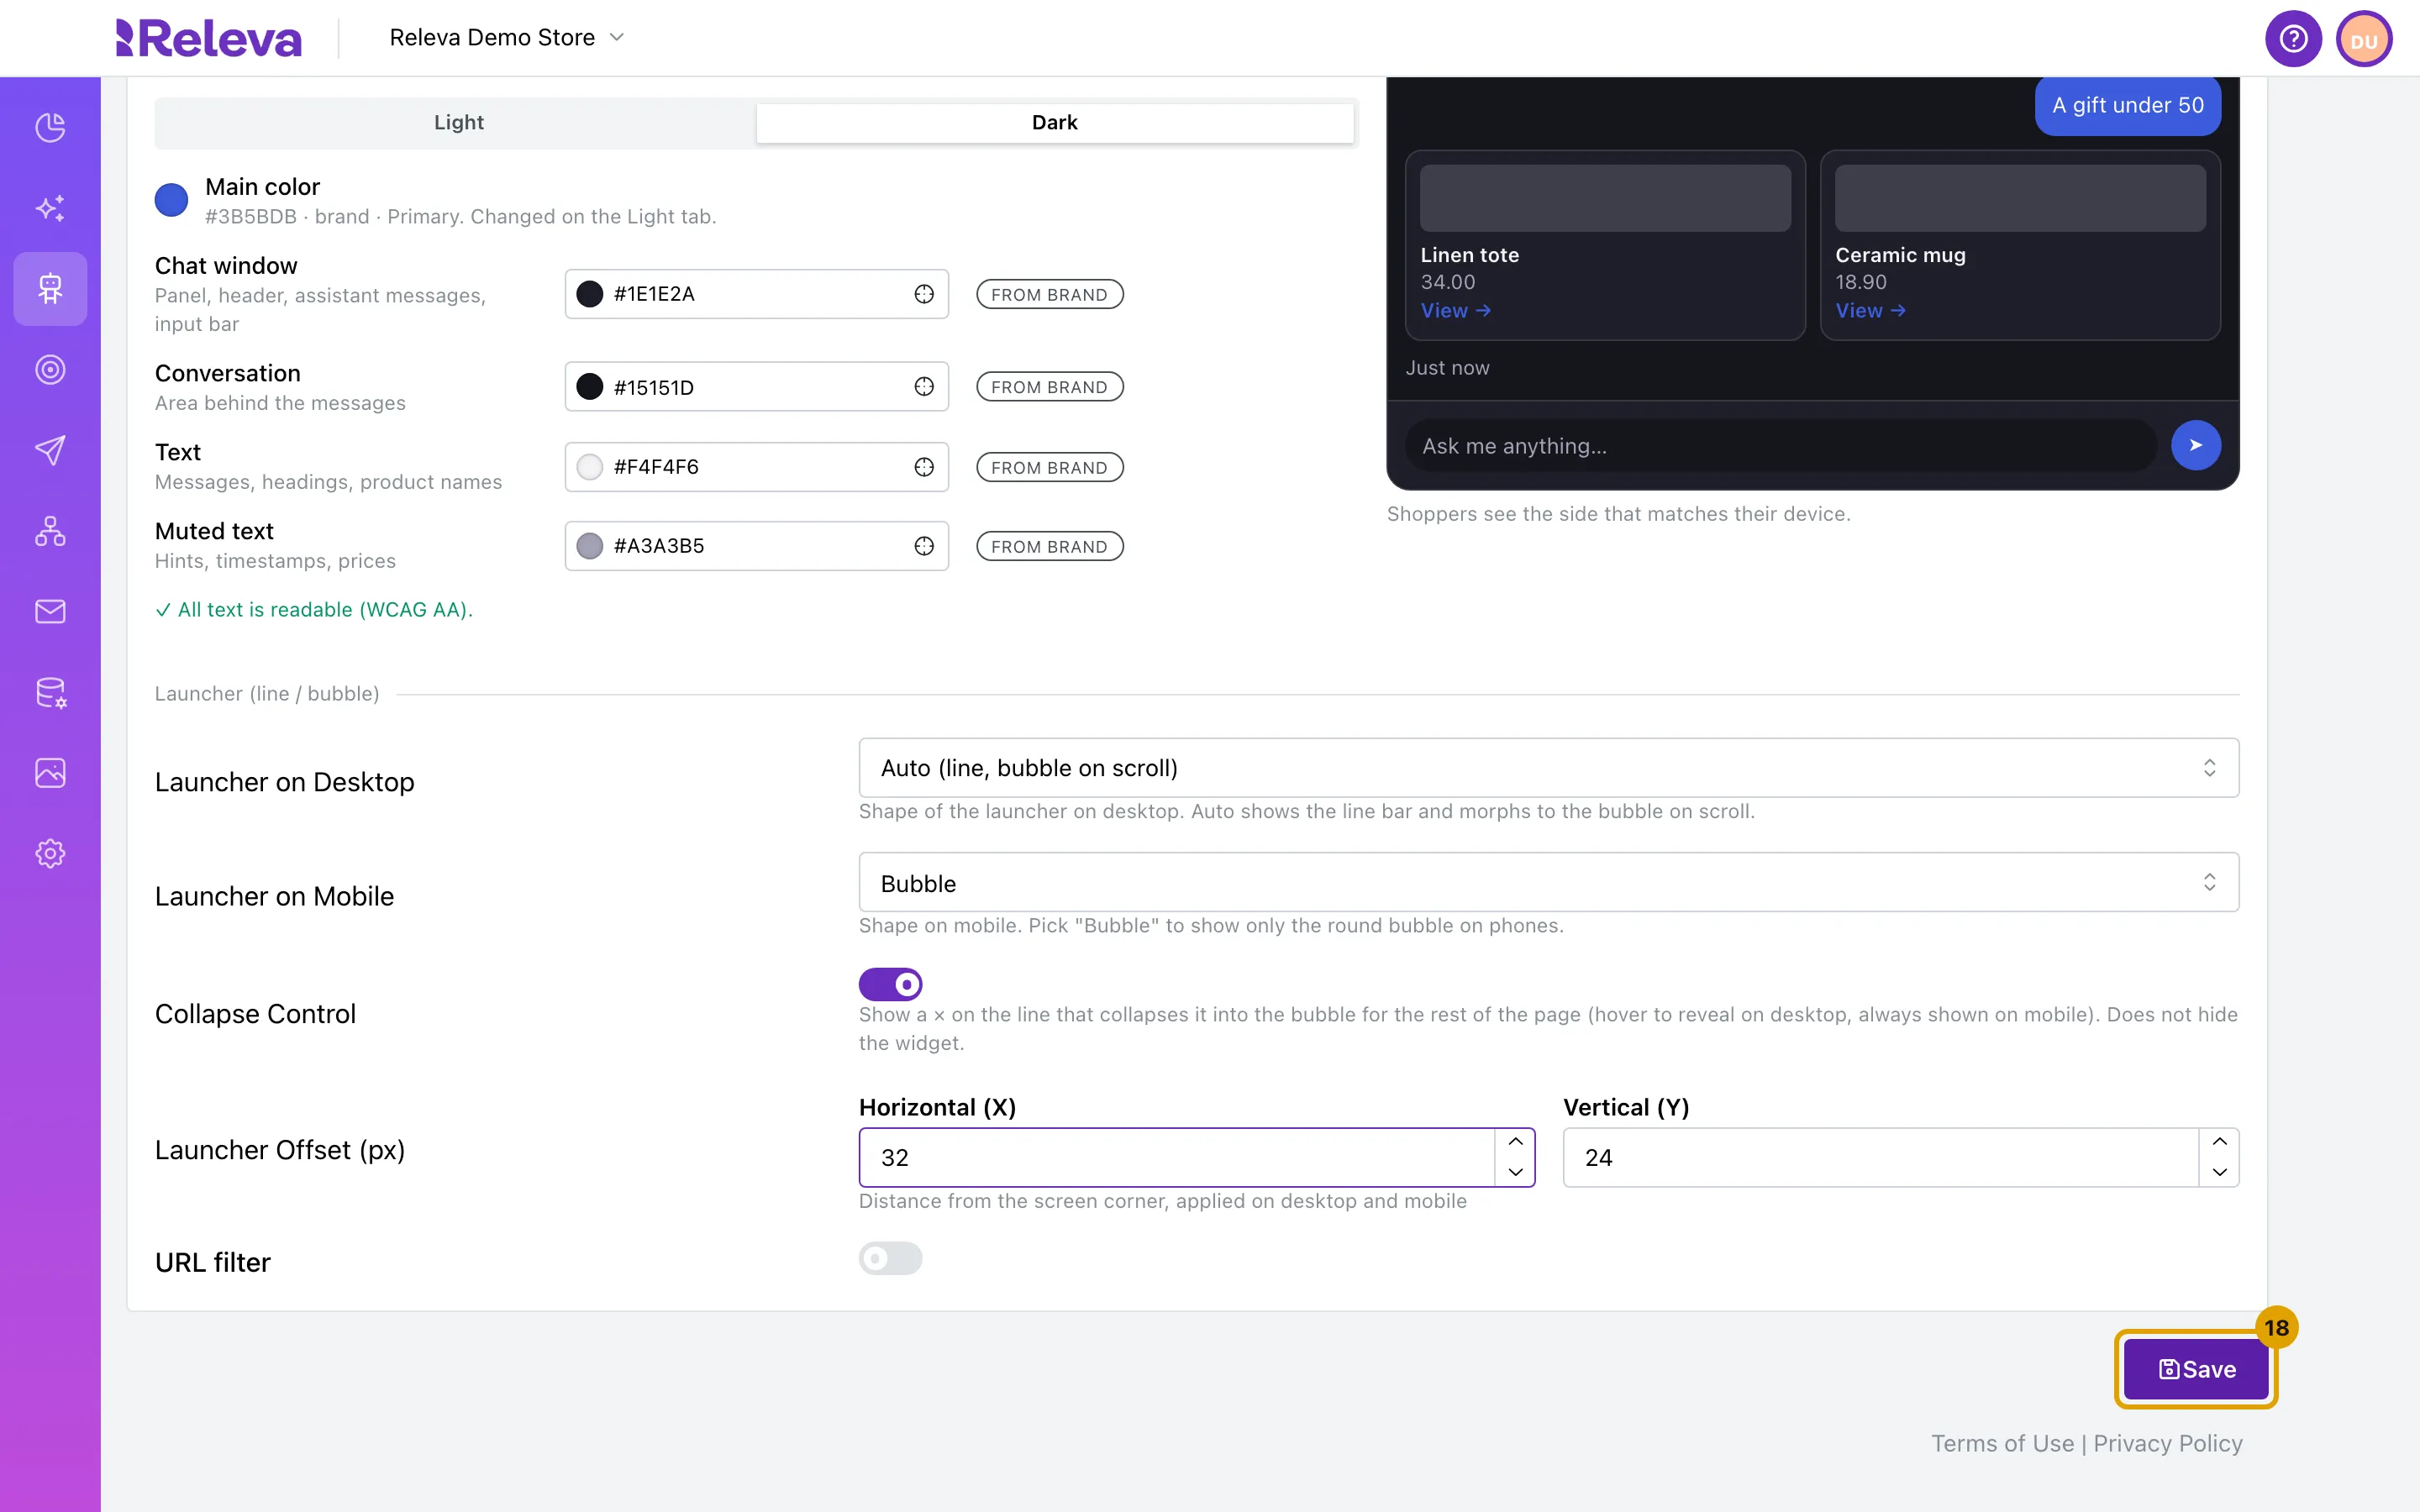
Select Save.
Nothing reaches your site until you save.
Check it worked
Section titled “Check it worked”- The button at the bottom of the page reads Saved.
- Open a page of your site with debug mode (
?rlv_mode=debug) and reload it. The launcher shows in the shape, position and colors you chose; open it to check the title and colors. Debug mode shows the chat even while the Chat Bot switch is off. See Check Releva on your site with debug mode. - To check the mobile launcher, open the page on a phone, or narrow the browser window to phone width.
You do not need to send a message to check the look: the launcher and the chat window with your welcome message are enough.
Troubleshooting
Section titled “Troubleshooting”Brand Identity cannot be selected under Colors. Your brand colors are not confirmed yet. The tab shows a link to Set up Brand Identity or Review and confirm. Confirm your brand, then come back.
A warning says color pairs are hard to read. Some text is hard to read on its background. Saving still works, but shoppers may not read it well. Select Fix next to the color, or pick a darker or lighter color.
The Bubble Icon field says “Enter a valid http(s) image URL”. Paste a full web address that starts with http:// or https://, or select Browse and pick the image from Assets.
The notification bar never shows. Check that Notification Bar is on and saved, and wait for the Notification Delay. Once a shopper has opened the chat during a visit, the bar does not come back in that visit; to test it again, use a new private browser window.
The chat sits under another element of your site, such as a cookie banner or a sticky footer. Change Launcher Offset (px) to move the launcher. If the chat window itself is covered, contact Releva support.
My changes do not show on my site. Select Save and reload the page. If the chat does not show at all on a page, check the URL filter: see Choose where the Sales Agent appears.
Fine-tune with CSS on your site
Section titled “Fine-tune with CSS on your site”This is optional and for developers. The settings above cover most shops. To go further, add CSS to your own site:
- Custom properties named
--releva-*change the chat’s colors and sizes, for example--releva-primary,--releva-background,--releva-surface,--releva-text,--releva-text-mutedand--releva-radius-lg. Set on your page, they win over the colors you chose in Customize. ::part()selectors style single parts of the chat. The chat window lives in#chat-bot-wrapperand the bubble in.chat-bot-launcher-host. Parts of the chat window:header,input,send-button,message(withmessage-botandmessage-user),message-feedback,product-card,product-card-item,product-card-link,product-card-actions,chat-actionsandchat-action. Part of the bubble:launcher.
:root {  --releva-primary: #0a7d2c;}
#chat-bot-wrapper::part(header) {  background: #fff7ed;}
.chat-bot-launcher-host::part(launcher) {  border-radius: 12px;}
Check the result with debug mode on a test page before you publish the CSS.