

Set up the Sales Agent welcome message
The welcome message is the first thing shoppers read when they open the Sales Agent chat on your site. You can add quick-reply questions to it, write it in more than one language, and set the message and e-mail address the agent gives when it cannot answer. This guide does not cover the chat’s look; for how the Sales Agent works, read How the Sales Agent works.
Before you start
Section titled “Before you start”- The Sales Agent is switched on for your shop. Until then, Agentic › Sales Agent shows no tabs. Releva turns the Sales Agent on for your shop the first time: only a Releva super admin can make the first switch-on, so contact Releva.
- To add a product carousel to the welcome message (Add product feed), Releva must first connect a product feed. Until then the button is disabled.
-
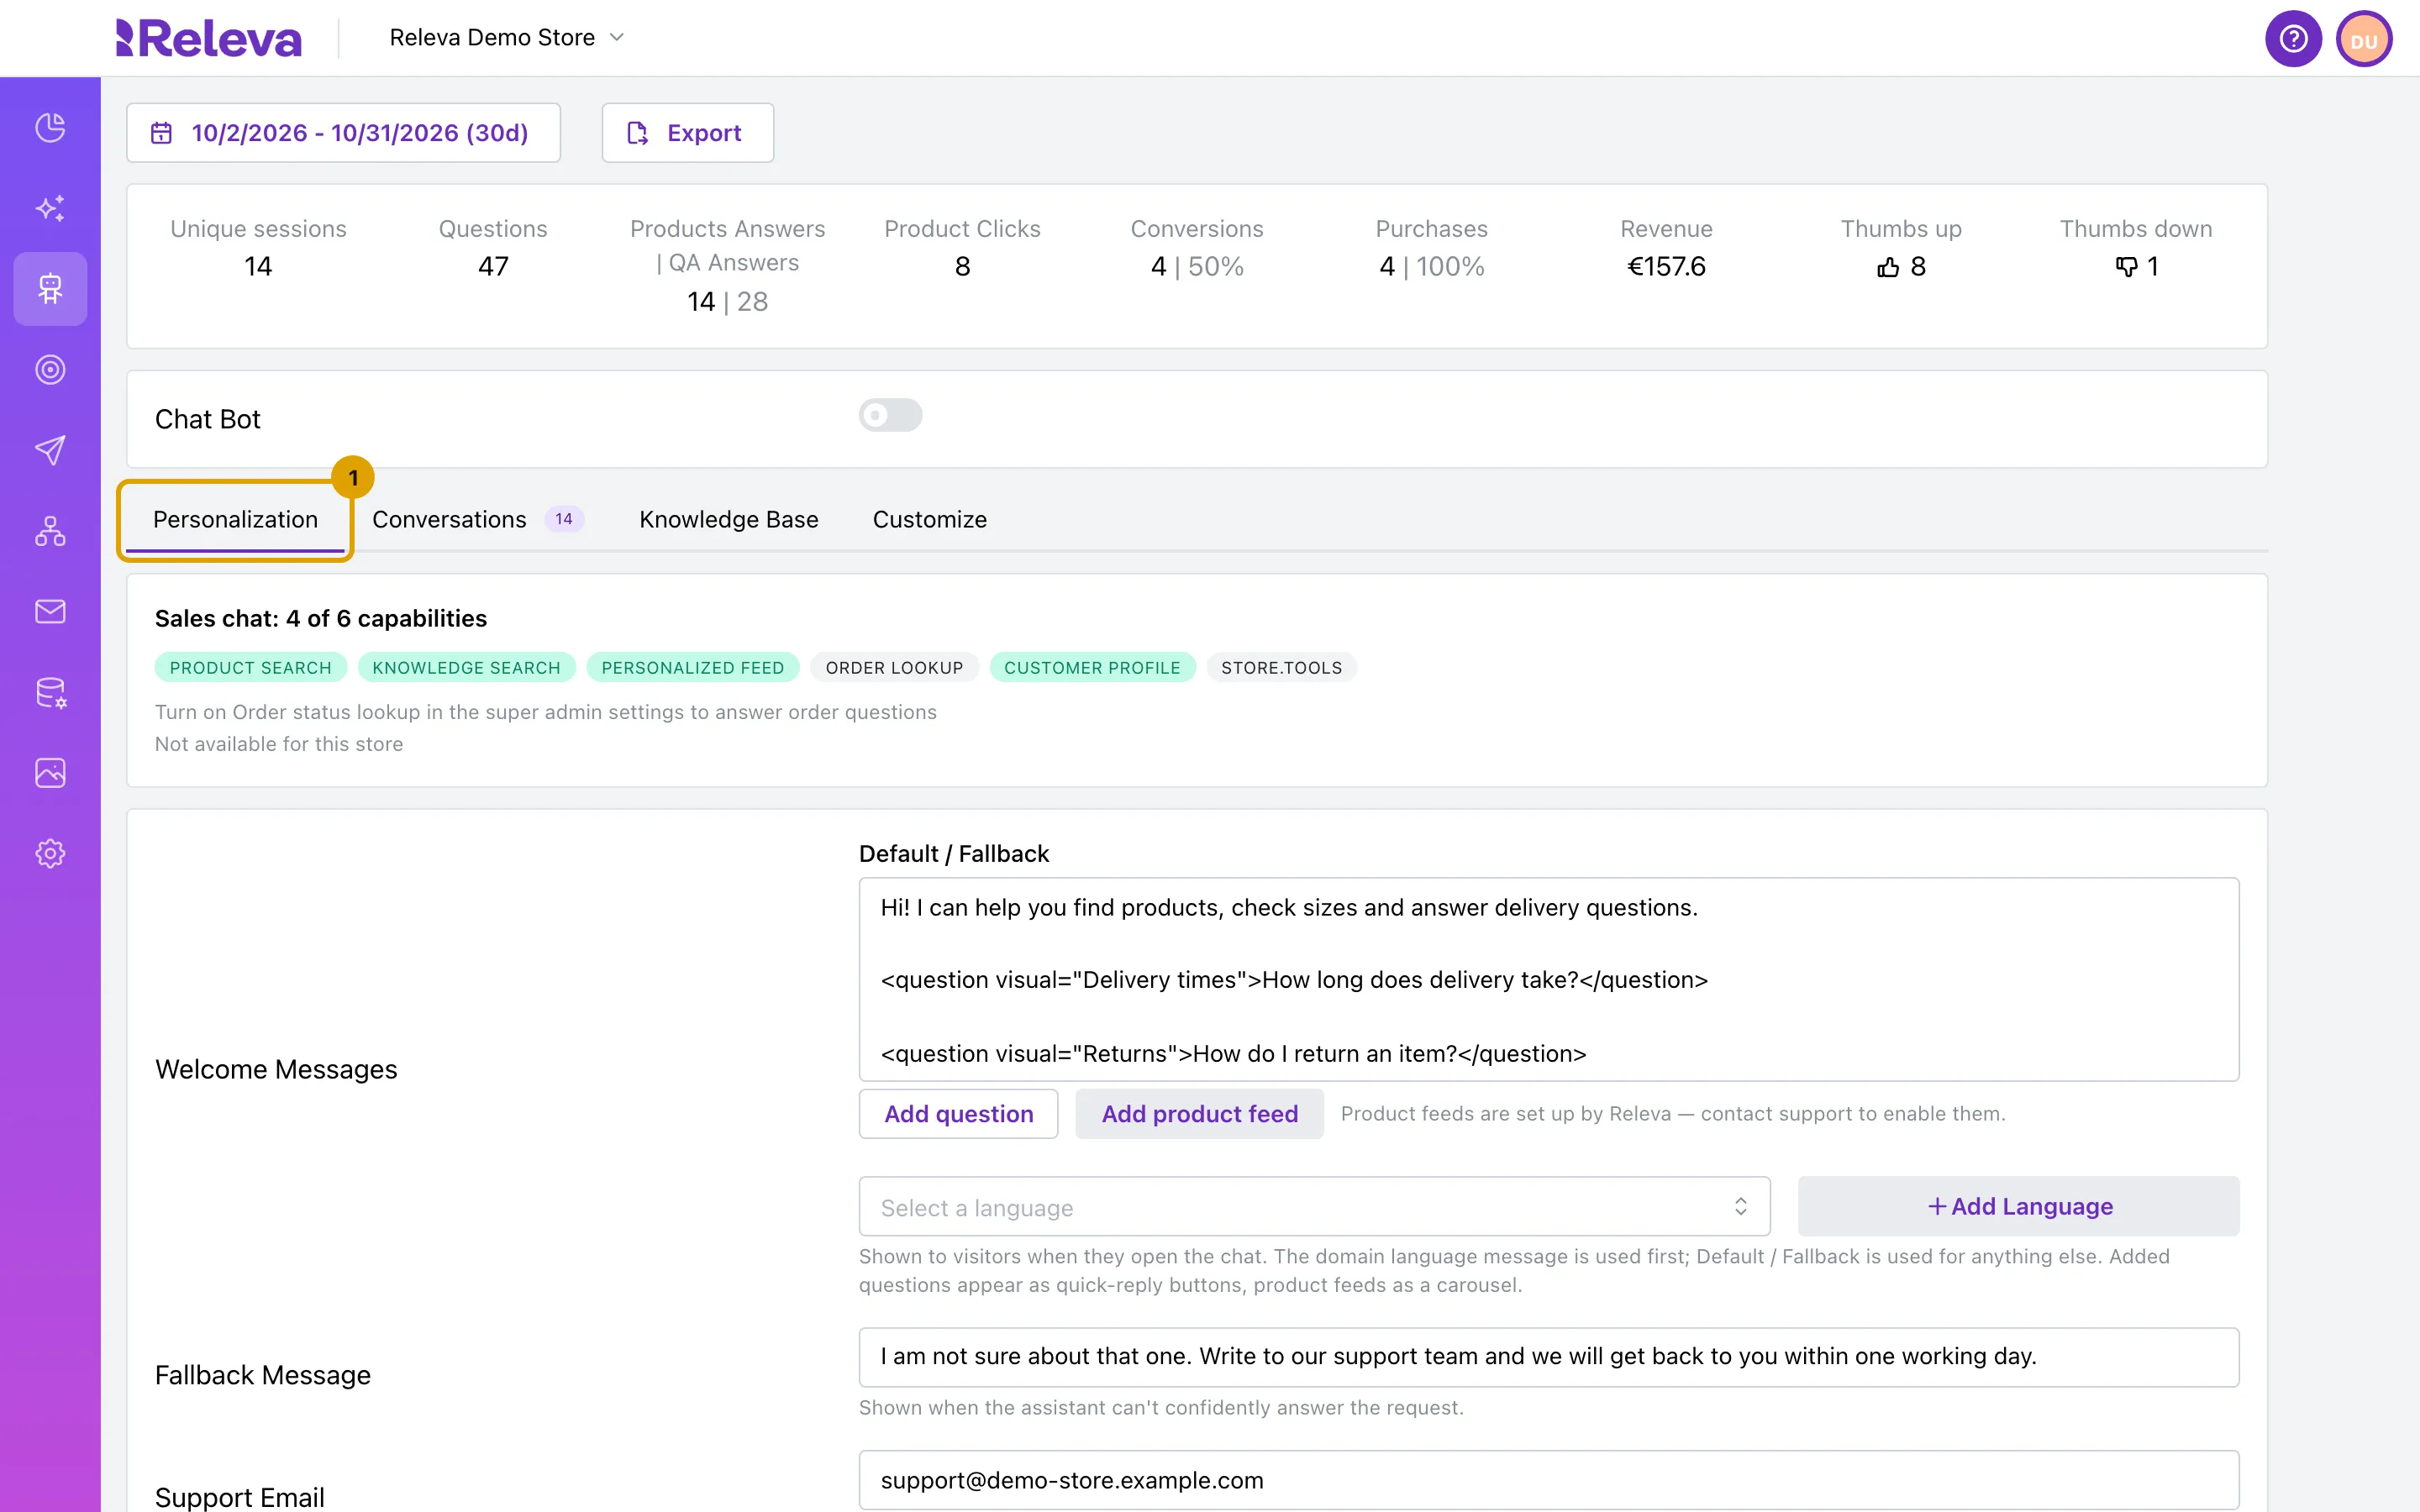
Go to Agentic › Sales Agent and select the Personalization tab.
-
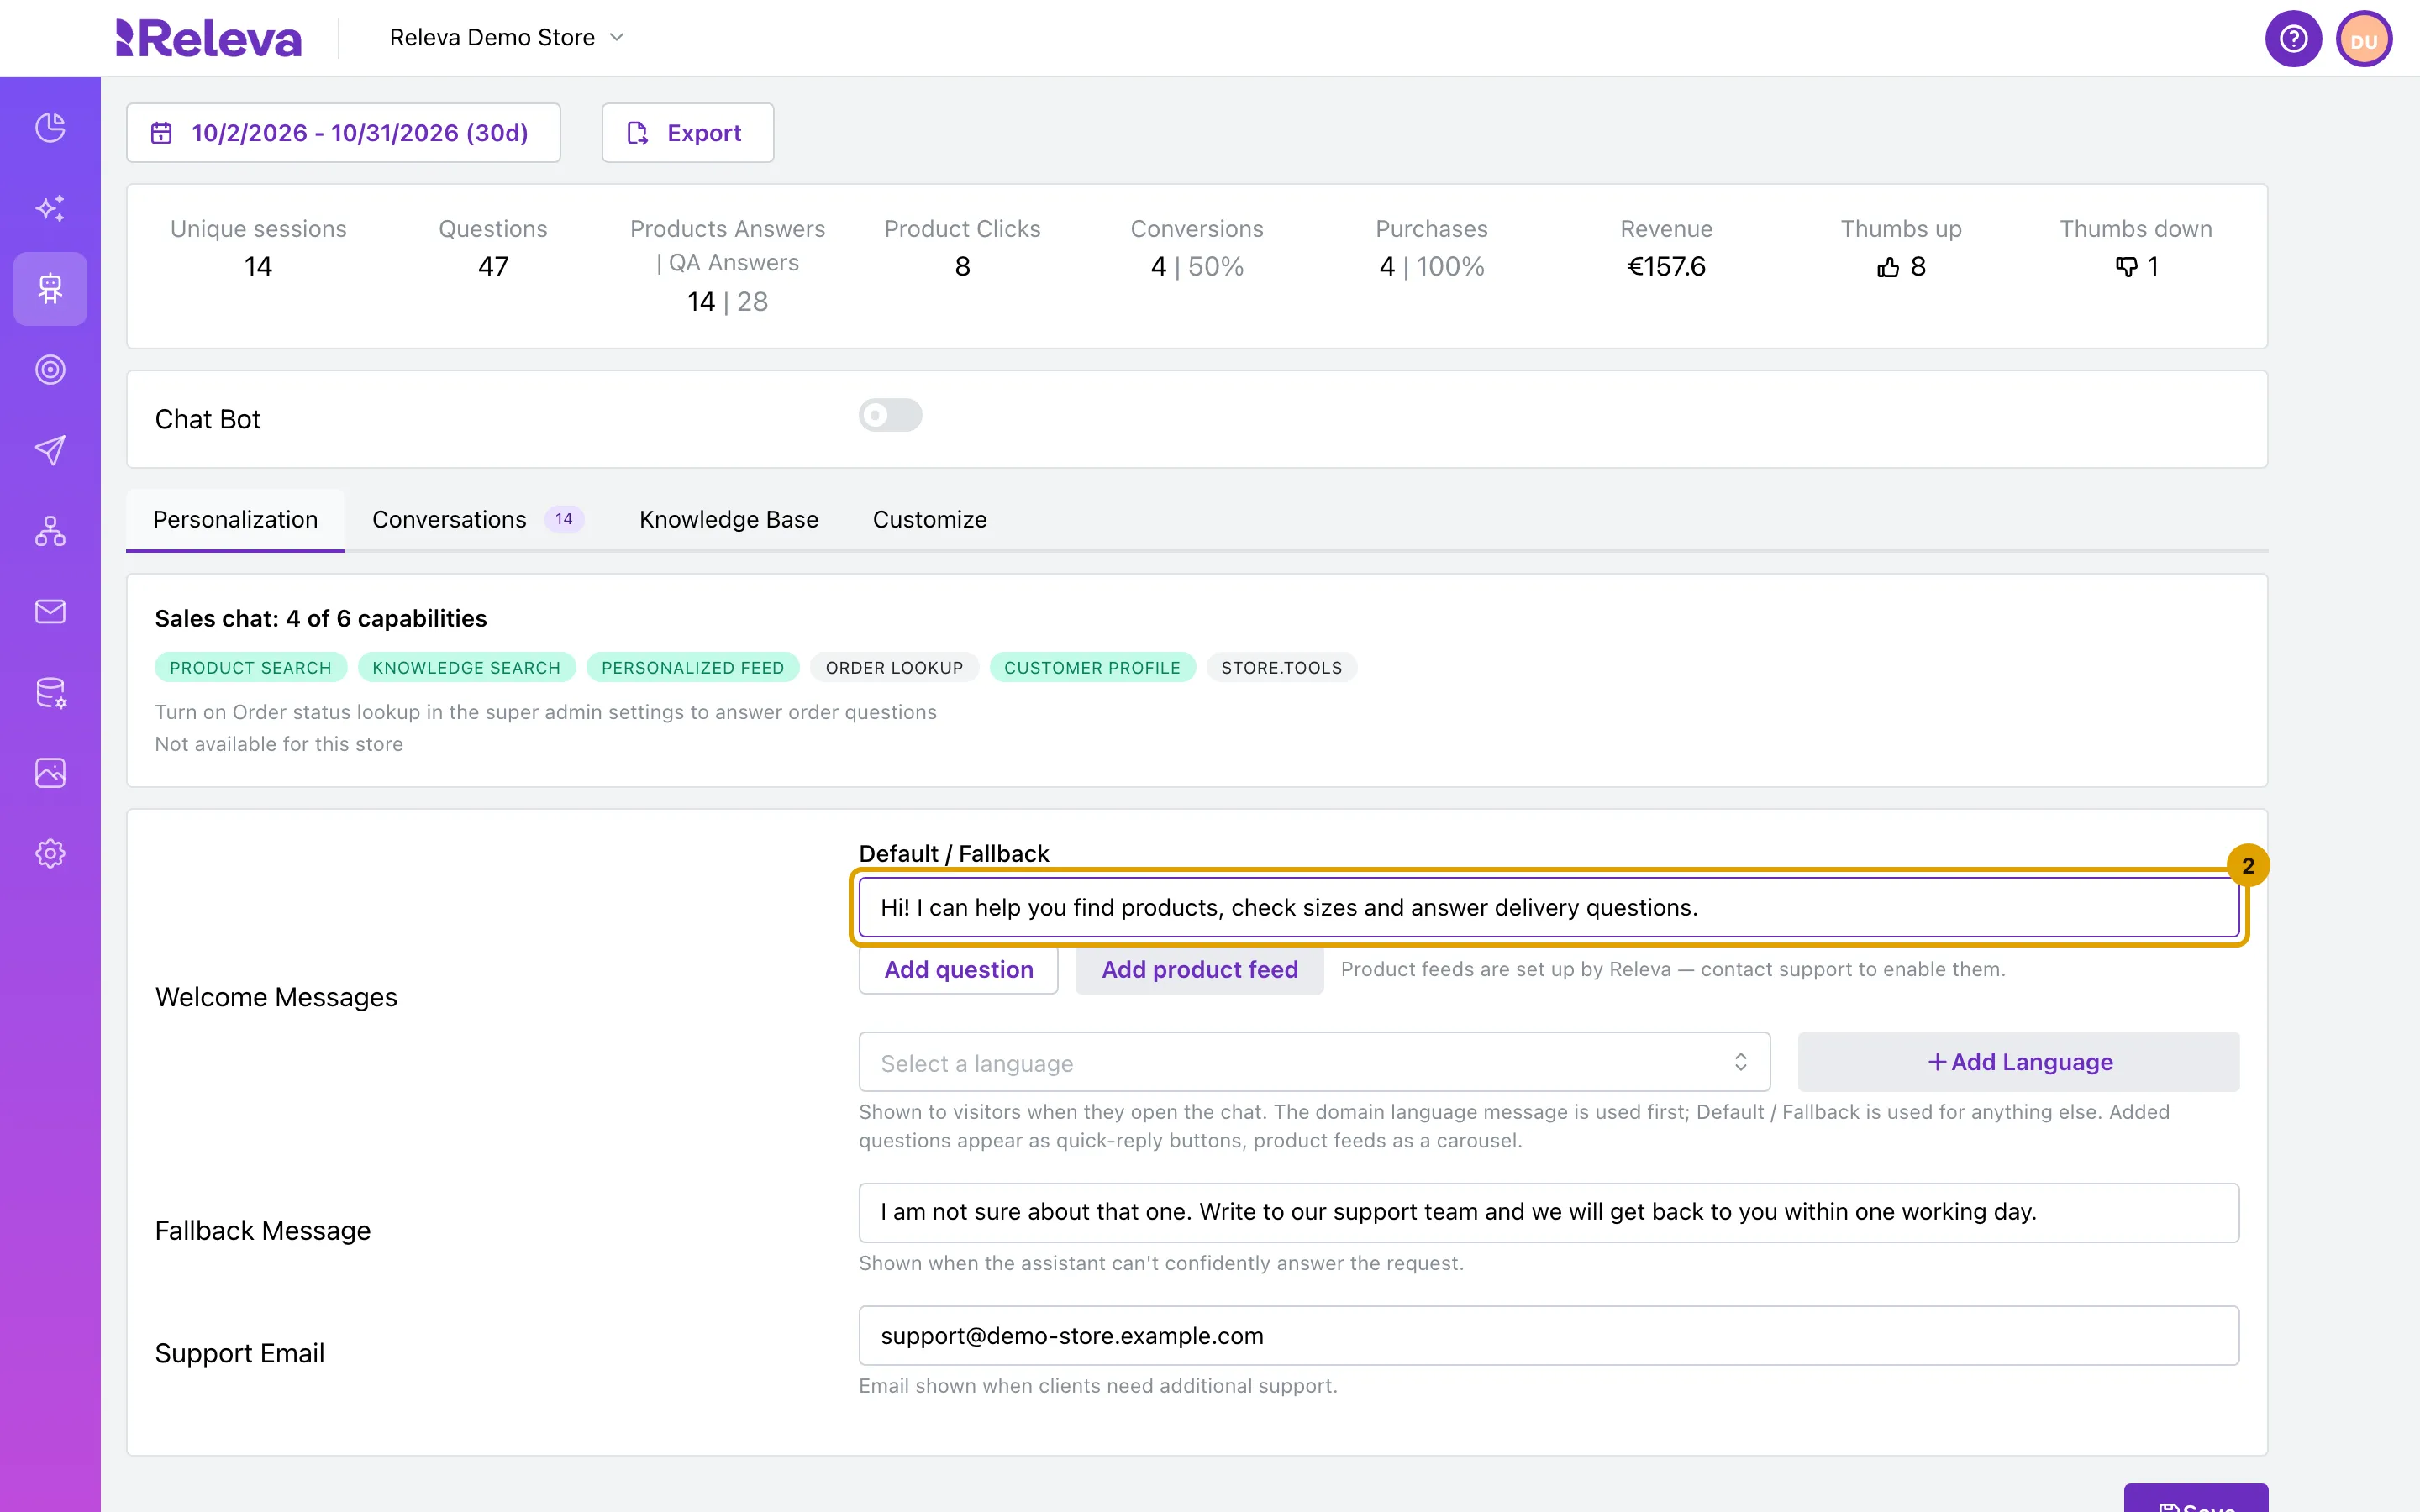
In Welcome Messages, write your message in the Default / Fallback box.
Keep it short: say what the assistant helps with. If a box marked (domain language) is listed above Default / Fallback, write the message there too: shoppers on pages in your shop’s language see that box.
-
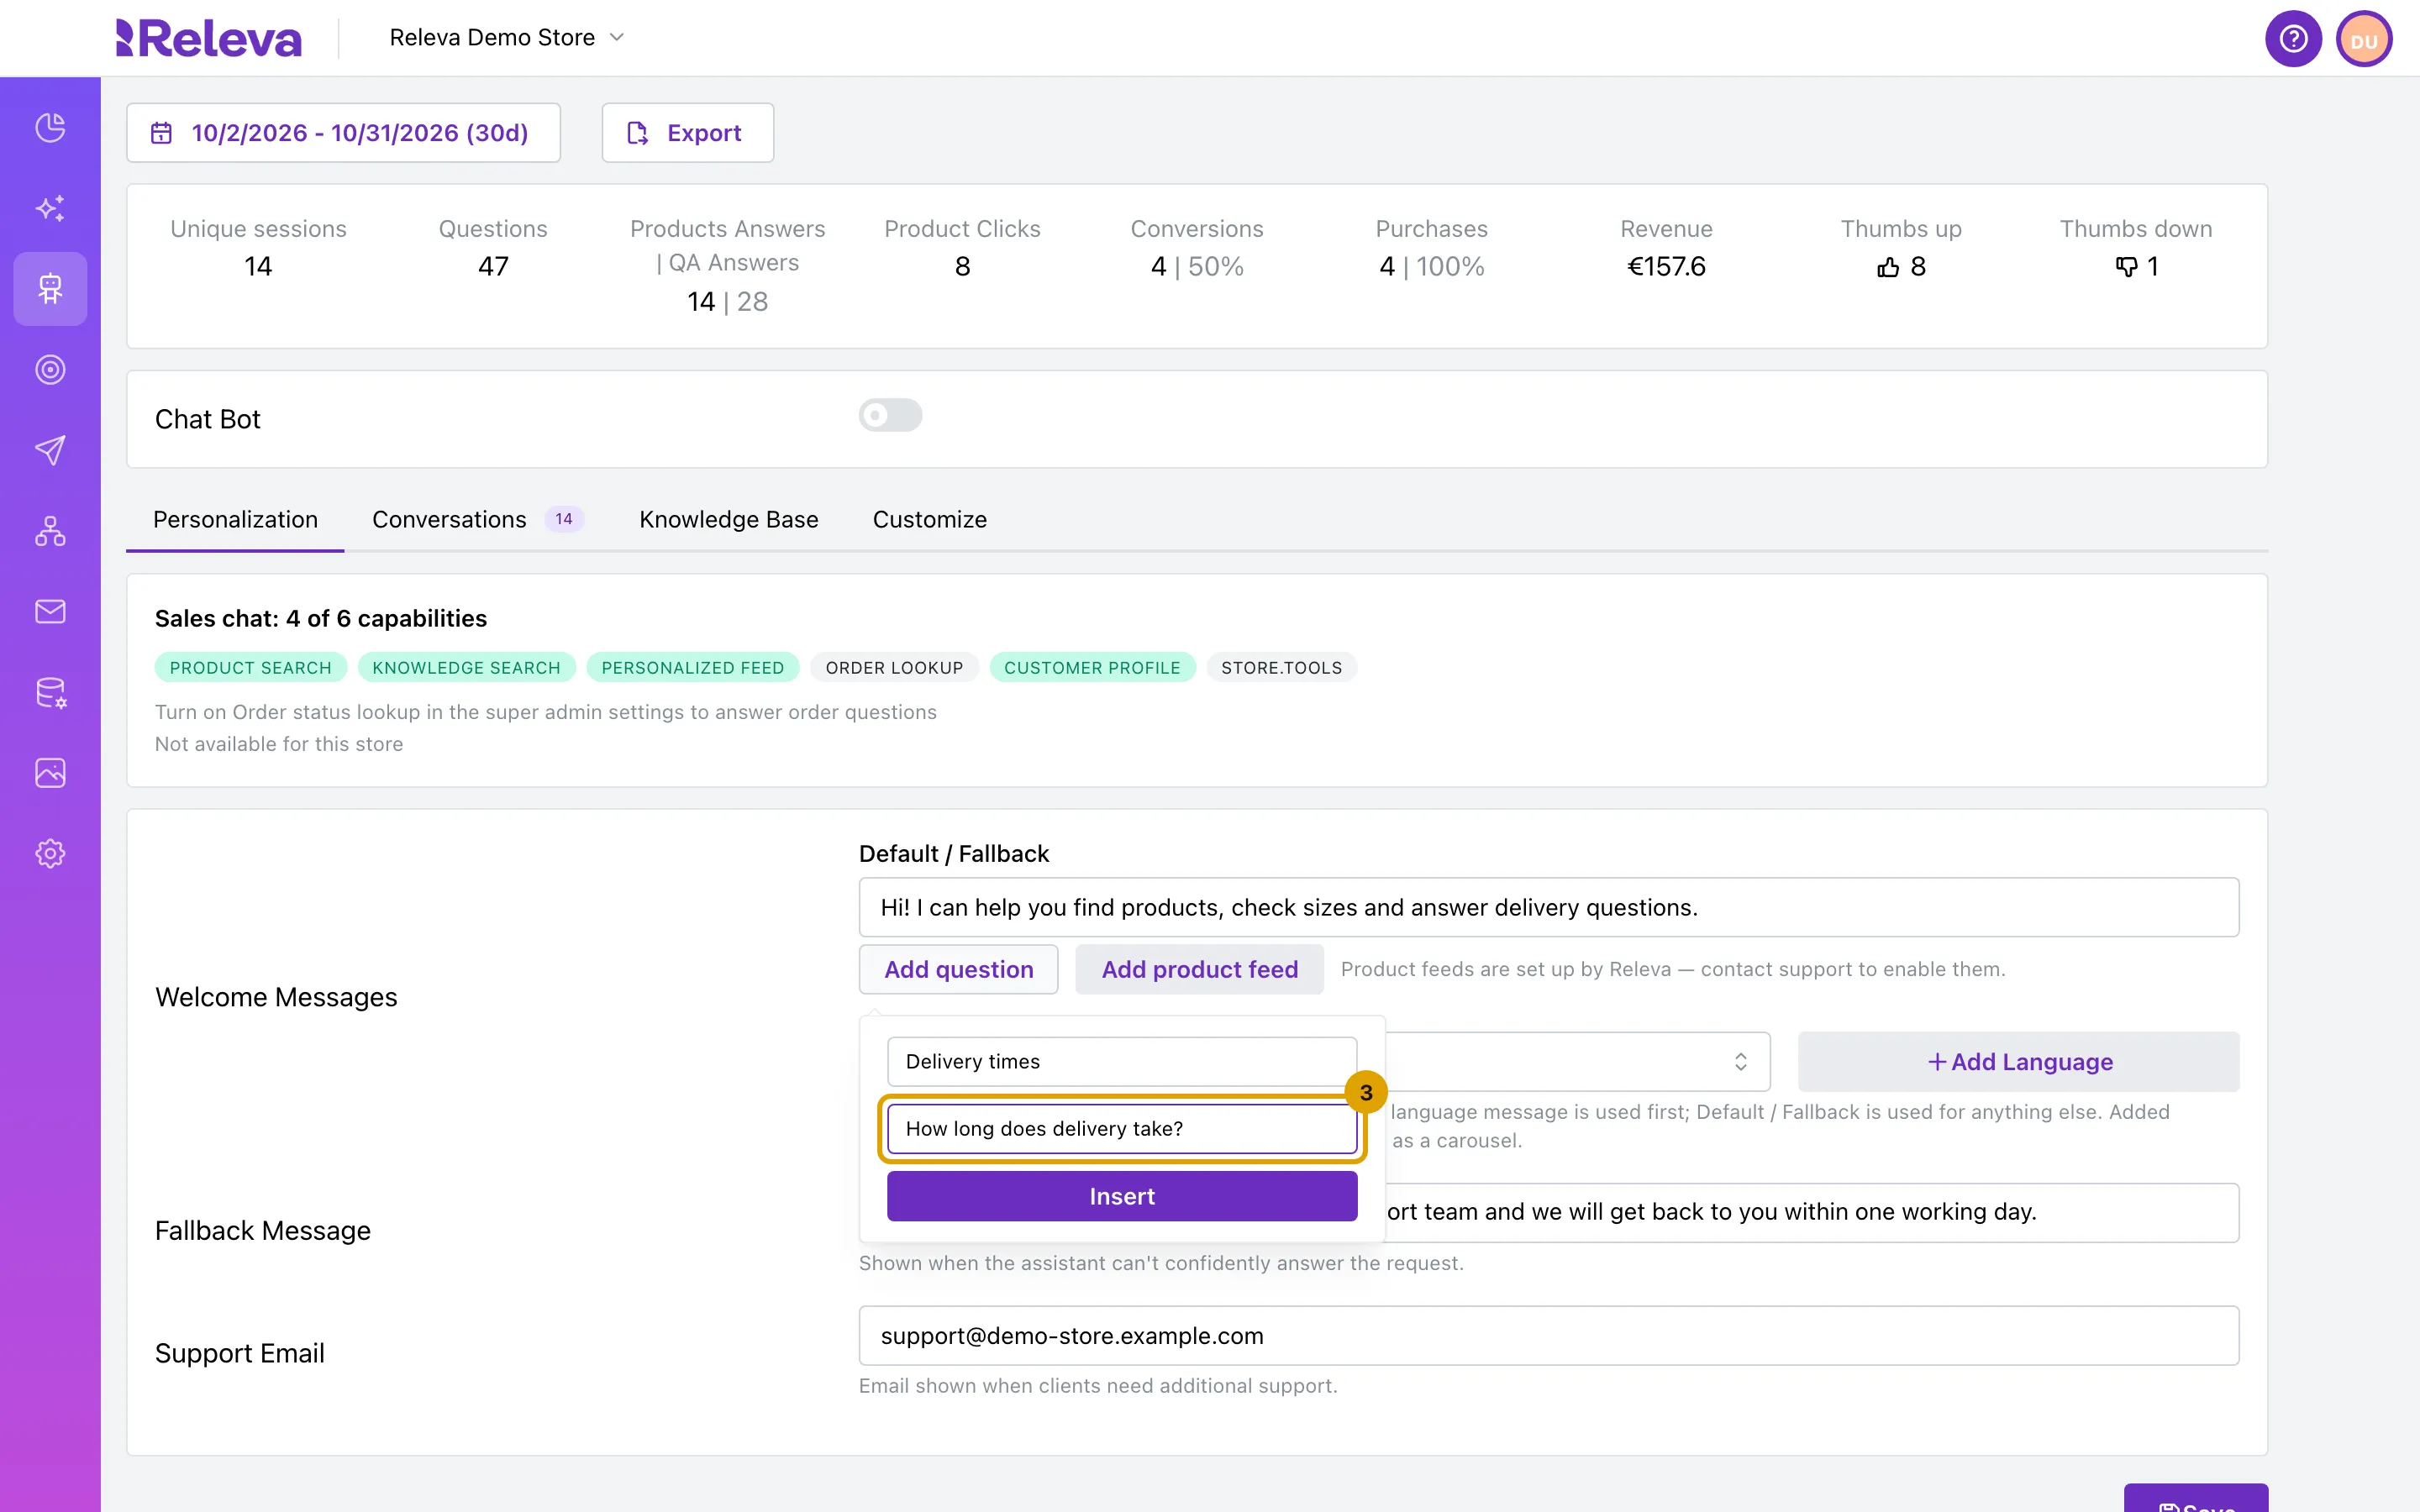
To add a quick-reply question, select Add question. Enter the Button label shoppers see and the Message it sends when they select it.
-
Select Insert.
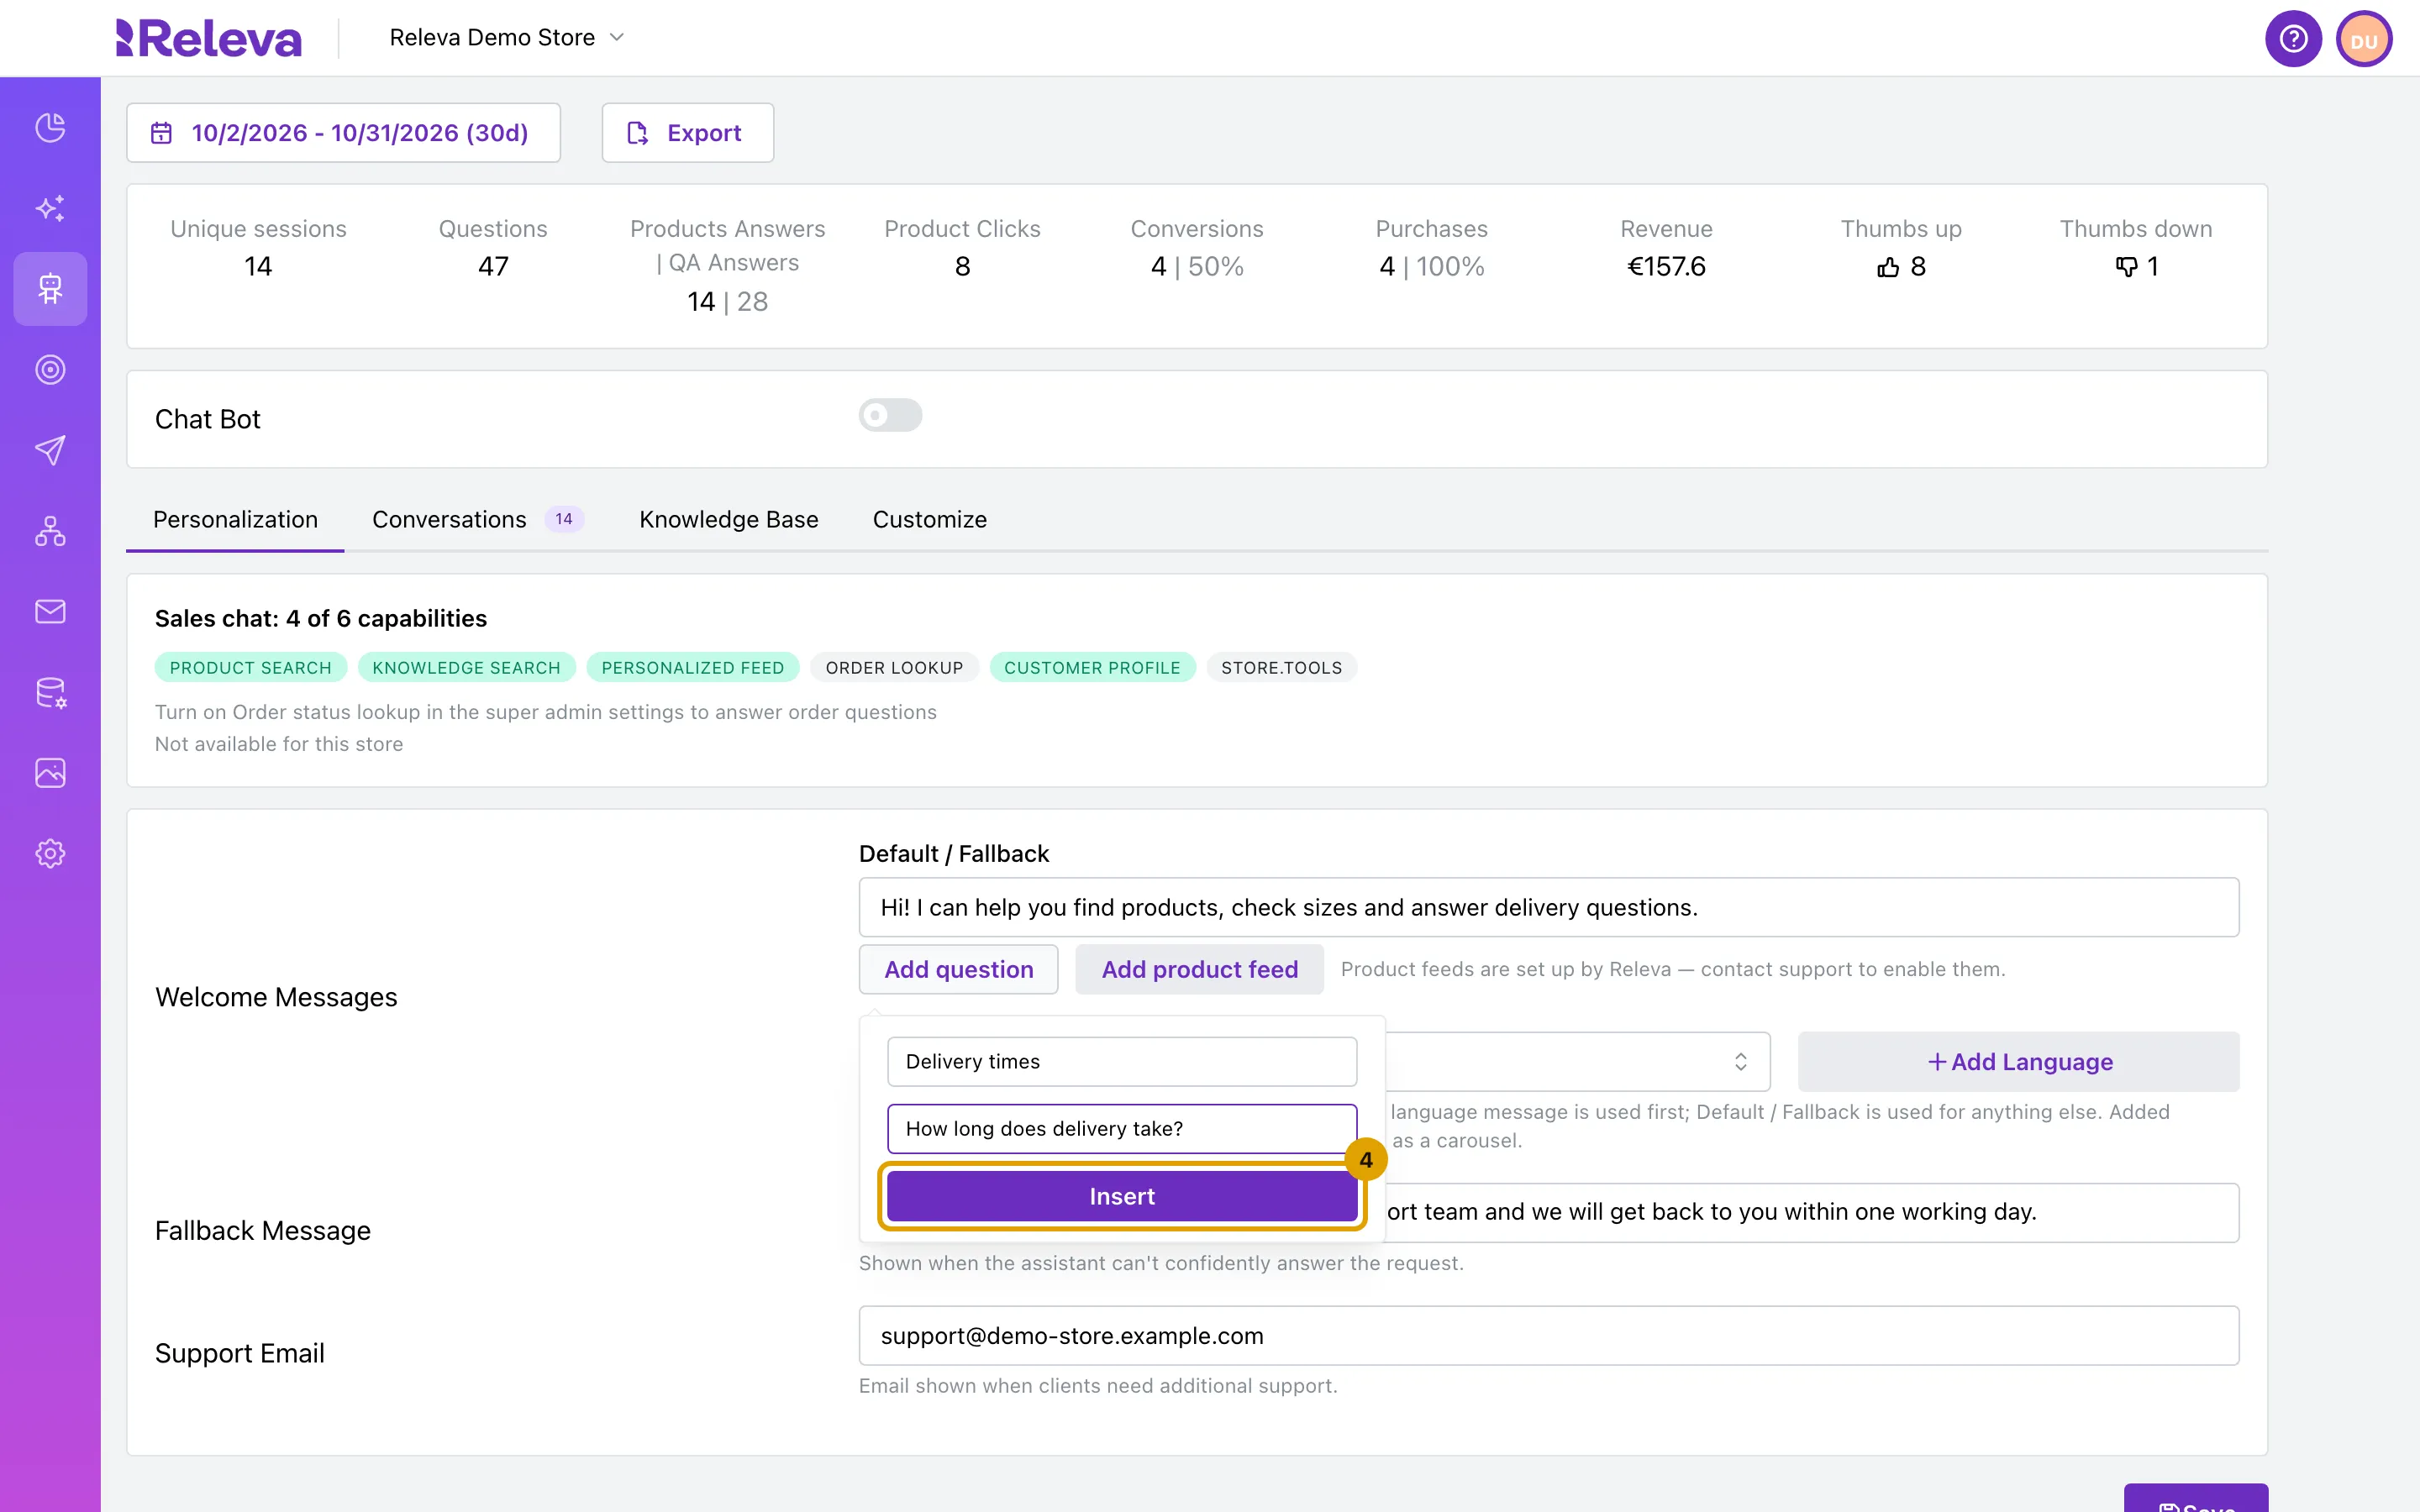
The question is added to the end of the message as a tag, such as
<question visual="Delivery times">How long does delivery take?</question>. Shoppers see it as a button. Repeat steps 3 and 4 for each question. To remove a question, delete its tag from the box.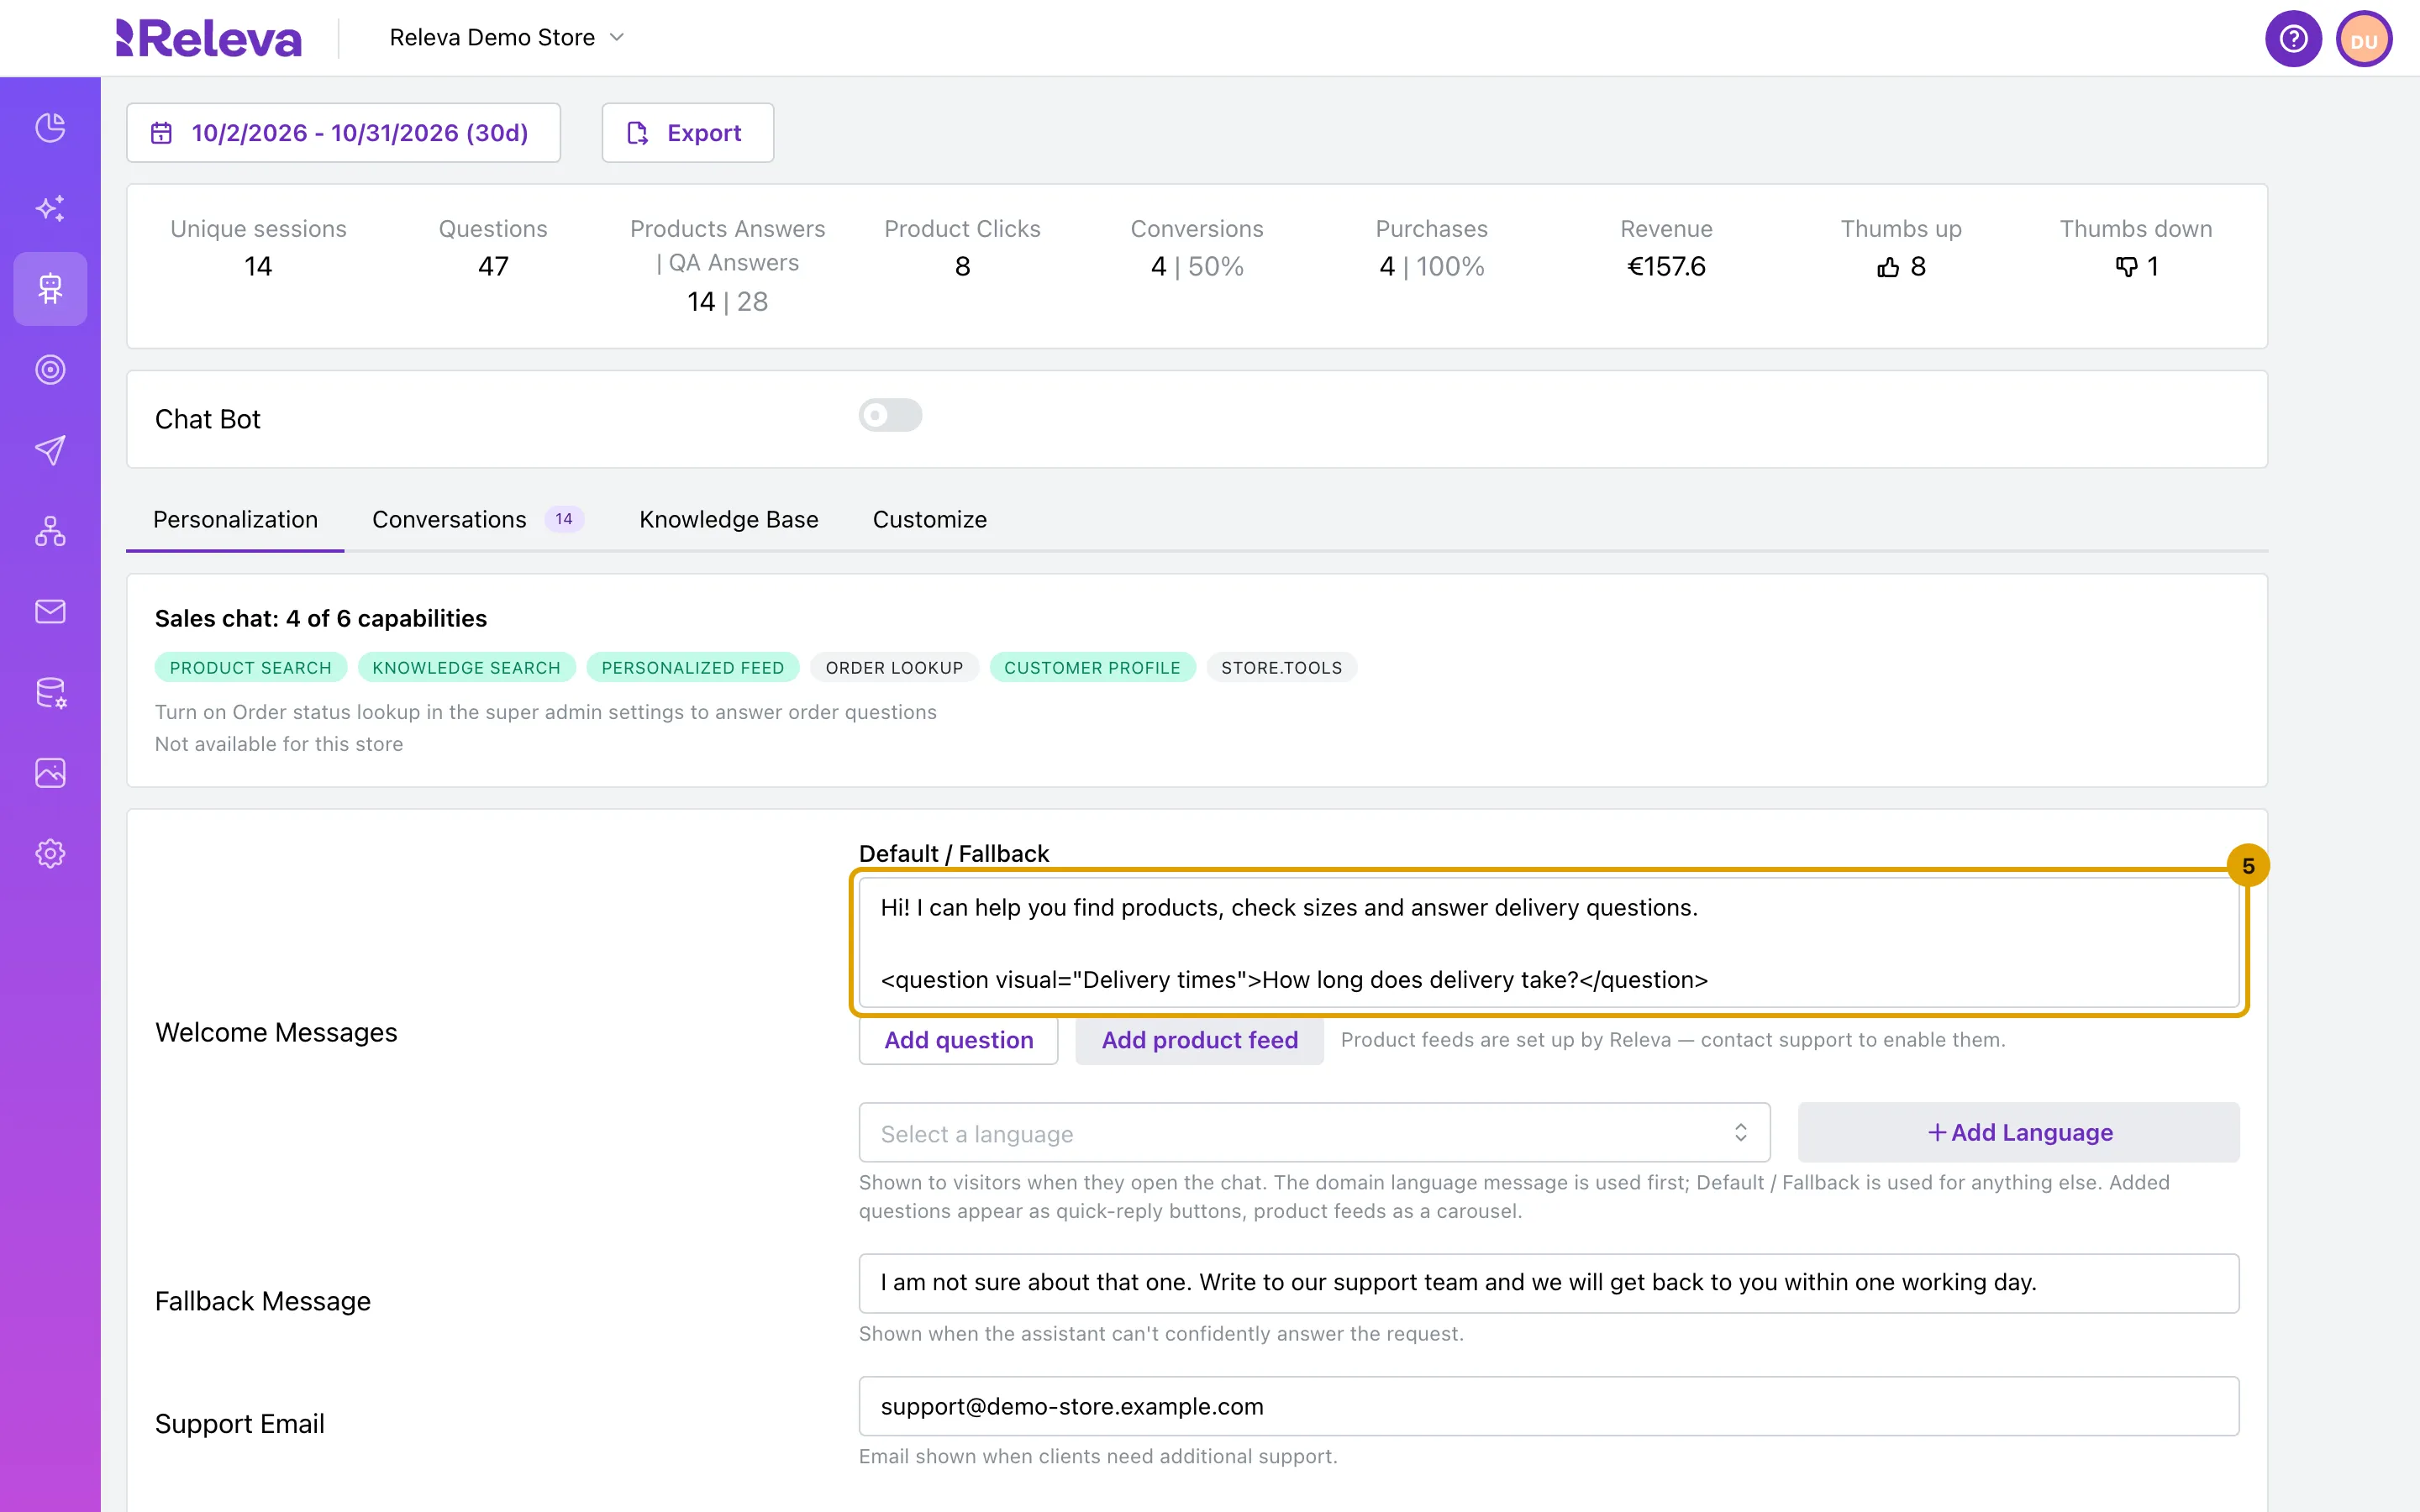
-
Optional: to write the welcome message in another language, choose it in Select a language, select Add Language, and write the message in the new box.
The chat uses the message for the language of the page, or your shop’s language when the page does not say. If that language has no box, it uses Default / Fallback. Fill in every box you add: an empty language box is not replaced by Default / Fallback.
-
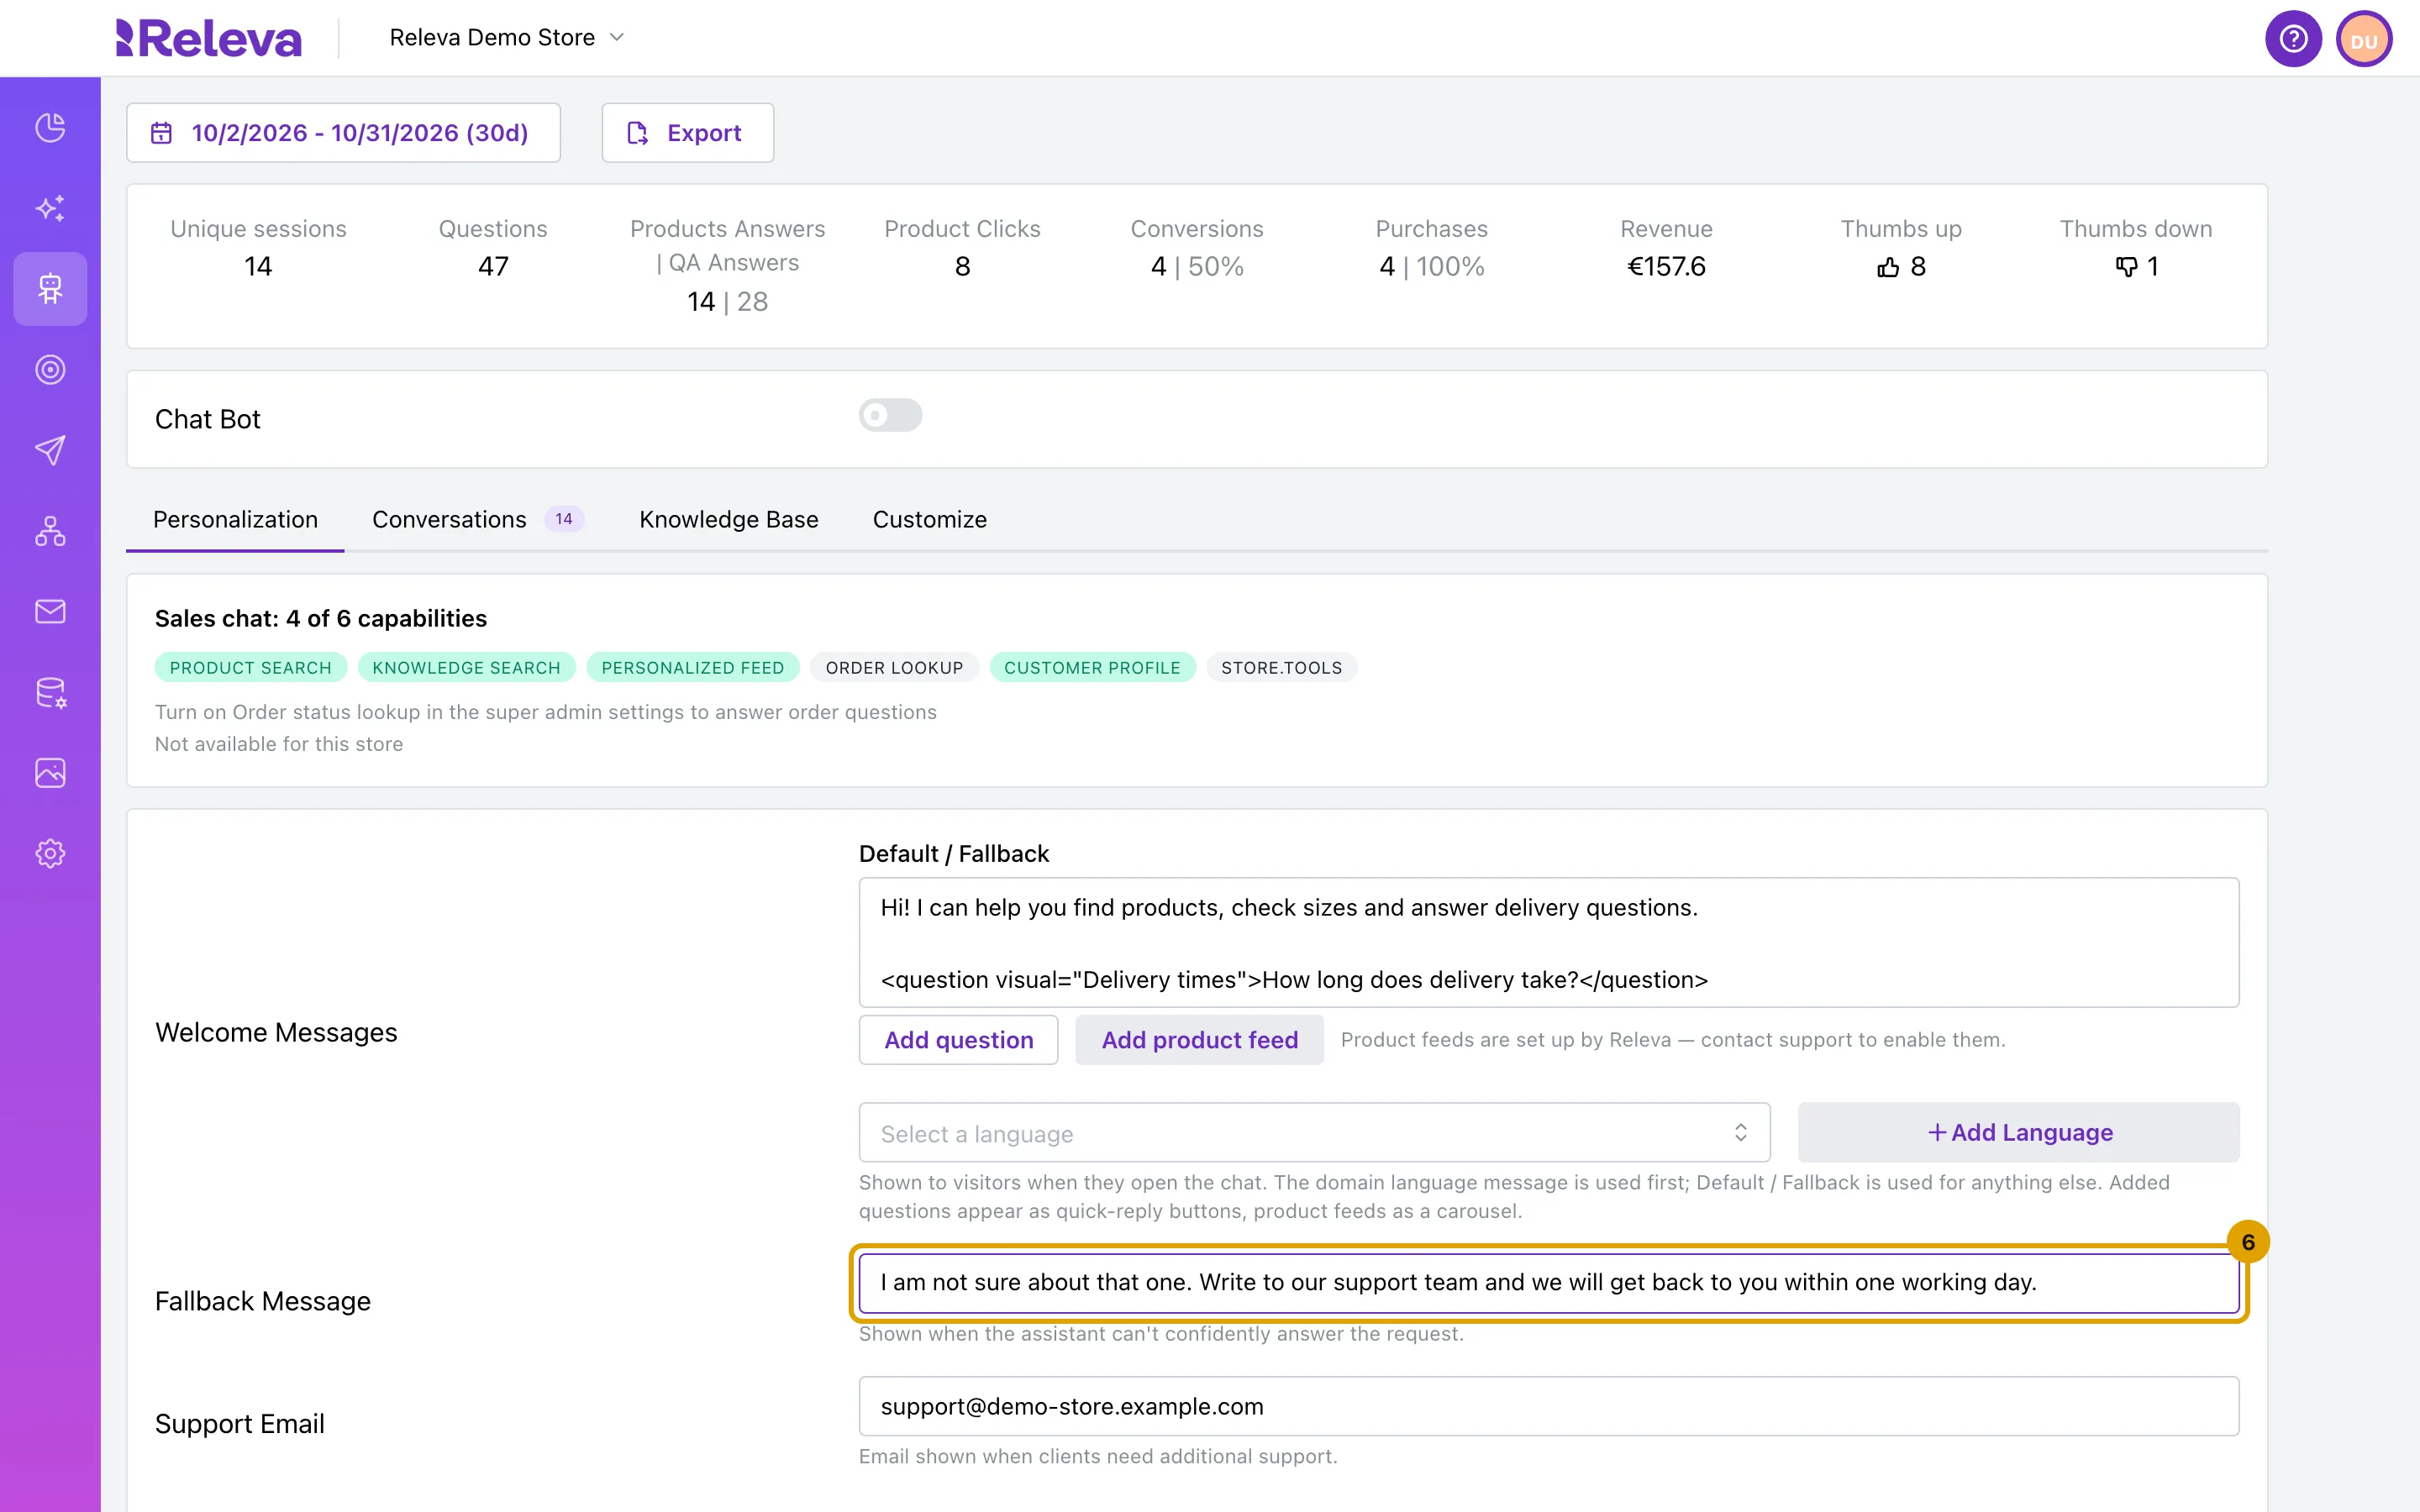
In Fallback Message, write what the agent says when it cannot answer a question with confidence.
-
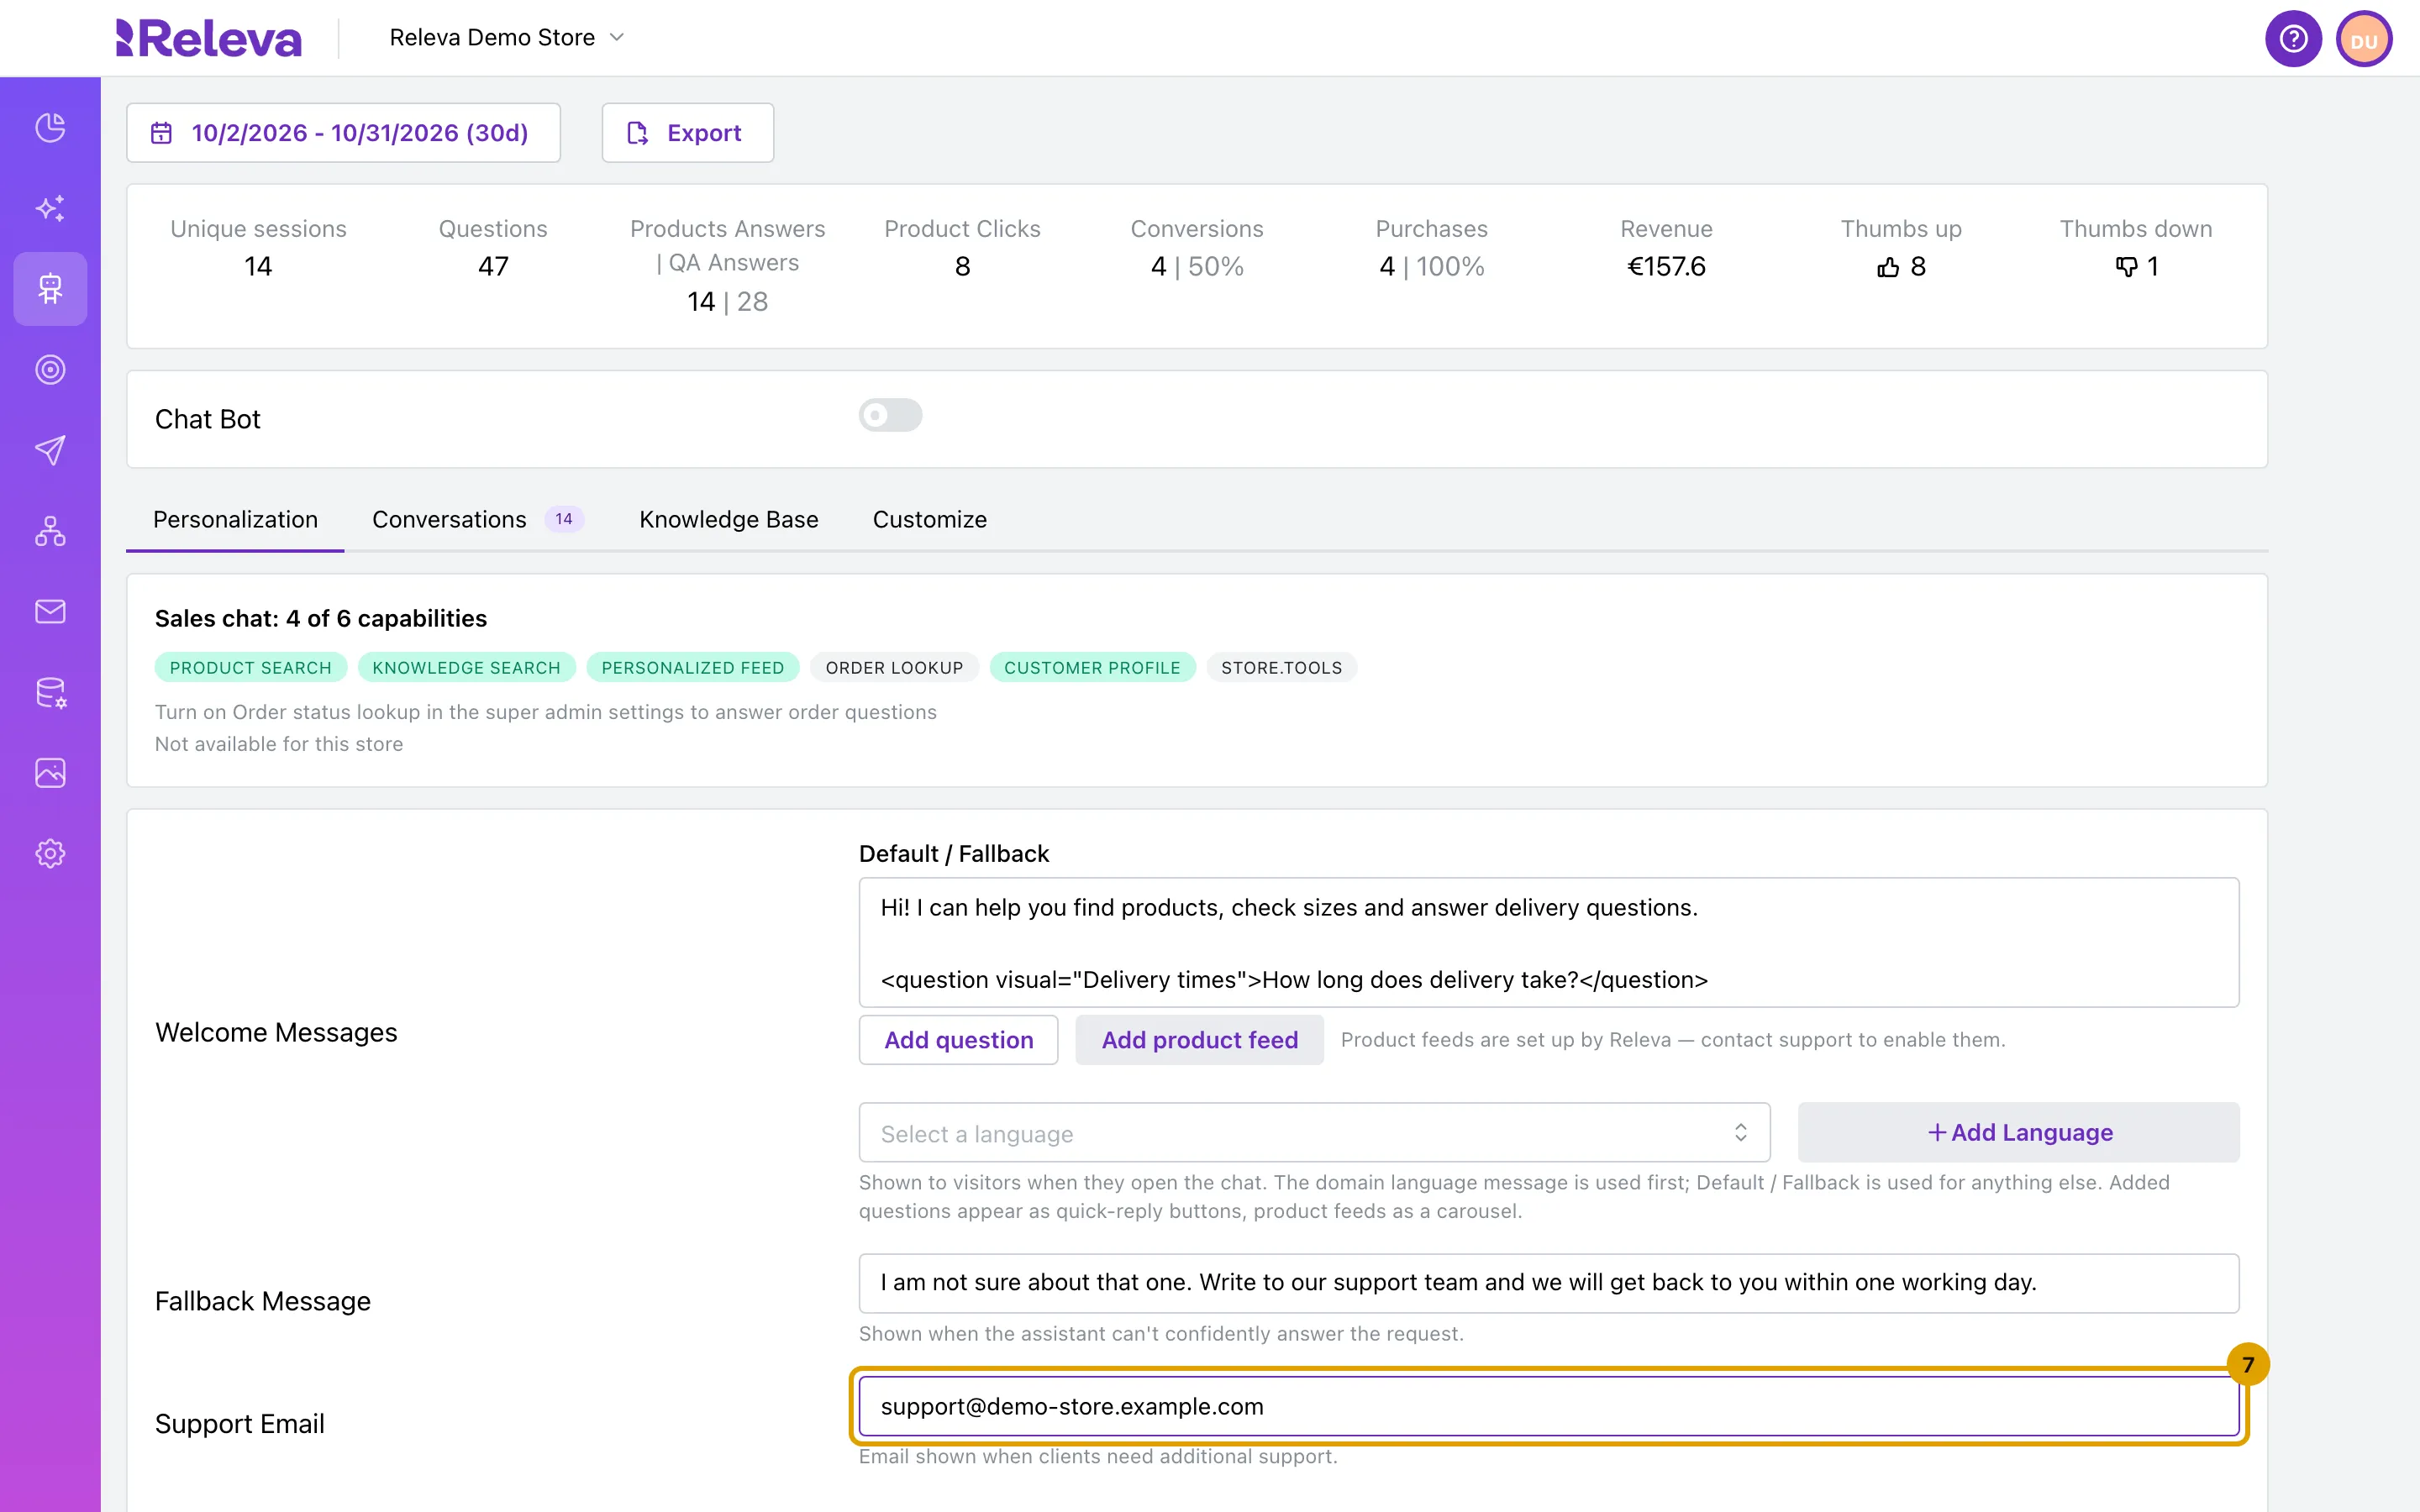
In Support Email, enter the address shoppers can write to for more help.
-
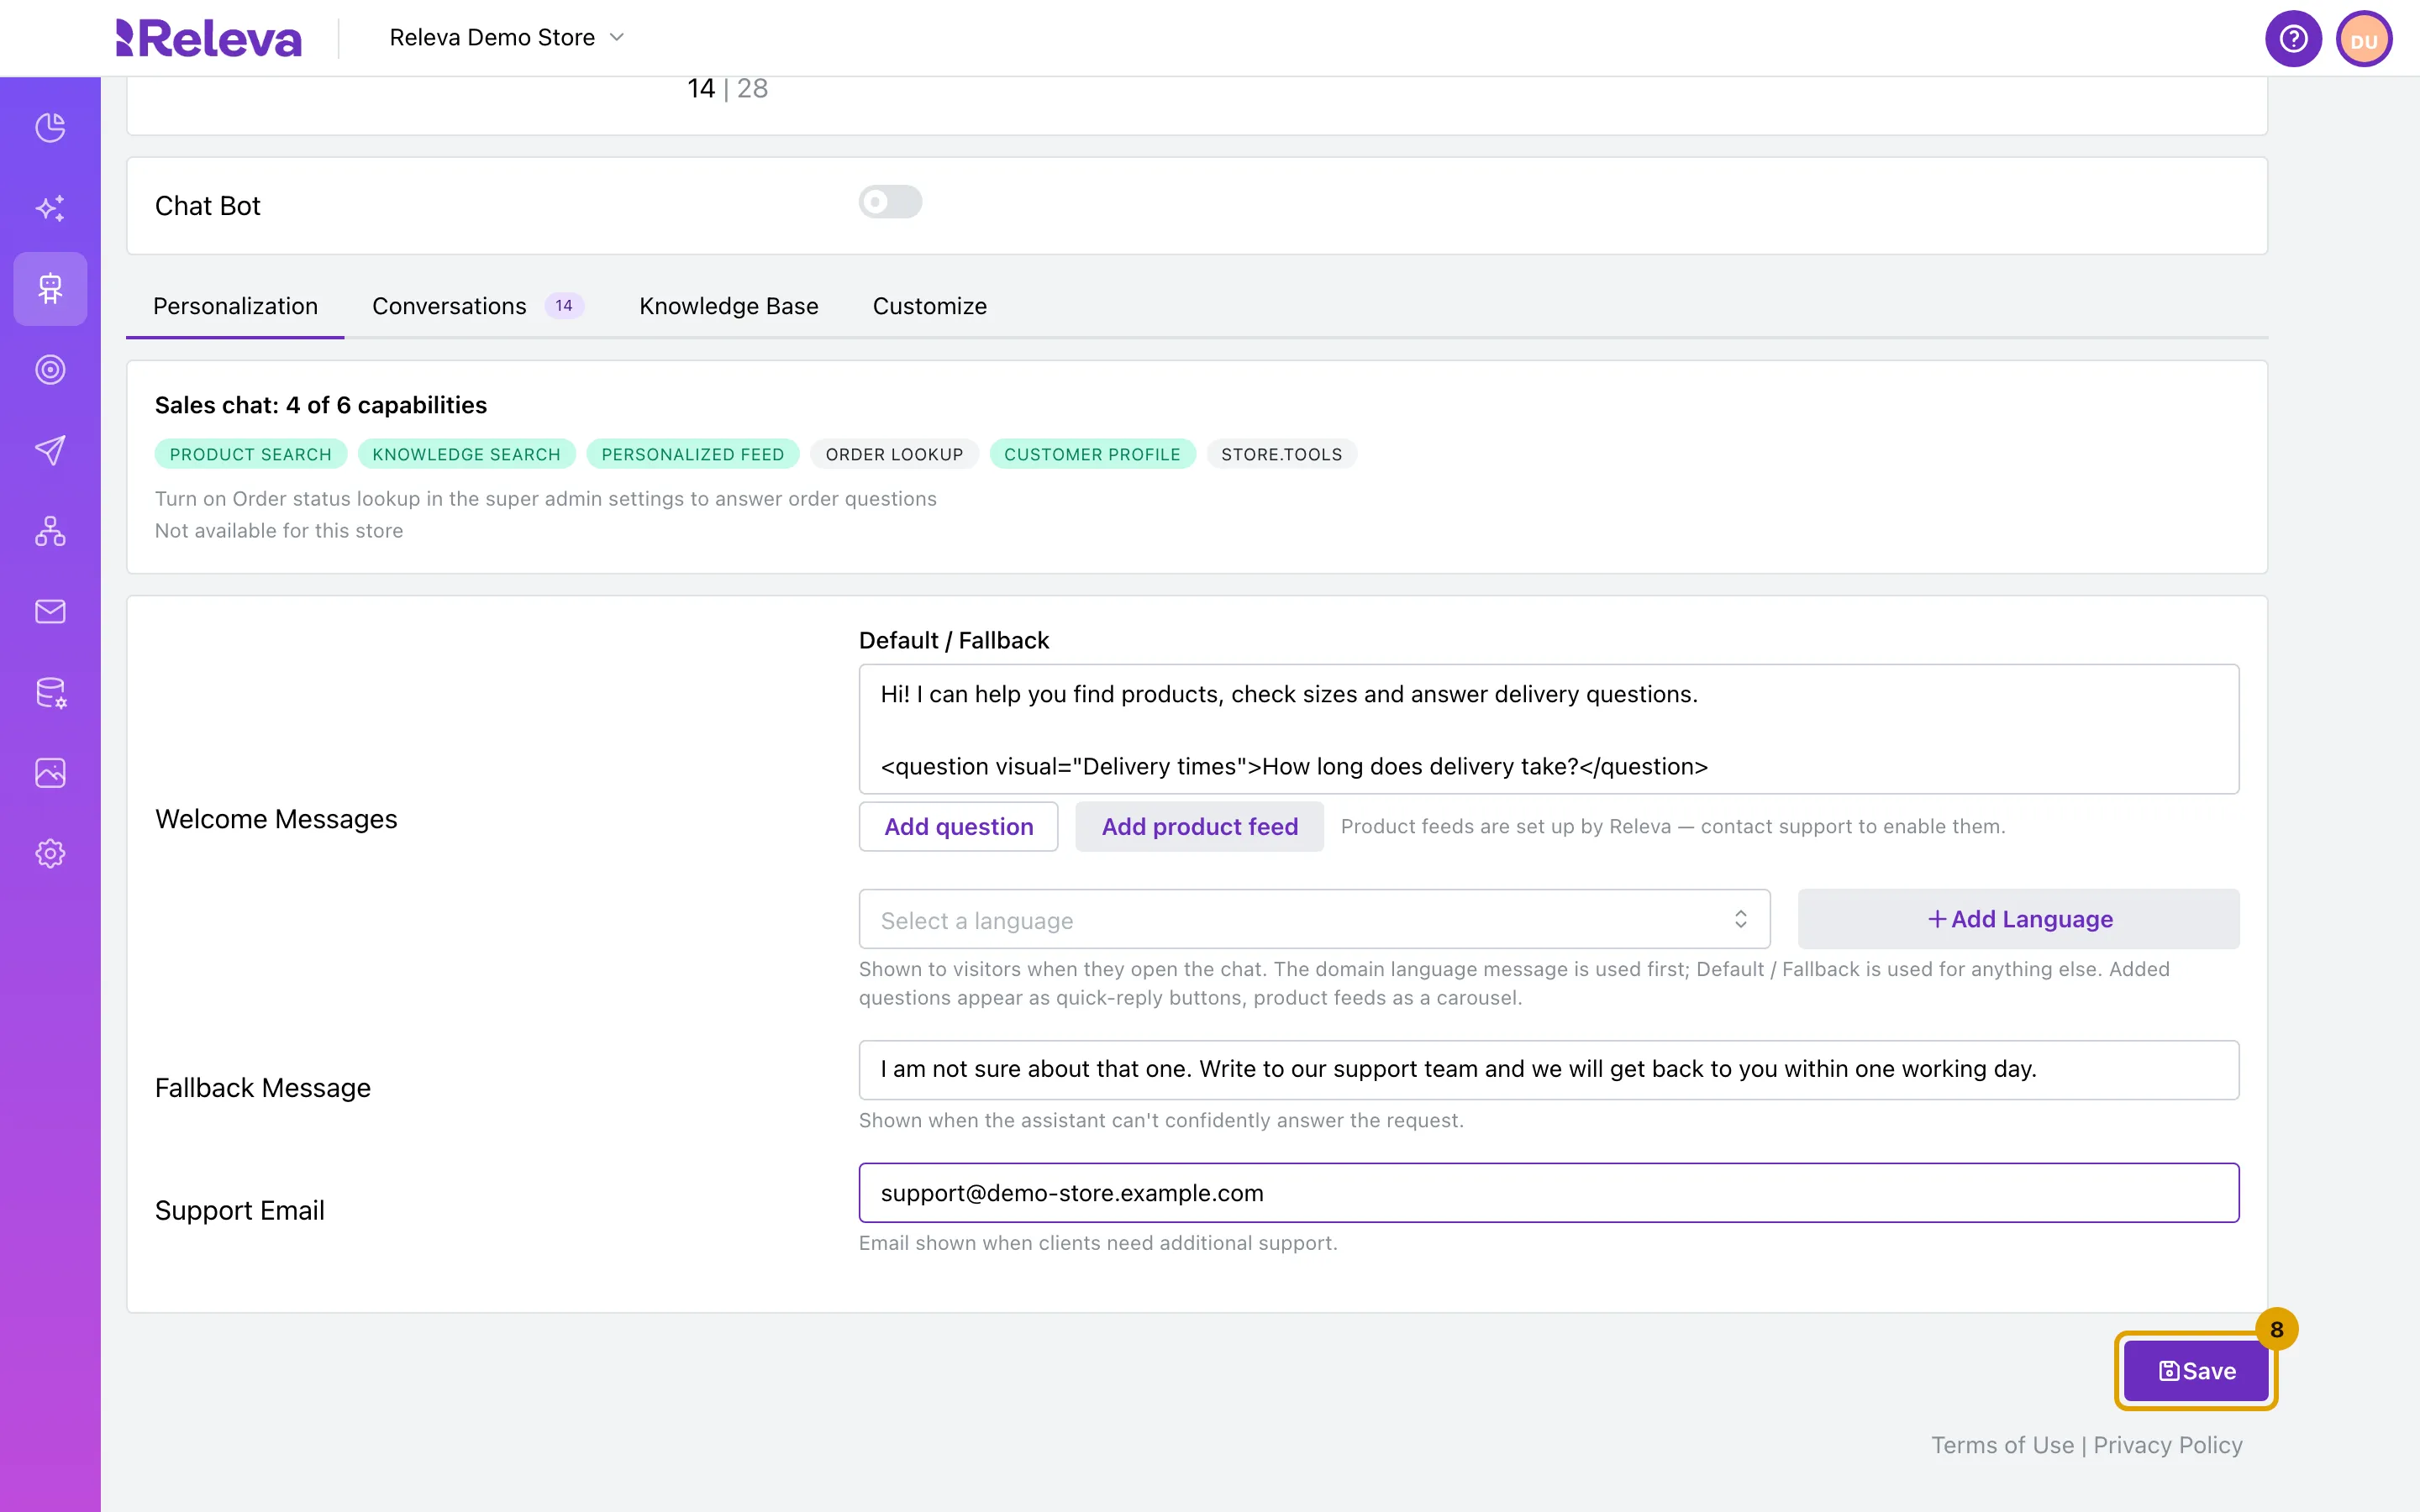
Select Save.
Check it worked
Section titled “Check it worked”-
The button at the bottom of the page reads Saved.
-
On your site, open the chat. With the Chat Bot switch still off, open a page with debug mode (
?rlv_mode=debug) to see the chat. See Check Releva on your site with debug mode. The chat opens with your message and a button for each question.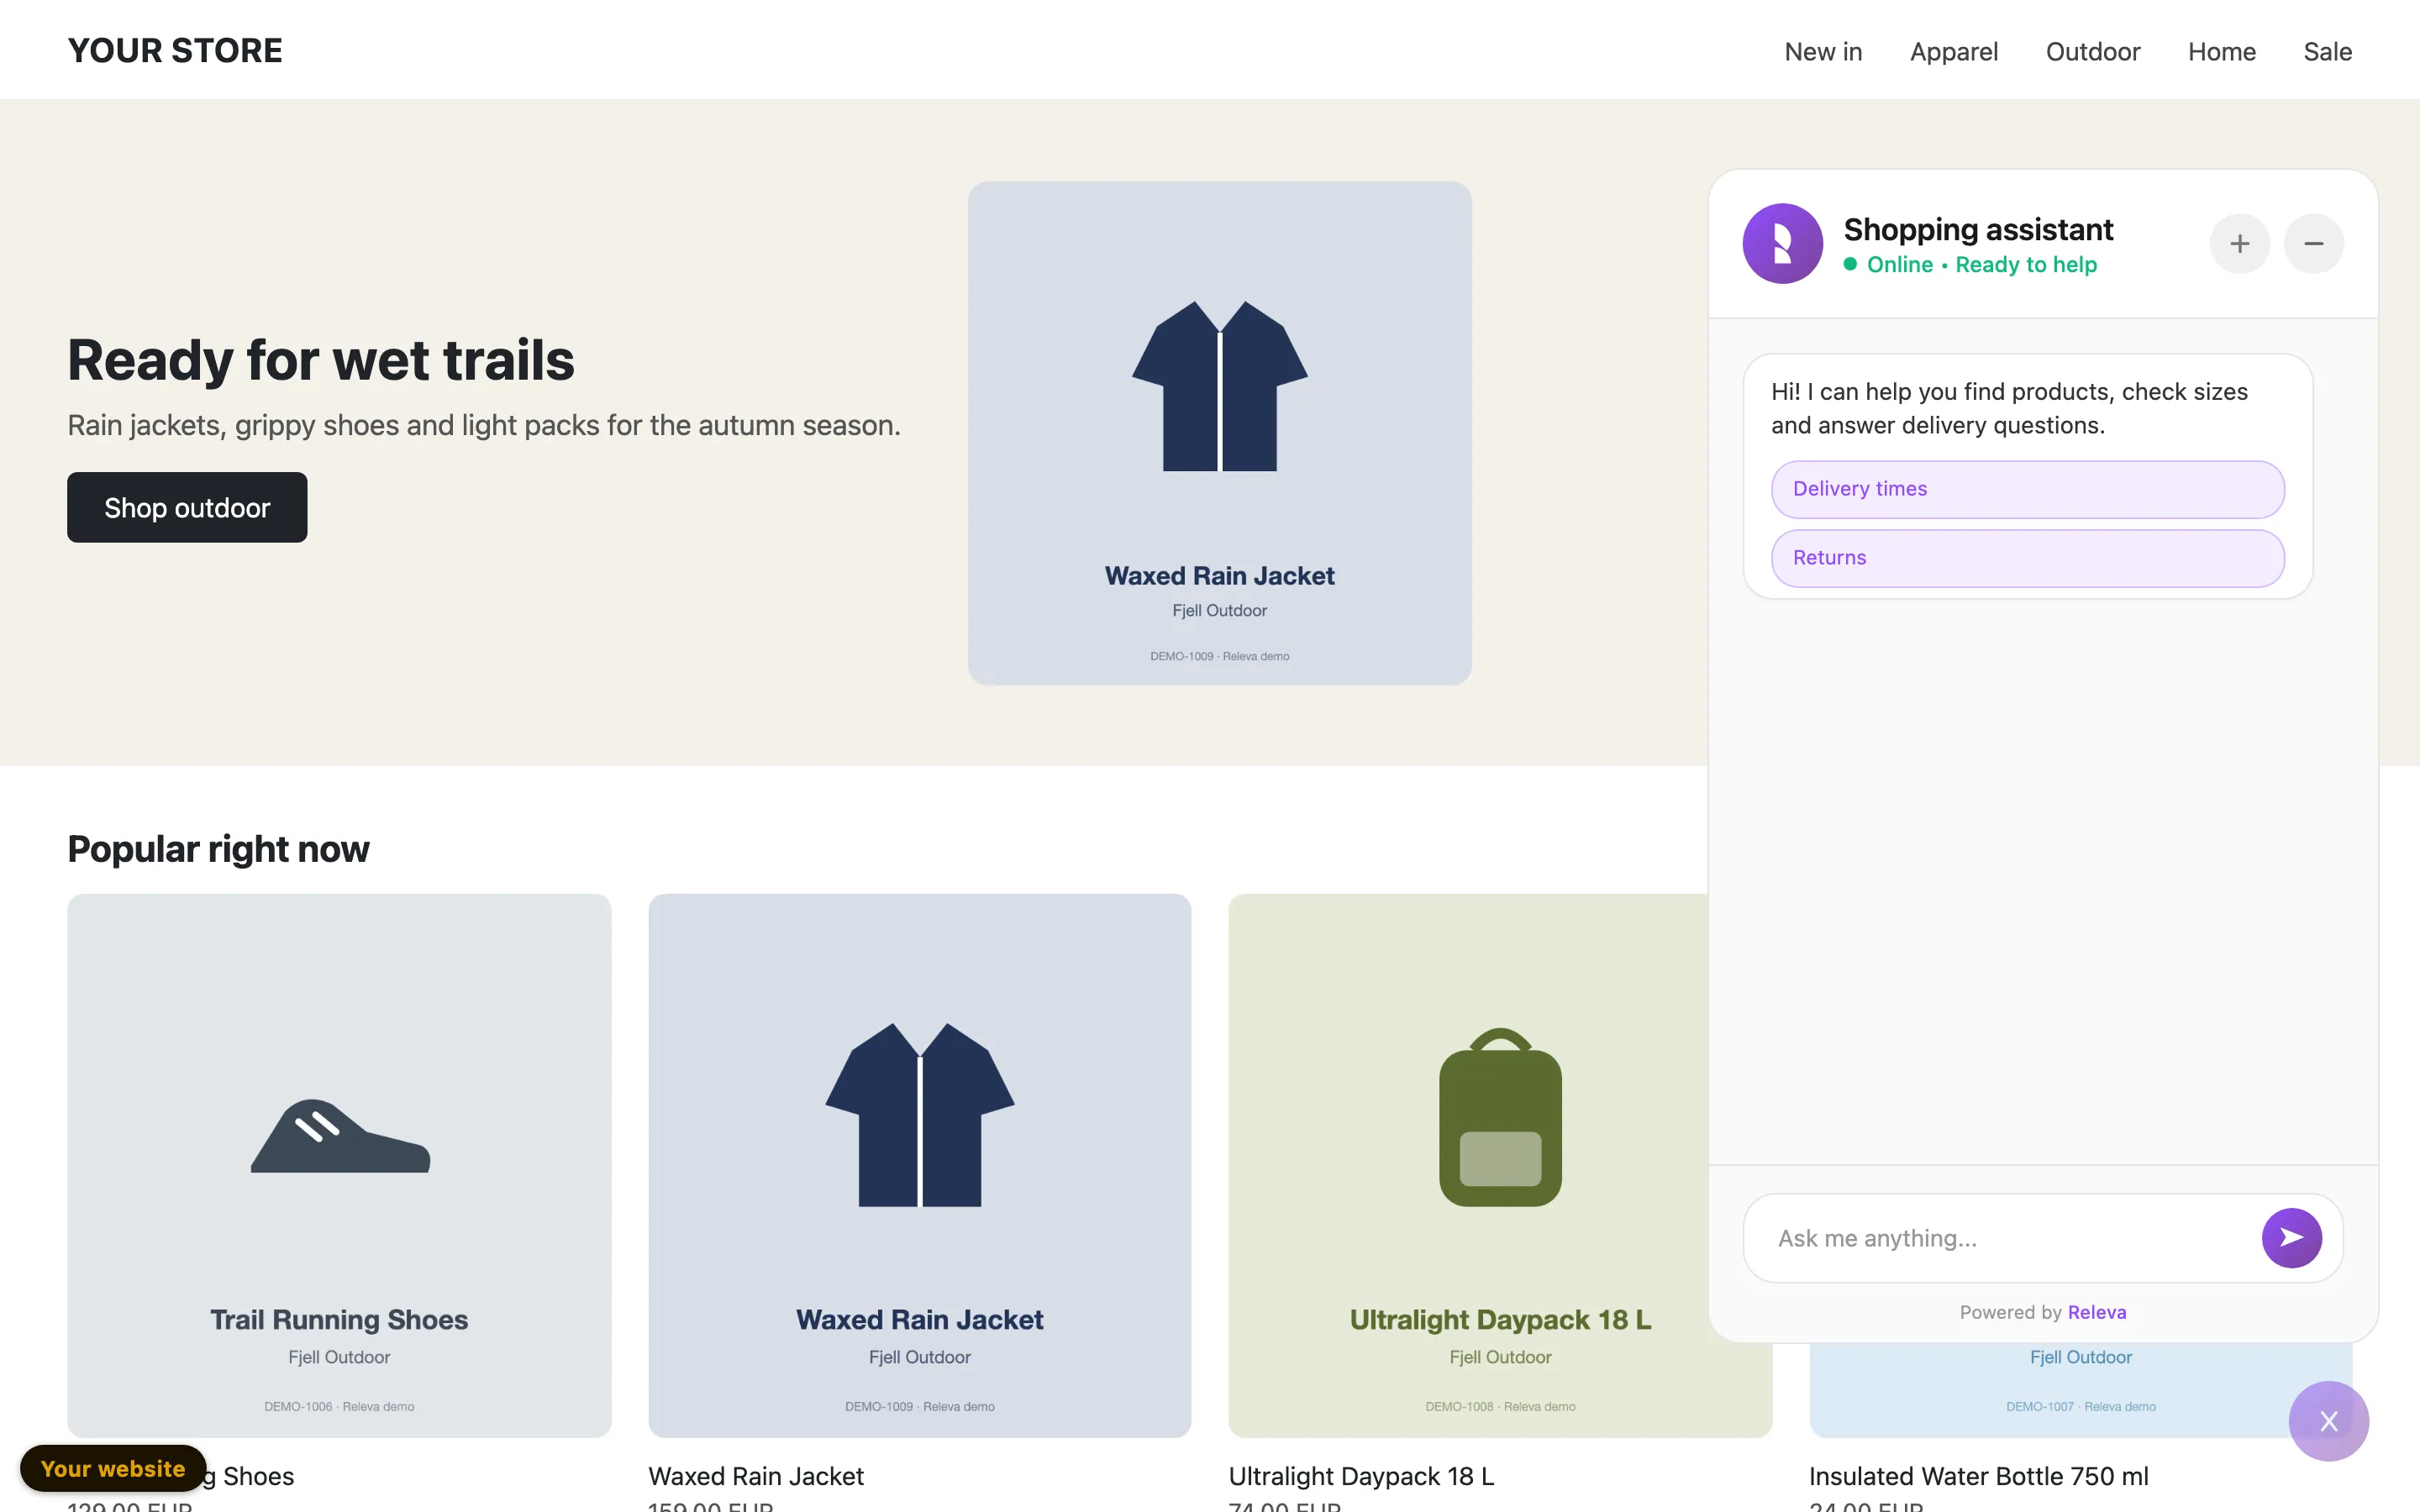
Troubleshooting
Section titled “Troubleshooting”Insert stays disabled. Both Button label and Message it sends need text. The characters ", < and > are removed from them, so a field with only those characters counts as empty.
The question shows as text, not as a button. The tag was changed by hand. Delete it and add the question again with Add question.
Add product feed is disabled. No product feed is connected to the Sales Agent yet. The note next to the button reads Product feeds are set up by Releva — contact support to enable them.
Shoppers see an empty welcome message. A language box you added is empty. Write the message in it, or remove the box with its delete icon so Default / Fallback is used.
Shoppers see the default message instead of their language. Add a message for that language with Add Language. The chat picks the language of the page, so check that your site tells Releva the page language.