

Choose how Releva manages subscriptions
The General tab of Settings › Messaging decides who owns your customers’ consent (Releva or your shop), what happens when a customer fills in a sign-up form, and which subscriptions appear in the subscription manager your customers see. Set it once when you connect your shop, and review it before you launch a new sign-up form.
Before you start
Section titled “Before you start”- You know whether your shop keeps its own record of who is subscribed. If it does, pick External; if Releva is the only place you send marketing from, pick Internal.
- If your integration sends subscriptions, have the exact keys it uses to hand. Your developer can find them in the integration’s code.
- Changes apply to the whole shop as soon as you save them.
-
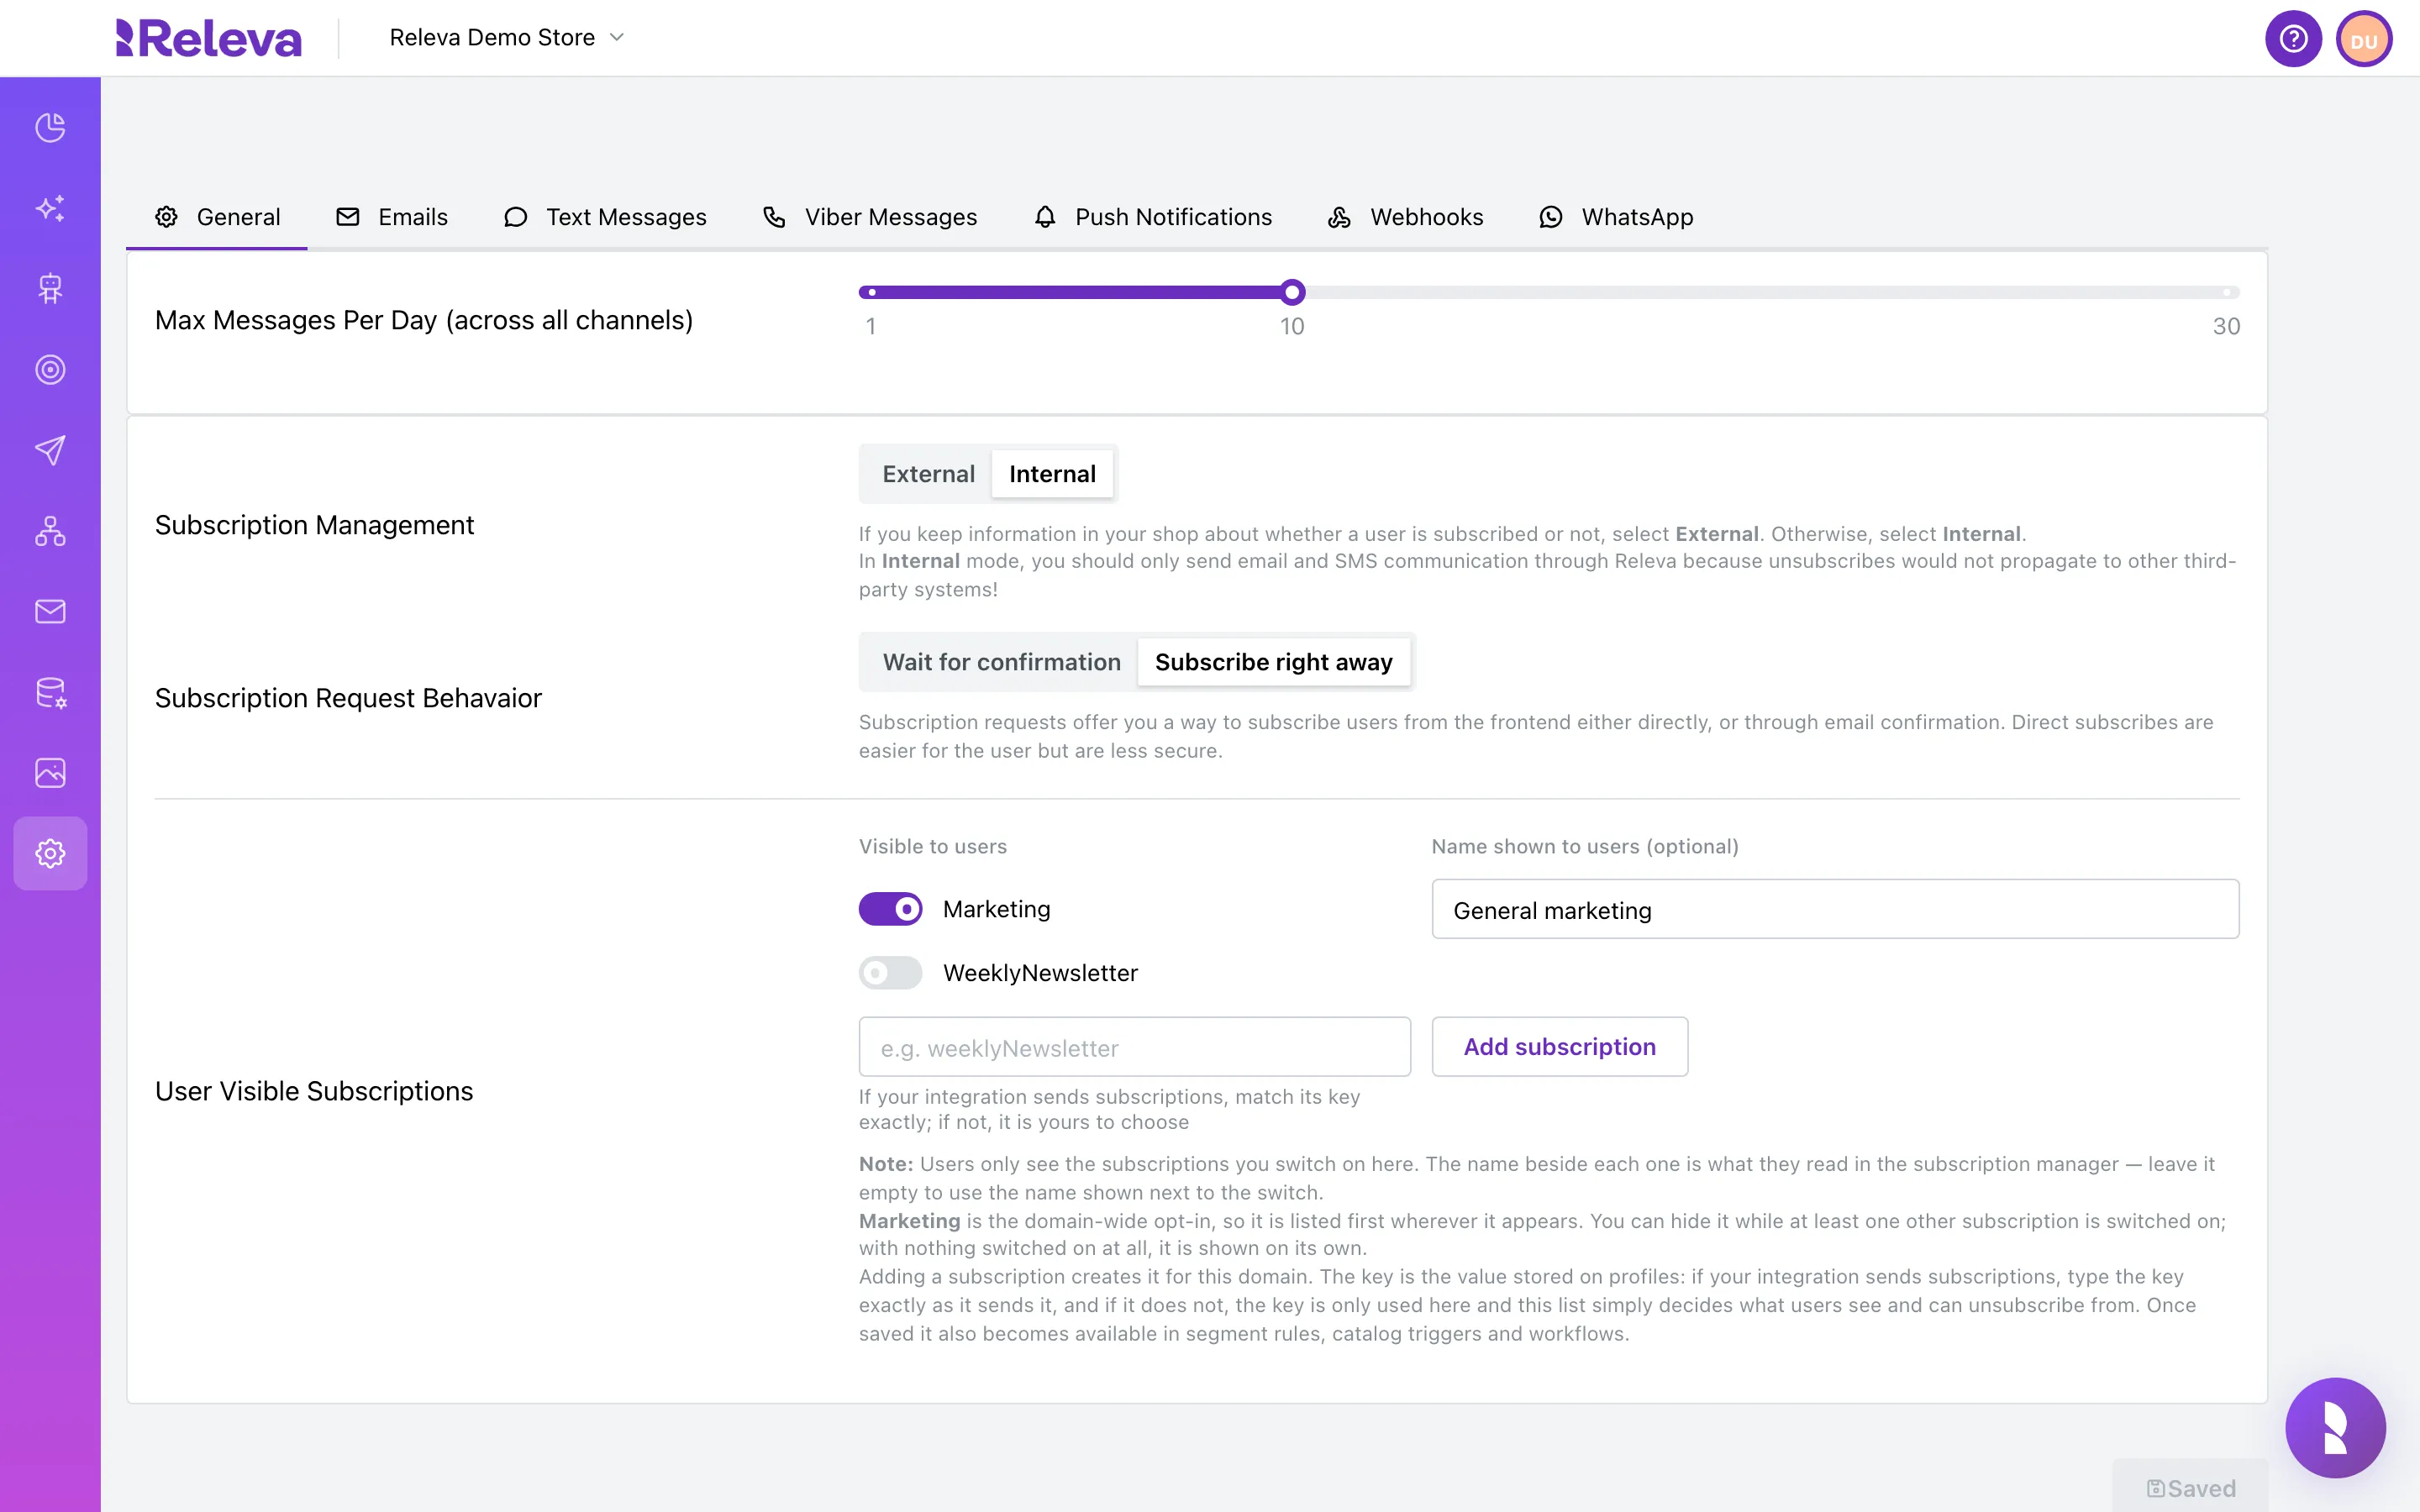
Open Settings › Messaging. The General tab opens.
The subscription settings are in the card below Max Messages Per Day and Click Tracking. The screenshots leave out the Click Tracking card, which belongs to sending setup, not to consent.
-
Under Subscription Management, select Internal if Releva keeps your subscribers, or External if your shop does.
Mode What it means Internal Releva stores consent. Unsubscribe links in messages open Releva’s Subscription preferences page, every profile page has a Subscribe / Unsubscribe button, and the settings below appear. Send email and SMS only through Releva, because unsubscribes do not propagate to other systems. External Your shop stores consent. Emails link to your Email Unsubscribe URL (or to the per-profile link your integration sends), and your shop must tell Releva about every opt-out. The Subscriber Sync API field lets Releva pull your subscriber list from a URL you implement. 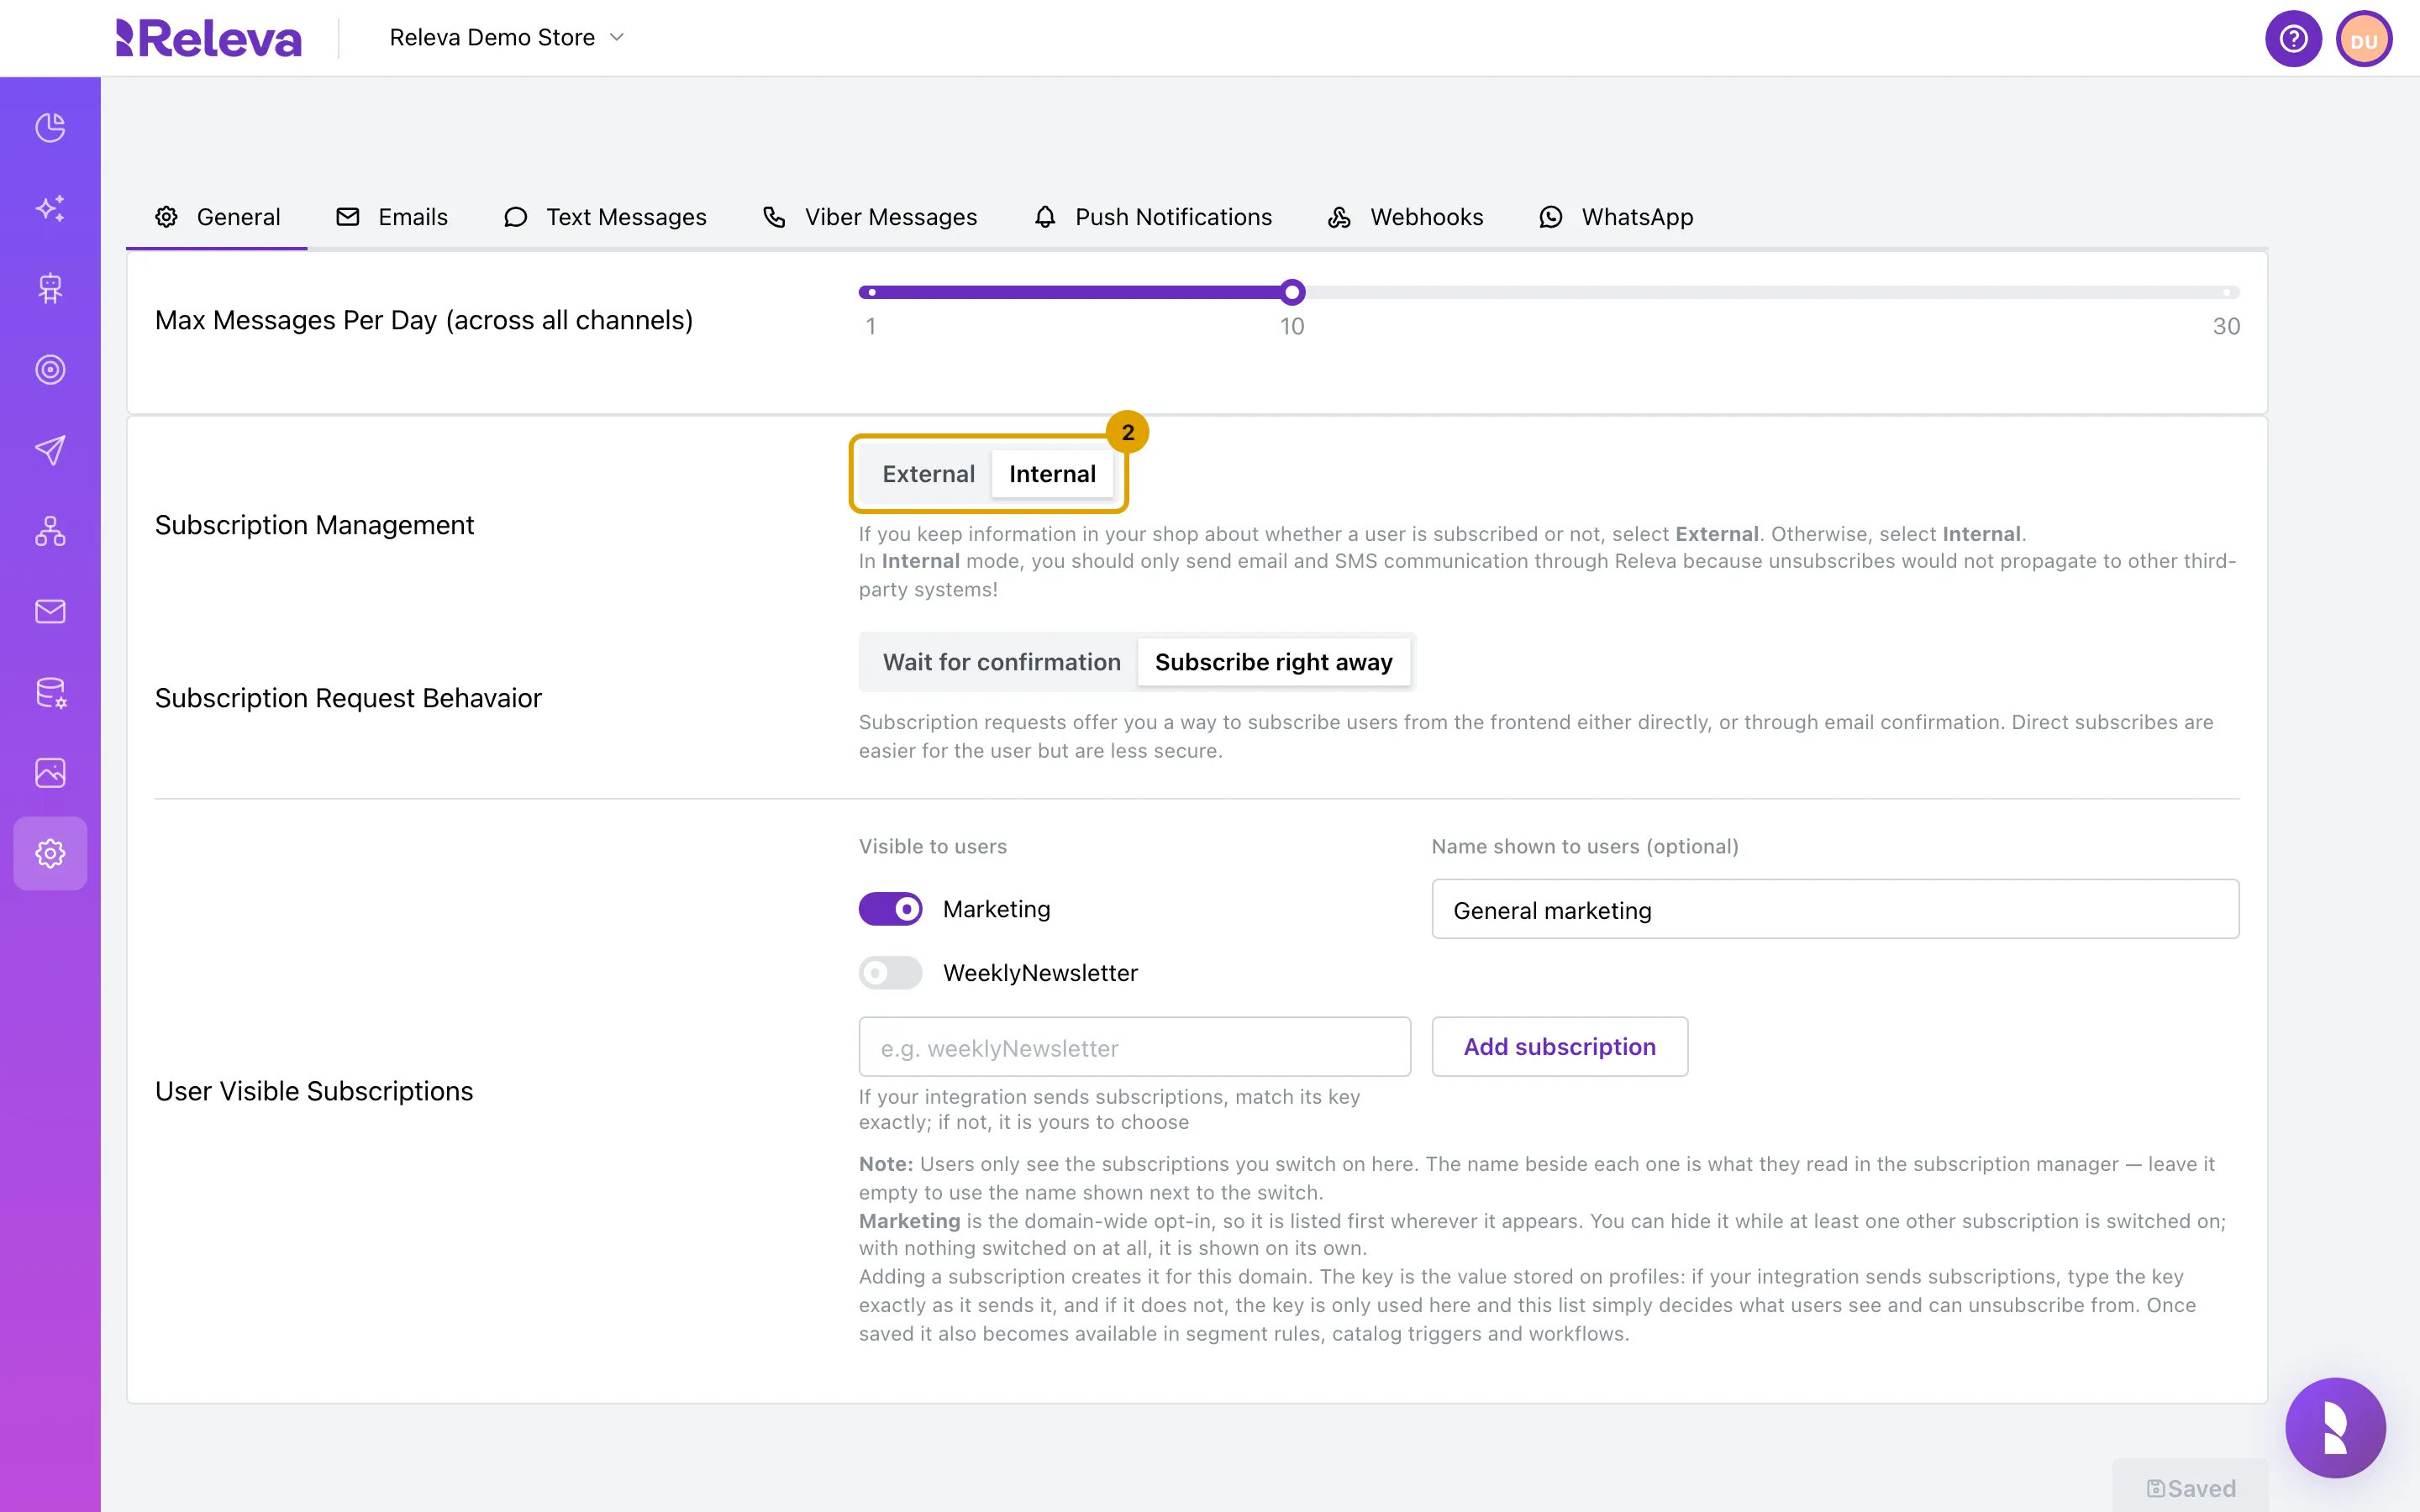
-
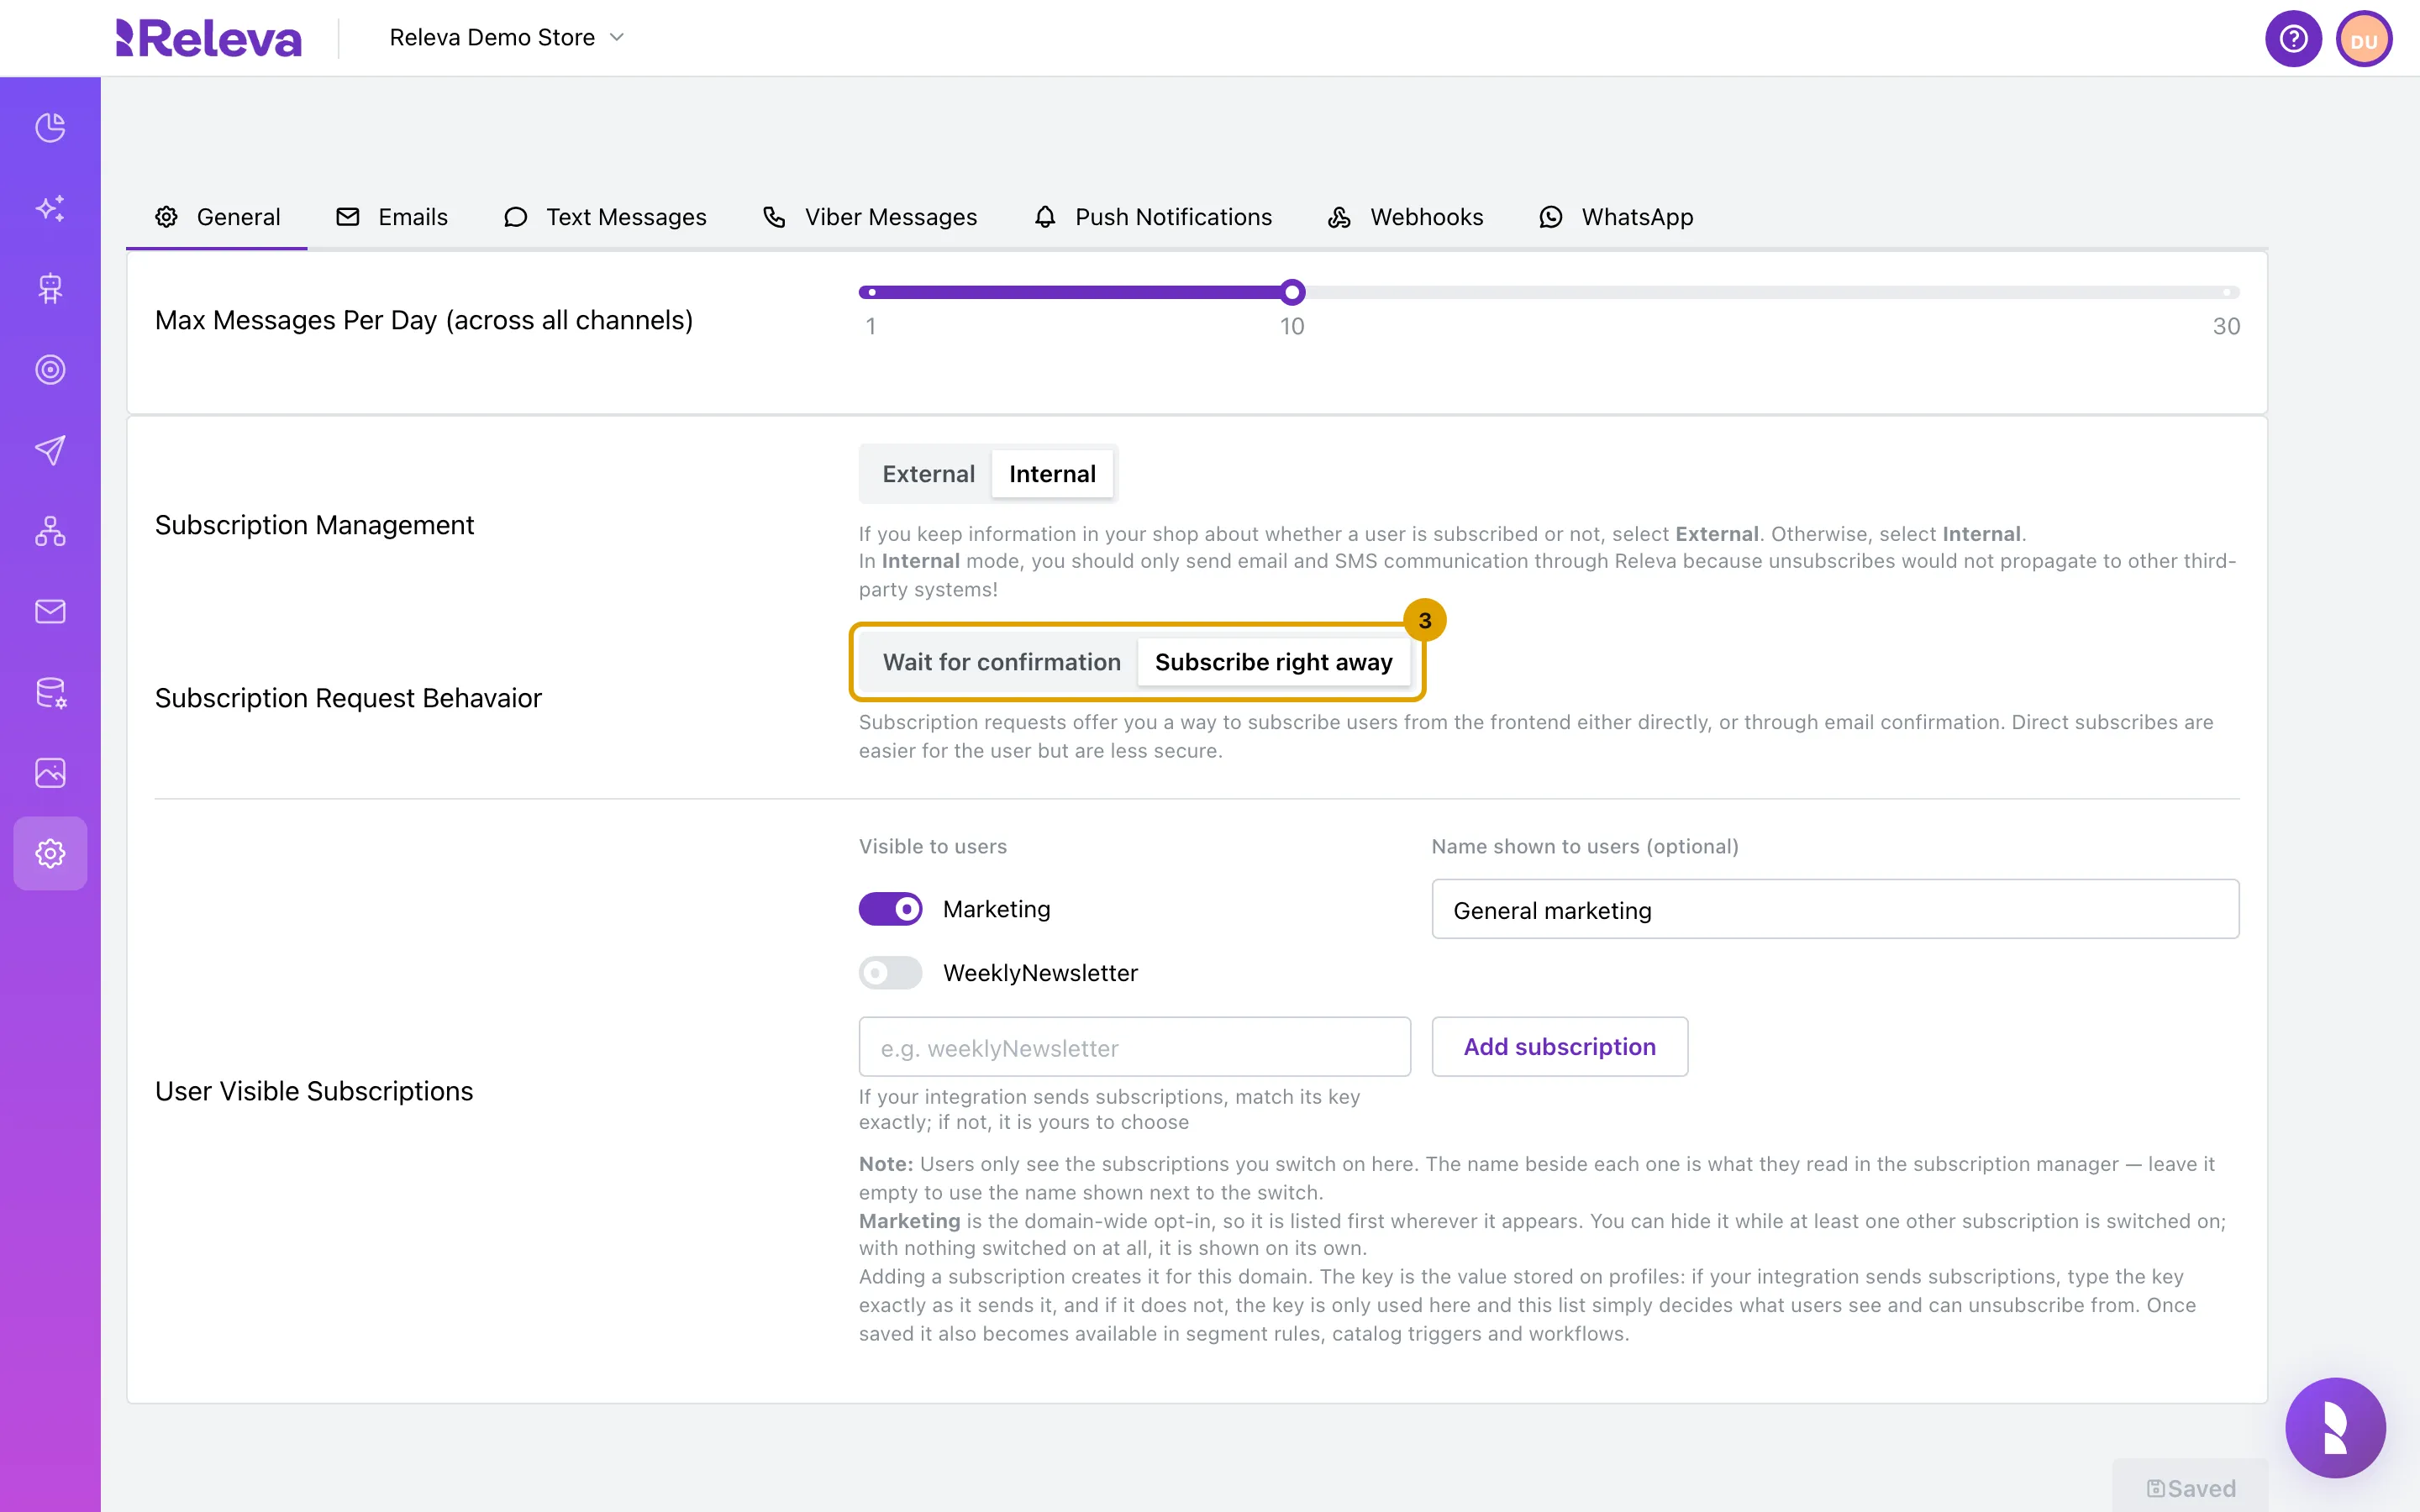
With Internal, choose whether sign-up forms Wait for confirmation by email or Subscribe right away.
This setting is labelled Subscription Request Behavaior in the current UI. It applies to sign-ups from your site, such as Releva forms and banners and your own sign-up forms:
- Wait for confirmation: the customer is not subscribed yet. Releva records a Subscribe Request Submitted event, which you use to trigger a workflow that sends a confirmation email with the
{{subscribeLink}}merge tag. The customer is subscribed when they open the link (double opt-in). - Subscribe right away: the customer is subscribed immediately. Easier, but anyone who copies your shop’s public access token can subscribe any address, so consider a welcome email with an unsubscribe link.
Subscribing from the admin, or from your shop’s server, always subscribes right away, whatever this setting says.
- Wait for confirmation: the customer is not subscribed yet. Releva records a Subscribe Request Submitted event, which you use to trigger a workflow that sends a confirmation email with the
-
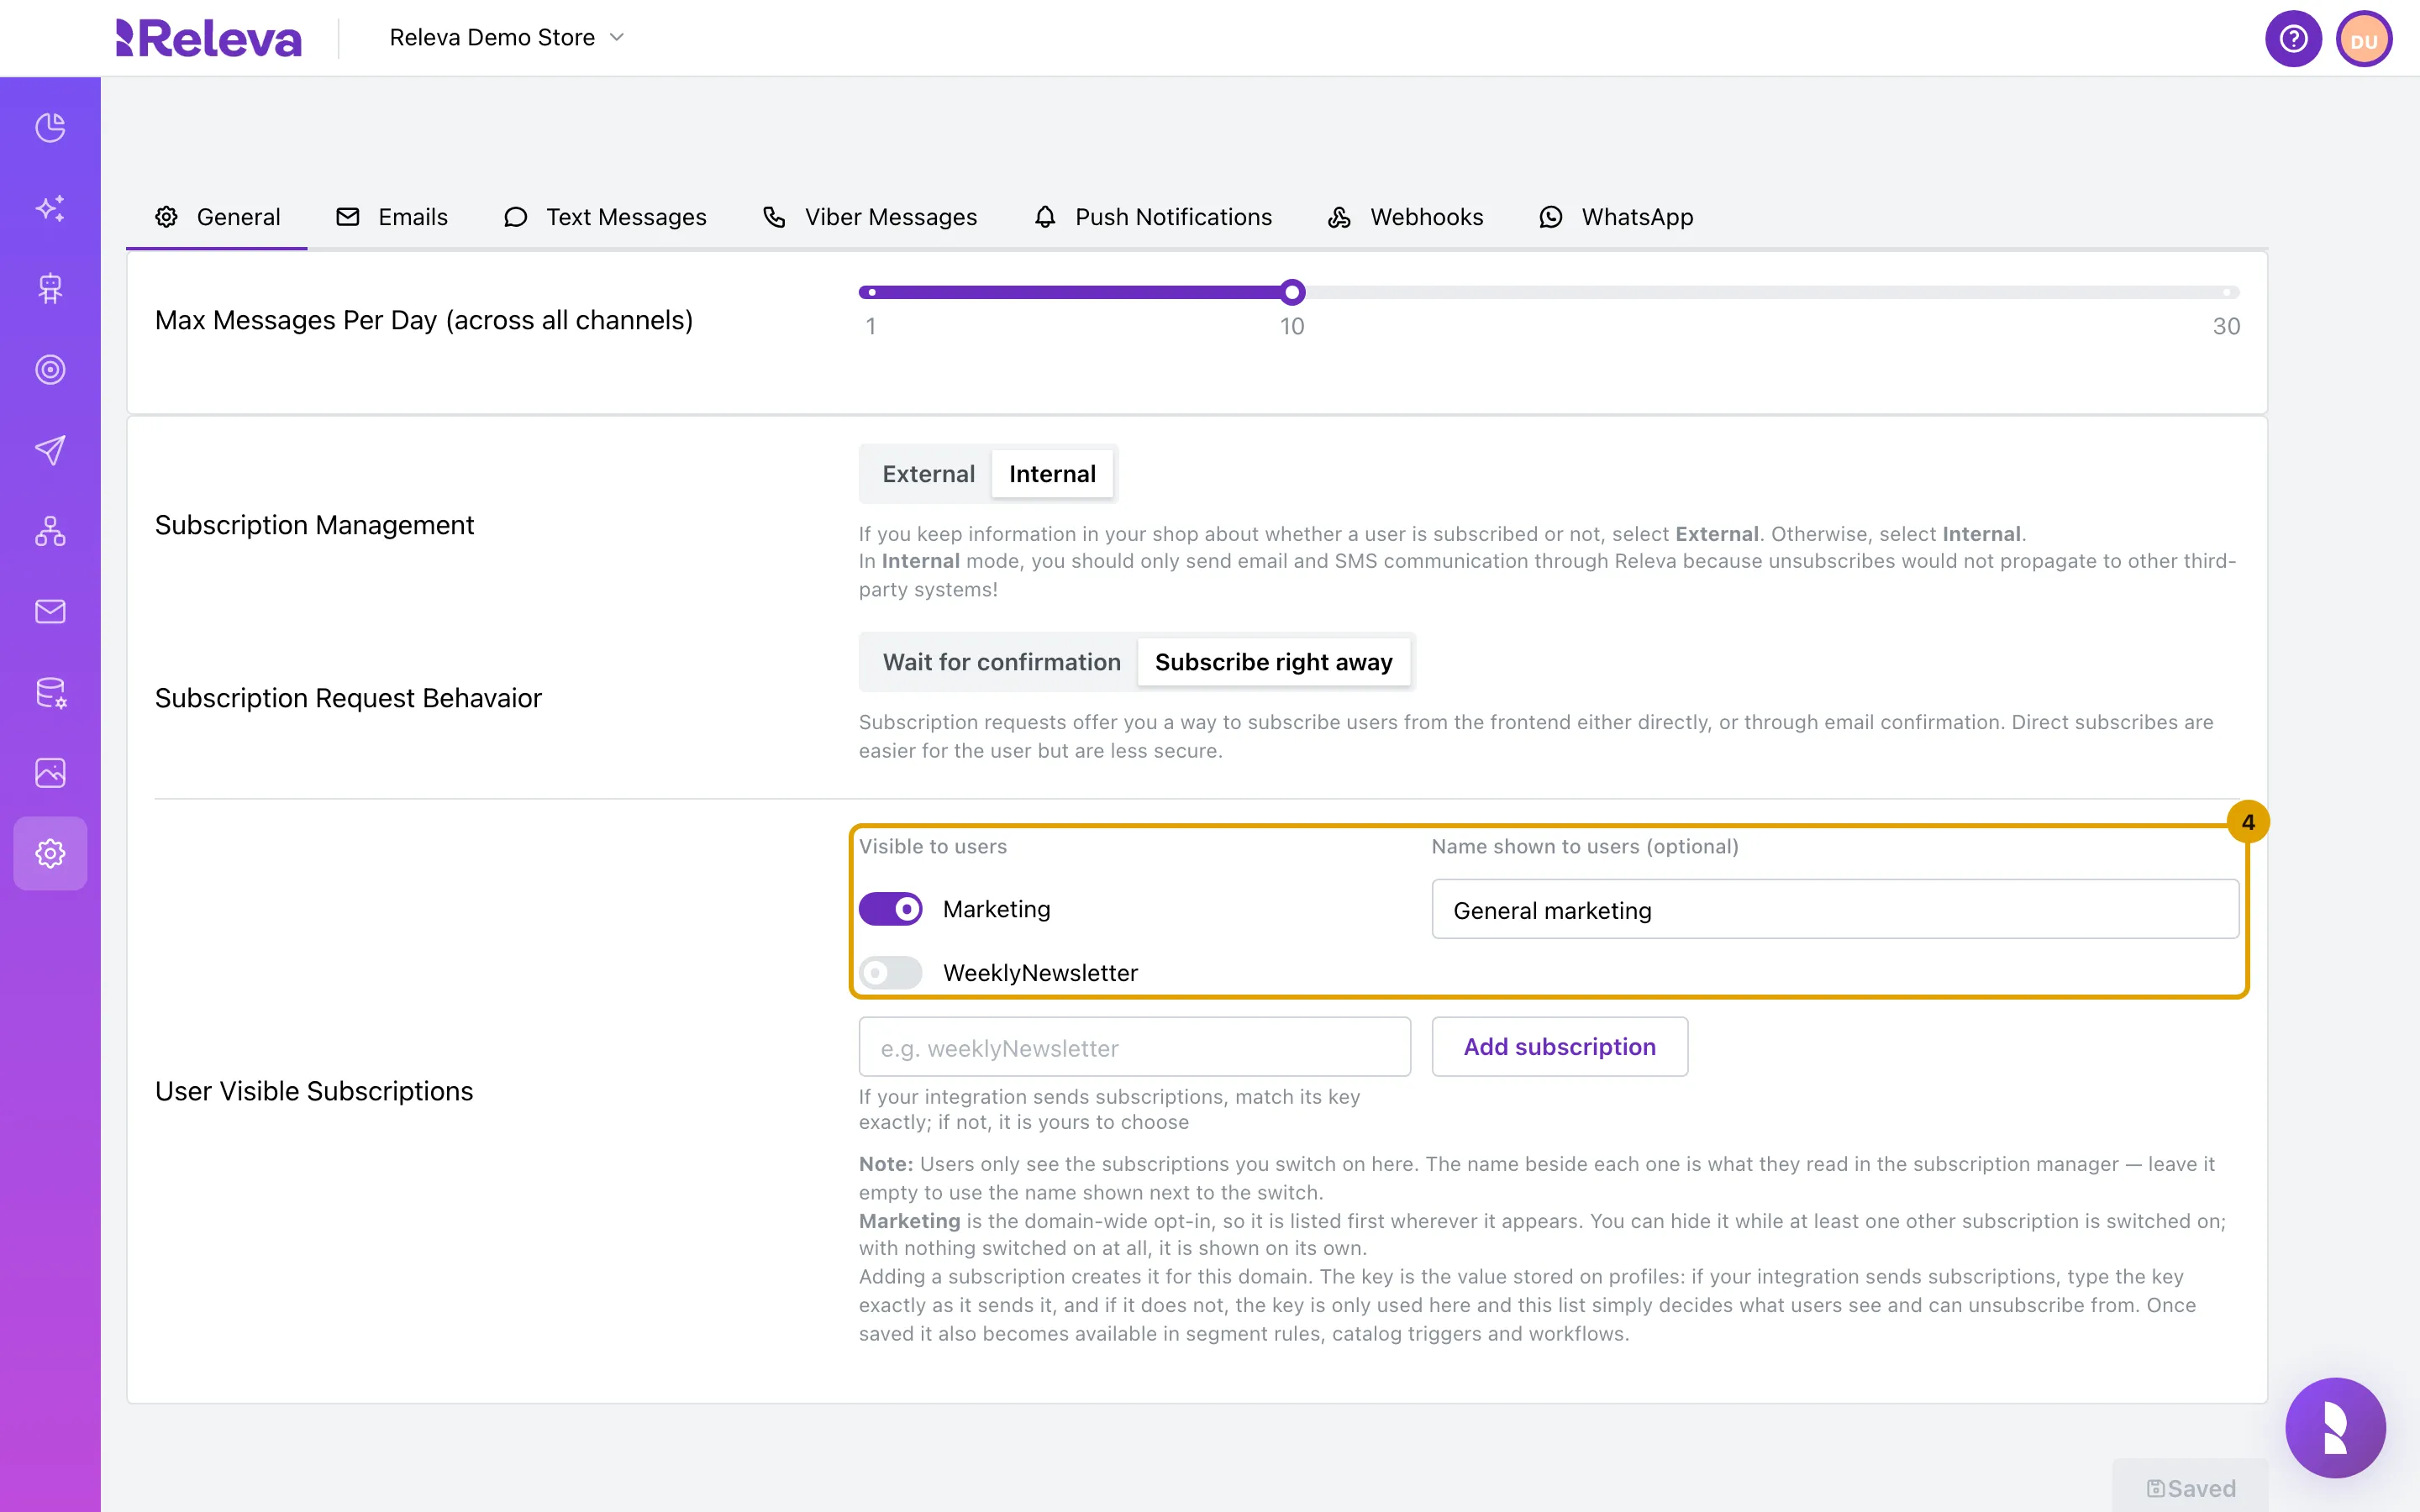
Under User Visible Subscriptions, switch on the subscriptions your customers can see and unsubscribe from.
Each row is a subscription key known to your shop. Visible to users puts it in the subscription manager; Name shown to users (optional) replaces the key with a caption. Marketing is the shop-wide opt-in and is listed first; you can hide it only while at least one other subscription is switched on.
What you switch on here also decides what an unsubscribe removes: only user-visible subscriptions are cleared, subscriptions set through the API and never shown stay on the profile.
-
To add a subscription, type its key.
Type it in the field with the placeholder
e.g. weeklyNewsletter. If your integration sends subscriptions, match its key exactly; if not, the key is yours to choose.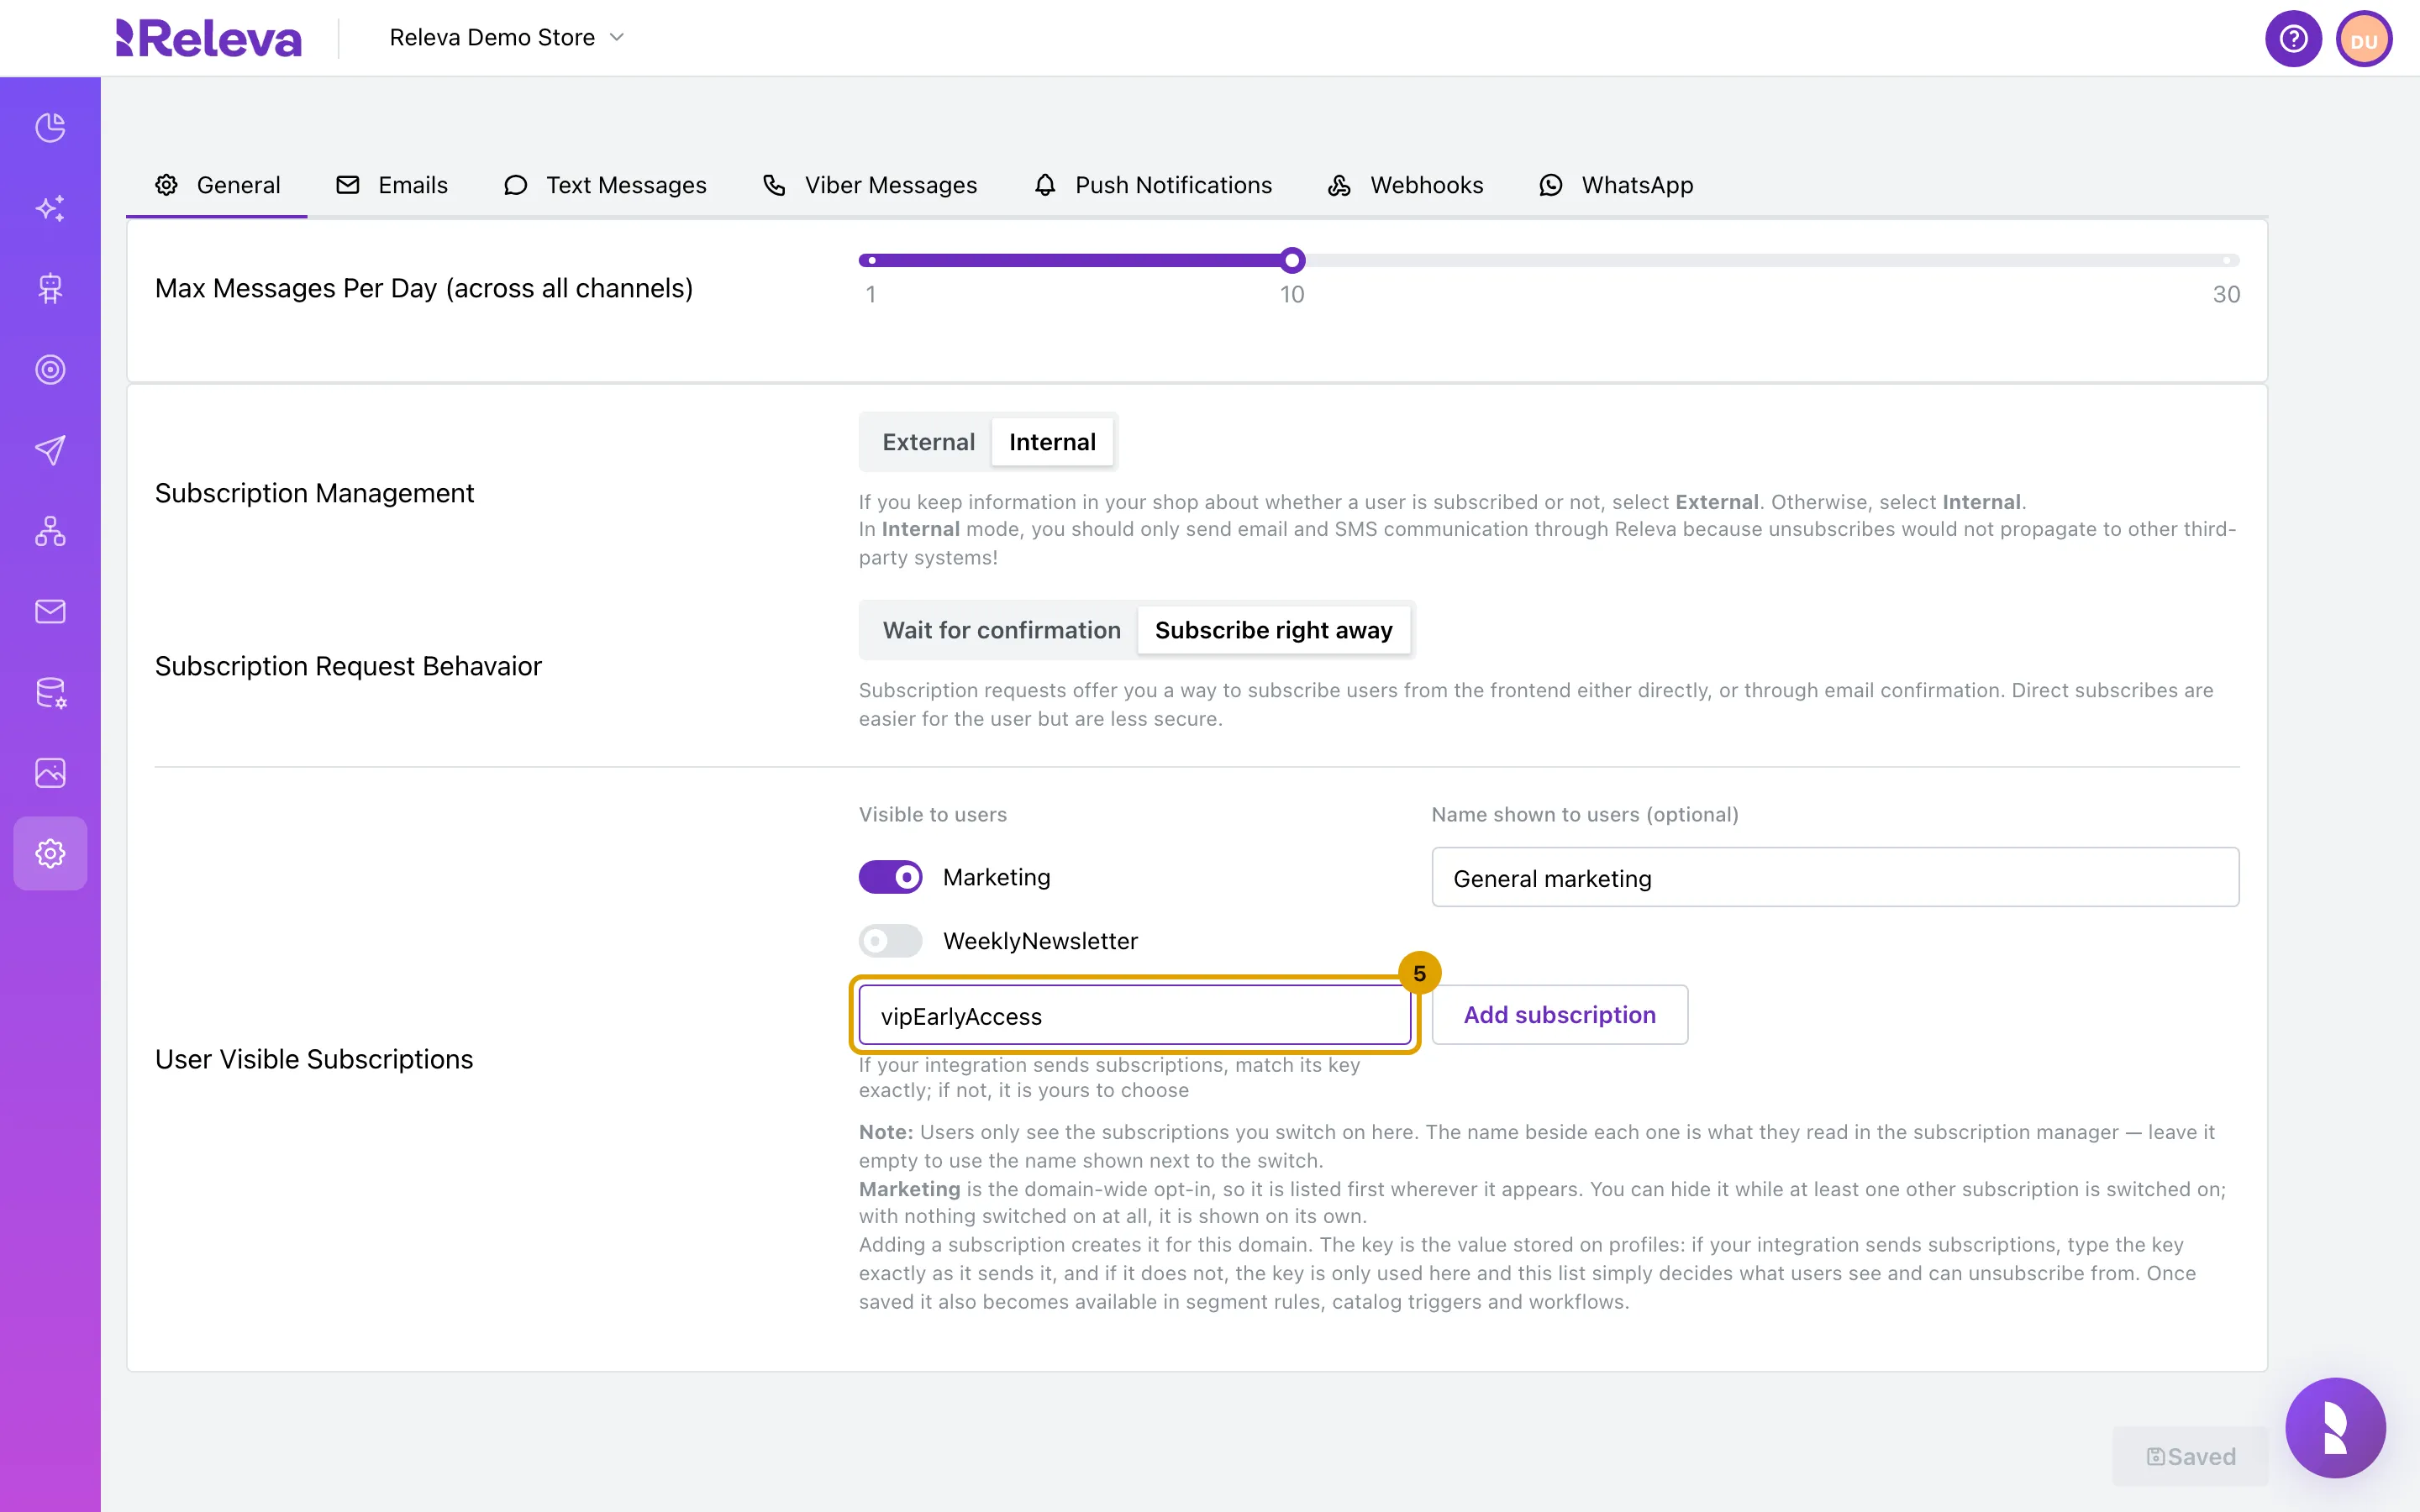
-
Select Add subscription.
The new row appears switched on, with a caption derived from the key (
vipEarlyAccessbecomes VipEarlyAccess). Pressing Enter in the field does the same. Once saved, the key is also available in segment rules, catalog triggers and workflows.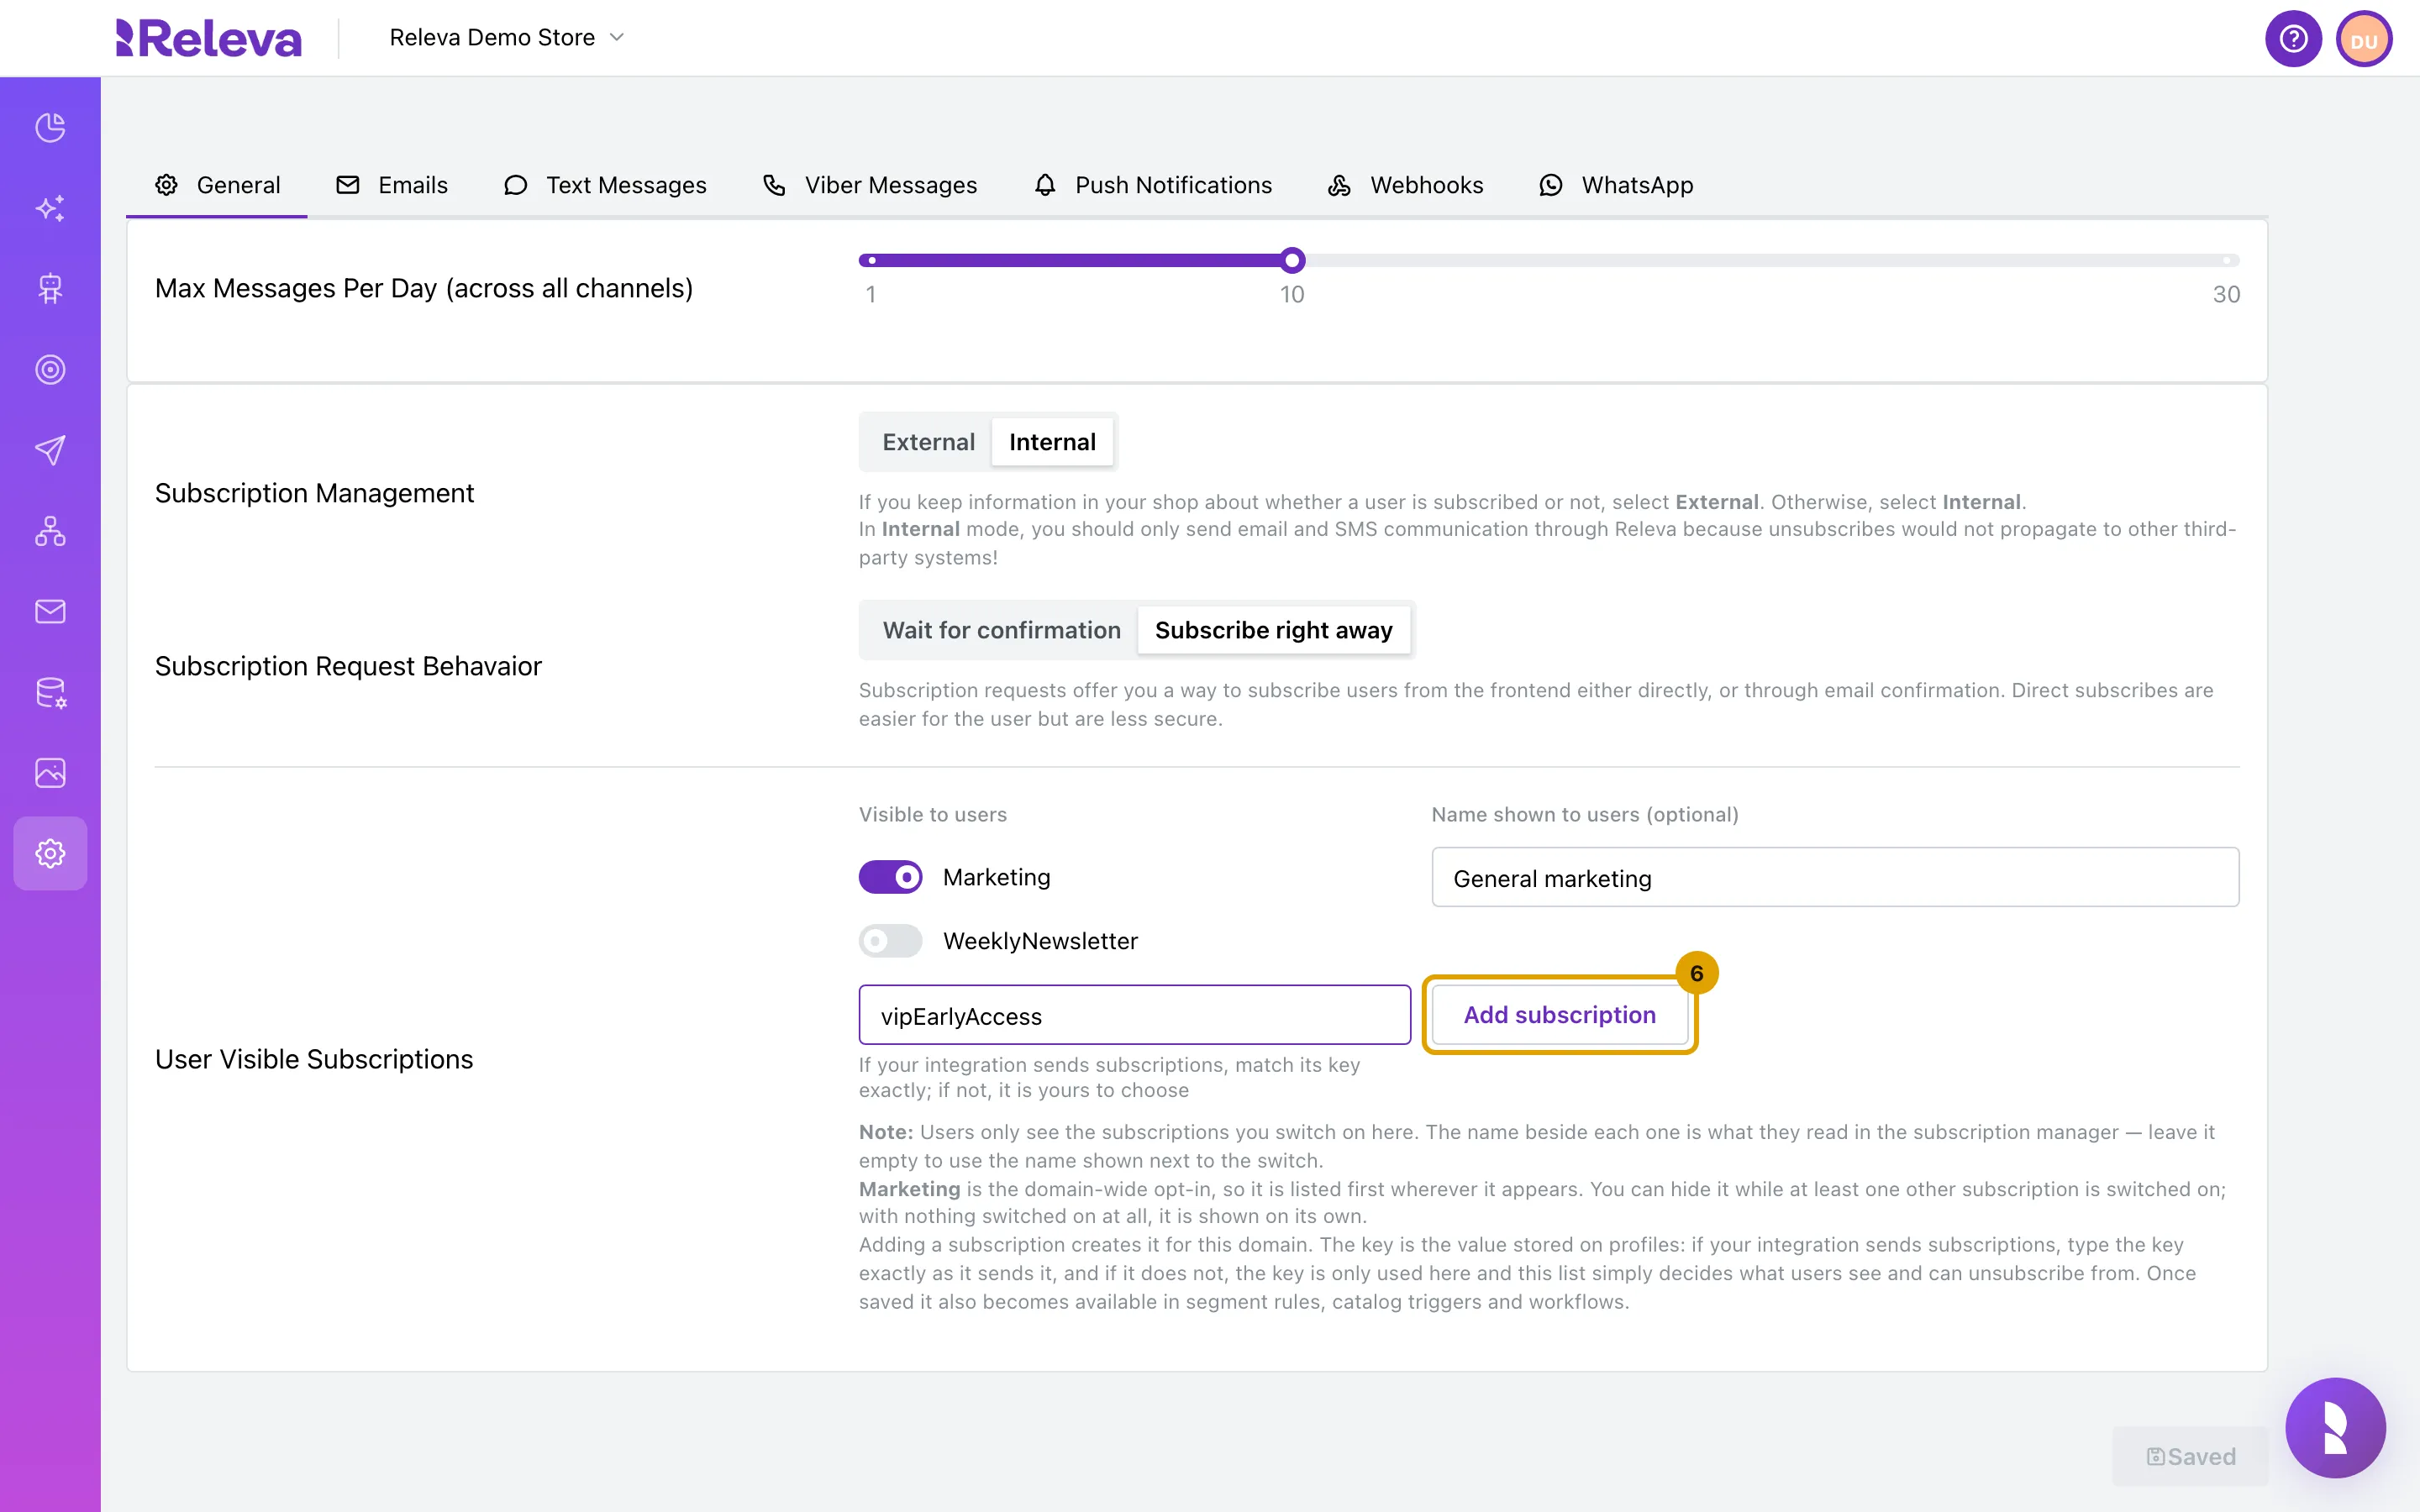
-
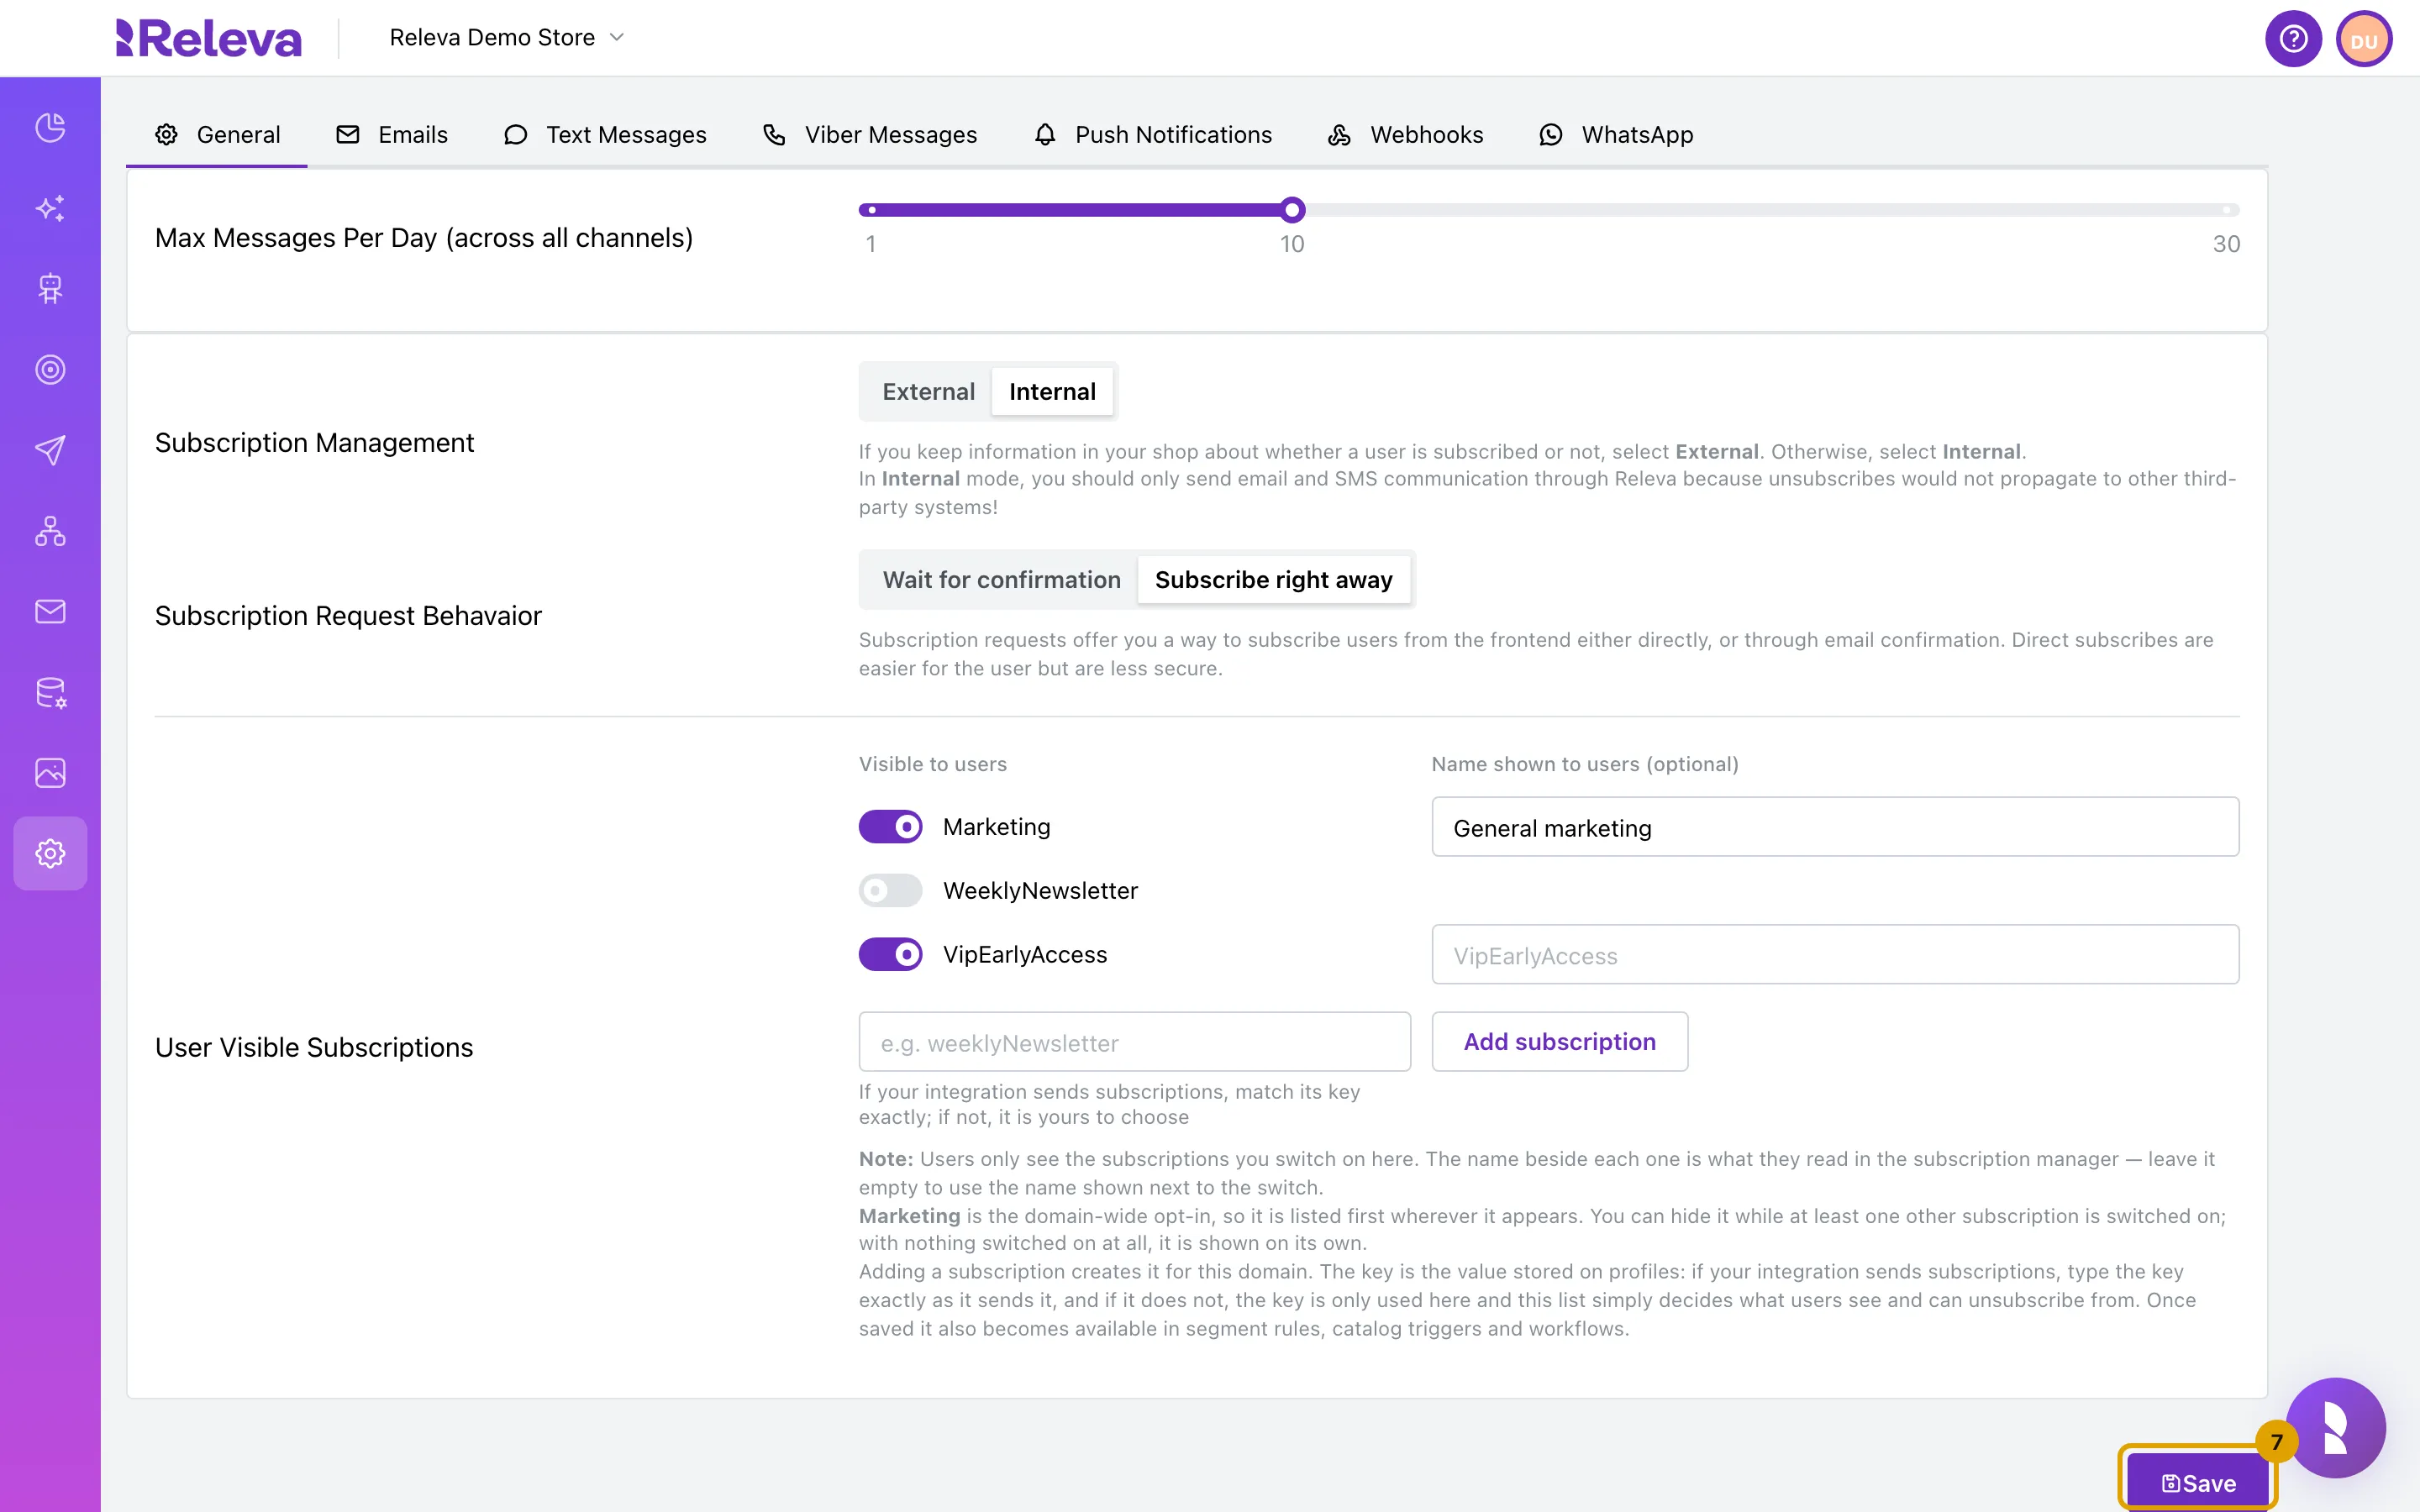
Select Save.
The button reads Saved and is disabled until you change something else. Leaving the page without saving discards your edits.
Check it worked
Section titled “Check it worked”- The Save button reads Saved.
- Reload the page: the mode, the request behaviour and the switched-on subscriptions are as you set them.
- With Internal, any profile page under Data Platform › Profiles shows a Subscribe or Unsubscribe button.
Troubleshooting
Section titled “Troubleshooting”Subscription Request Behavaior and User Visible Subscriptions are missing. They are shown only in Internal mode. In External mode you see Email Unsubscribe URL and Subscriber Sync API instead.
Add subscription shows “Enter a subscription key.” The field is empty. Type a key first.
Add subscription shows “<Name> already exists — select it in the list instead.” A row with that key already exists (the check ignores case). Switch that row on instead of adding a new one.
A key I never added appears in the list. The list includes every subscription key your integration or API calls have ever written to a profile. Leave it switched off if customers should not see it.
Marketing cannot be switched off. It can be hidden only while another subscription is switched on. With nothing else on, it is shown on its own.
Test next to Subscriber Sync API is disabled. In the current UI the button is enabled by the catalog sync URL under Settings › Shop & Integration, not by the subscriber sync URL. Use Sync Now to run the sync.