

Set up your email sender and DNS records
Releva sends email from an address on your domain. For that to work, your domain has to tell the world that Releva may send on its behalf (a DKIM record) and has to point a click-tracking hostname at Releva (a click-tracking record). Both are CNAME records that you add at your DNS provider. Until the click-tracking record is in place, no campaign on any channel can be activated; until the DKIM record is in place, emails are not sent. For the reasons behind this, read How sender verification and click tracking work.
Before you start
Section titled “Before you start”- You can edit the DNS records of the domain in your sender address, or you know who can (your IT team or the agency that manages your domain).
- You have an address on your own domain to send from, for example
news@demo-store.example.com. A Gmail, Yahoo or other mailbox-provider address cannot be verified. - You have a reply-to mailbox that somebody reads.
- If your DNS is on Cloudflare, set each record’s proxy status to DNS only (grey cloud), not Proxied. Releva checks that the hostname resolves as a CNAME; a proxied record does not.
-
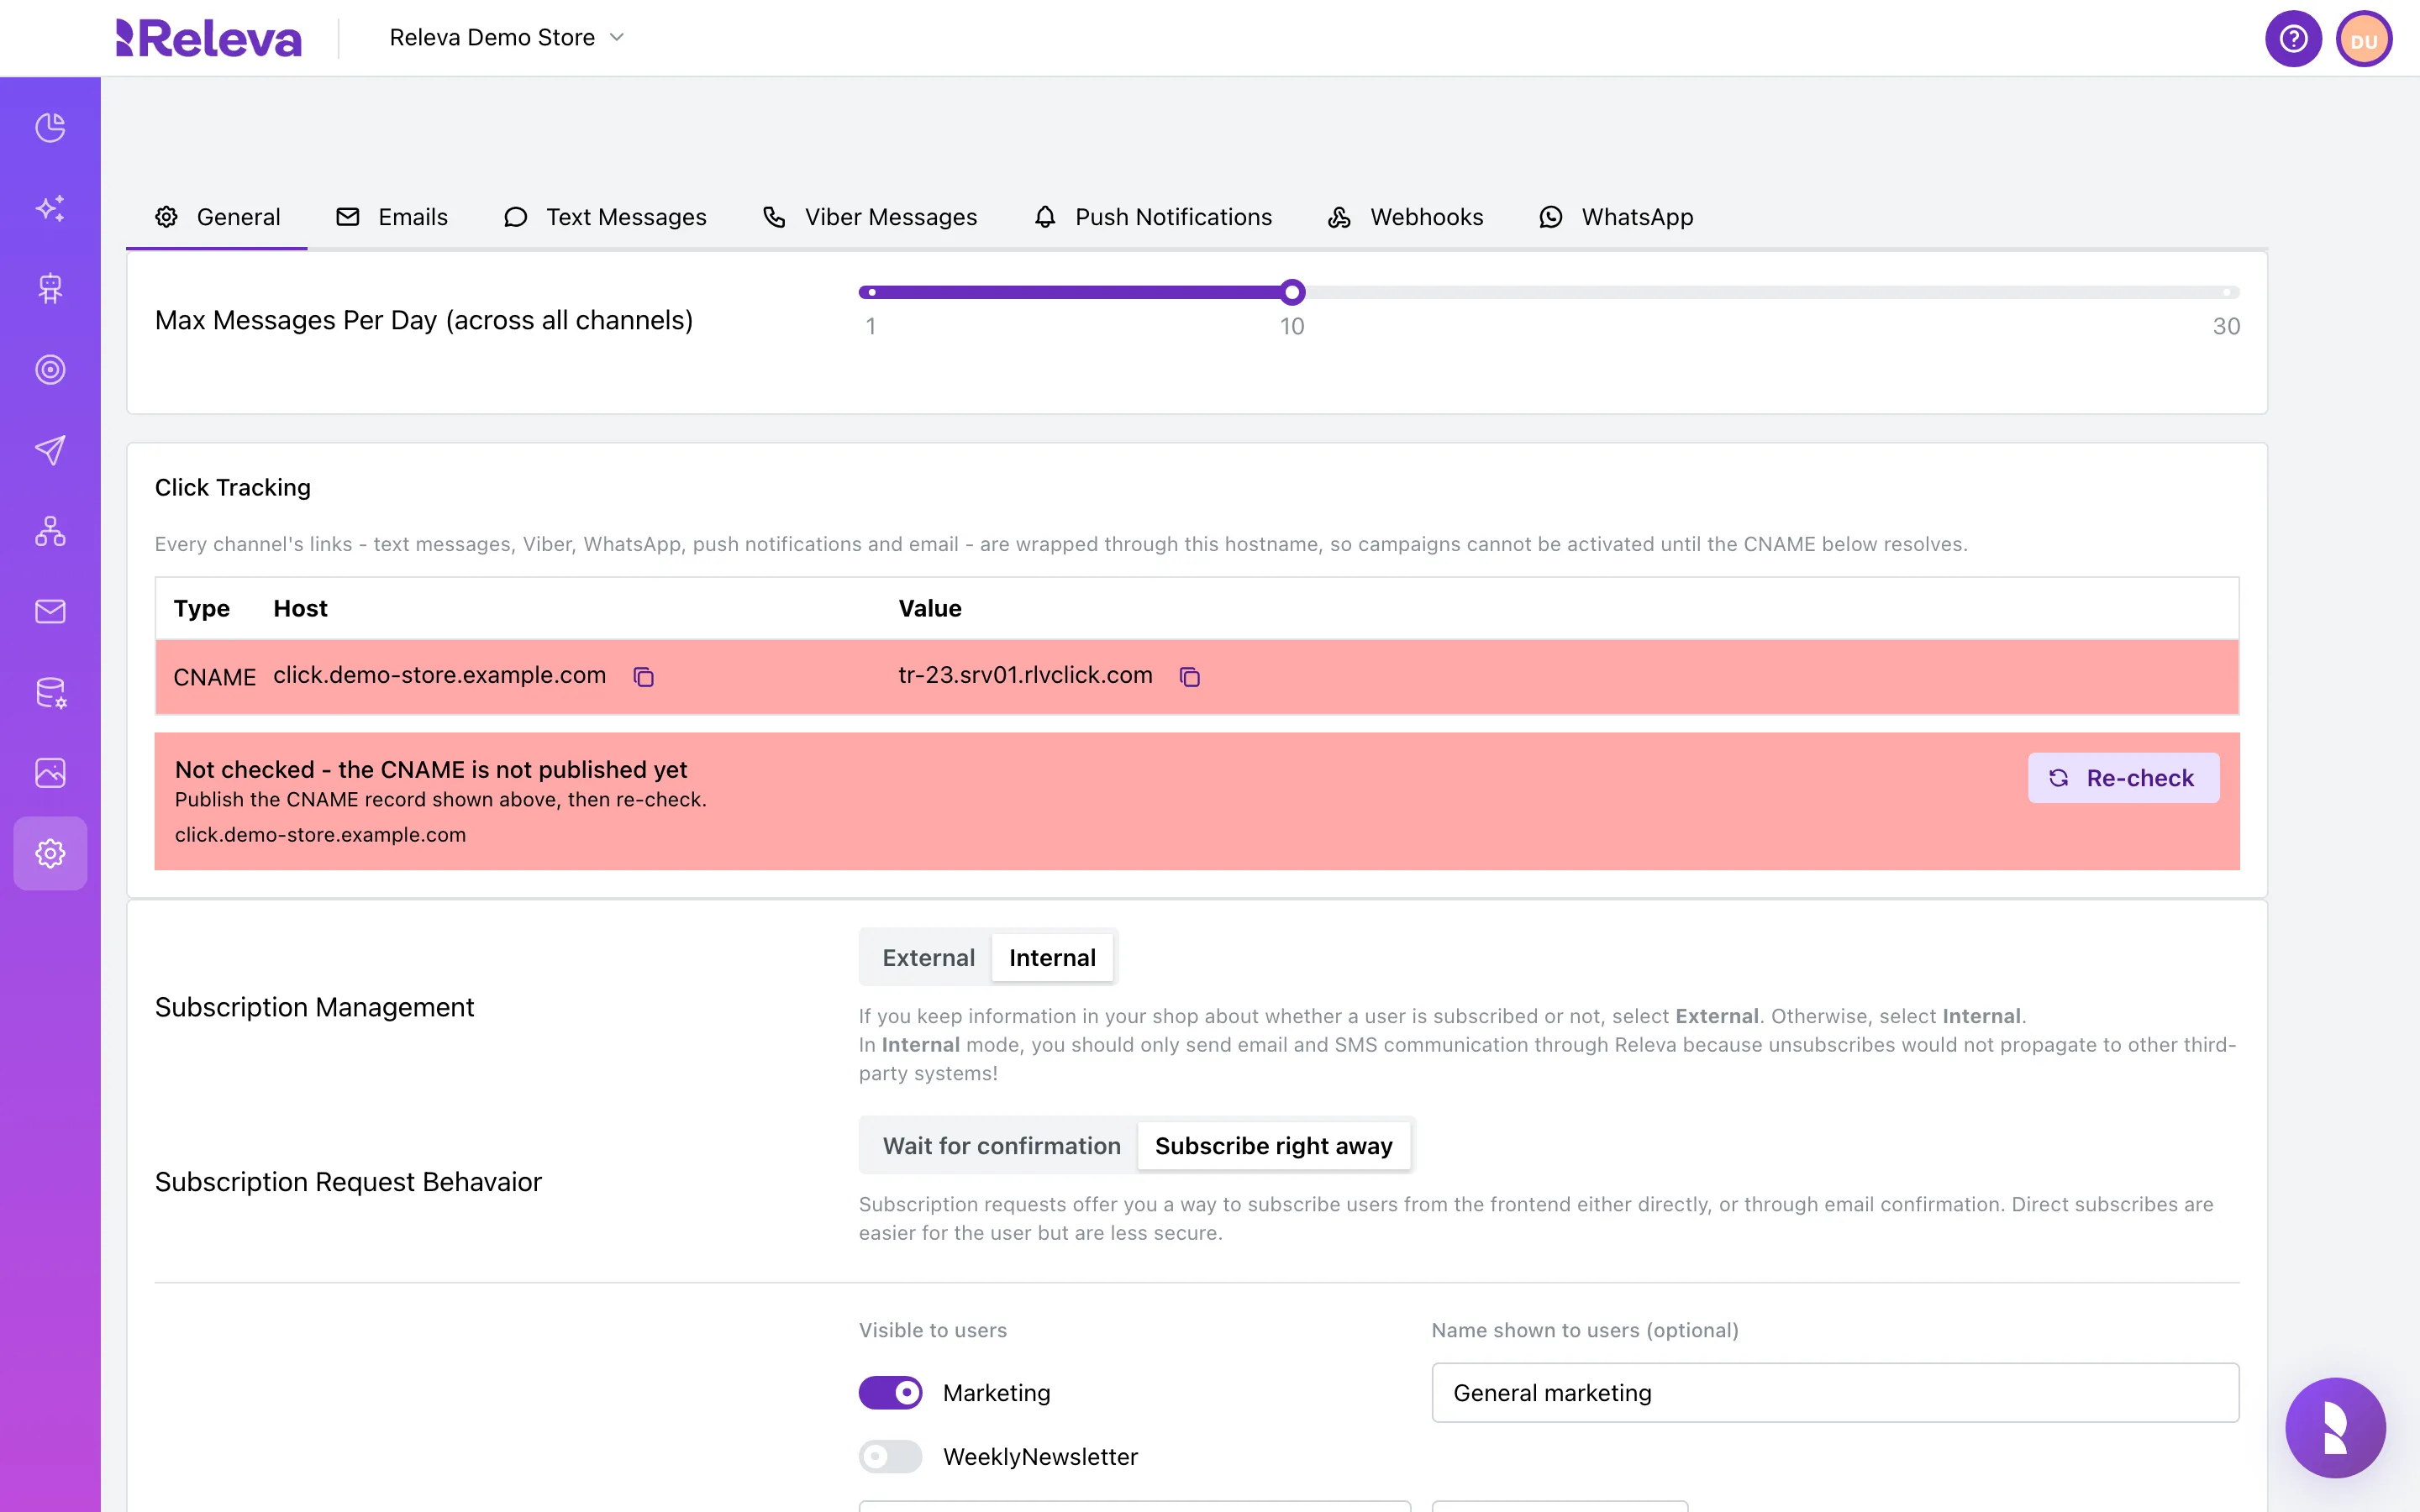
Open Settings › Messaging. The General tab opens first.
The Click Tracking card already shows the click-tracking record for your current sender domain. If the card says Set a sender domain on the Emails tab first, your sender address is not set yet.
-
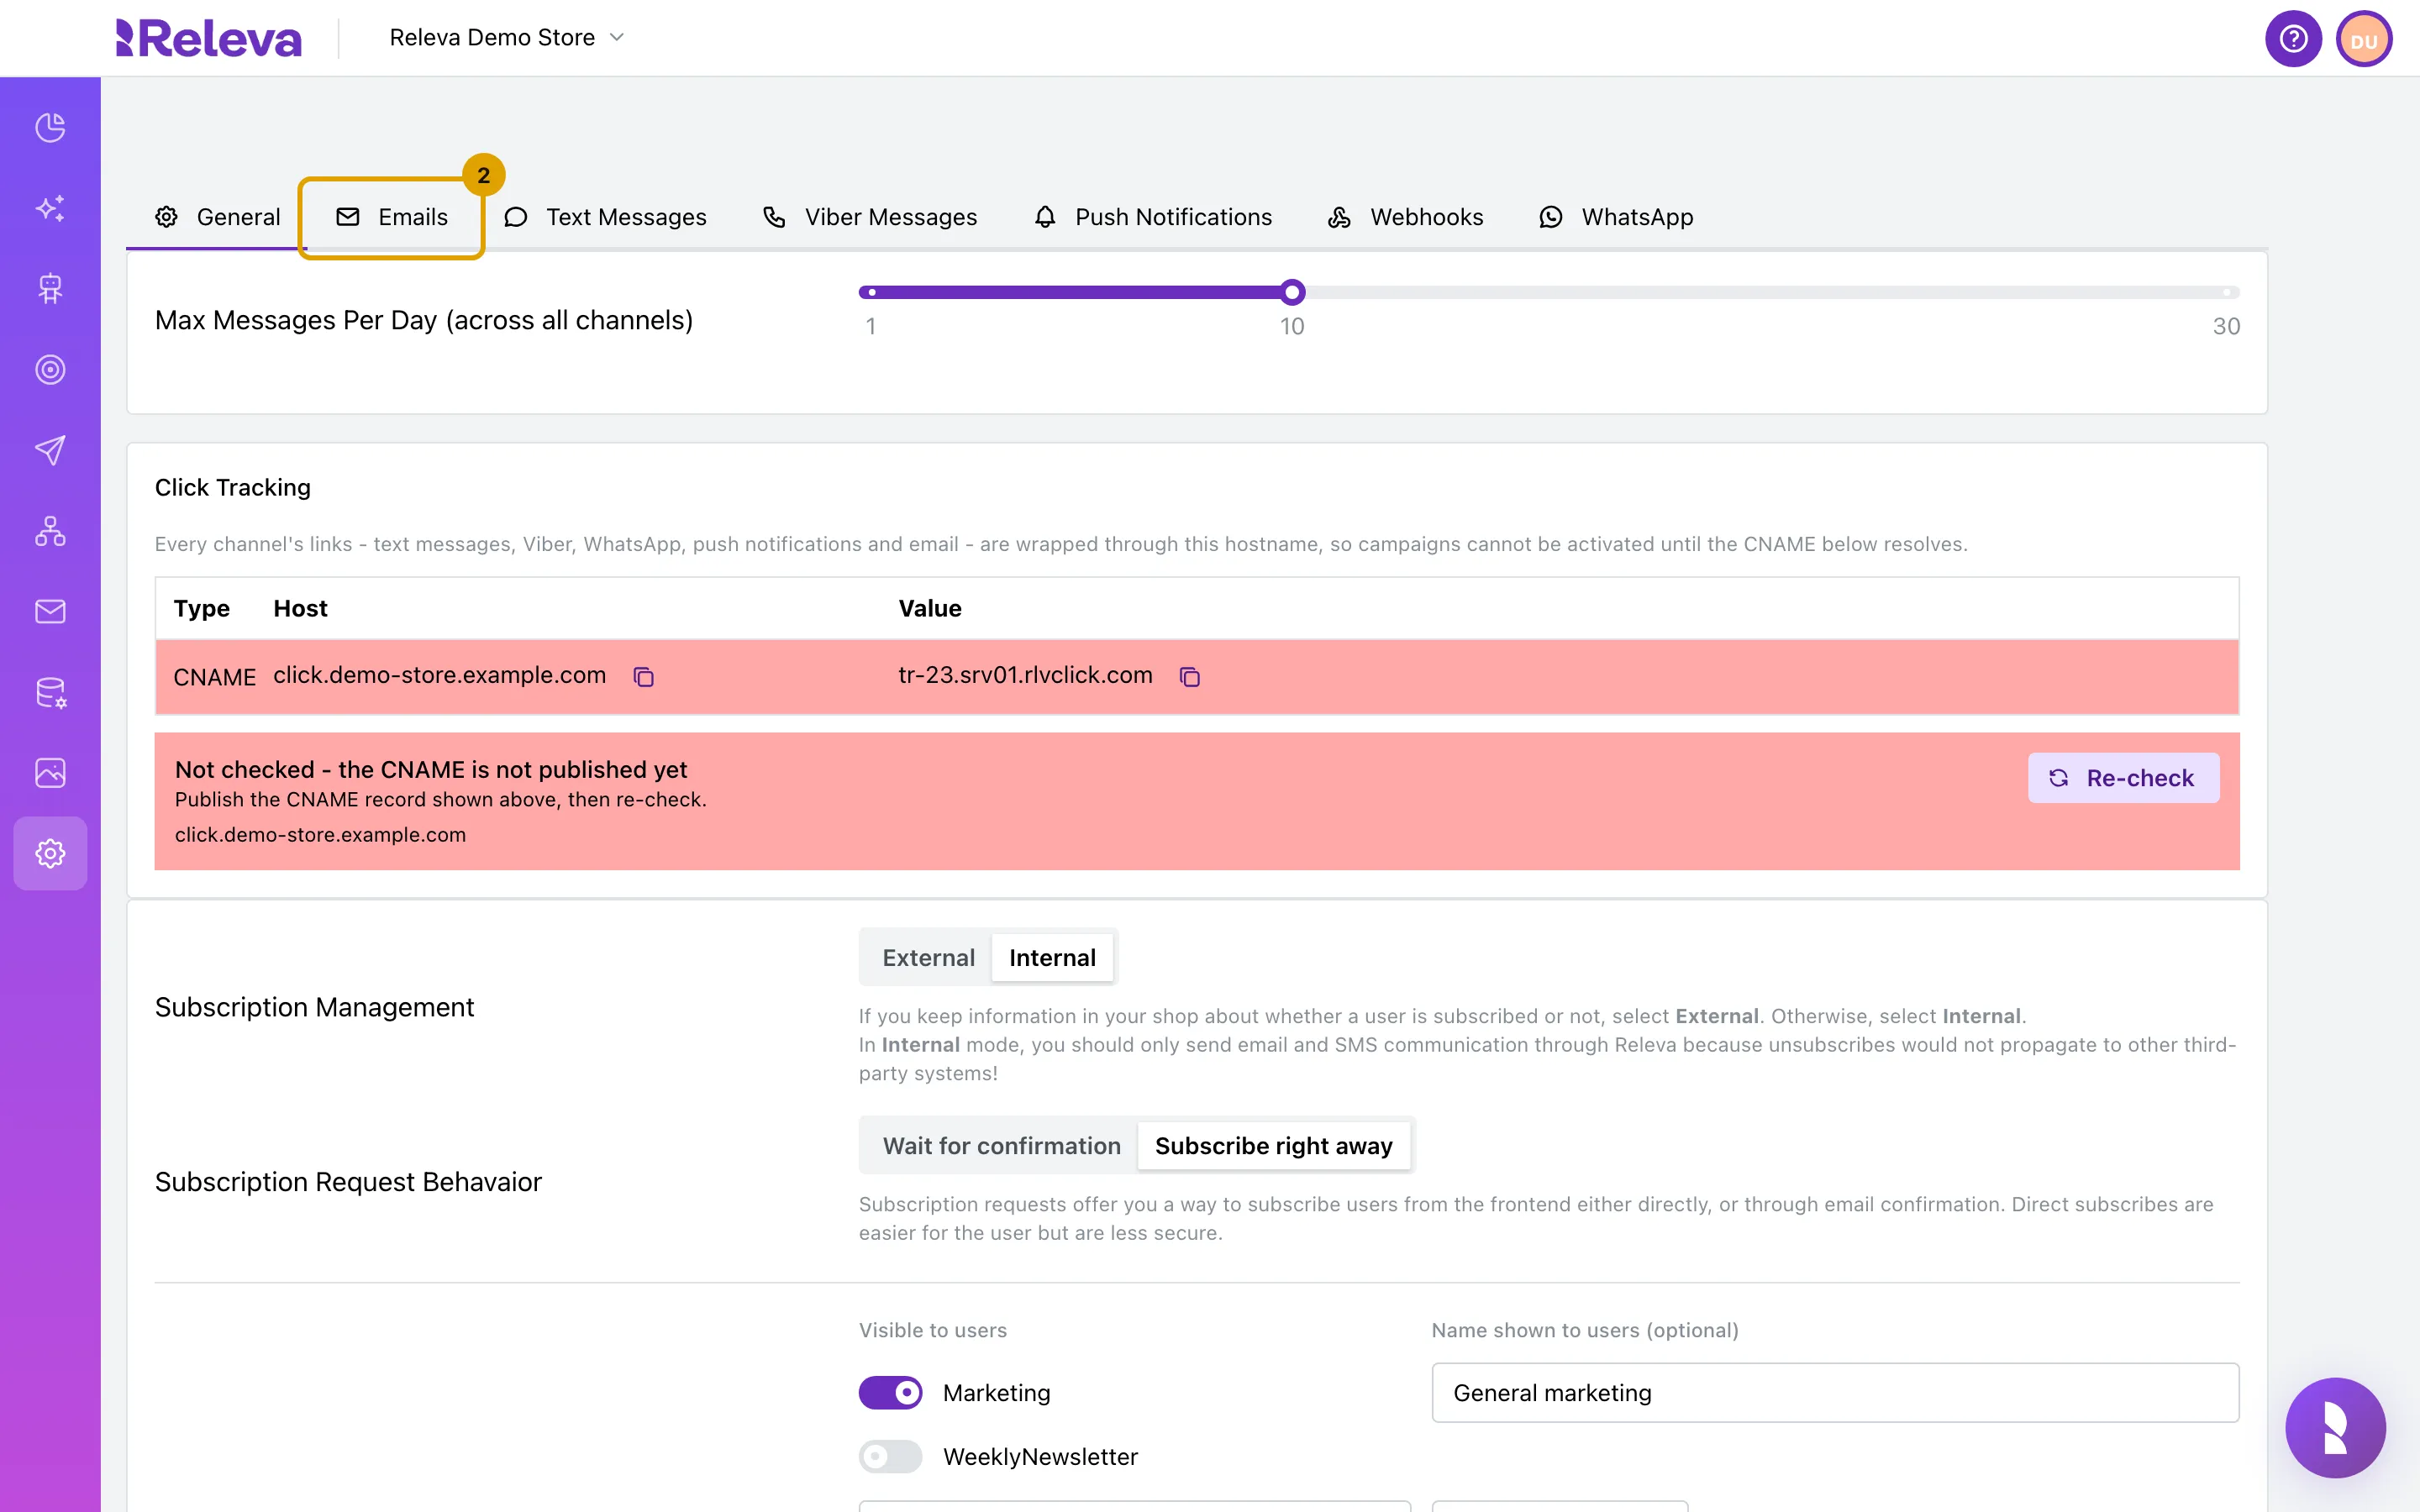
Select the Emails tab.
-
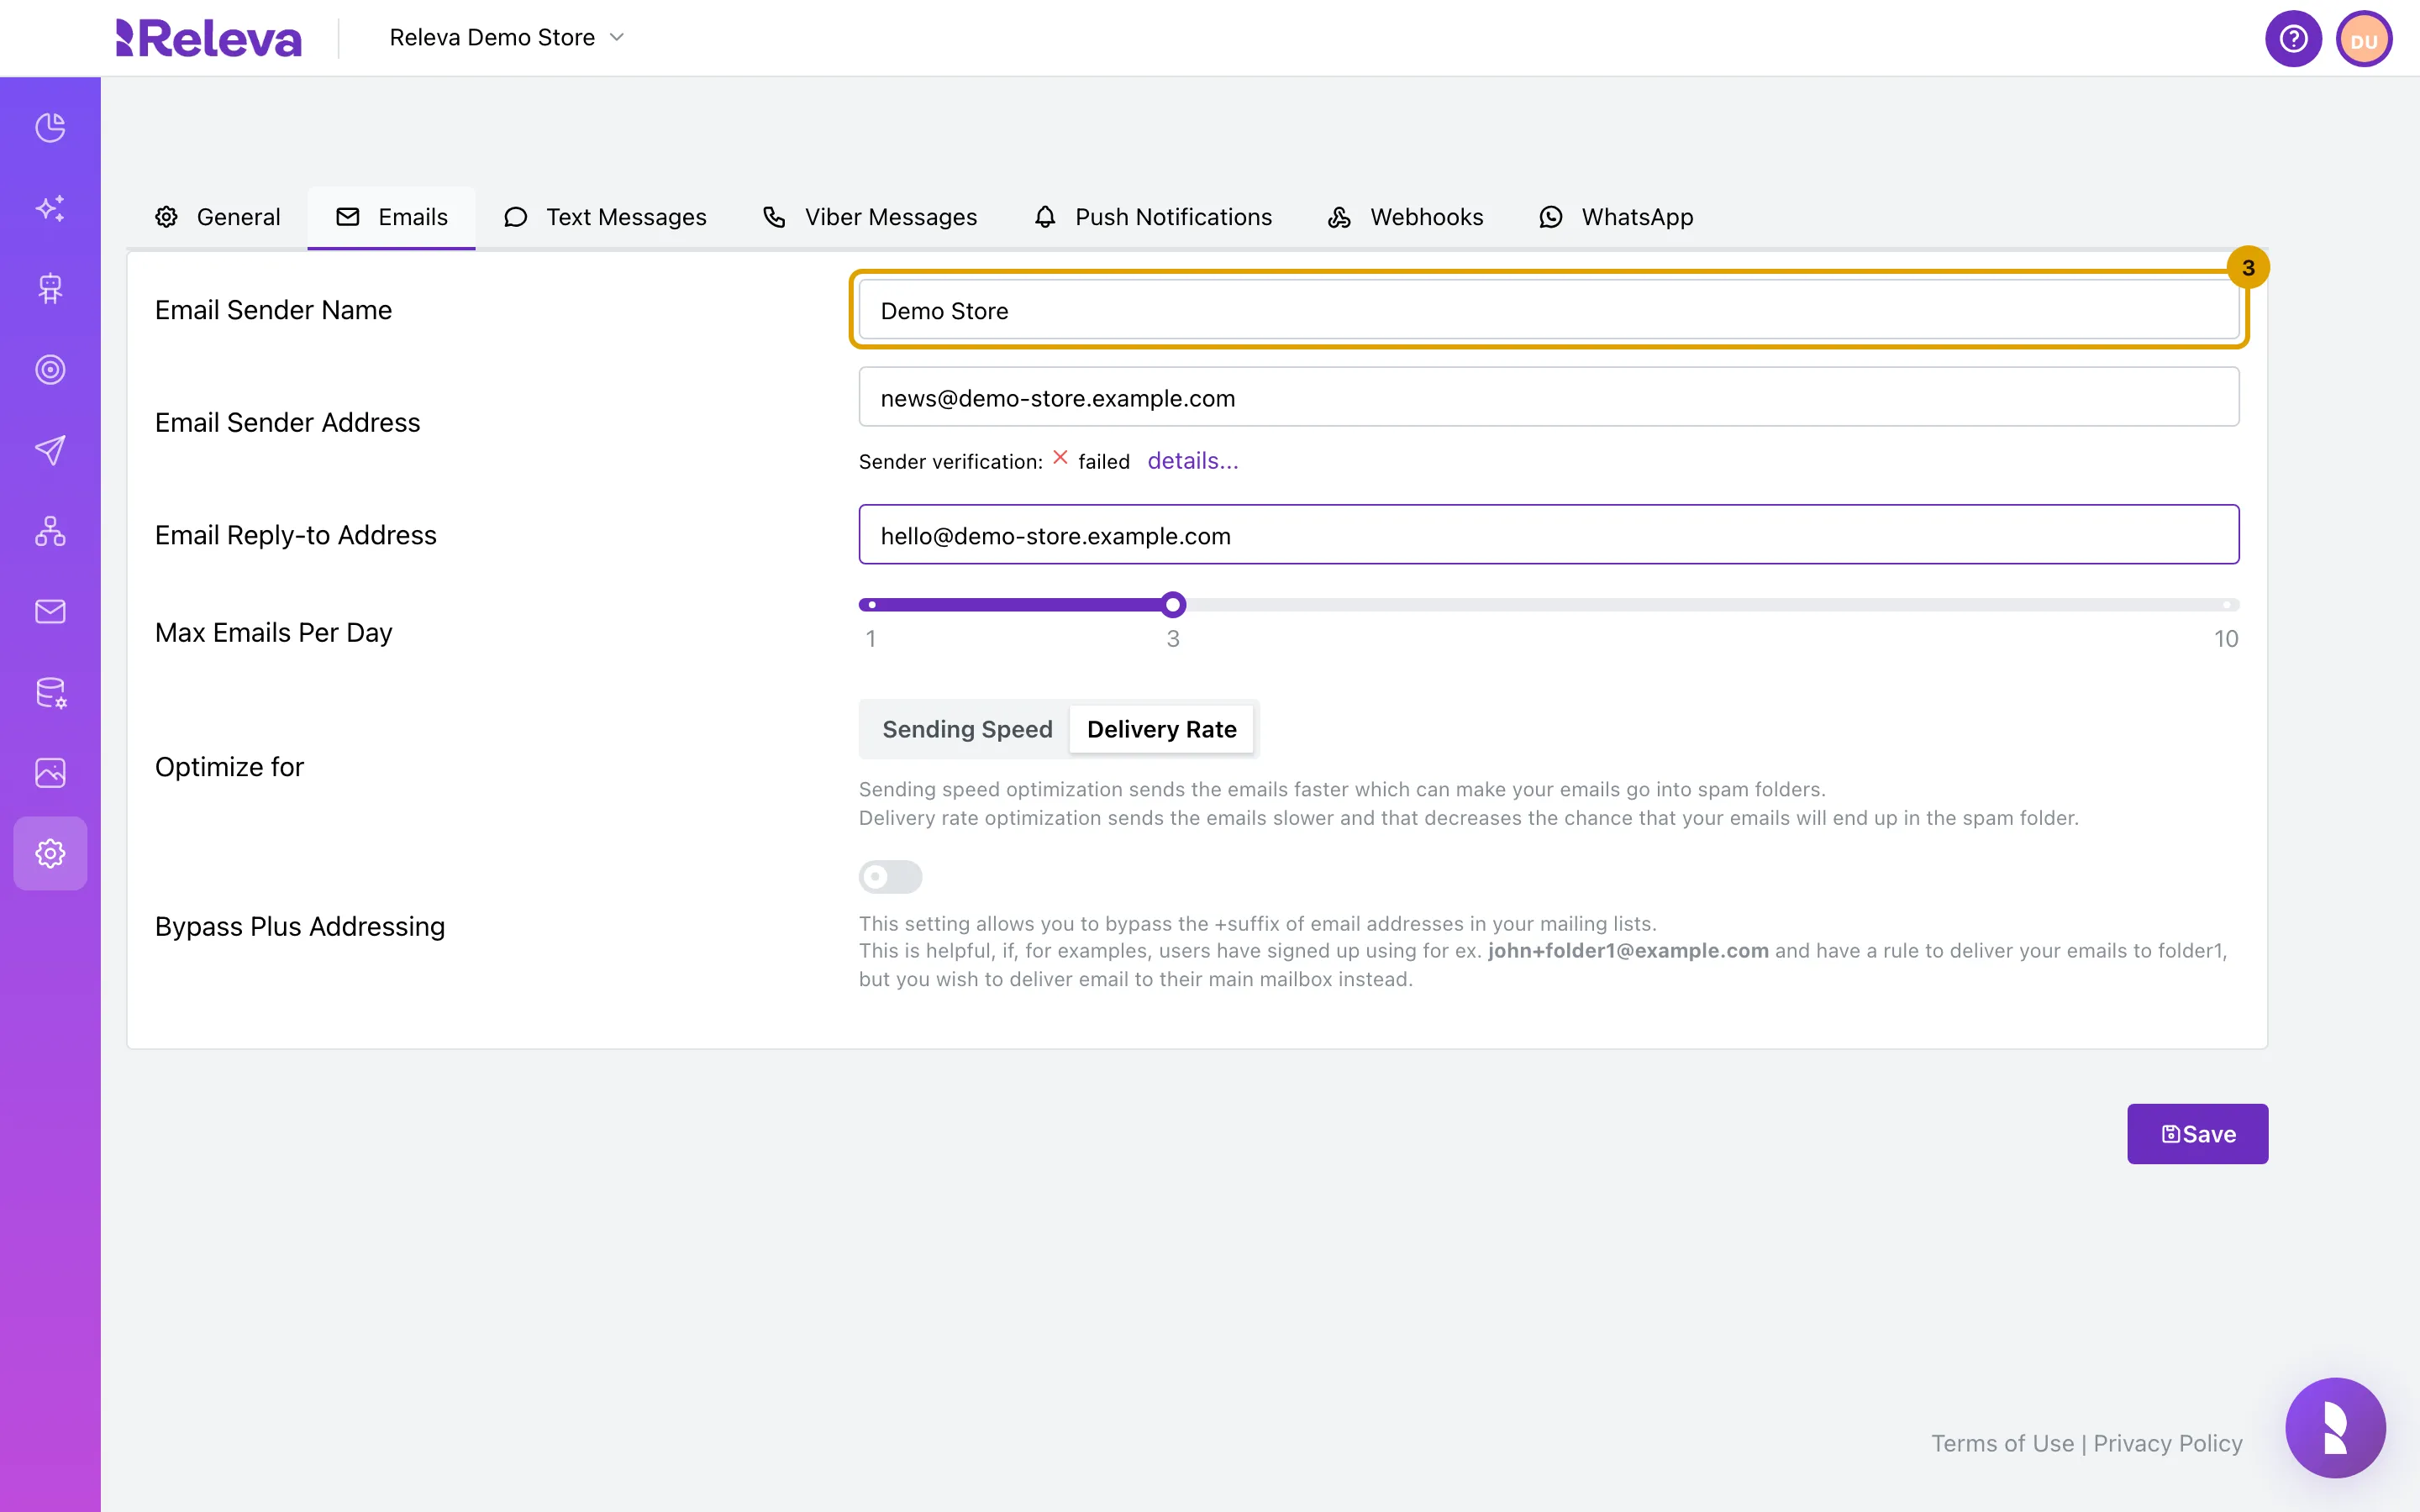
In Email Sender Name, enter the name your customers see in their inbox.
-
In Email Sender Address, enter the address your emails come from. Use an address on your own domain, not a Gmail or Yahoo address.
The part after
@is your sender domain. Both DNS records are built from it. Changing it later invalidates the records you published and gives you two new ones to add.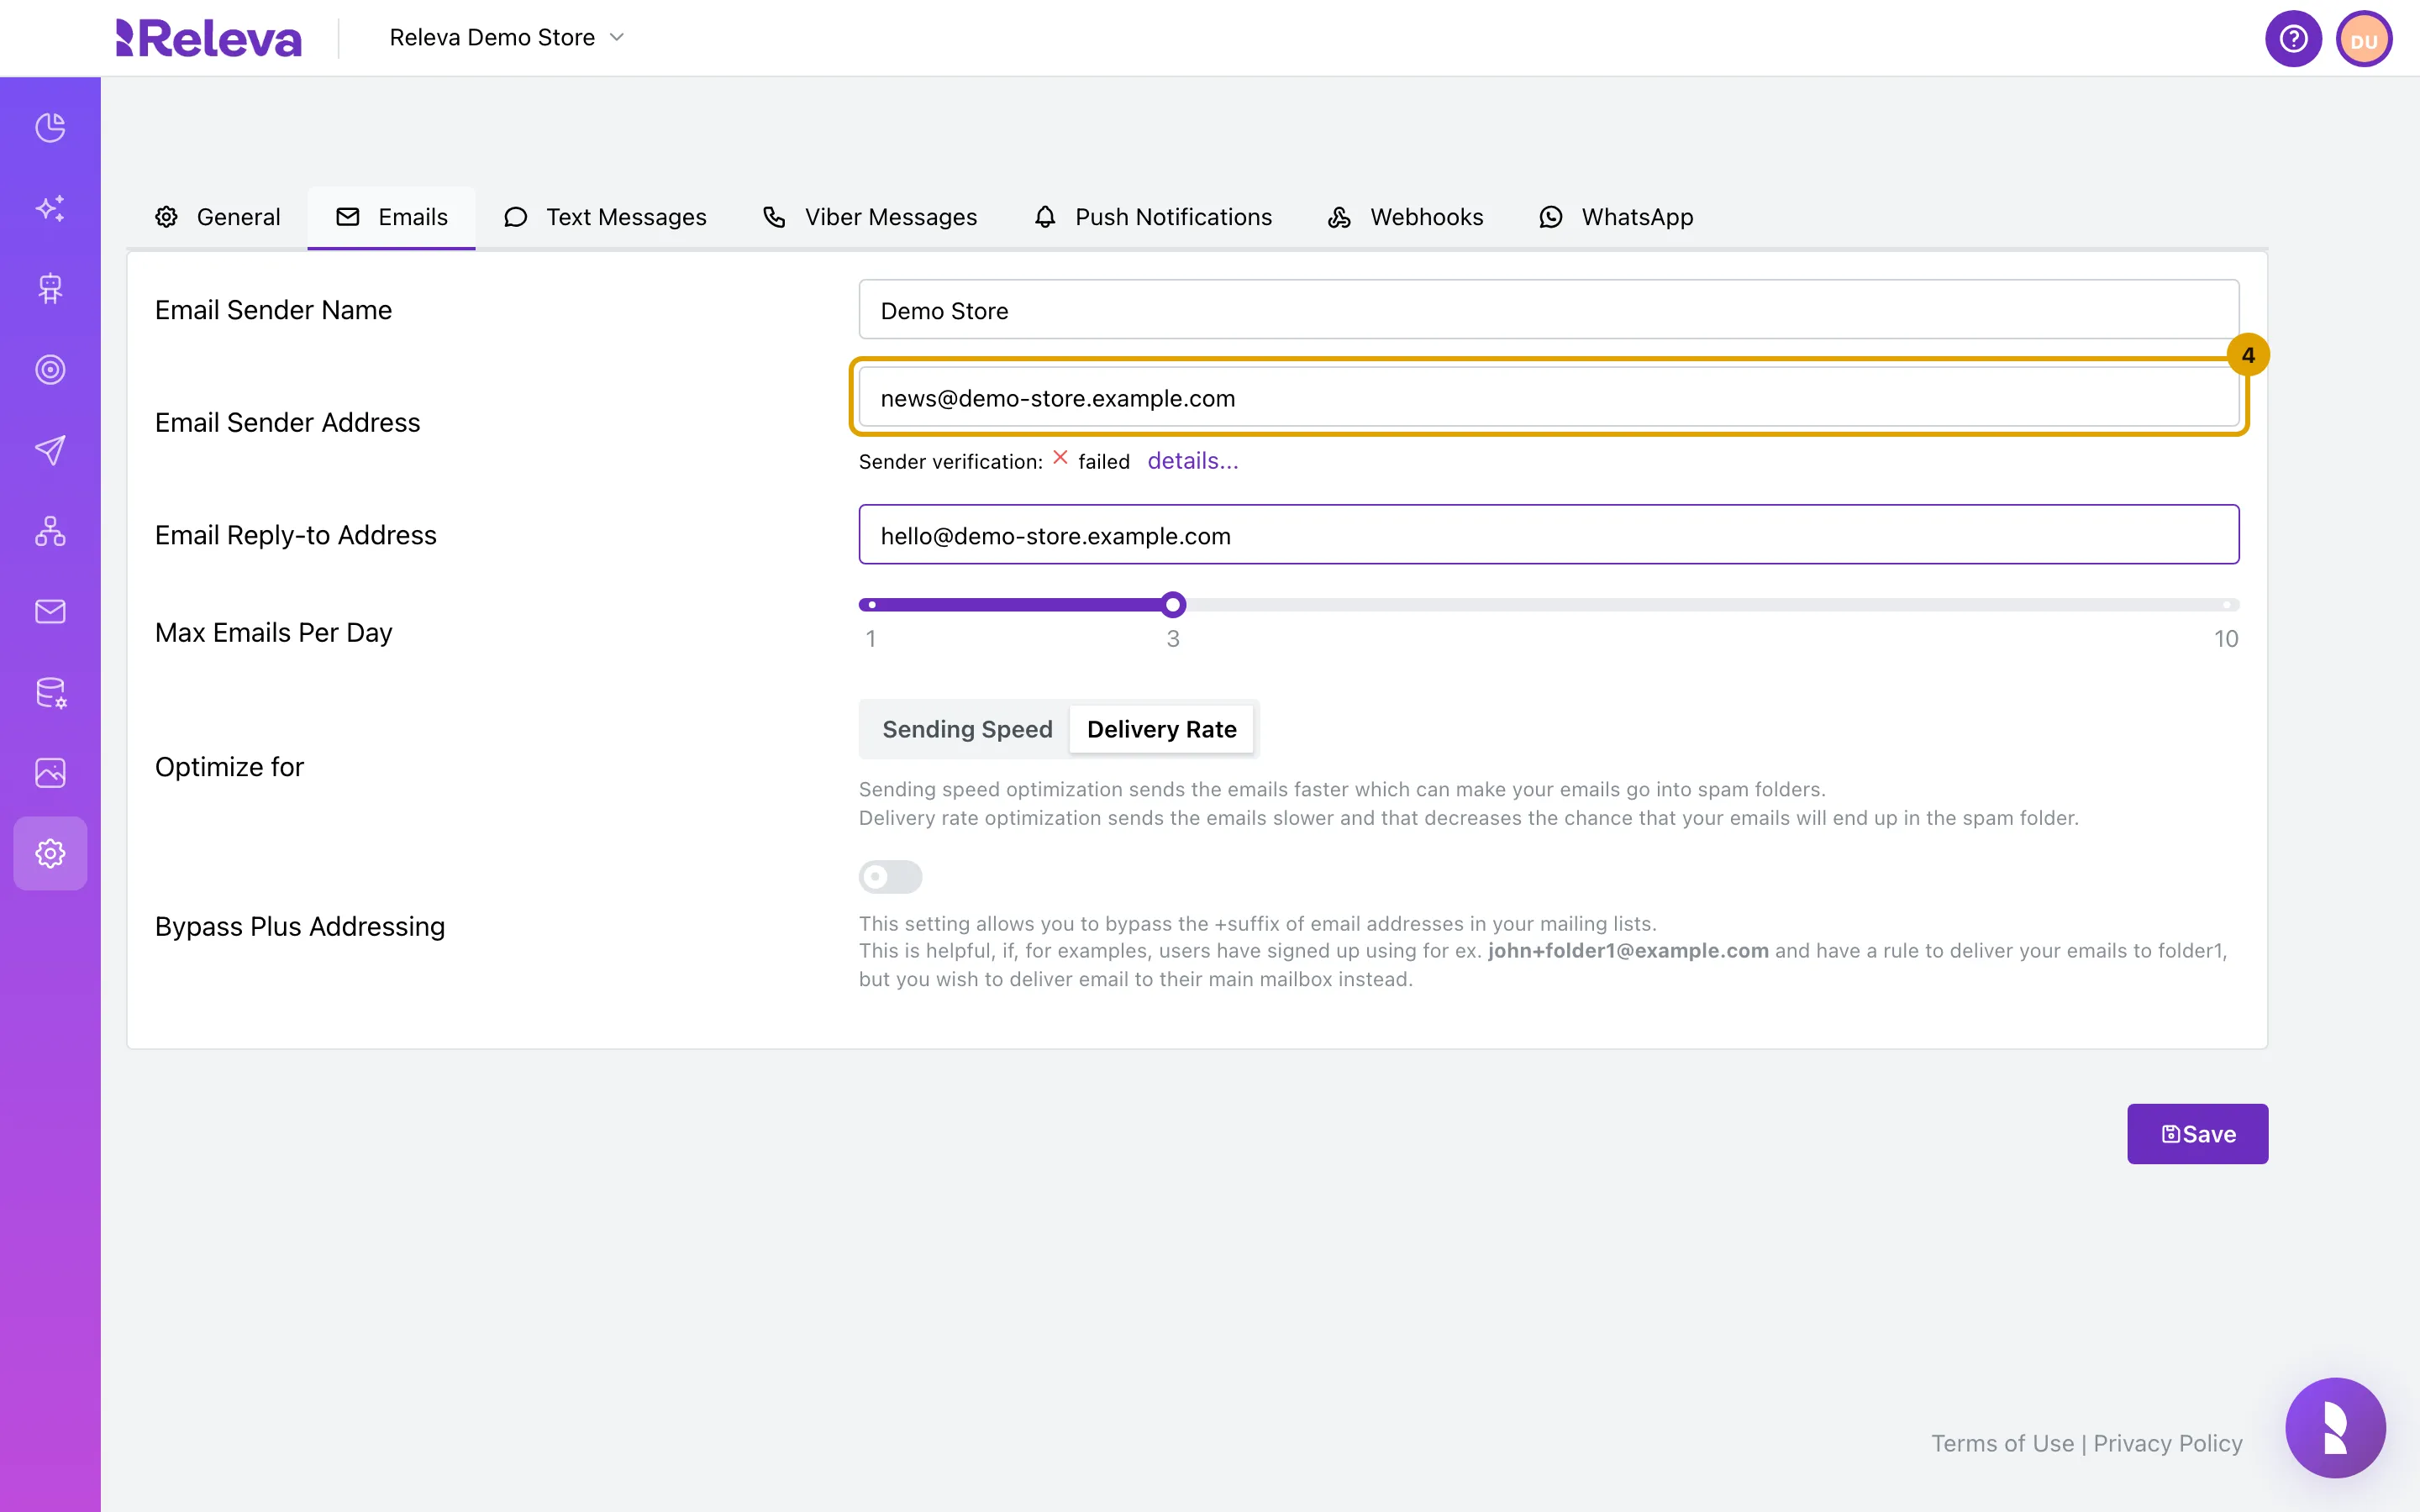
-
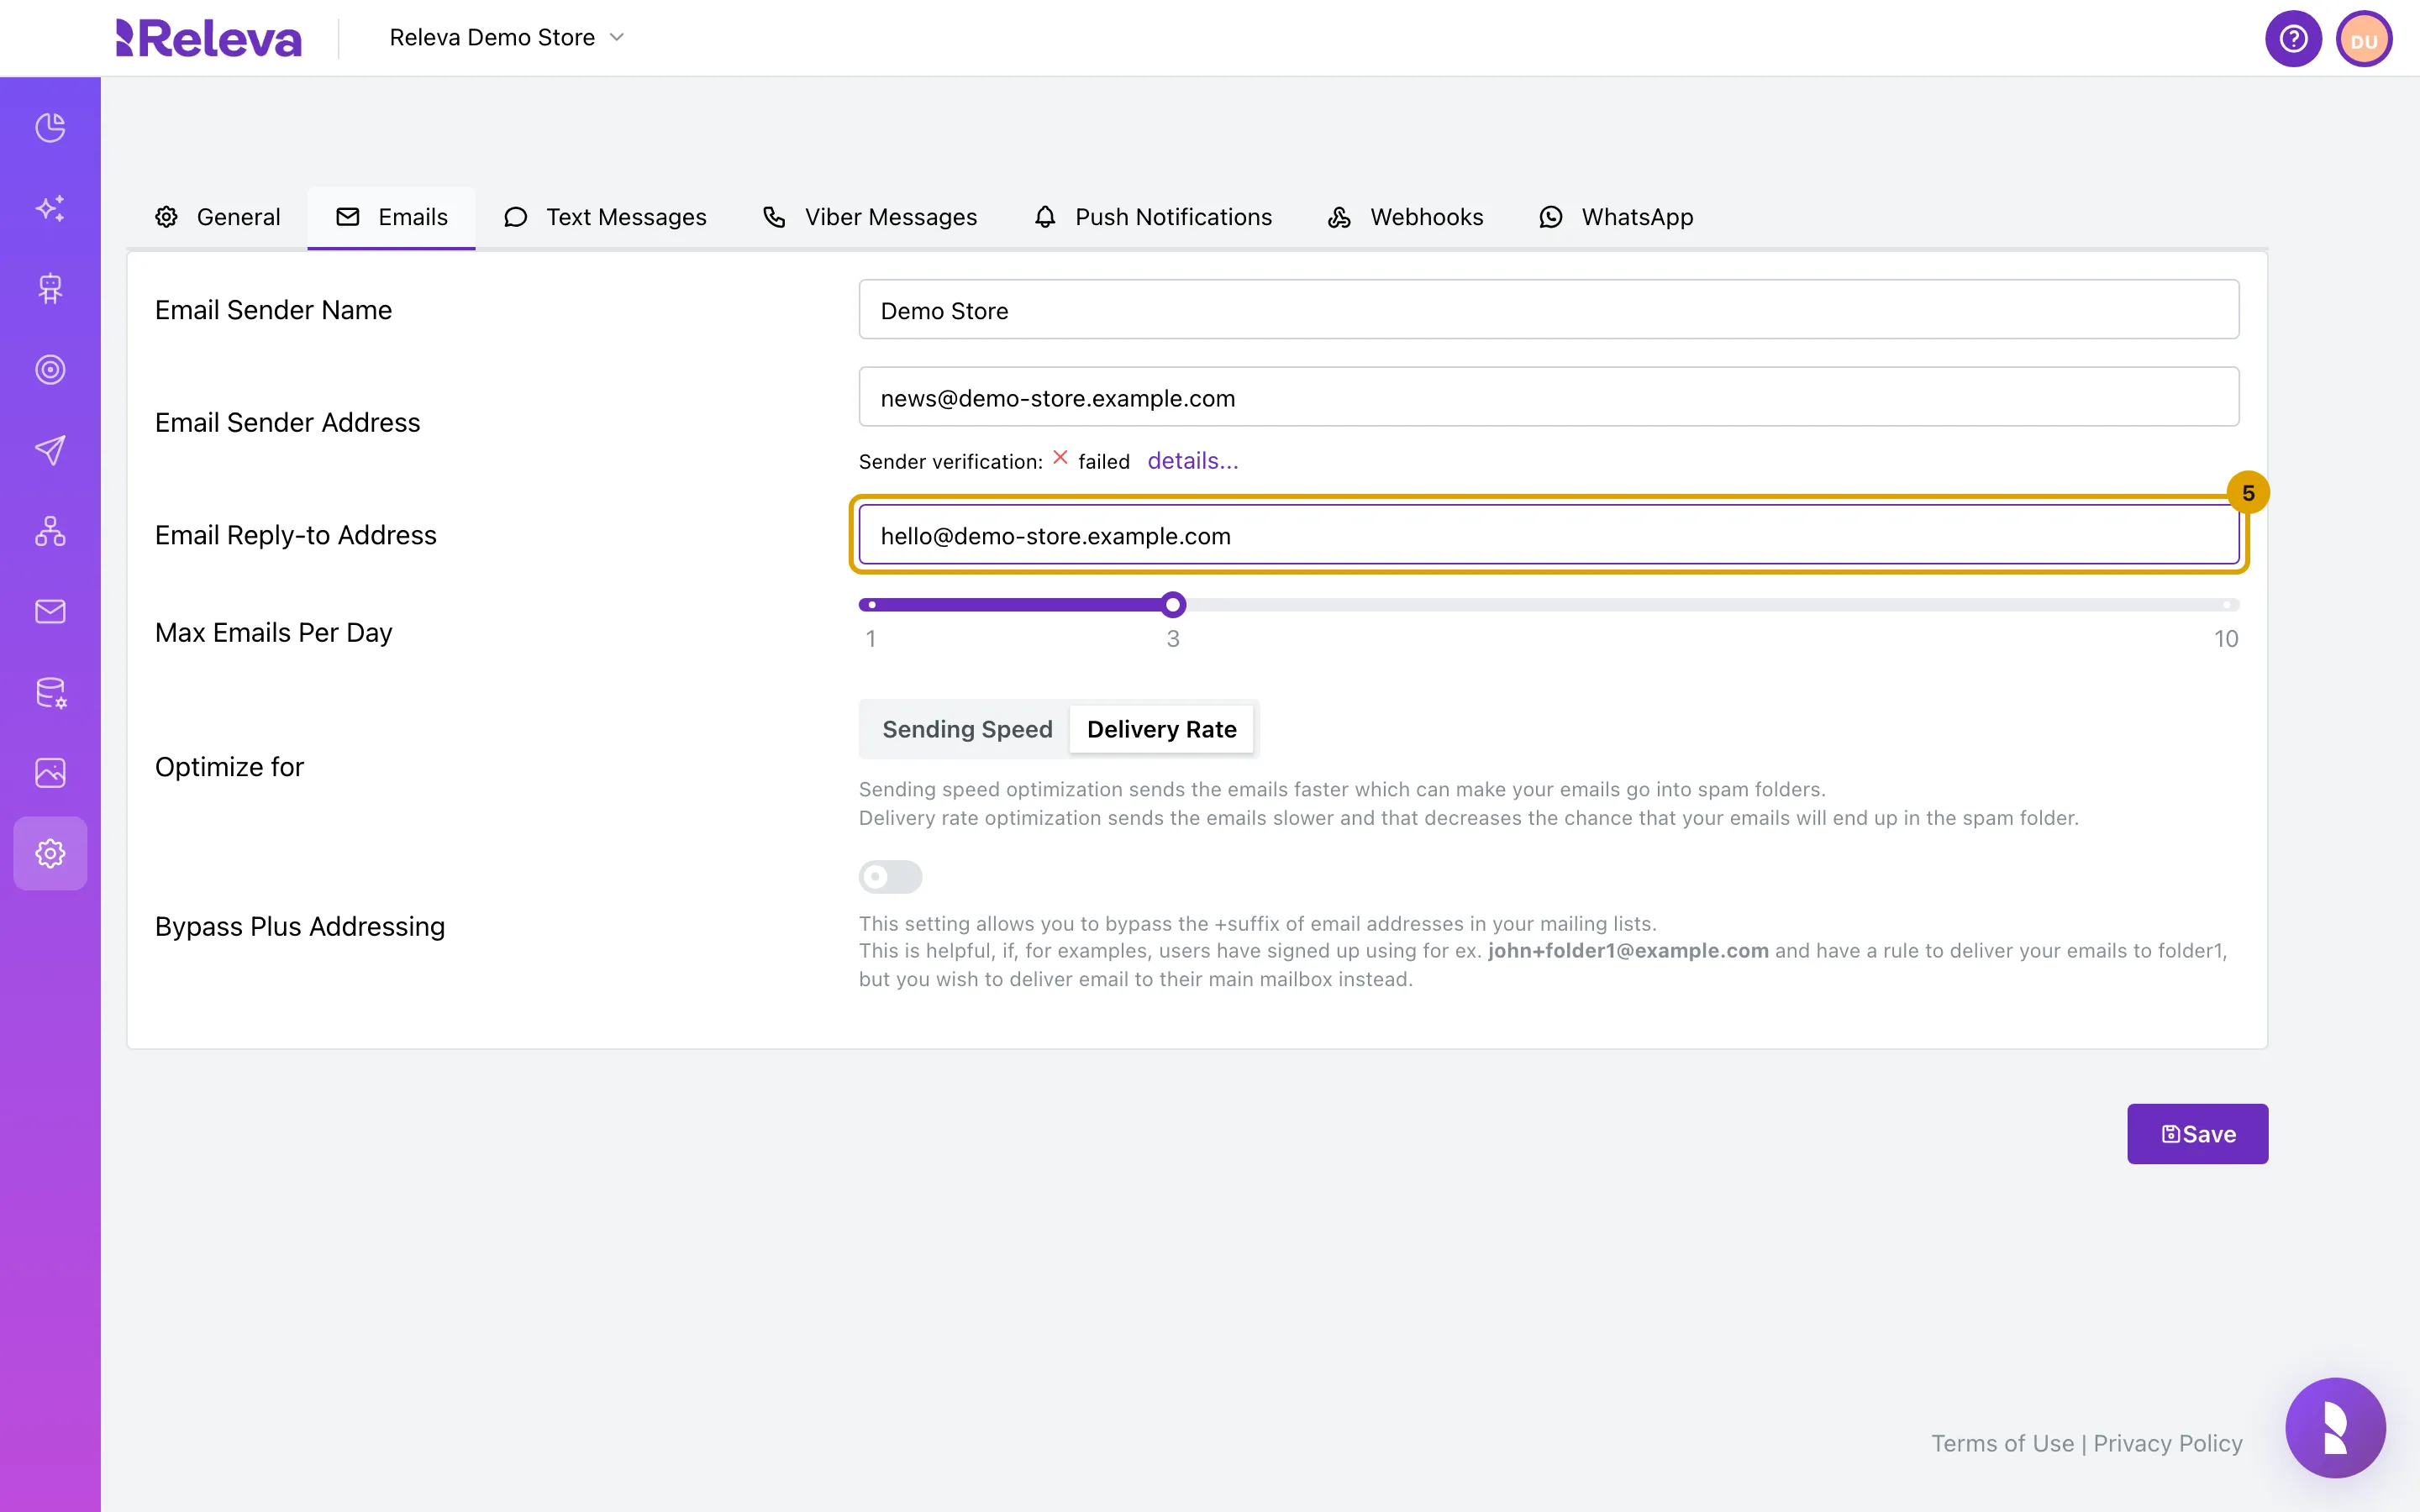
In Email Reply-to Address, enter a mailbox you read. Replies from your customers go there.
-
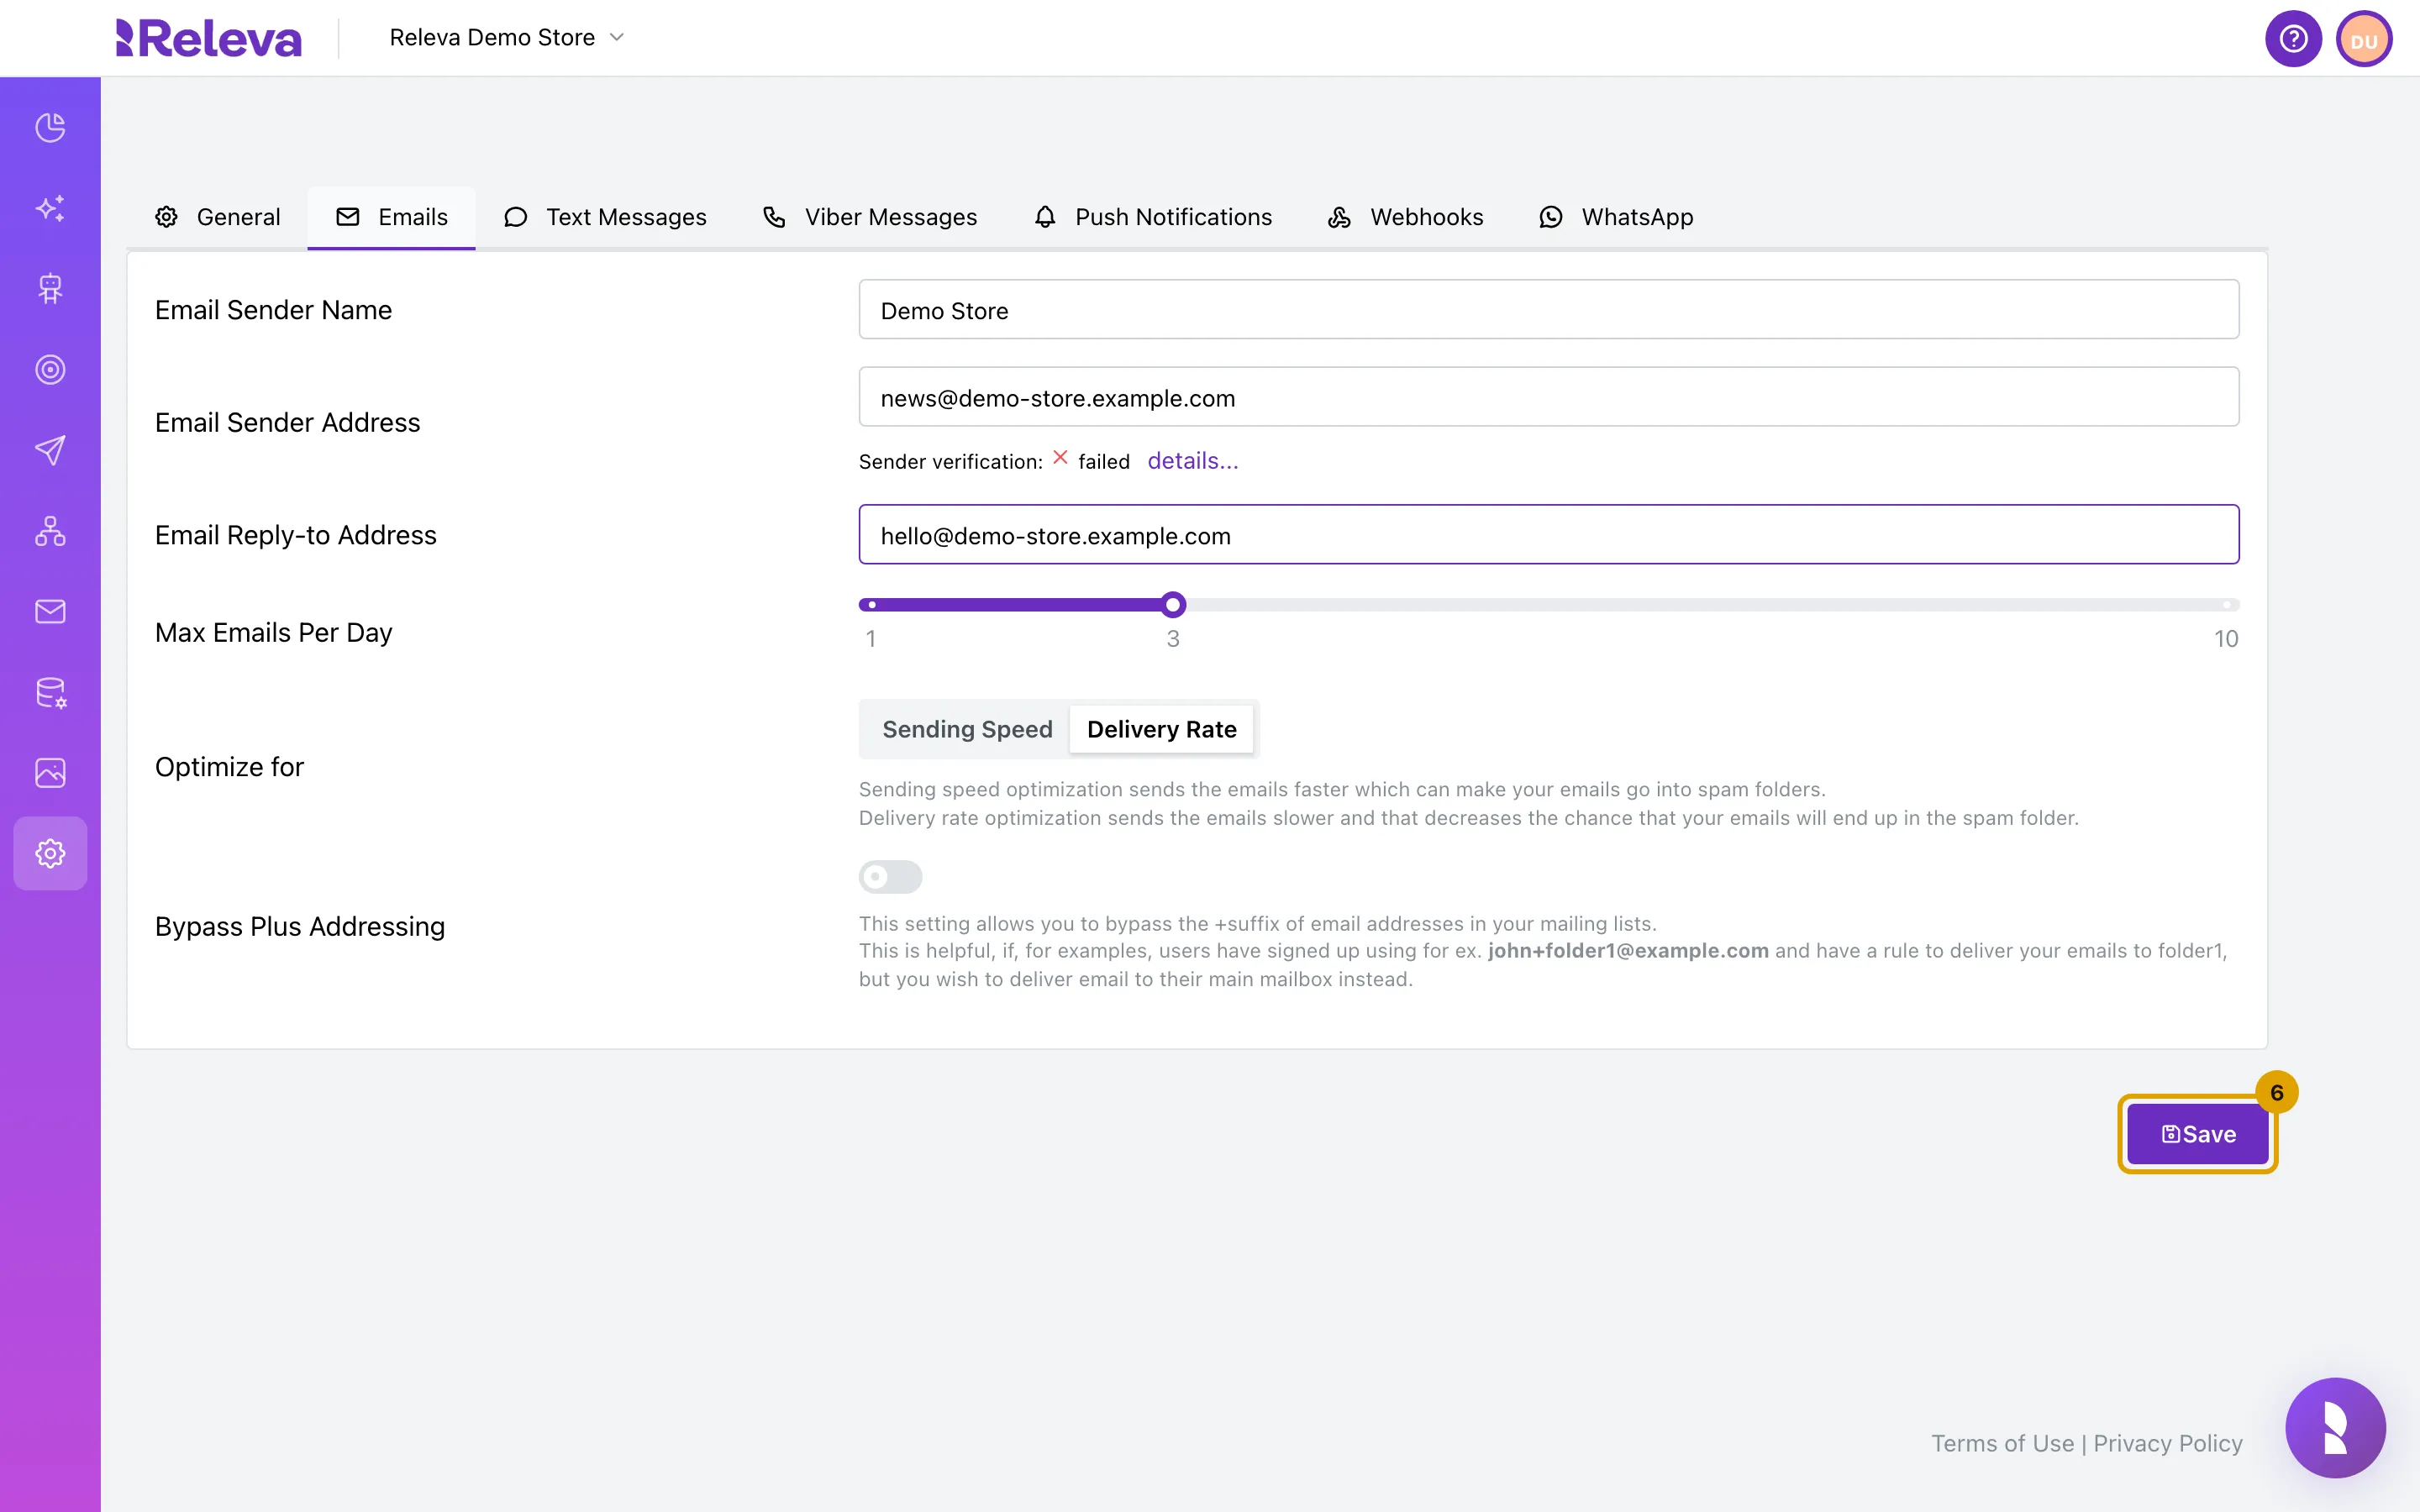
Select Save. Releva creates the DNS records for the domain of your sender address.
The Save button below the form, on the right, saves every tab of this page at once. It reads Saved while there is nothing to save.
-
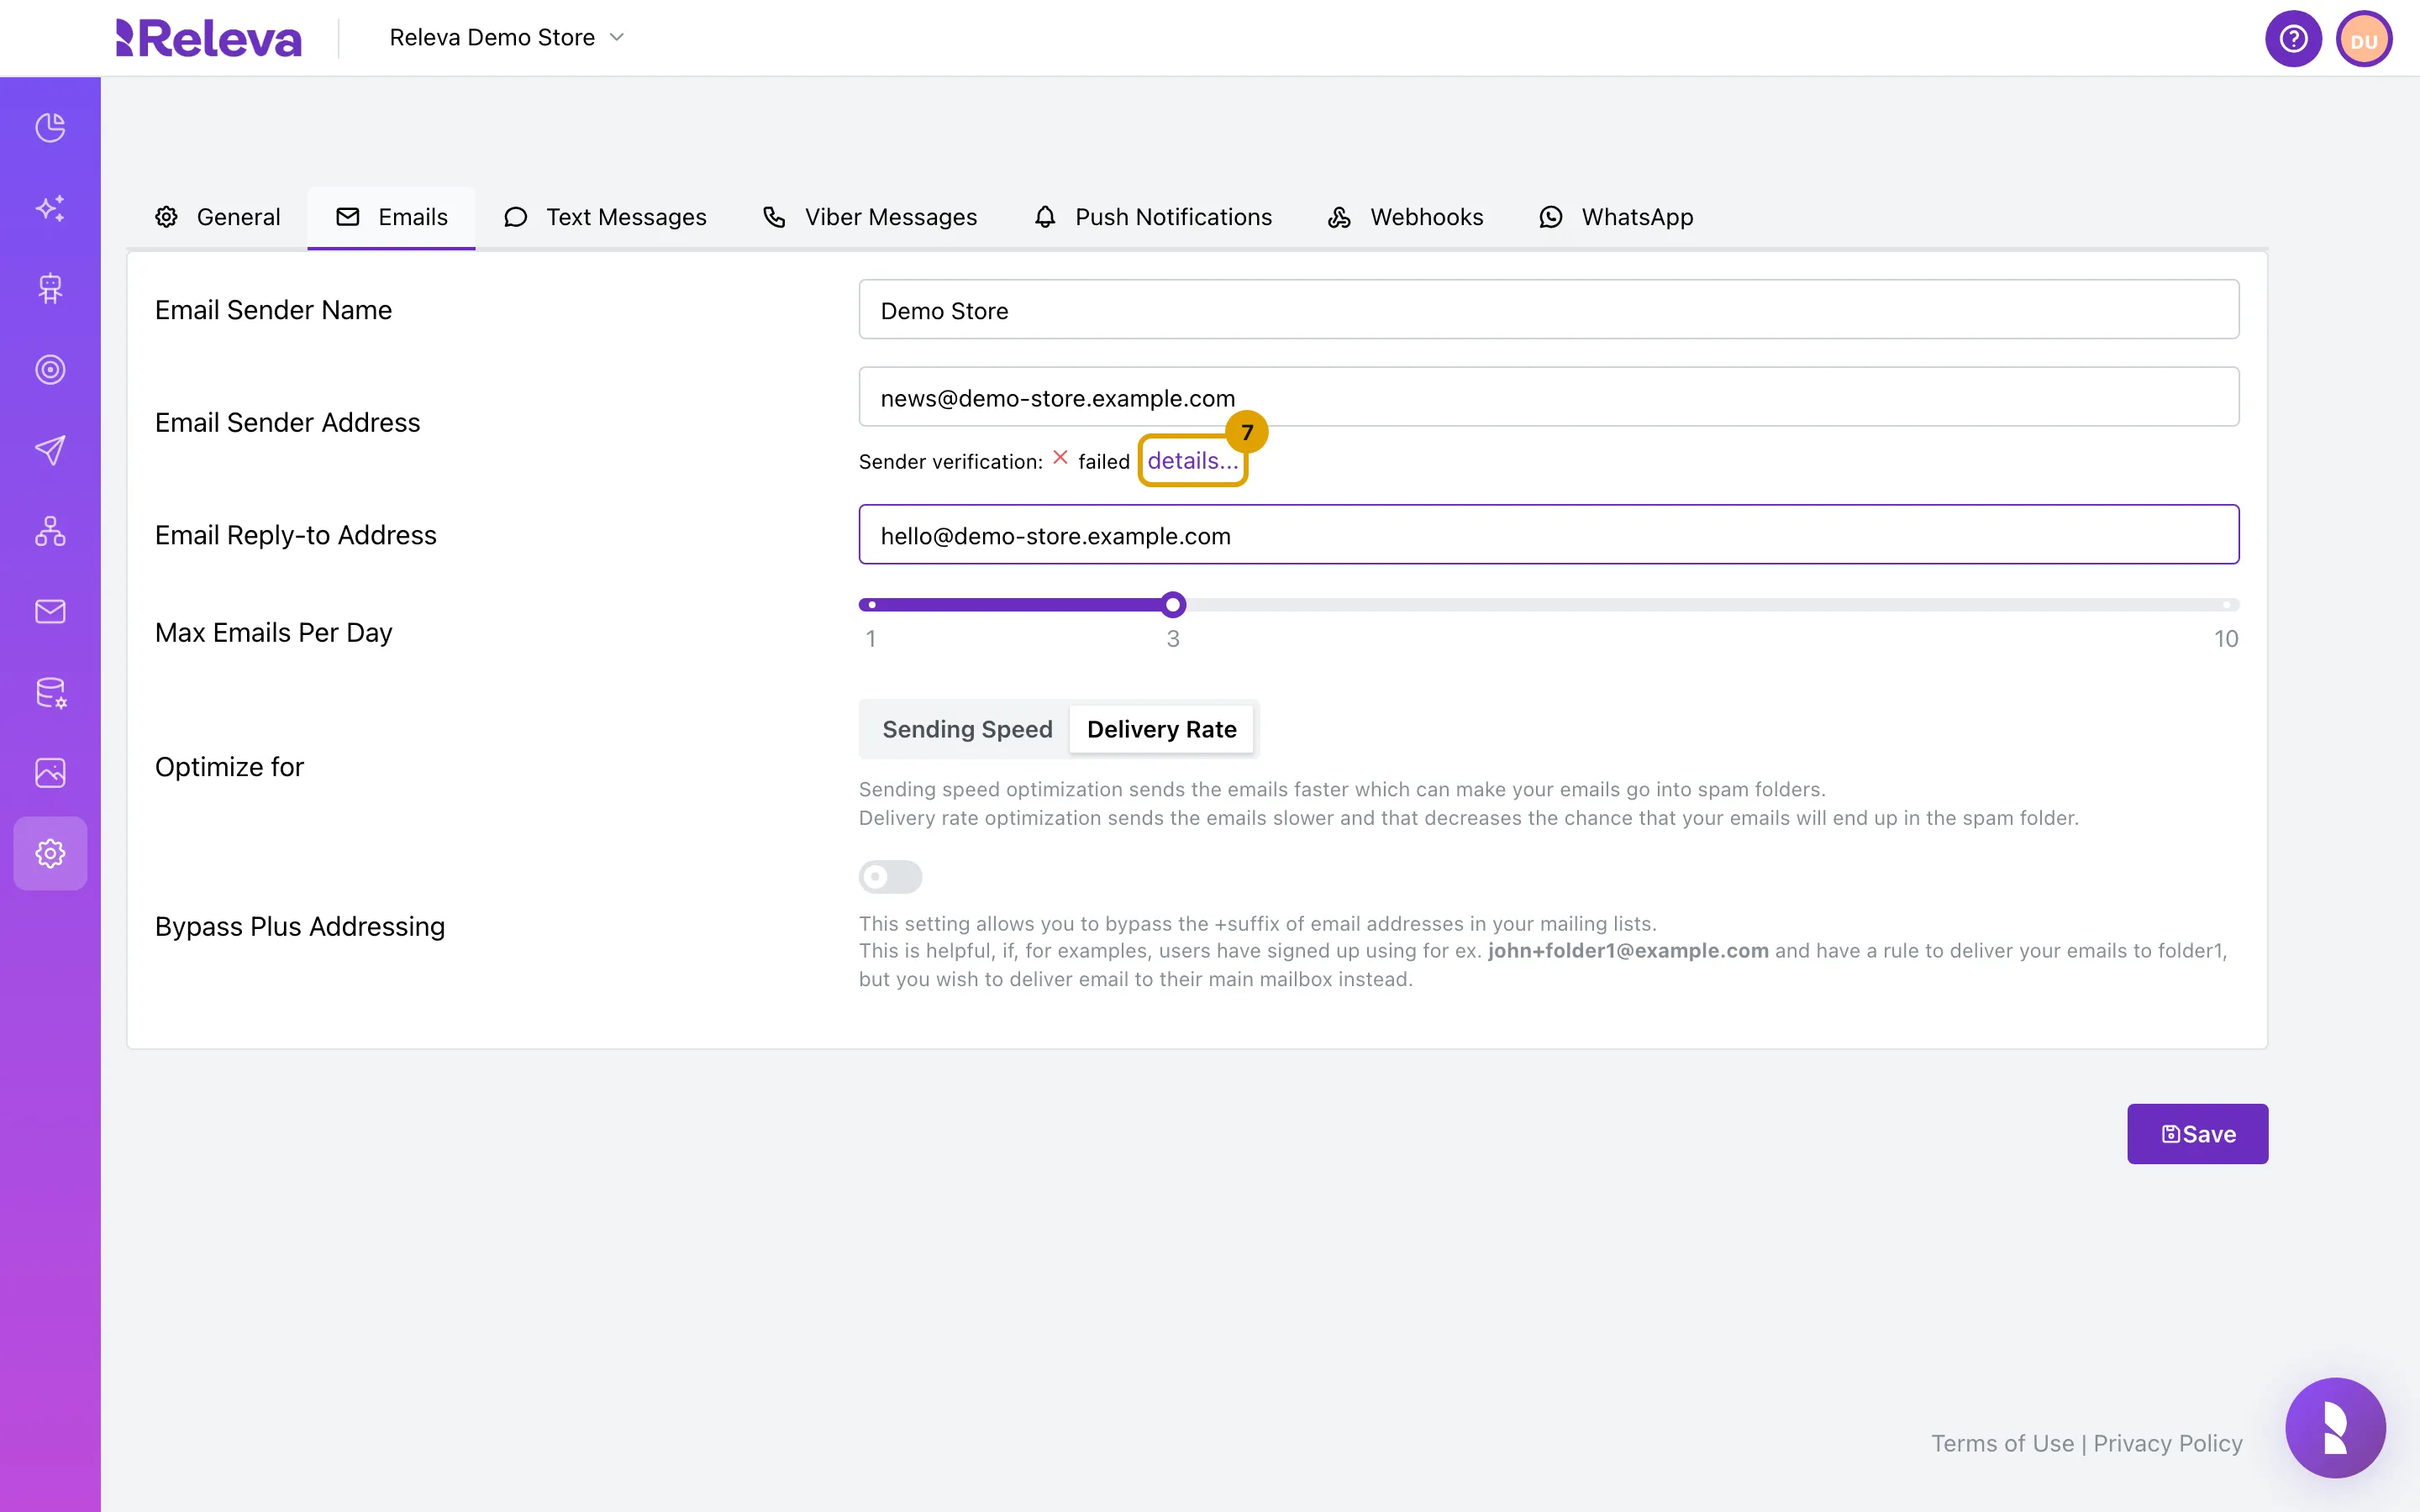
Next to Sender verification, select details….
The line reads failed until both records resolve. The Email Sender Verification window opens with the two records under Required DNS Records.
-
At your DNS provider, add the first record (DKIM, type CNAME). Use the copy icons to copy its Host and Value.
Copy the values your own admin shows; the ones in the screenshot belong to the demo shop. The Host looks like
<token>._domainkey.<your sender domain>.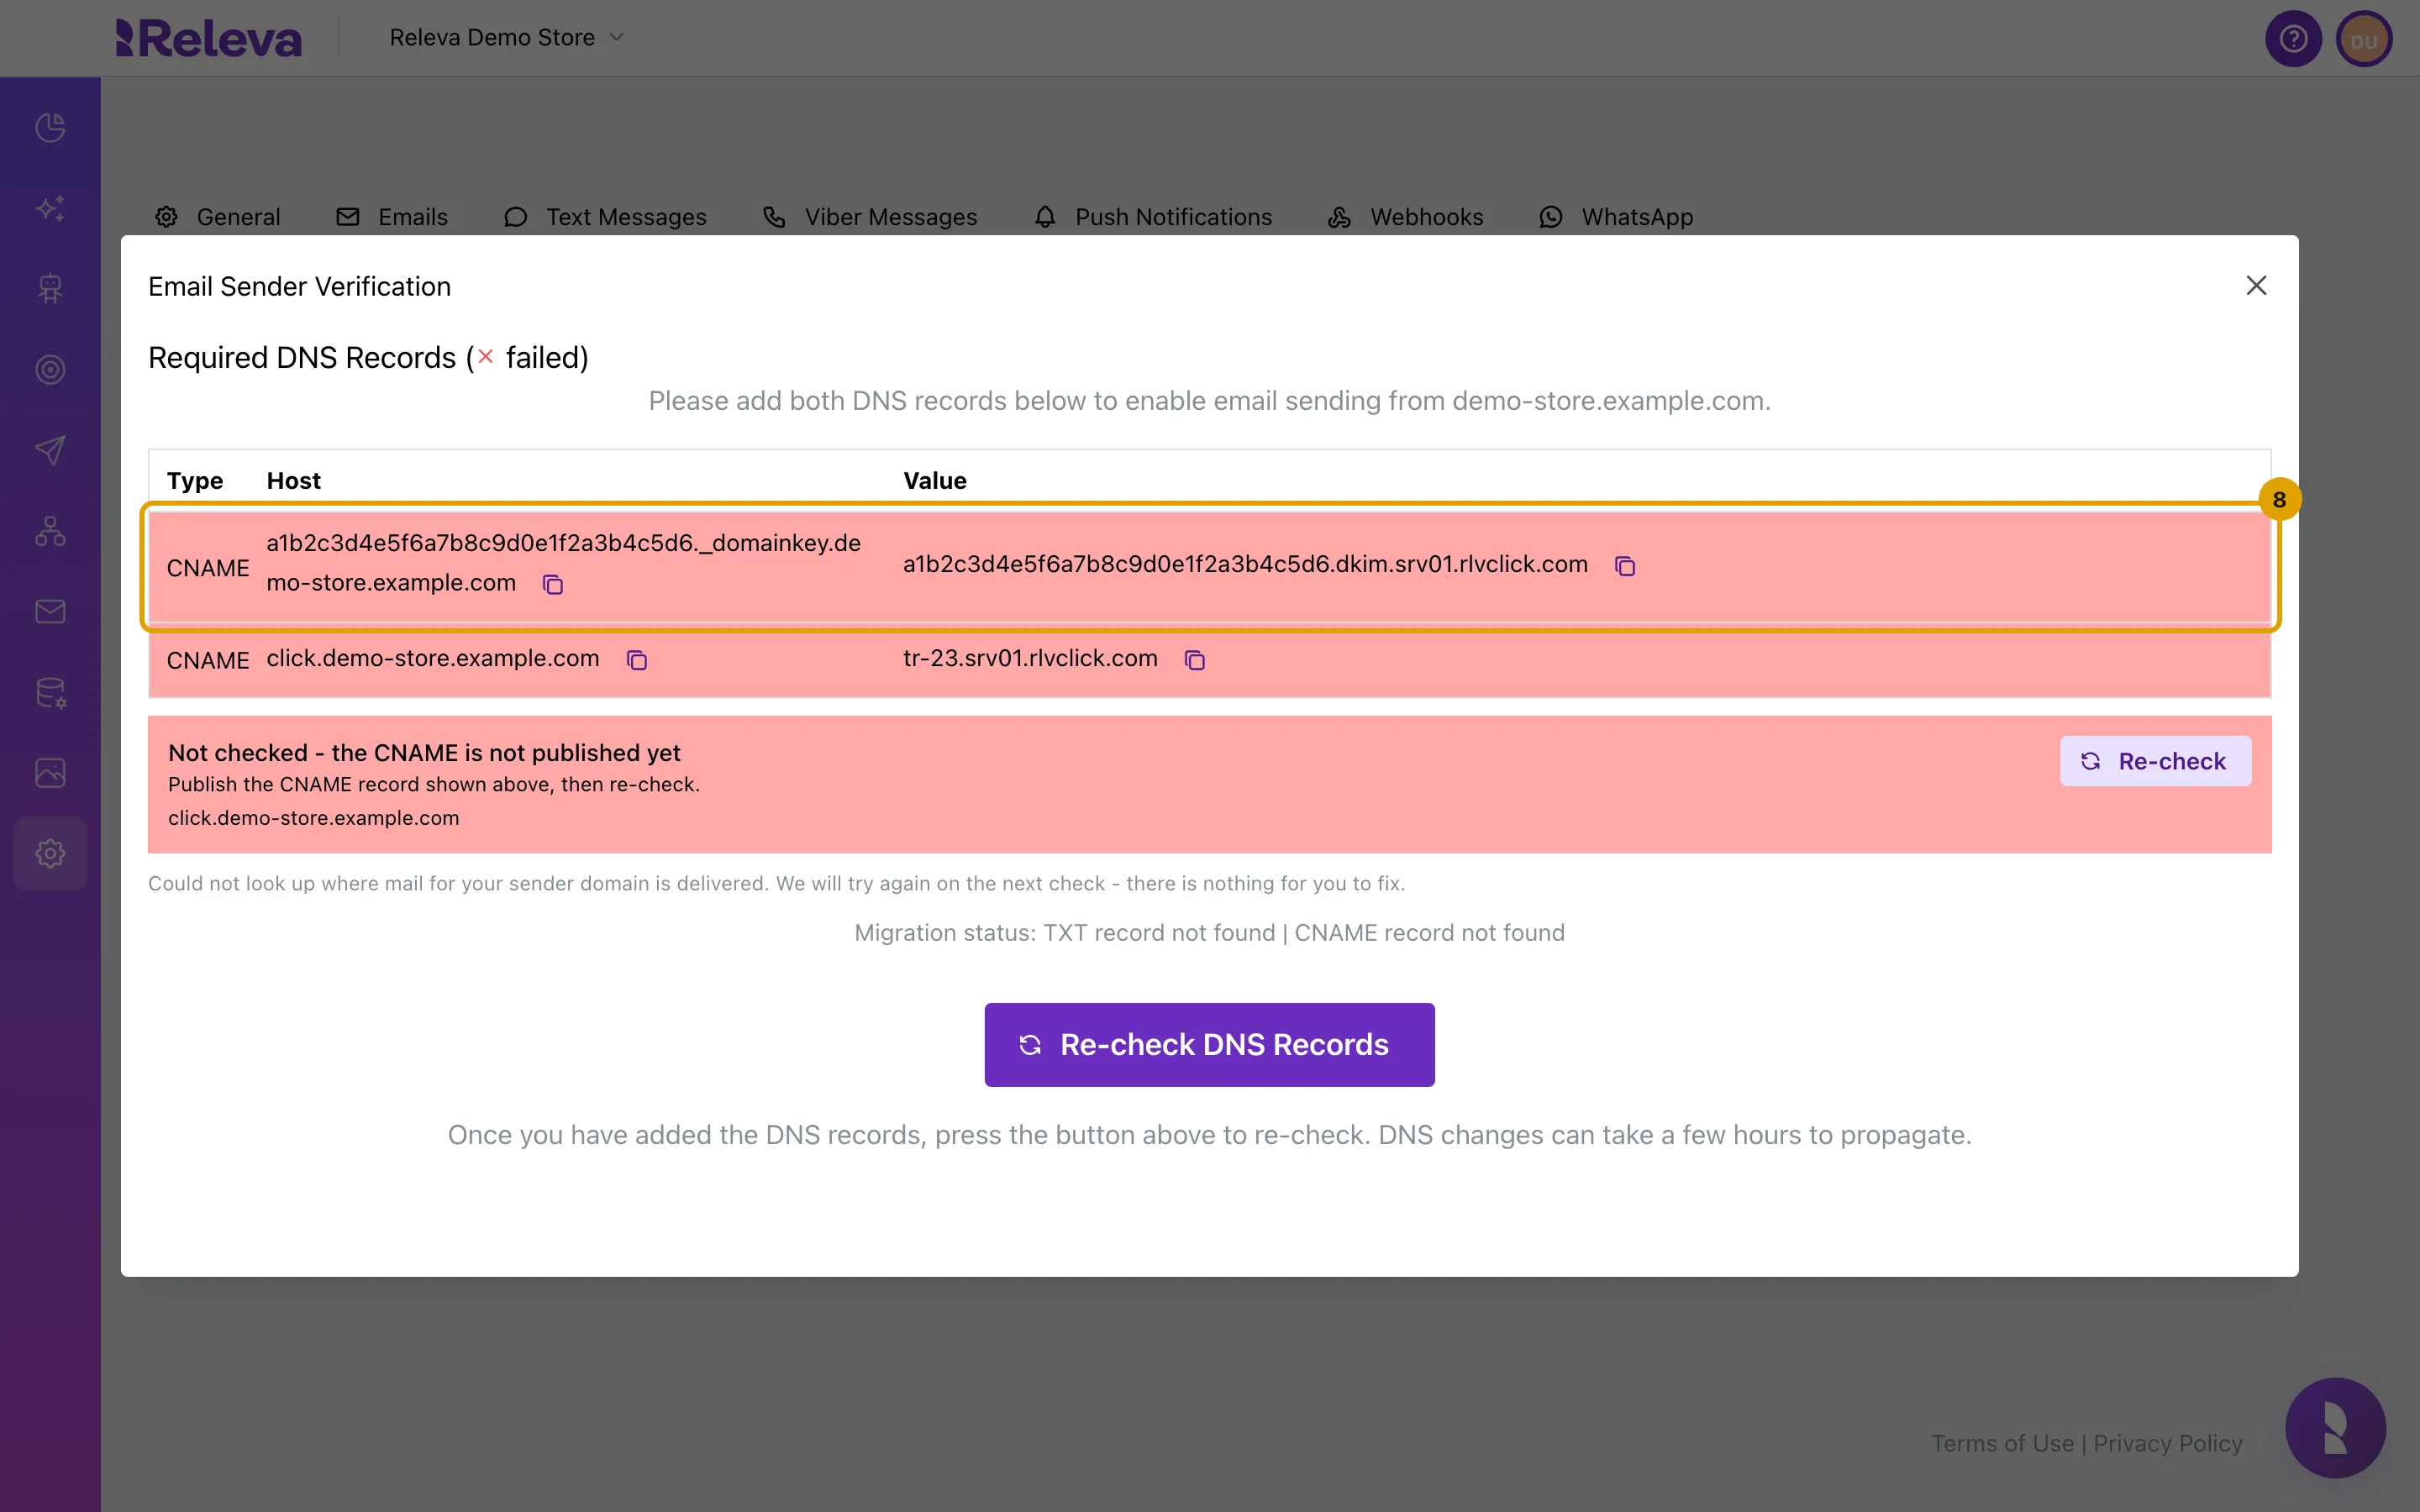
-
Add the second record (click tracking, type CNAME) the same way.
Its Host is
click.<your sender domain>. A red row means the record was not found at the last check; a green row means it resolves.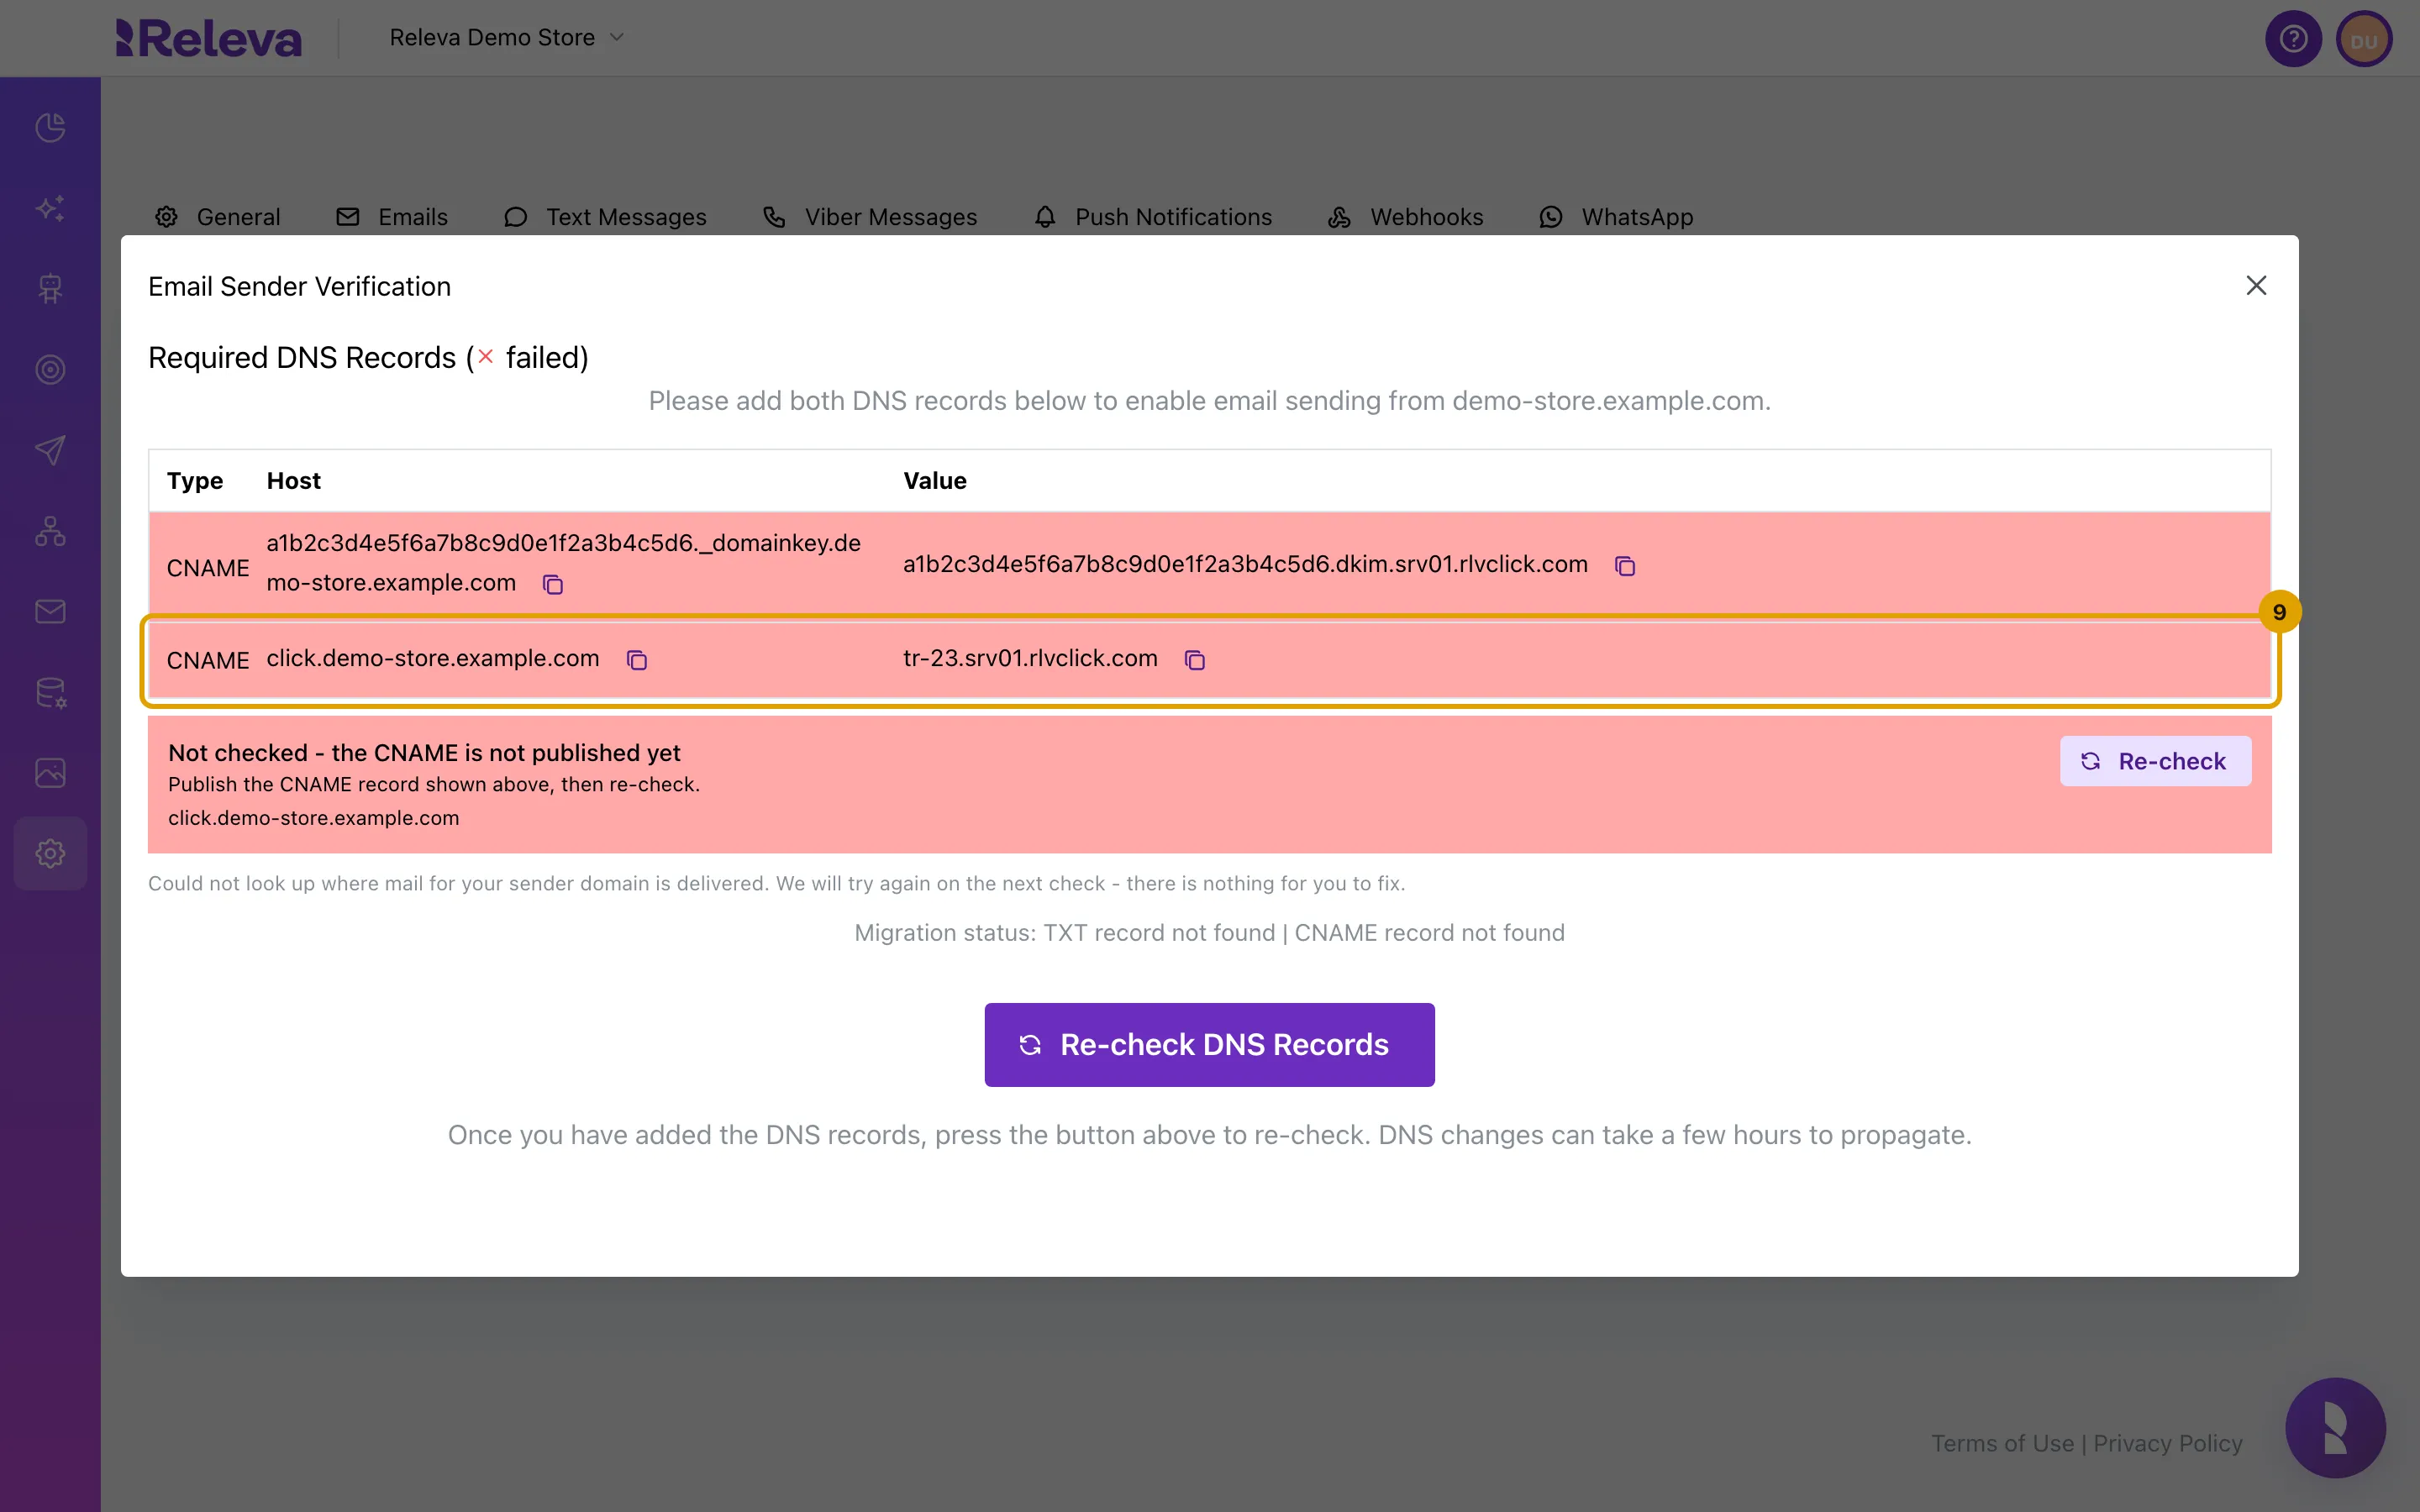
-
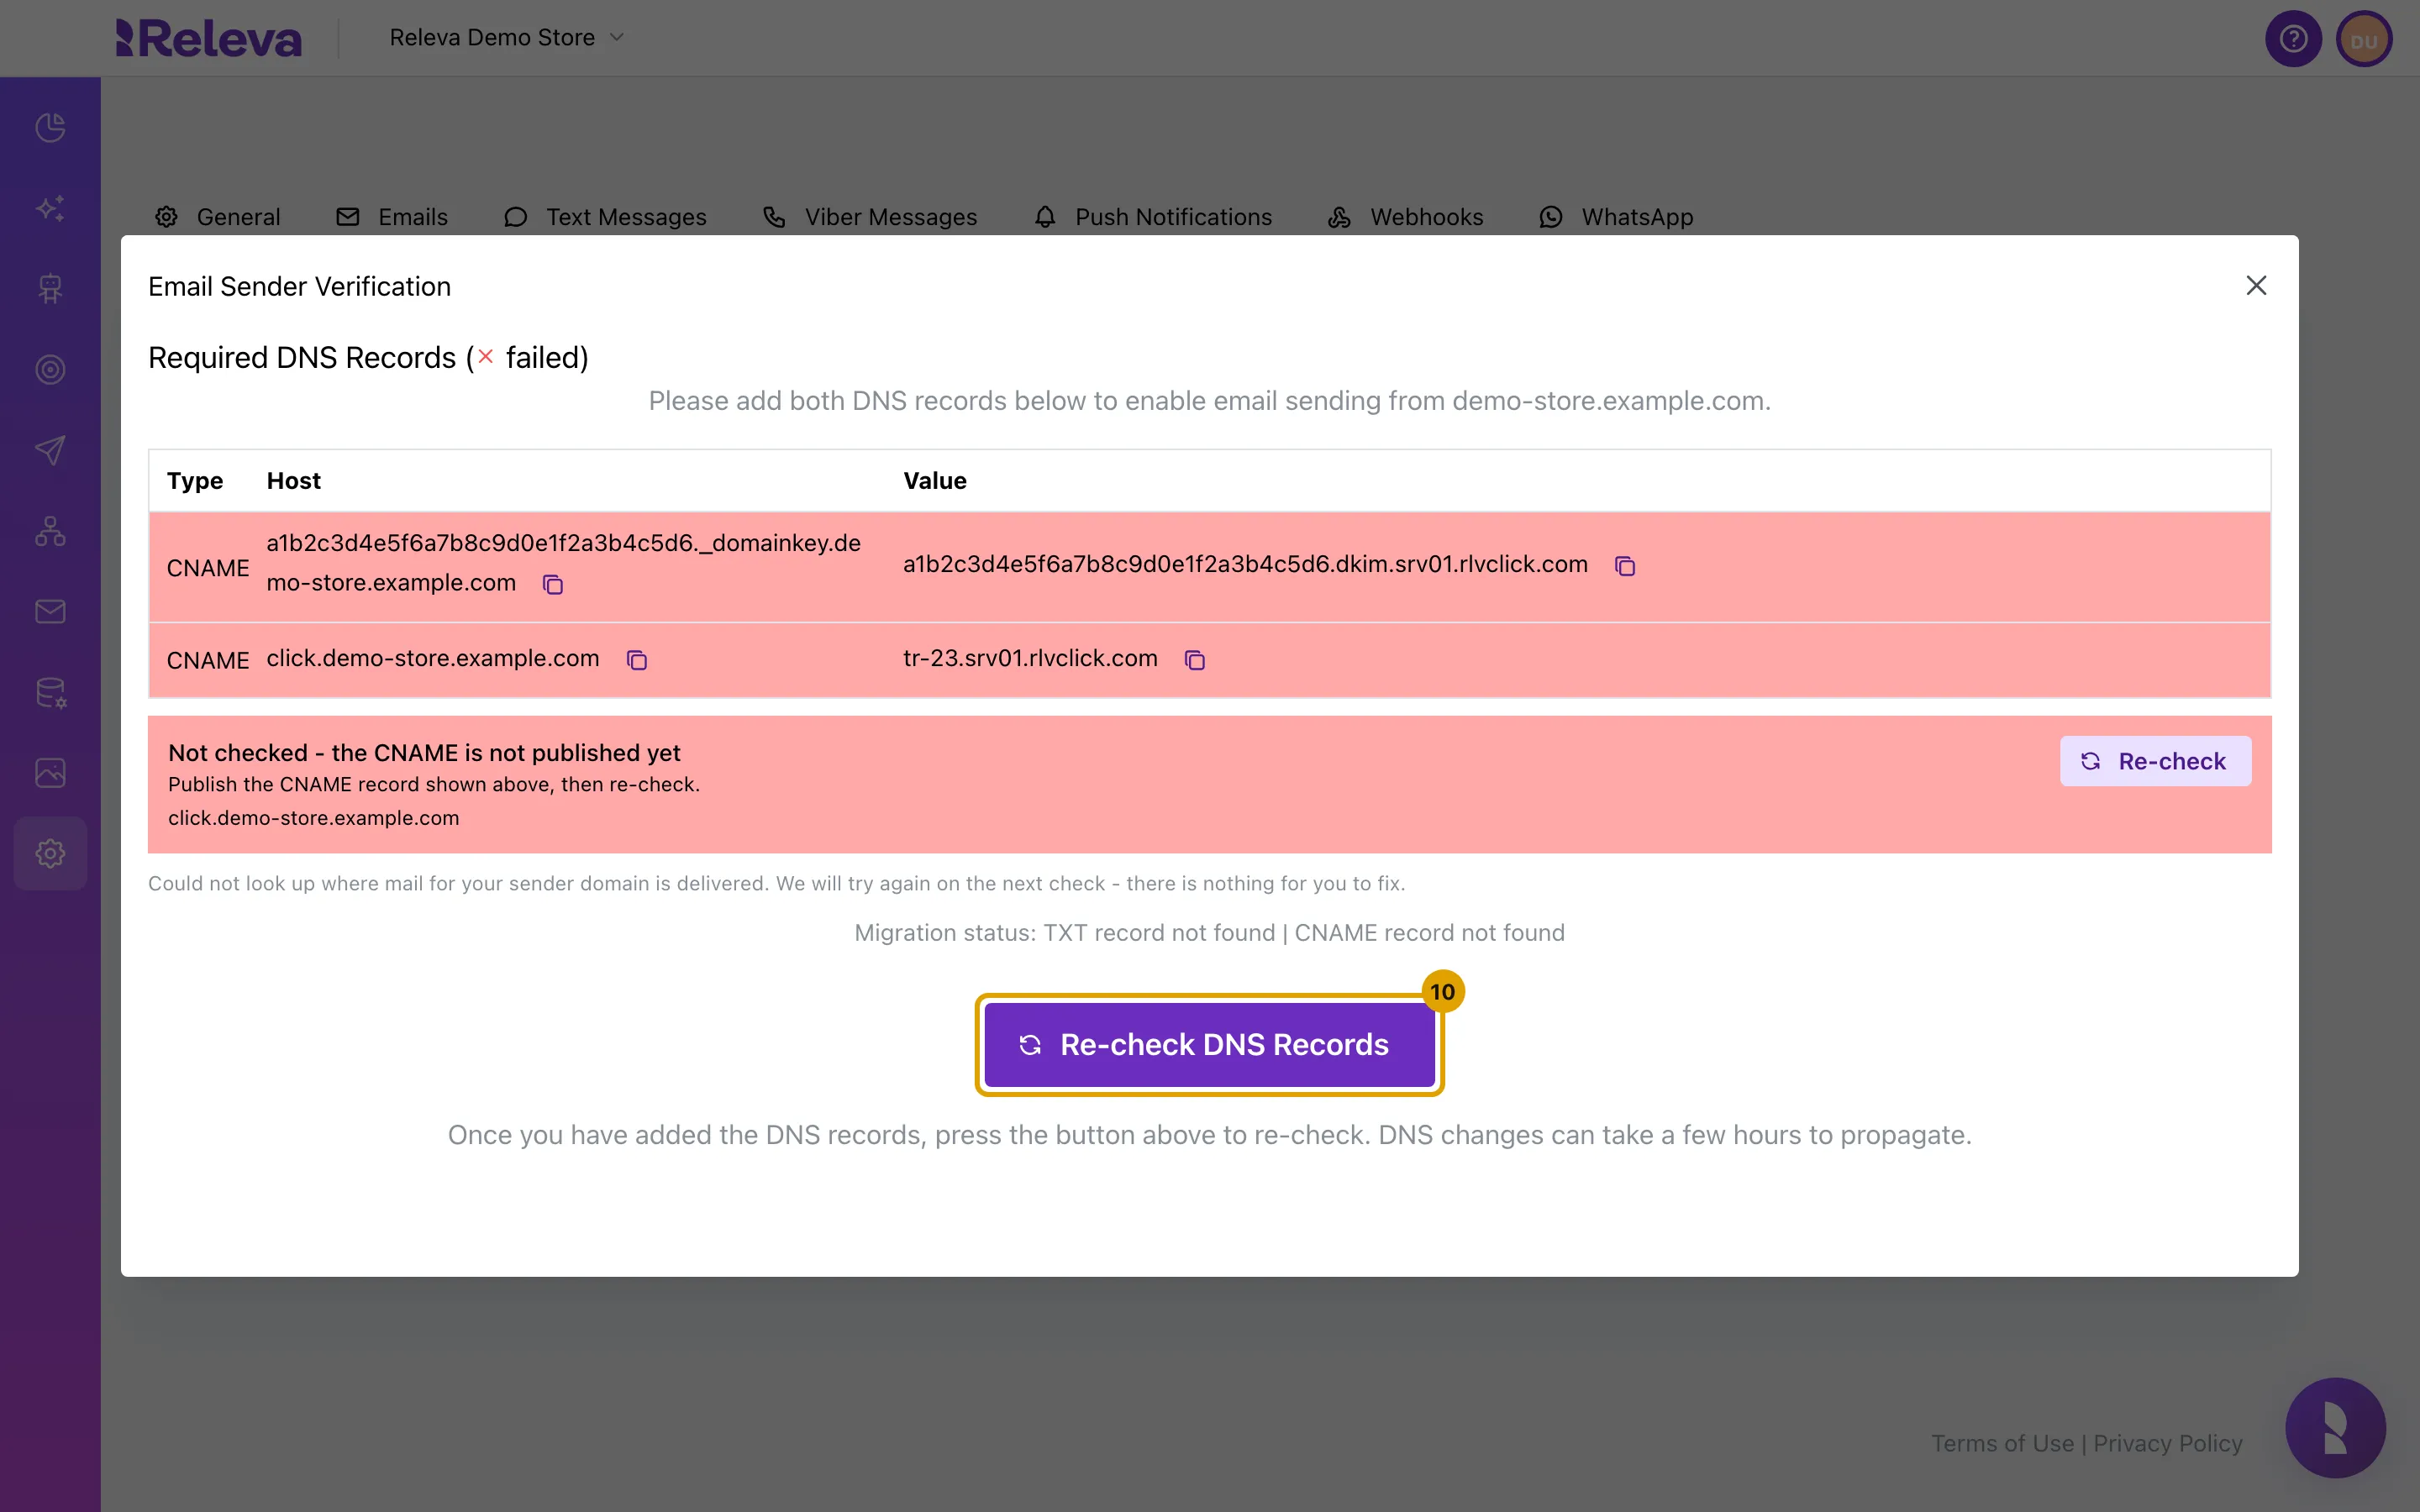
When both records are published, select Re-check DNS Records. DNS changes can take a few hours to show up.
Re-checking only looks up the records again. Press it as often as you like.
Check it worked
Section titled “Check it worked”- On the Emails tab, Sender verification shows a green check and successful.
- In the Email Sender Verification window, the heading reads Required DNS Records (✓ successful), both rows are green, and the box under the table reads The click-tracking host is serving with DNS, TLS and our link tracking are all working. Nothing to do here. Right after the record starts resolving it may read Nothing answered on the click-tracking host instead; that clears on its own while the certificate is issued.
- The red Campaign sending is disabled until the click-tracking DNS record is in place and Email sending is disabled until the DKIM DNS record is in place alerts disappear from the Campaigns, Emails and other channel lists.
Troubleshooting
Section titled “Troubleshooting”The field shows “sender name is required”, “sender email is required” or “reply to email is required”. The field is empty. Fill it in. Save is not disabled by these errors, so check all three fields before you save.
A row stays red after Re-check DNS Records. Either the record has not propagated yet (allow a few hours), or it is published on the wrong host. Compare Host and Value character by character with what your DNS provider shows. On Cloudflare, make sure the record is DNS only, not Proxied.
The box under the table reads “Not checked - the CNAME is not published yet”. Releva does not probe the click-tracking host until the click-tracking record resolves. Publish it, then select Re-check.
“Nothing answered on the click-tracking host”. The record resolves, but nothing responded. Usually the TLS certificate is still being issued or the DNS change has not finished propagating. This normally clears within the hour. Contact support@releva.ai if it is still failing after that.
“A different server is answering for this hostname”. The CNAME resolves to something that is not Releva: a parked page, your own web host or a CDN. Point it at the Value shown in the table.
“The click-tracking host answered that it is unhealthy”. This is usually on Releva’s side and temporary. Wait a few minutes and re-check; if it keeps failing, contact support@releva.ai.
The table says “No verification token found”. The sender identity for your domain is missing. Contact support@releva.ai.
I changed the sender address and the records are red again. Changing the domain part of the address creates a new sender identity with a new DKIM token, so both records change. Add the new records; the old ones can be deleted. Changing only the part before @ keeps the records.
“Could not look up where mail for your sender domain is delivered.” This grey note below the table is informational, and so is the Migration status line under it (it reports whether an older TXT-type DKIM record is still published). There is nothing for you to fix; the check runs again next time.
My settings disappeared when I left the page. Unsaved changes survive switching tabs but not leaving the page. Return to Settings › Messaging and select Save after editing.