

Install the Releva app on MerchantPro
On MerchantPro, Releva is an app from the MerchantPro App Store. Installing it creates your shop in Releva, so you never copy an access token or secret key. The app’s install screen asks which data it may send to Releva; keep everything on. After the install, the app opens Releva’s Get started with Releva wizard, where you accept the terms, pick a plan, enter billing details and a payment method, and start your trial.
The steps inside the MerchantPro admin and their screenshots can look different in your MerchantPro version.
Before you start
Section titled “Before you start”- You can sign in to your MerchantPro admin as a user who may install apps.
- You have your company’s billing details (legal entity name, address, VAT number if registered) and a payment card at hand.
- If your shop already exists in Releva, tell your account manager before you install the app, so the install does not create a second shop.
Install
Section titled “Install”In the MerchantPro admin:
-
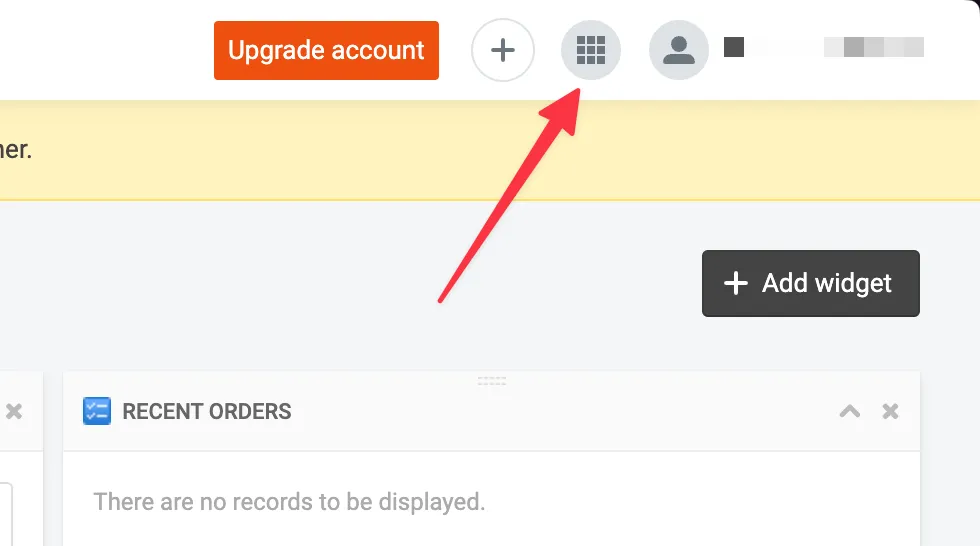
Select the apps icon at the top right (My Apps).
-
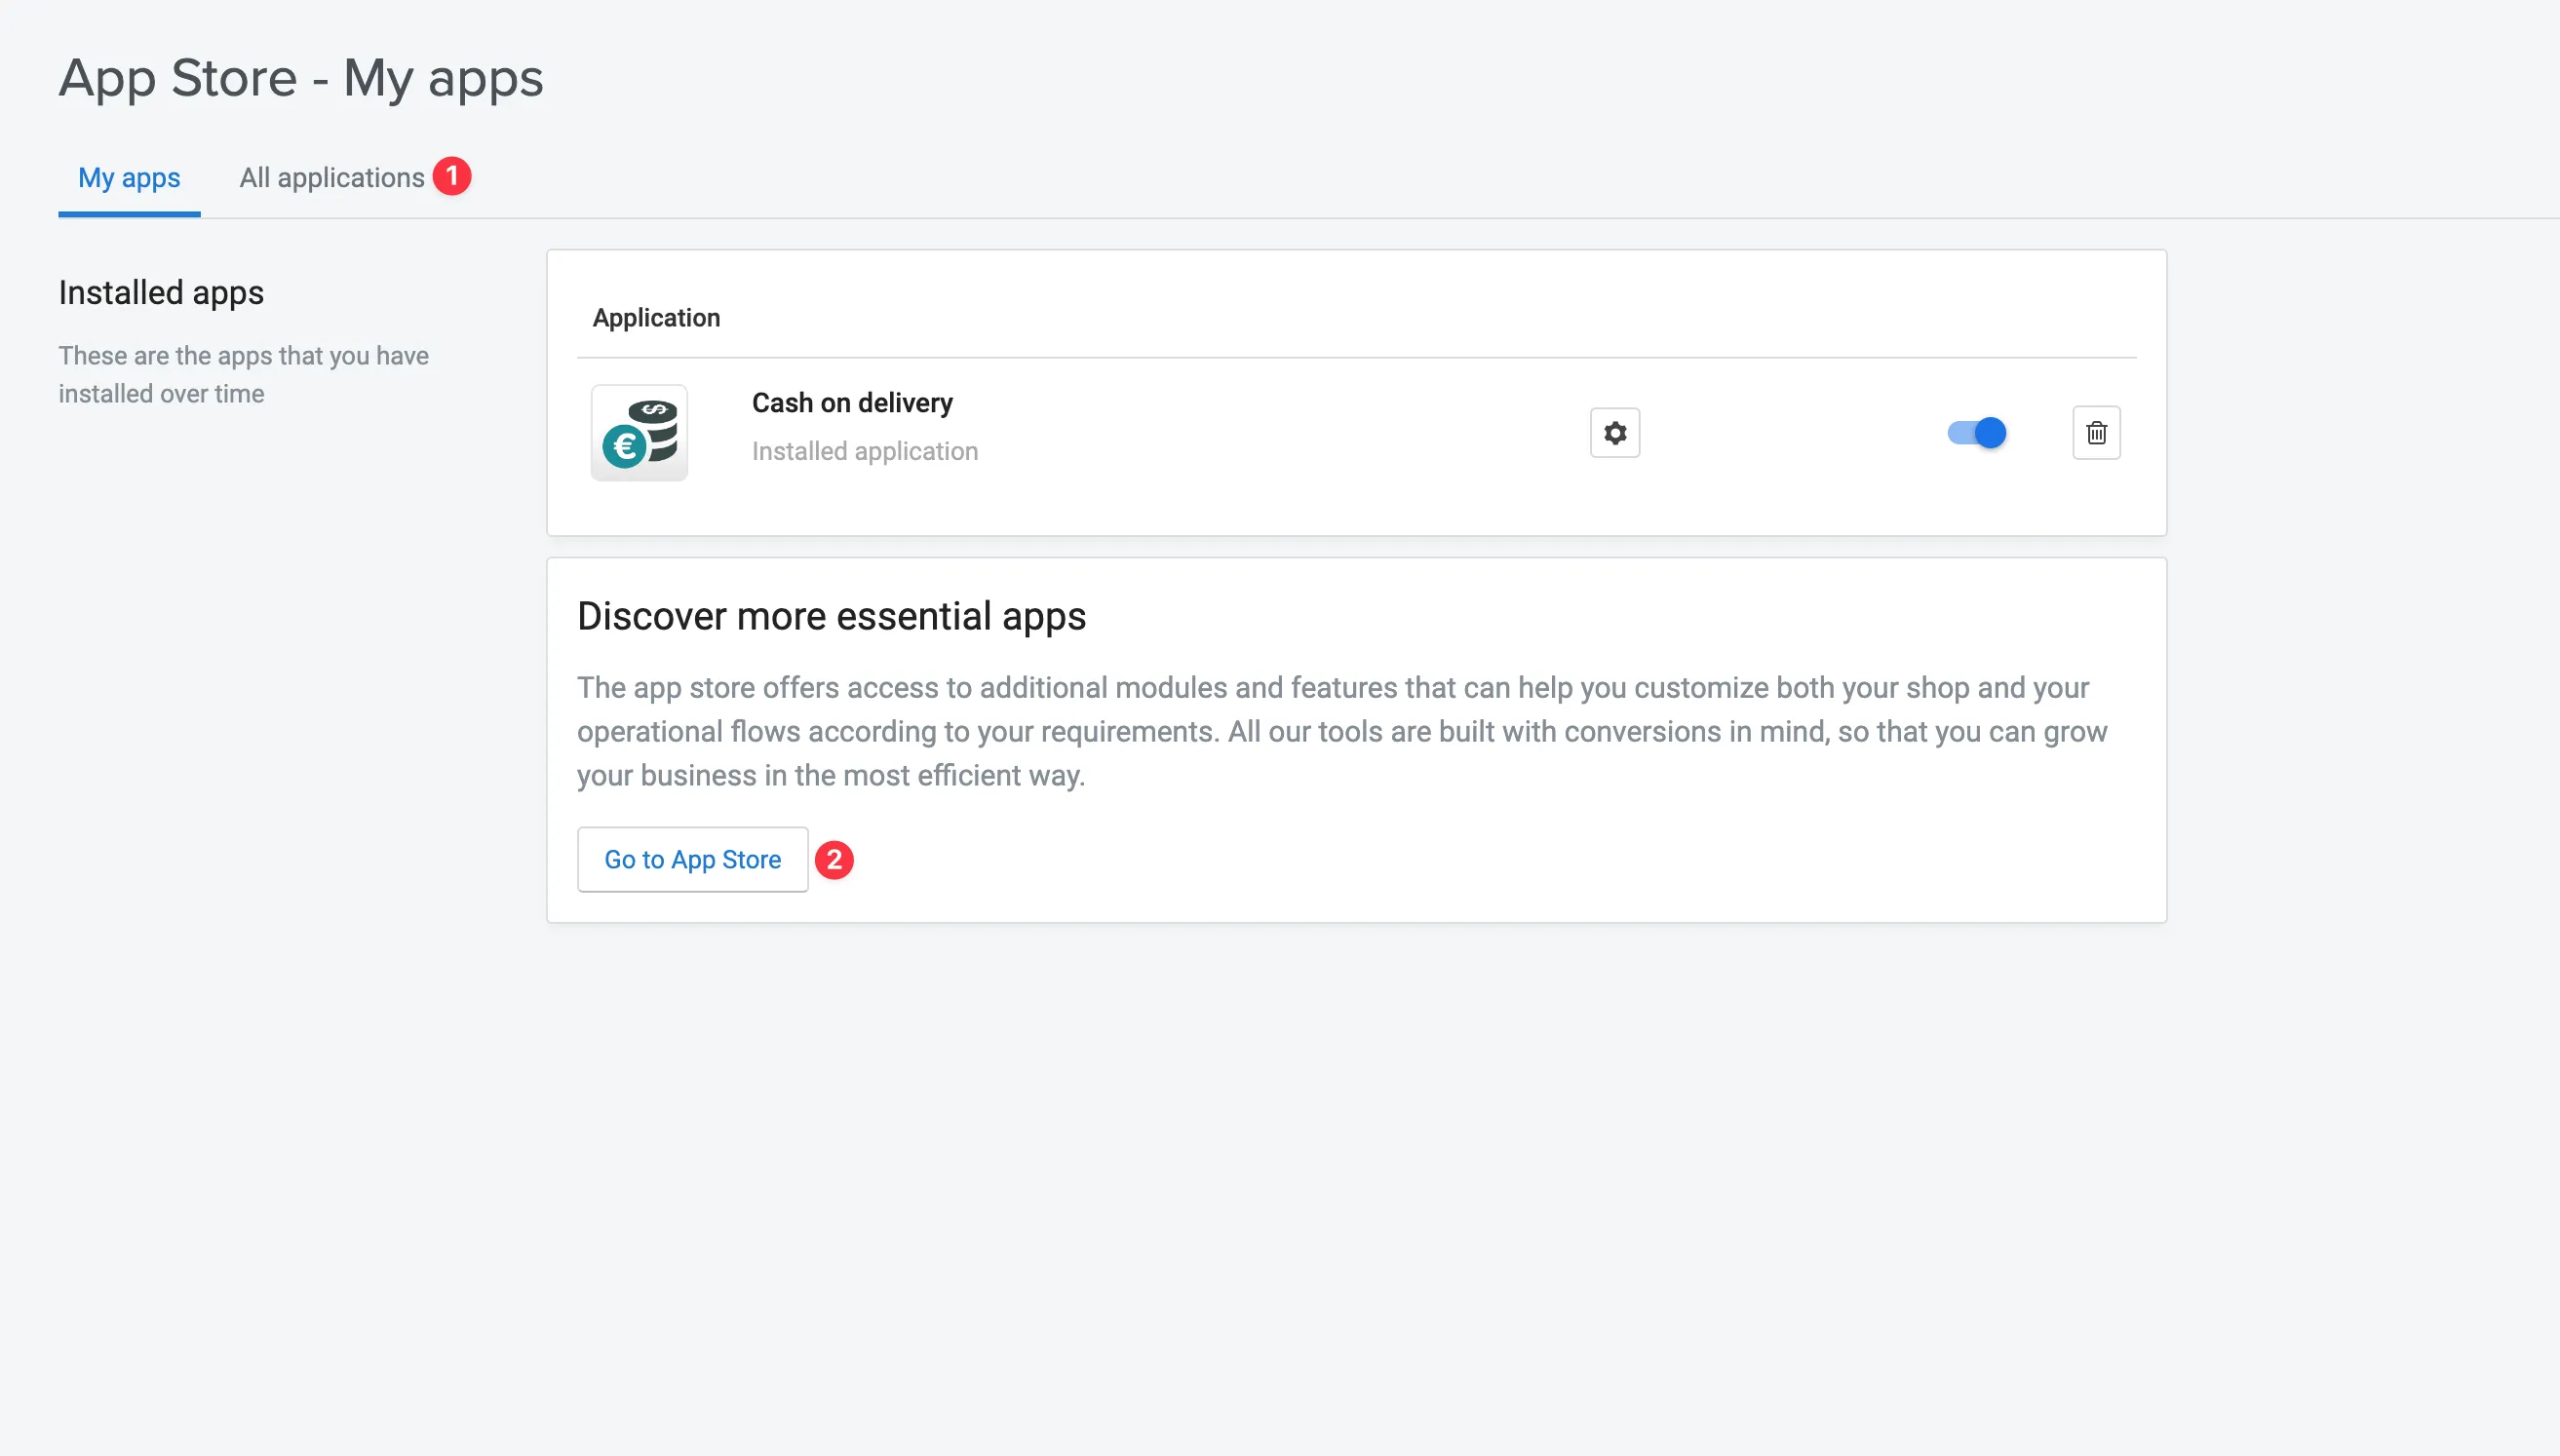
On App Store - My apps, select the All applications tab or Go to App Store.
-
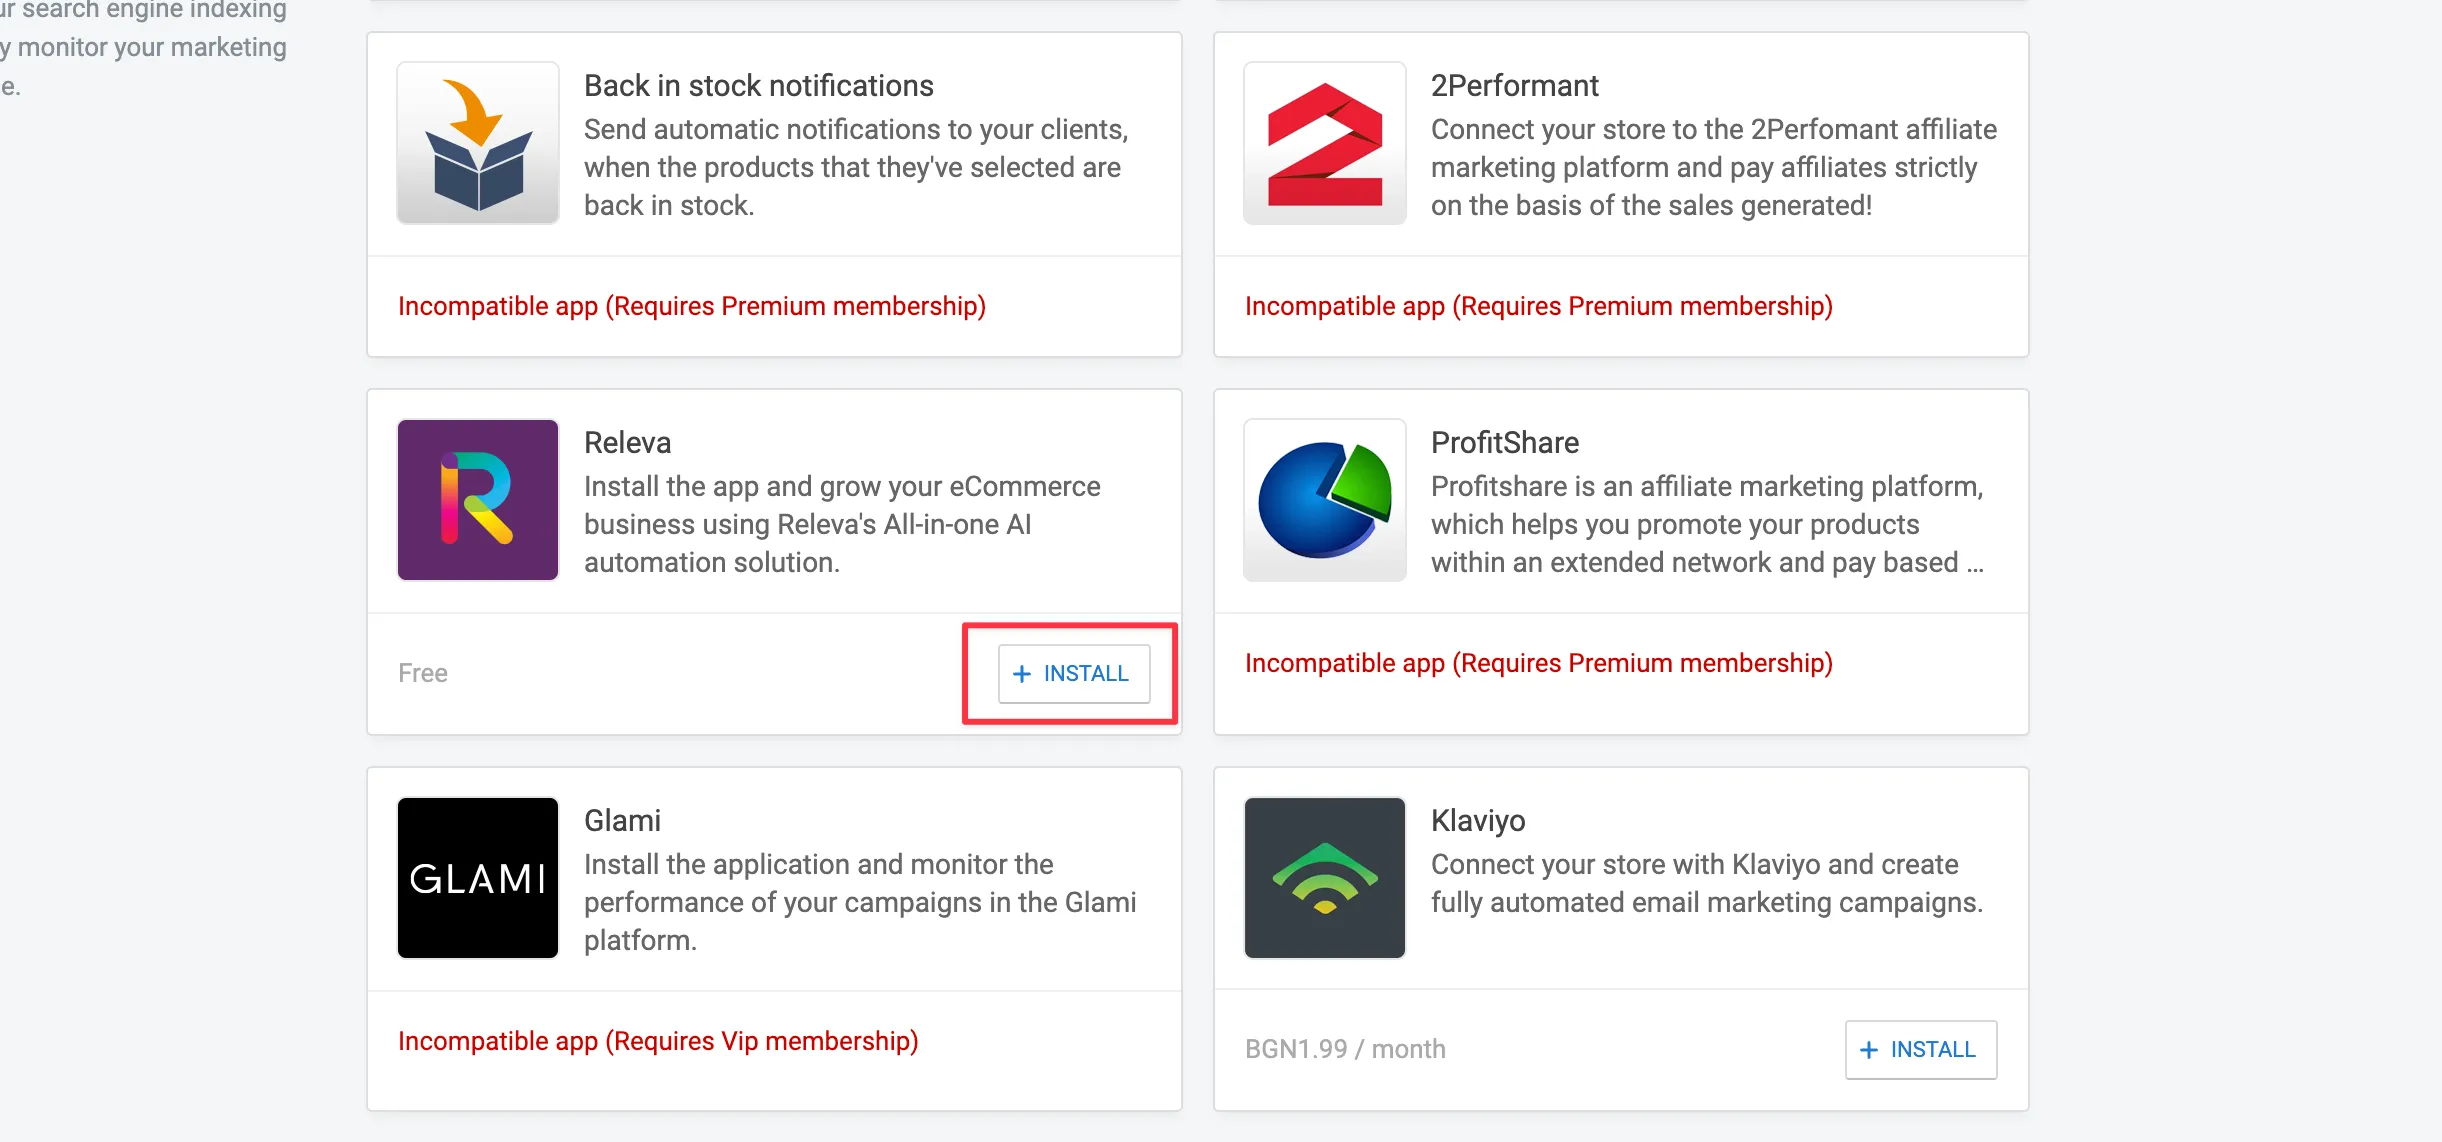
Find Releva in the Marketing section and select Install.
-
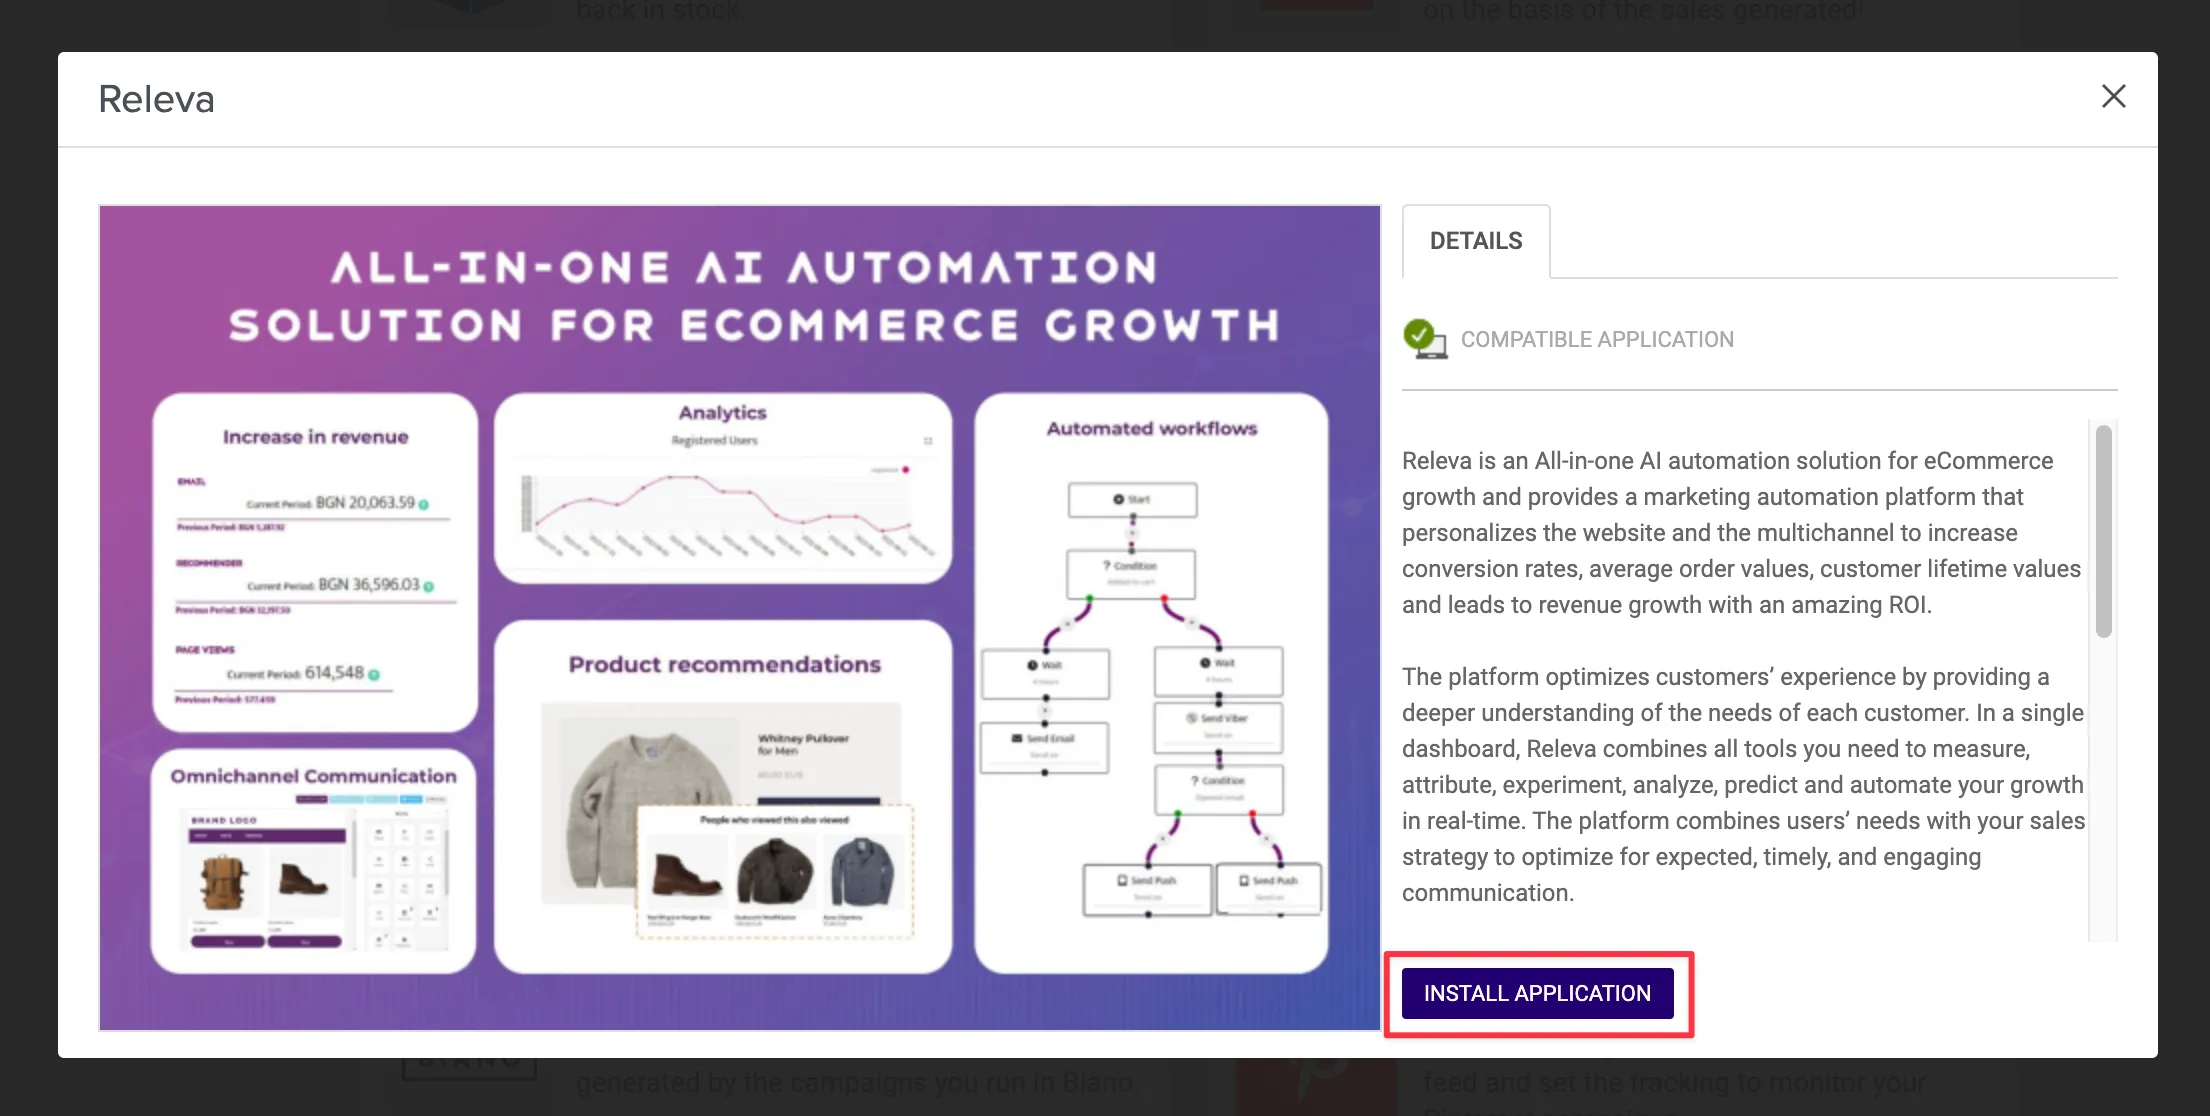
In the Releva window, select Install application at the bottom.
-
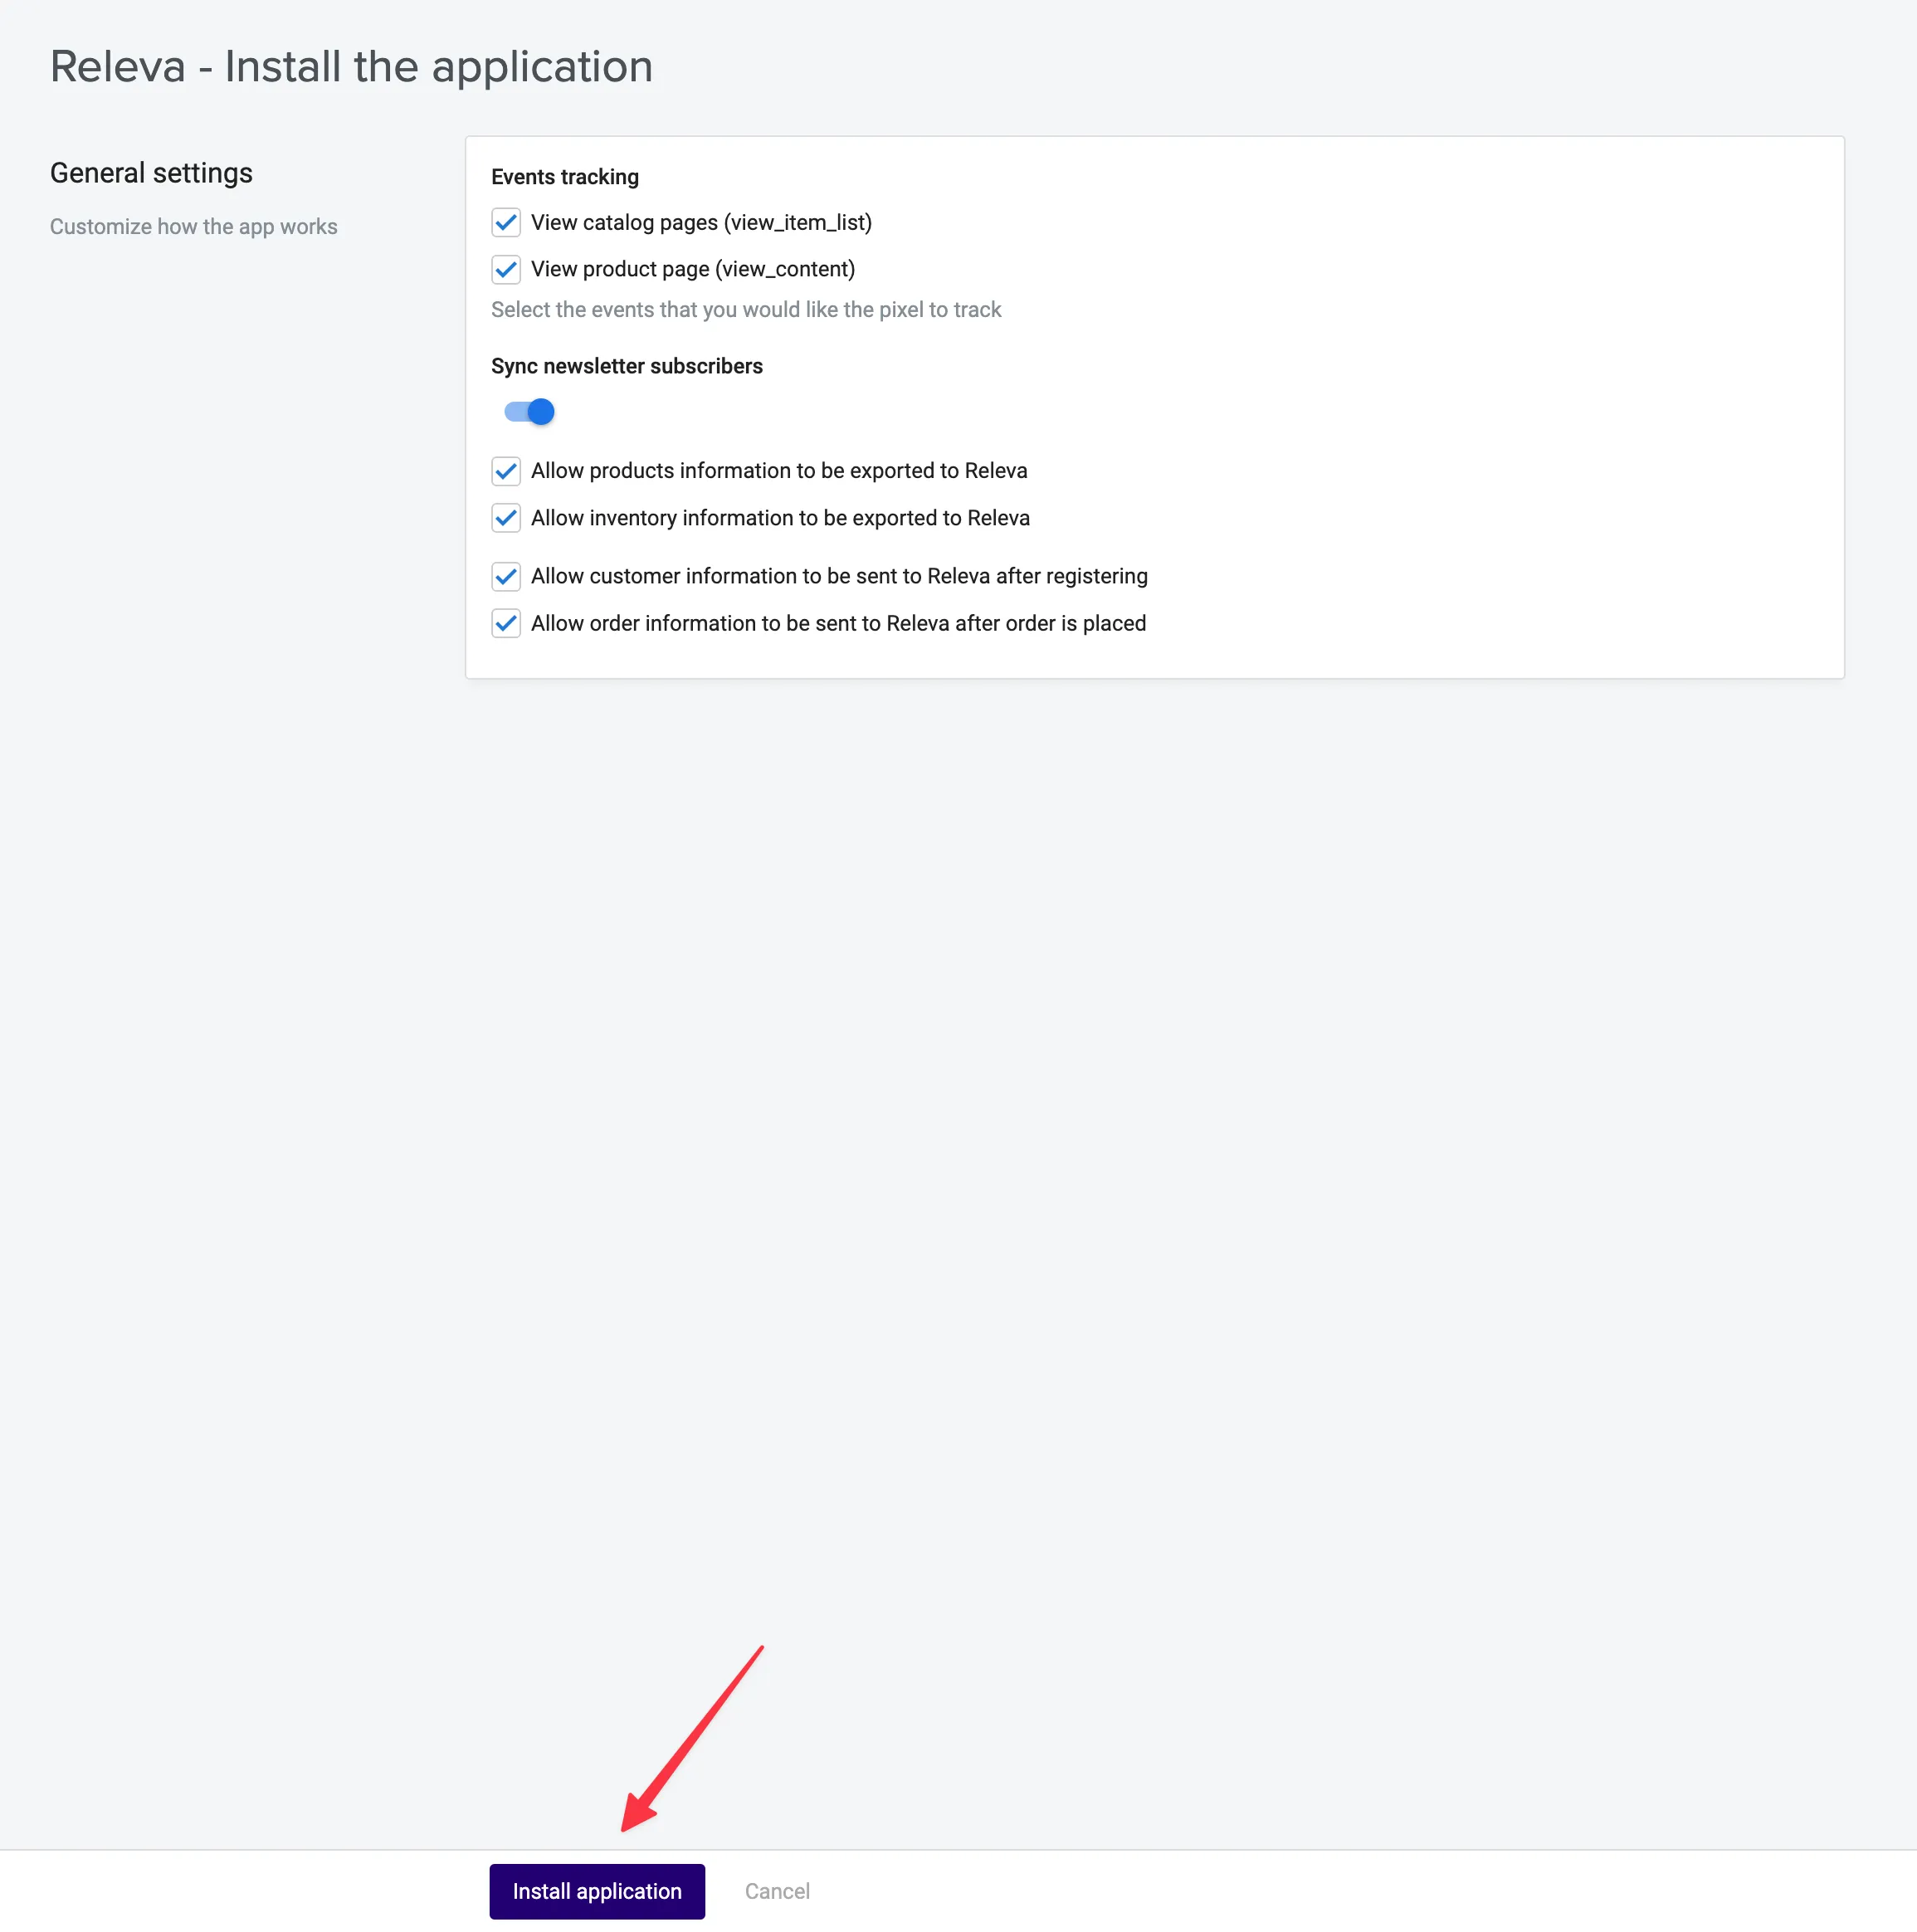
On Releva - Install the application, keep every option on and select Install application:
- Events tracking: View catalog pages (view_item_list) and View product page (view_content)
- Sync newsletter subscribers (switch)
- Allow products information to be exported to Releva
- Allow inventory information to be exported to Releva
- Allow customer information to be sent to Releva after registering
- Allow order information to be sent to Releva after order is placed
All of them are needed for Releva to work fully.
-
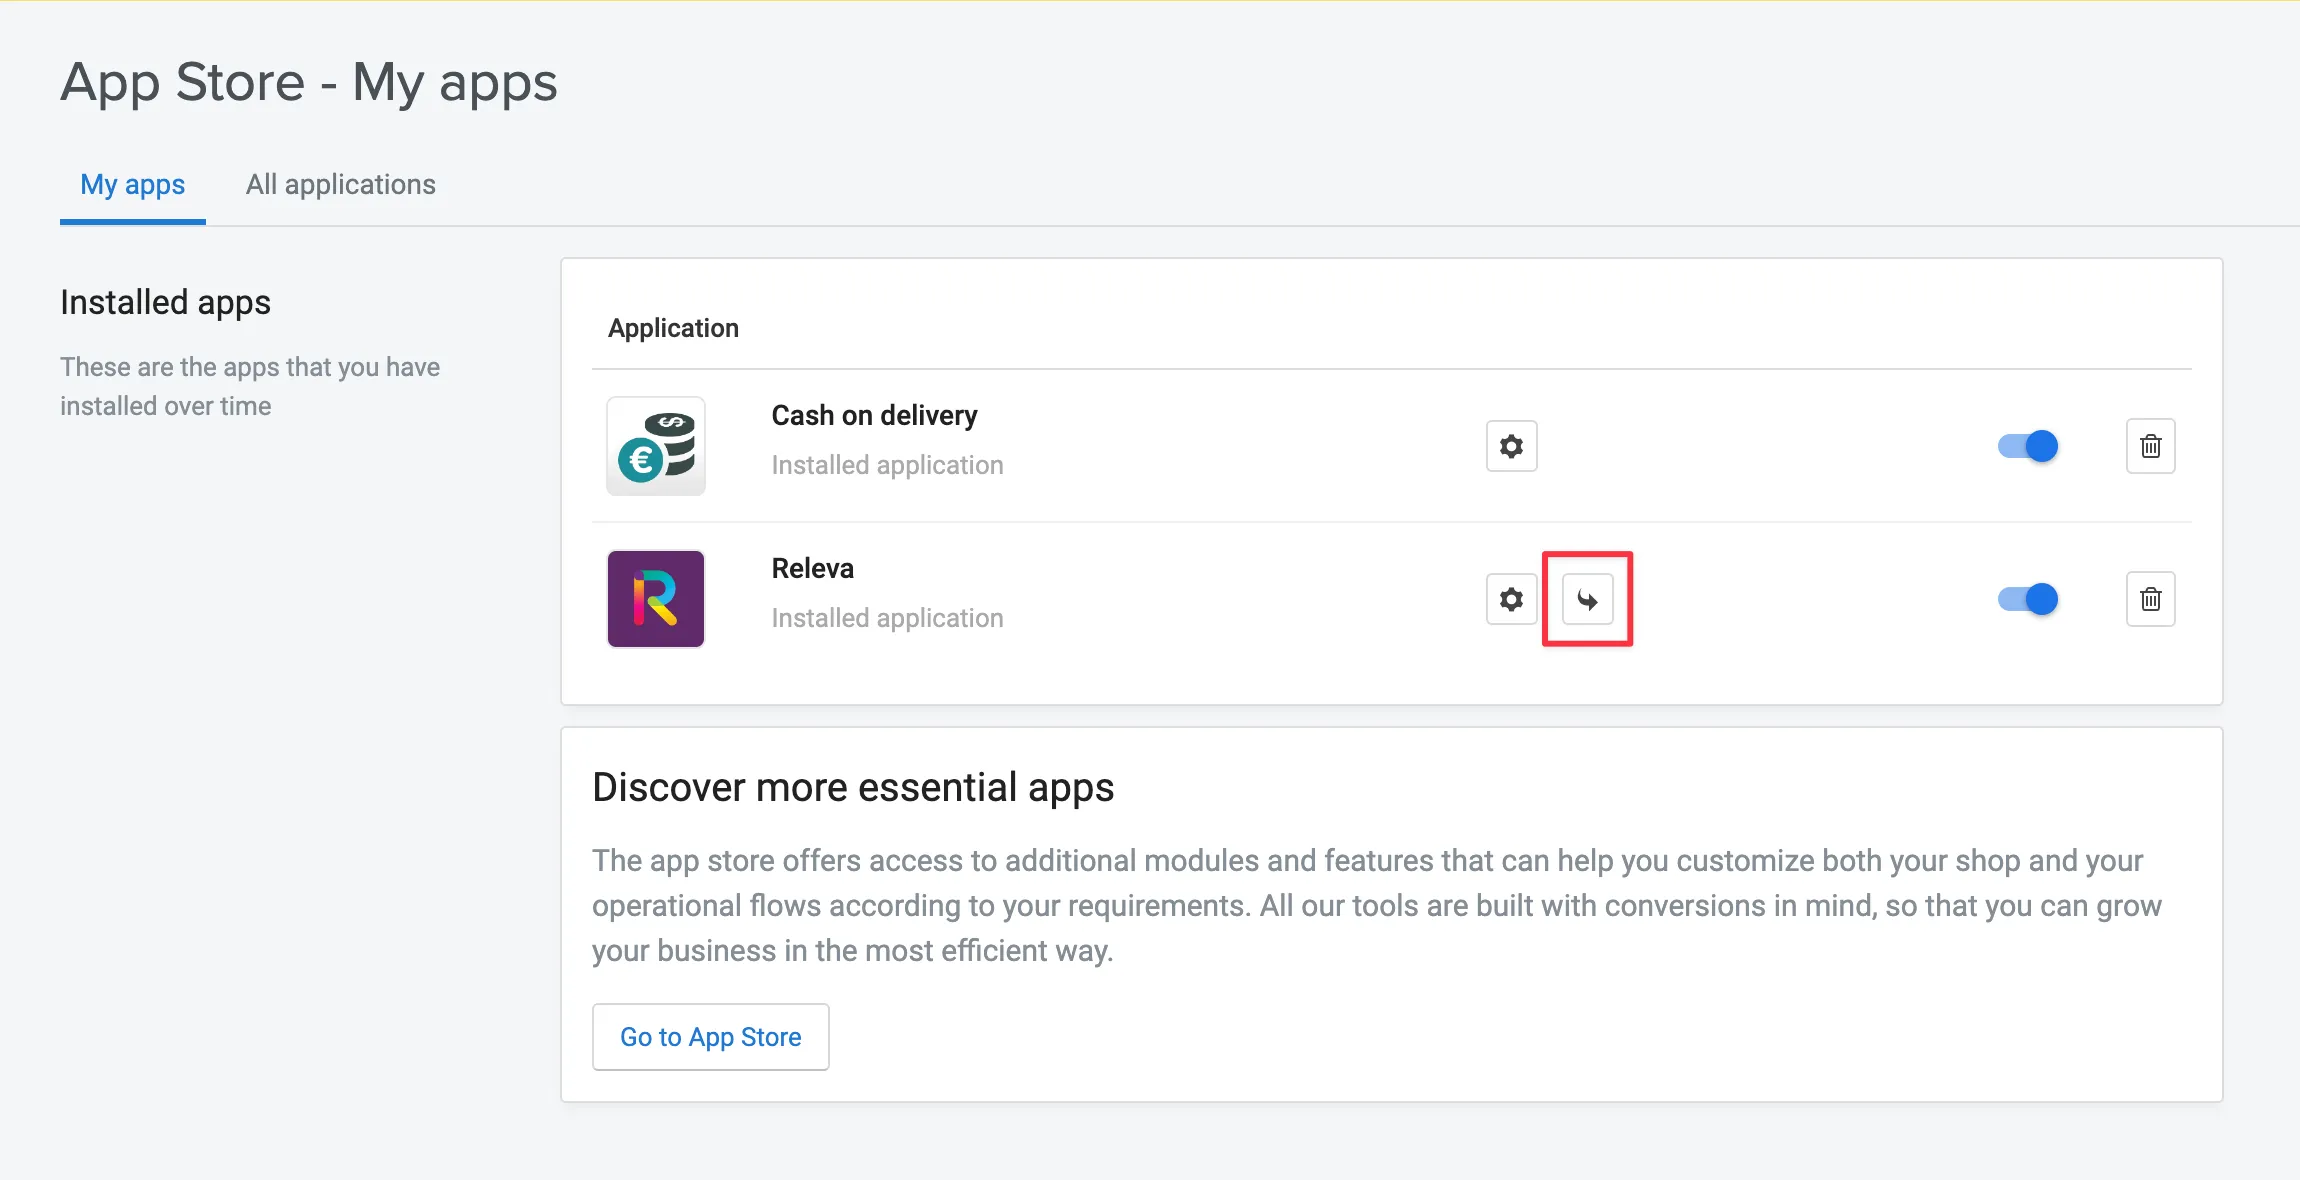
Back on My apps, select the arrow button on the Releva row. Releva opens in a new tab.
Configure
Section titled “Configure”There are no keys to copy. A MerchantPro shop is created paused and every page of the Releva admin sends you to the Get started with Releva wizard until you finish it. The wizard has five steps: Welcome, Subscription, Billing Information, Payment Method and Finished. You move forward only.
-
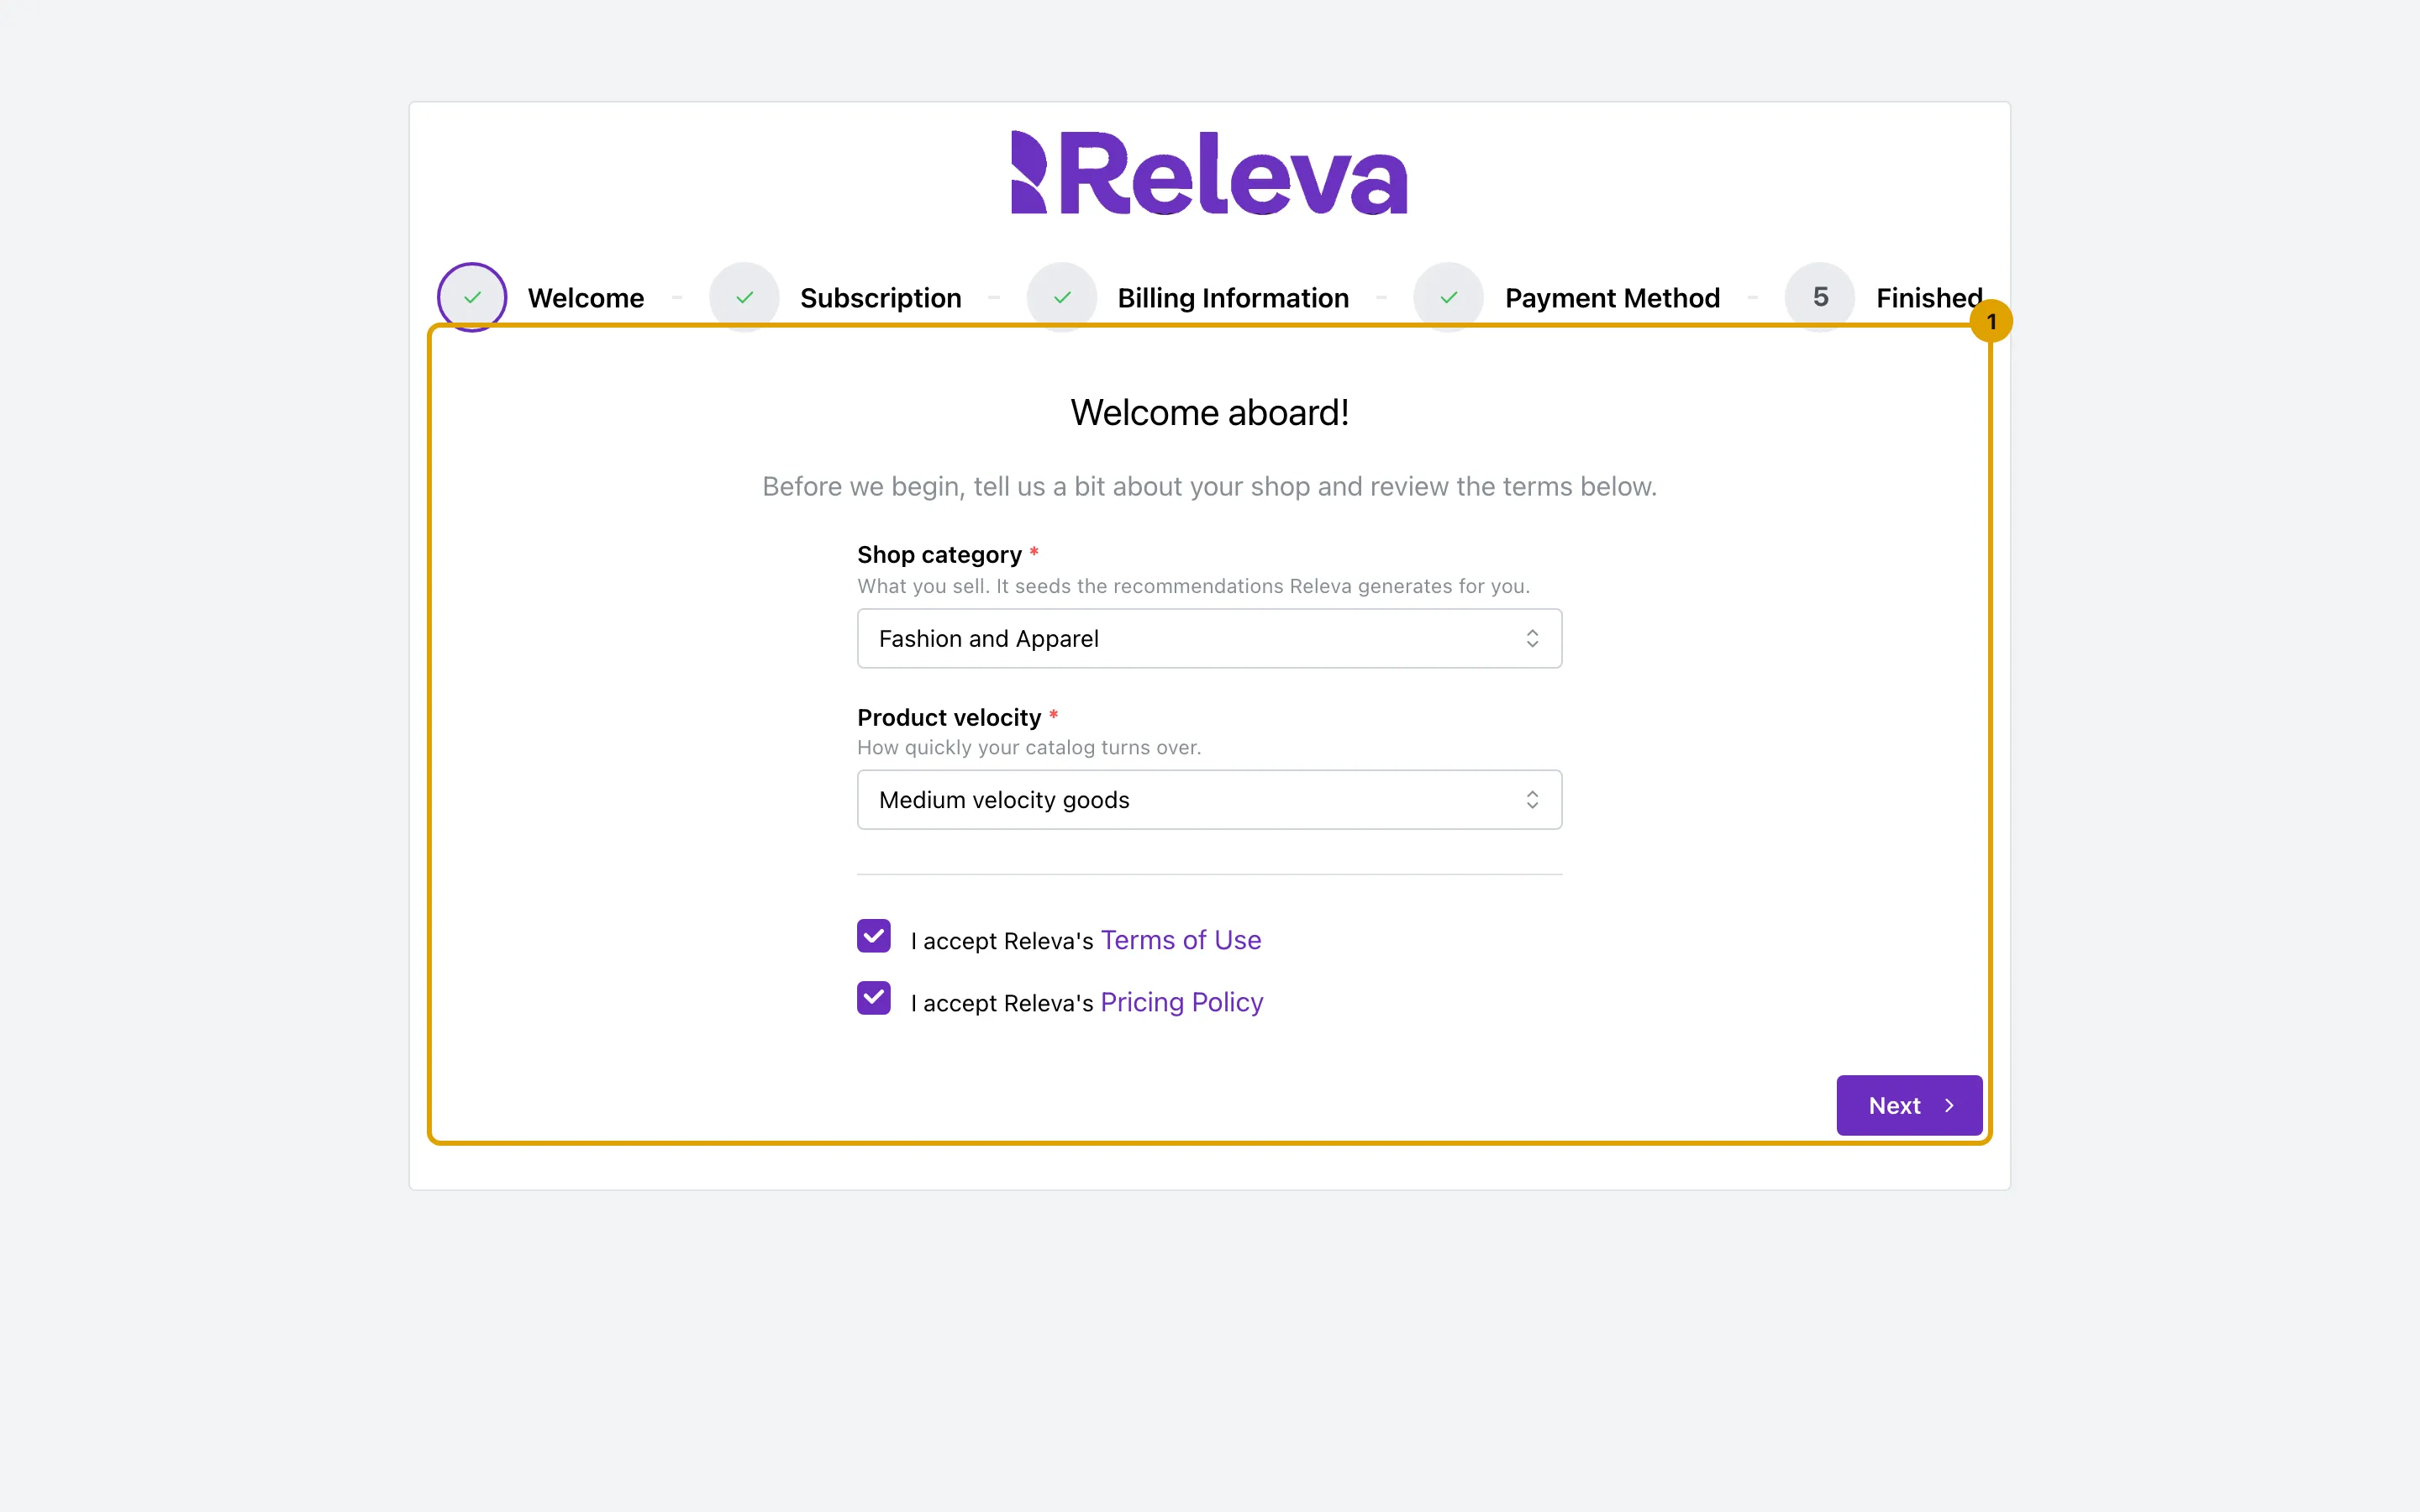
After you install the Releva app in MerchantPro and open it, the Get started with Releva page opens on Welcome. Choose your Shop category and Product velocity, select both I accept Releva’s Terms of Use and I accept Releva’s Pricing Policy, then select Next.
-
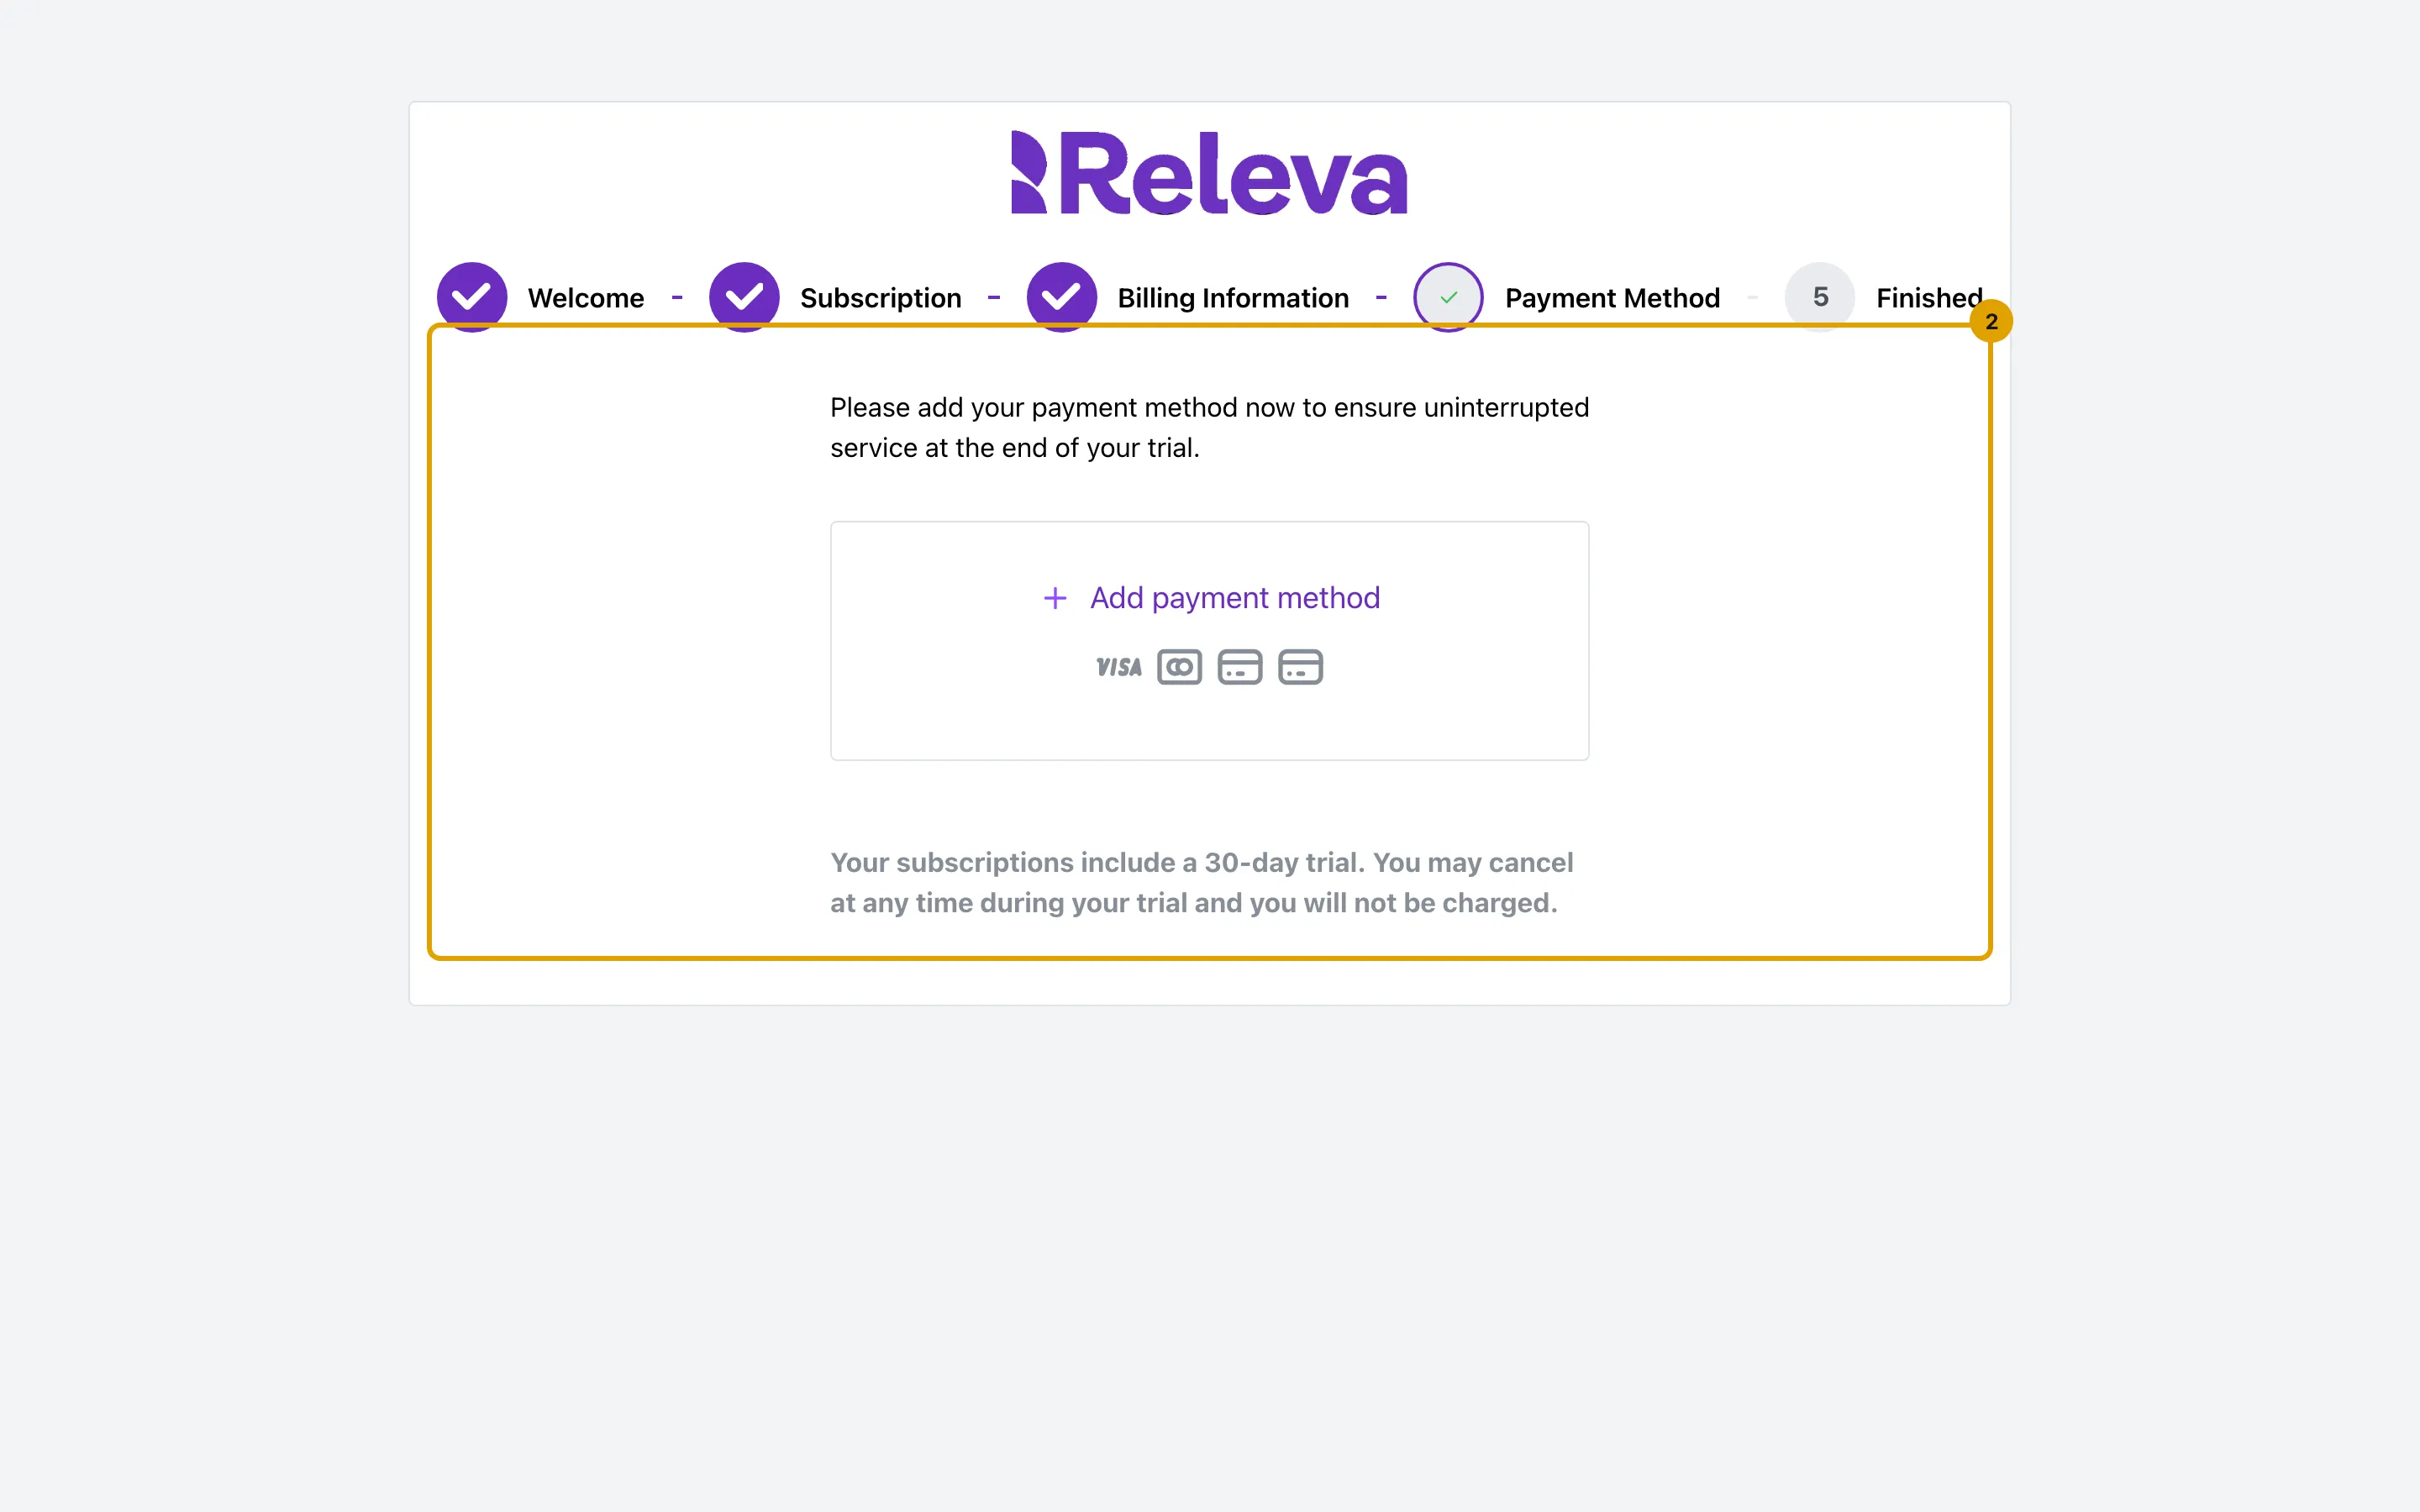
After Subscription (choose a plan, select Next) and Billing Information (your company and invoice details), Payment Method asks for a card. Select Add payment method and complete the card authorisation.
On Subscription, Releva proposes a plan (“Based on the information you have provided, we have picked the best plan for you:”); Explore Other Options shows the others. On Billing Information, legal entity name, address line 1, city, post code and country are required. Add payment method opens the payment provider in the same tab; your bank may ask for a confirmation (3-D Secure). The card is saved, not charged: “Your subscriptions include a 30-day trial. You may cancel at any time during your trial and you will not be charged.”
-
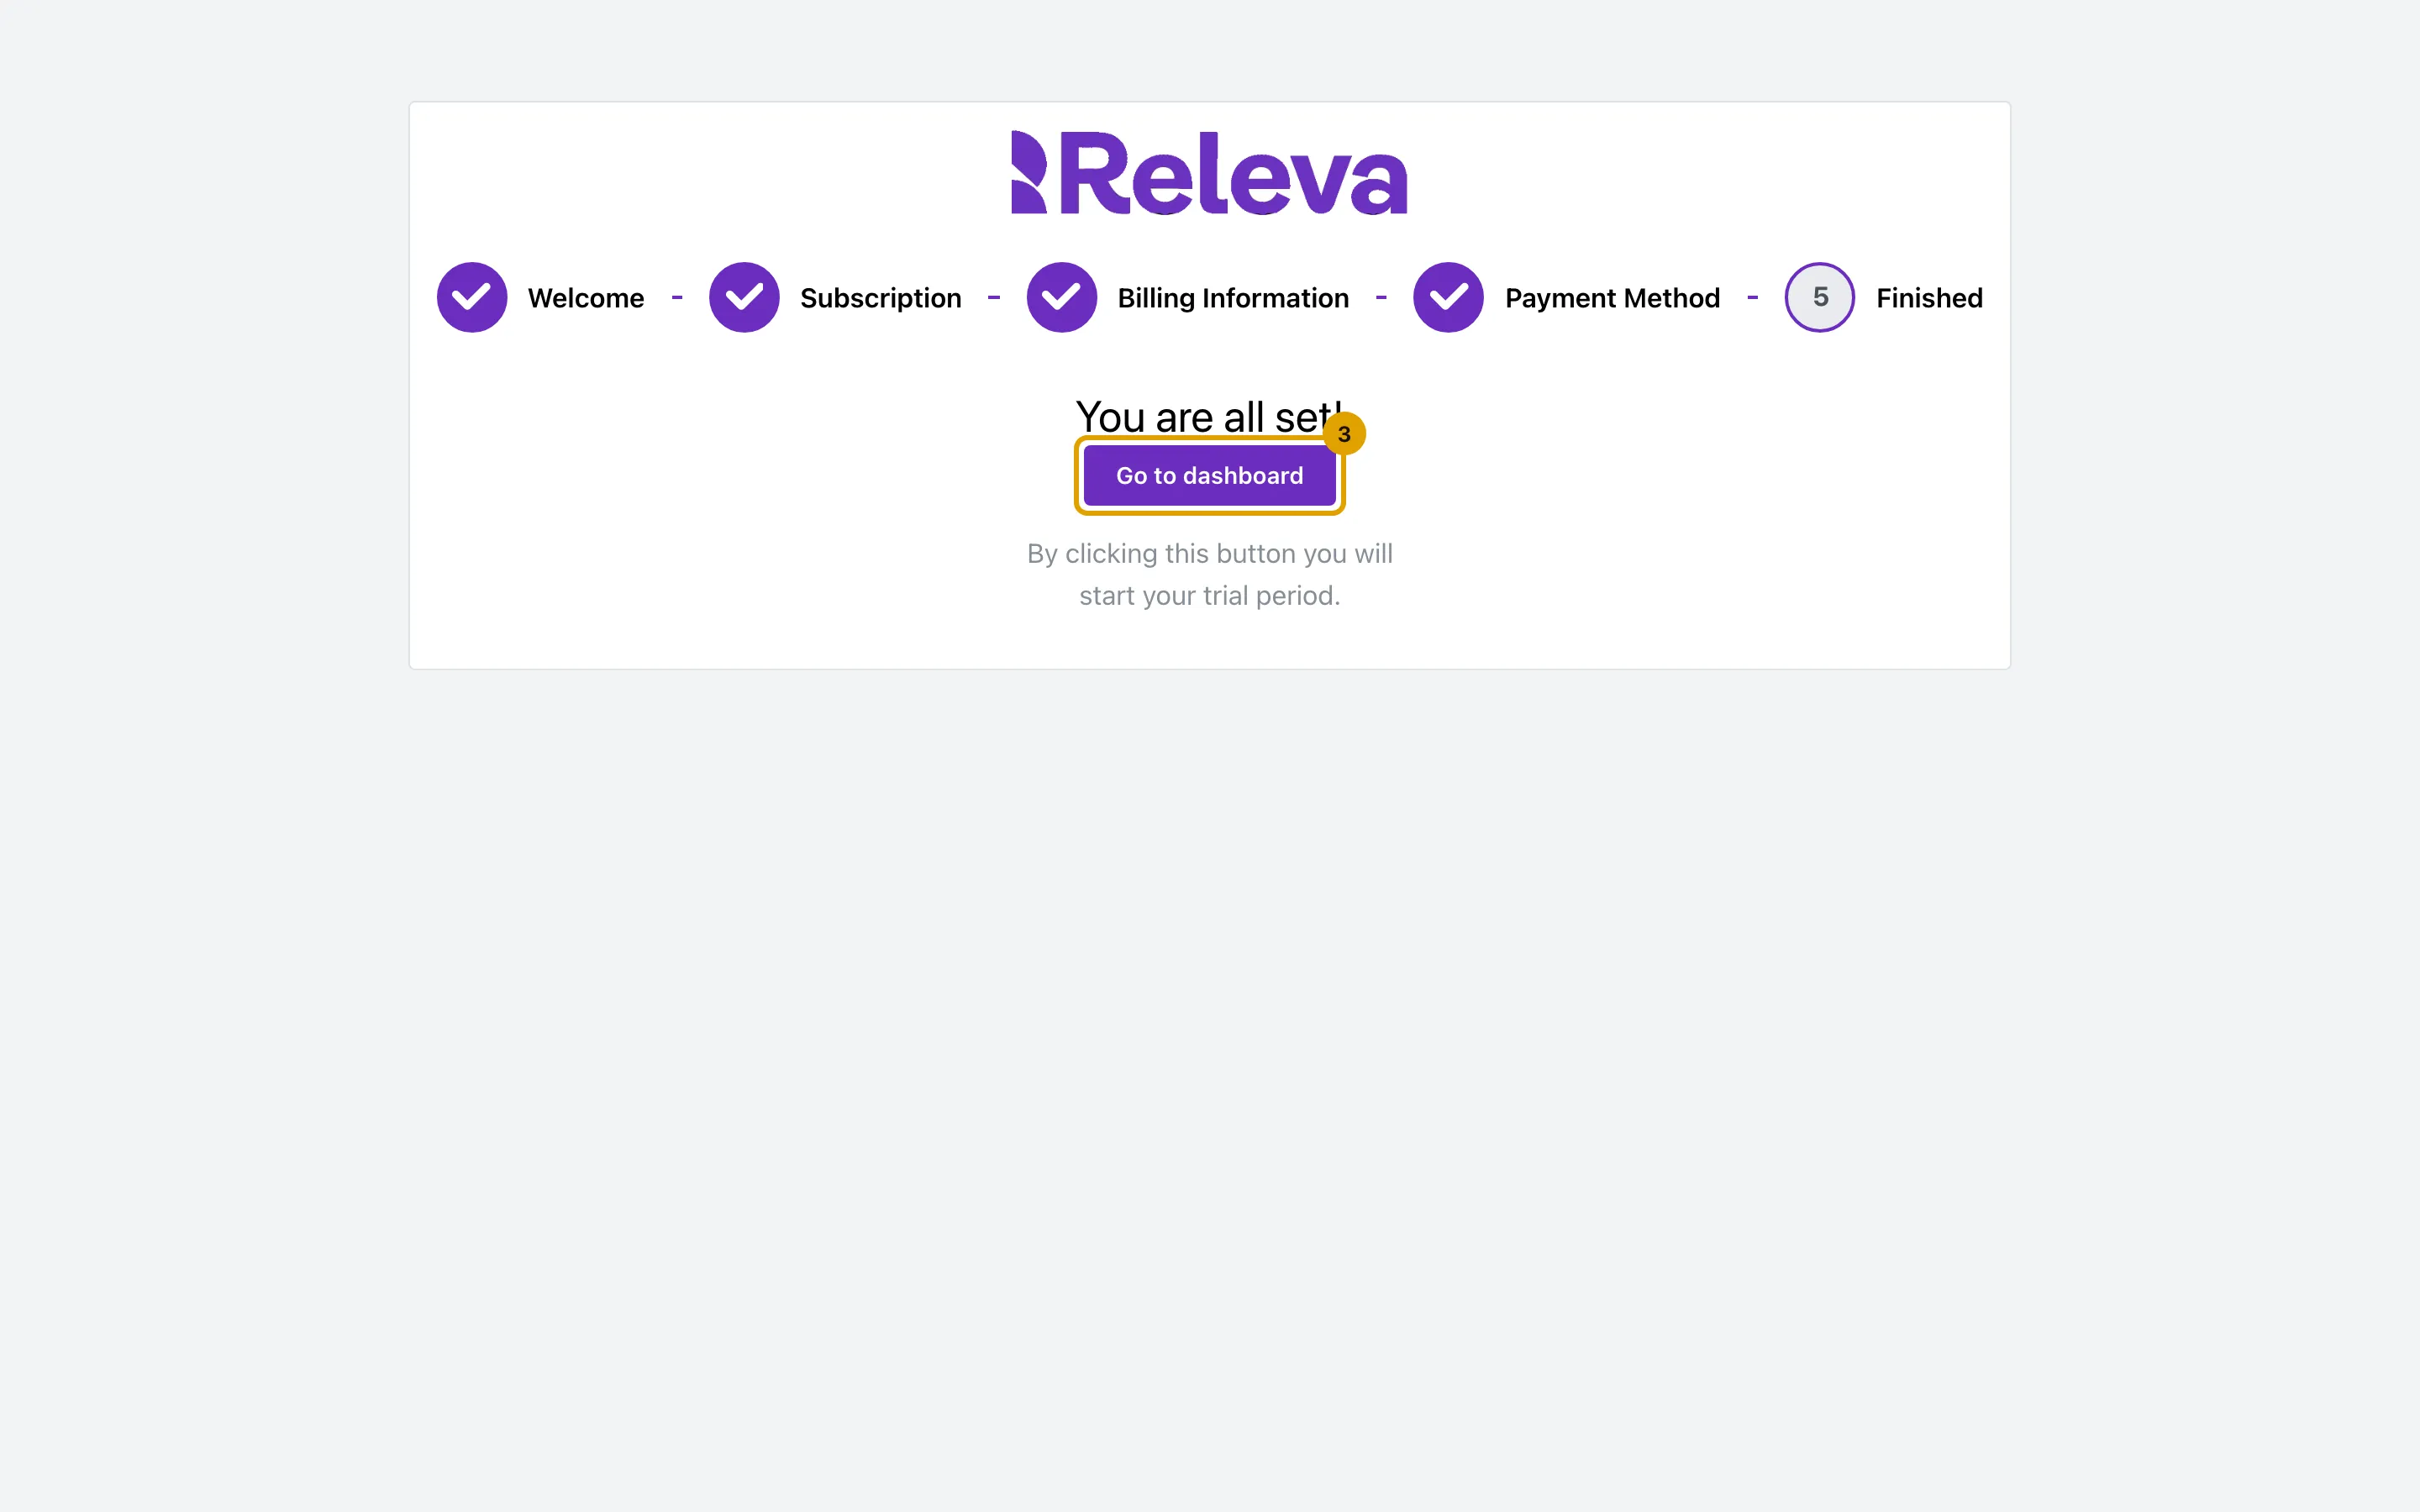
You are all set! Select Go to dashboard to open Releva. Your trial starts when you select it.
The wizard is described in full in Activating a shop: the onboarding wizard. What to switch on after the install: After you install the app.
Verify
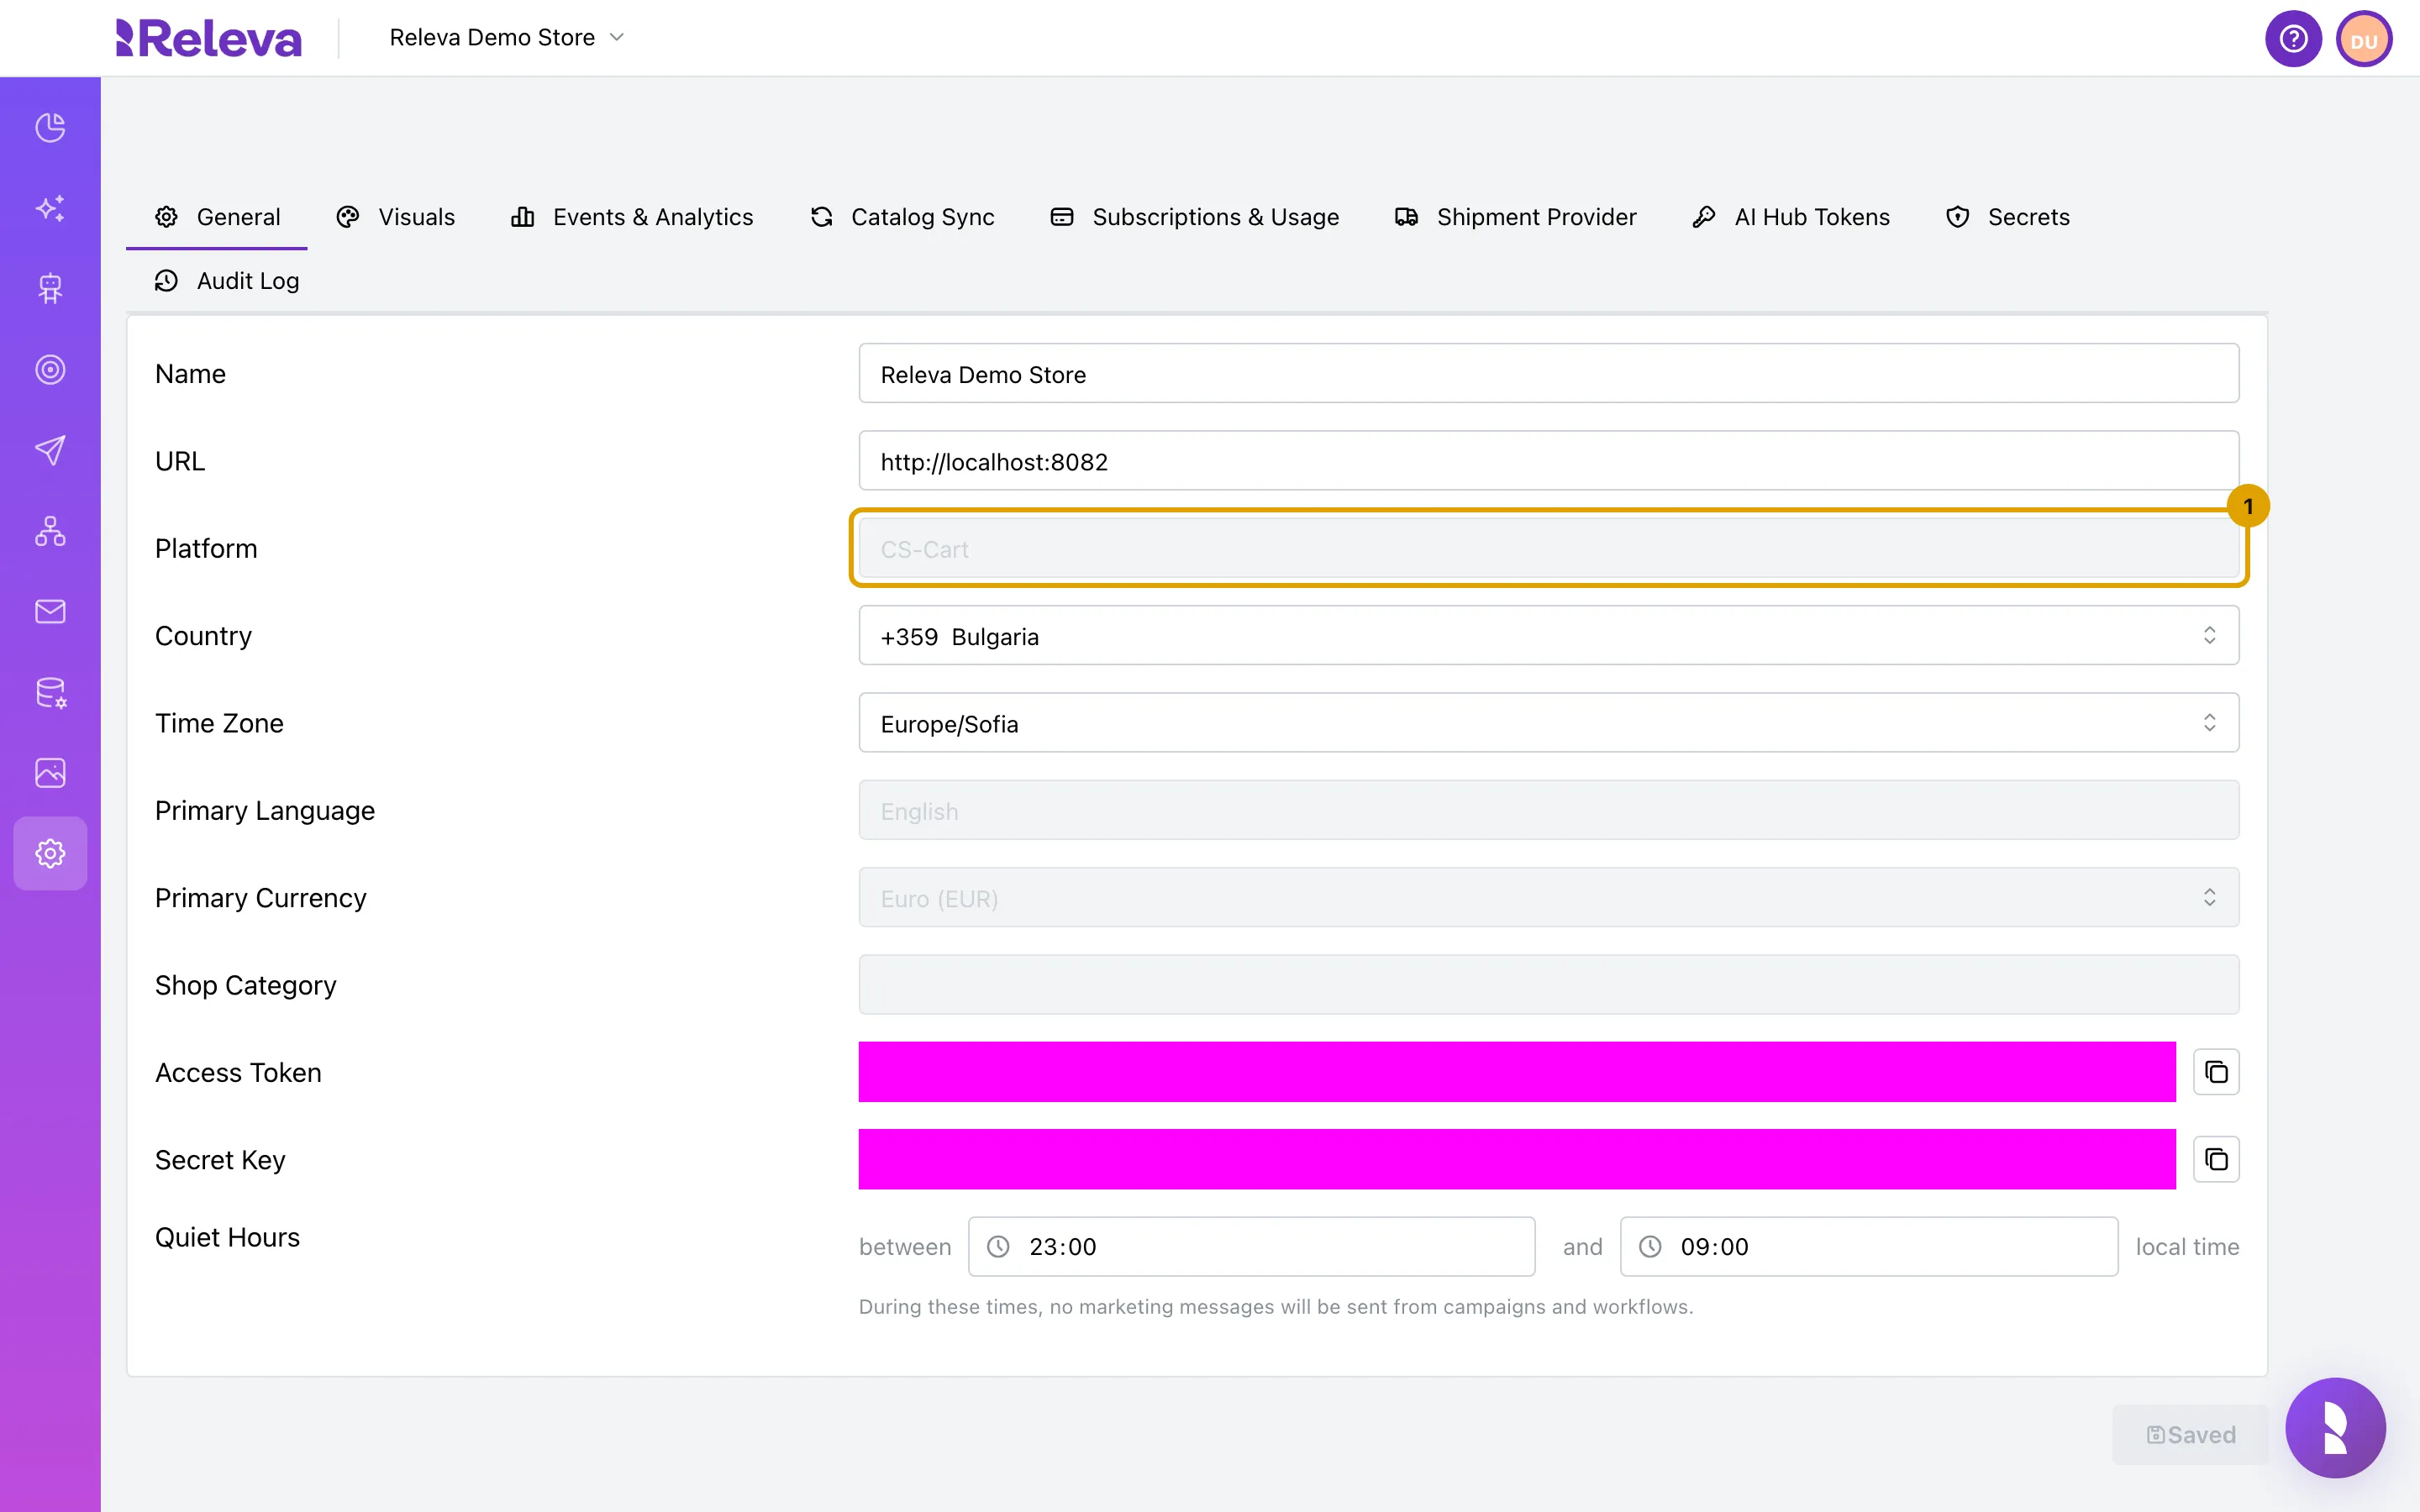
Section titled “Verify”The Releva side is the same for every platform; the screenshots show a CS-Cart shop, so Platform reads CS-Cart instead of MerchantPro.
-
Open Settings › Shop & Integration. On the General tab, Platform shows the platform your shop was created with, for example CS-Cart.
-
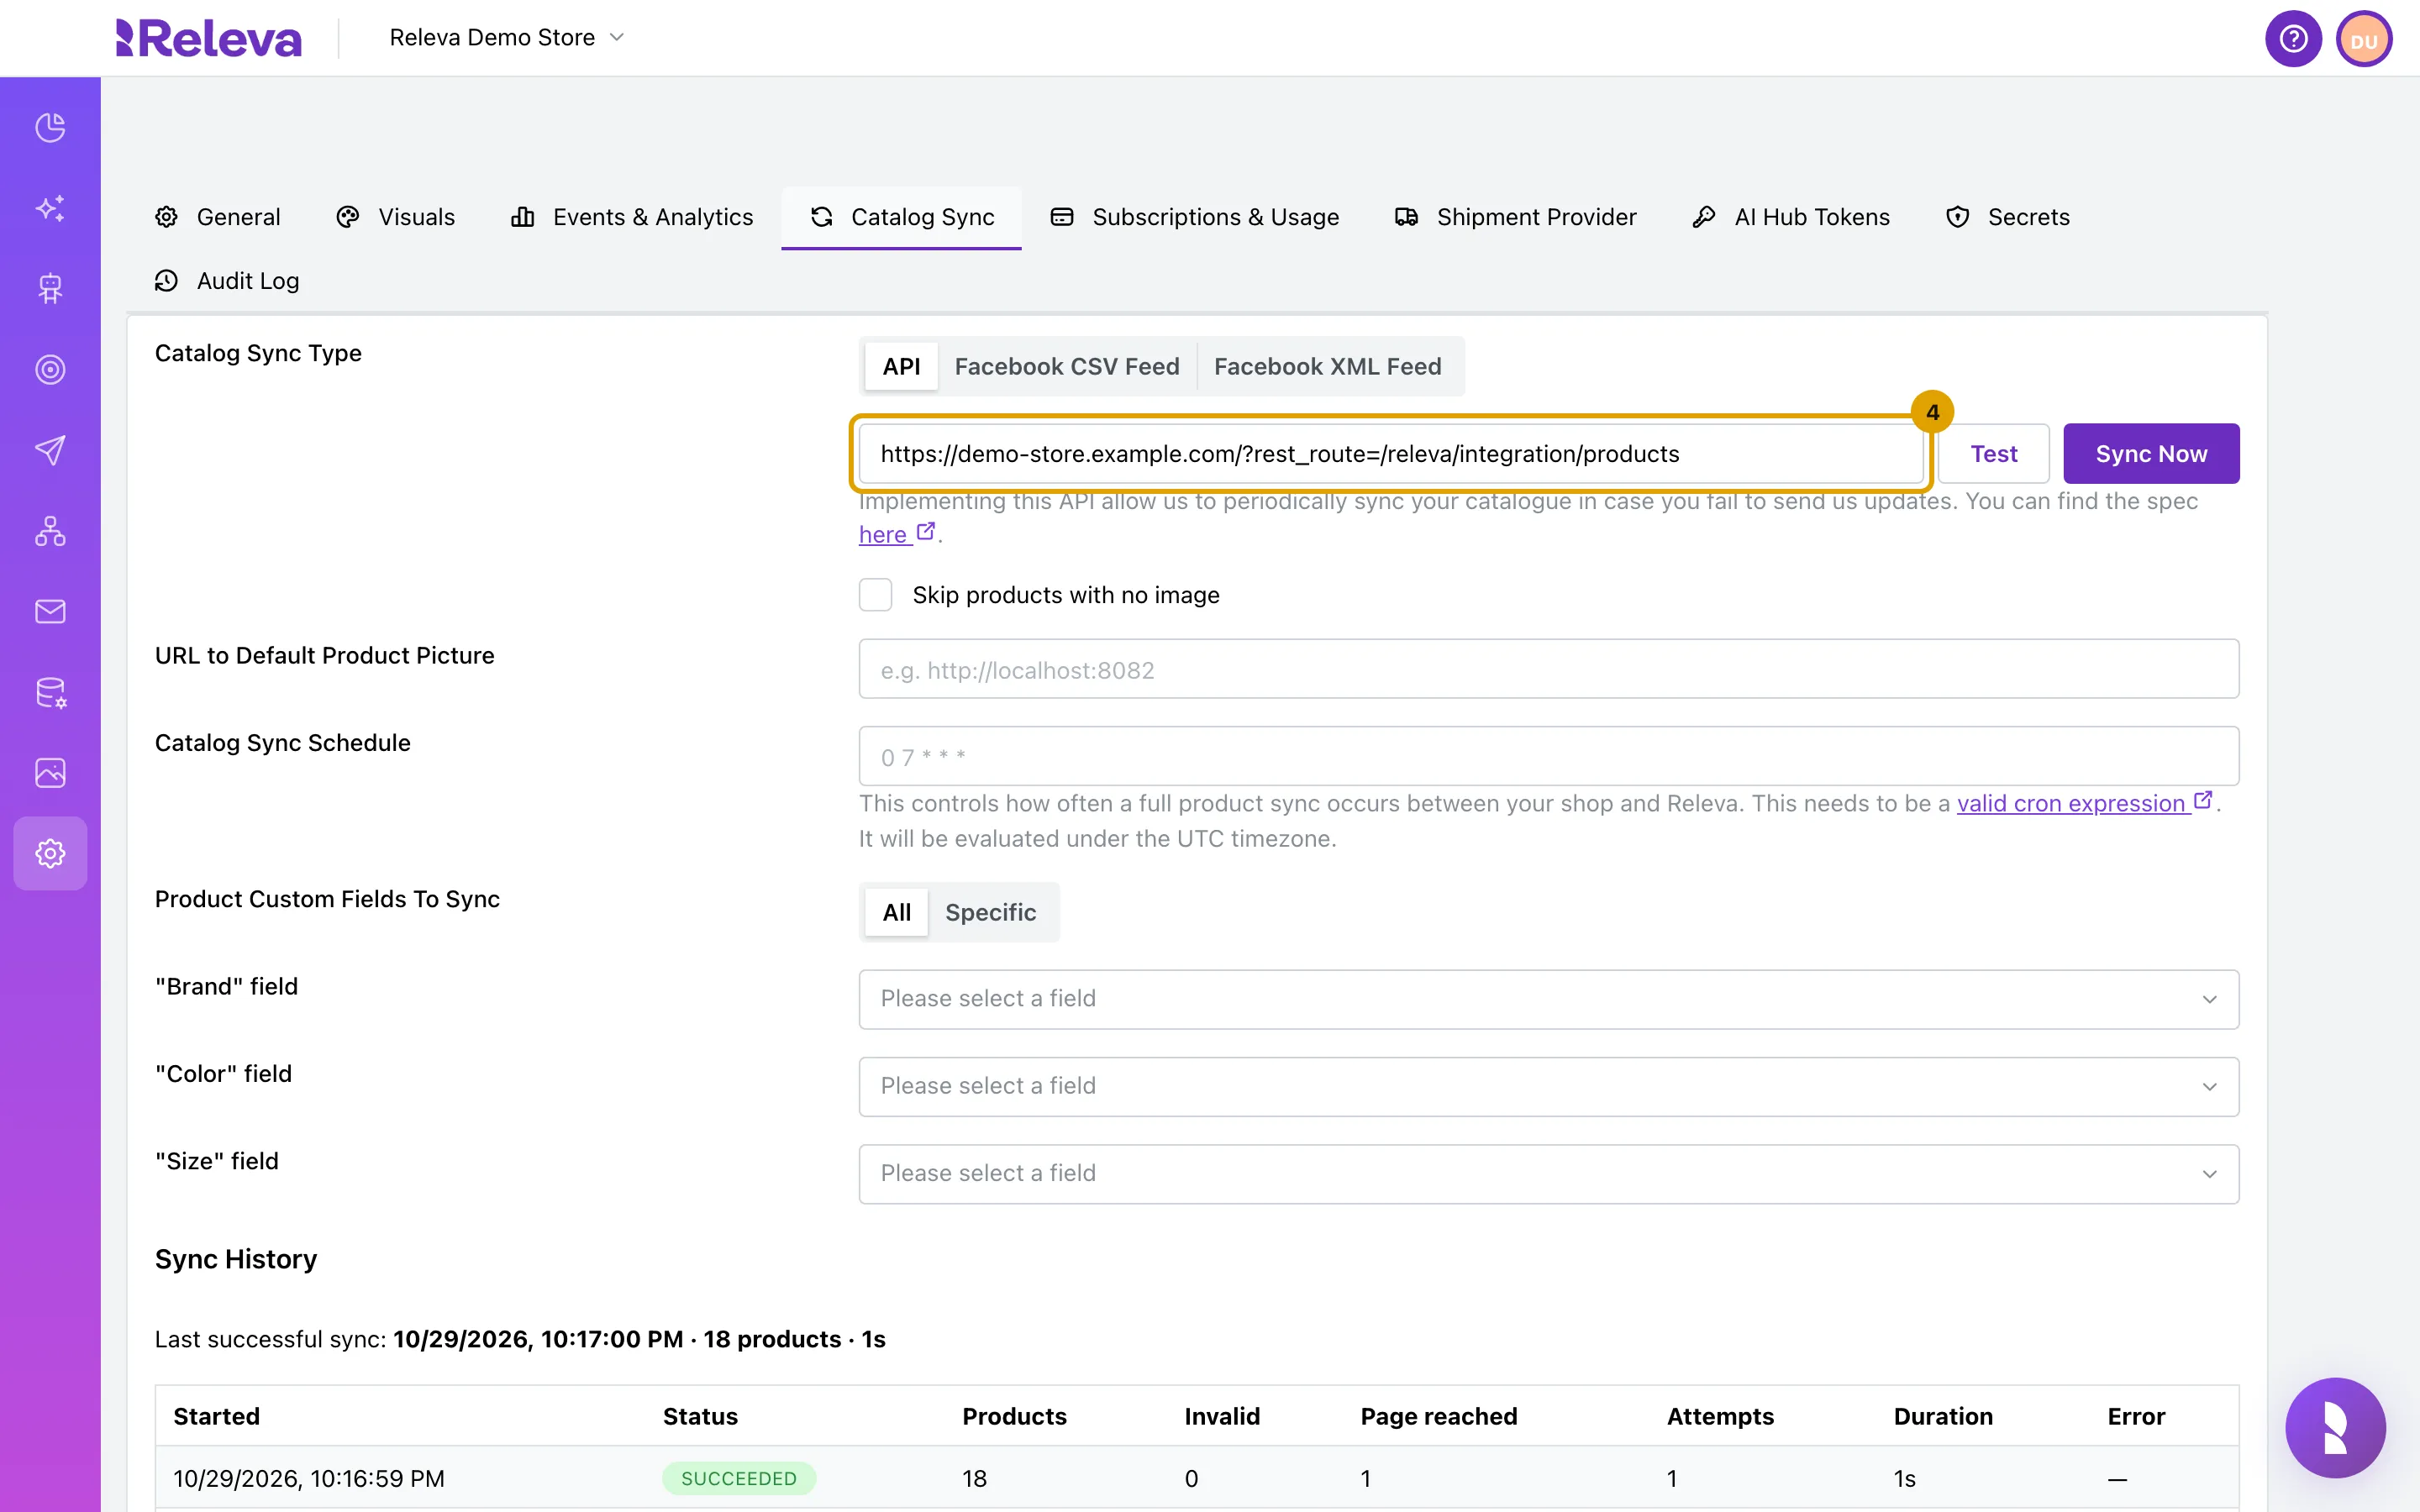
Select the Catalog Sync tab. With API selected, the address field shows the address Releva reads your catalog from. It was filled in when your shop was created in Releva and depends on the platform.
For a MerchantPro shop the address is set by the app when it creates the shop. The screenshot shows a CS-Cart address on a demo host.
-
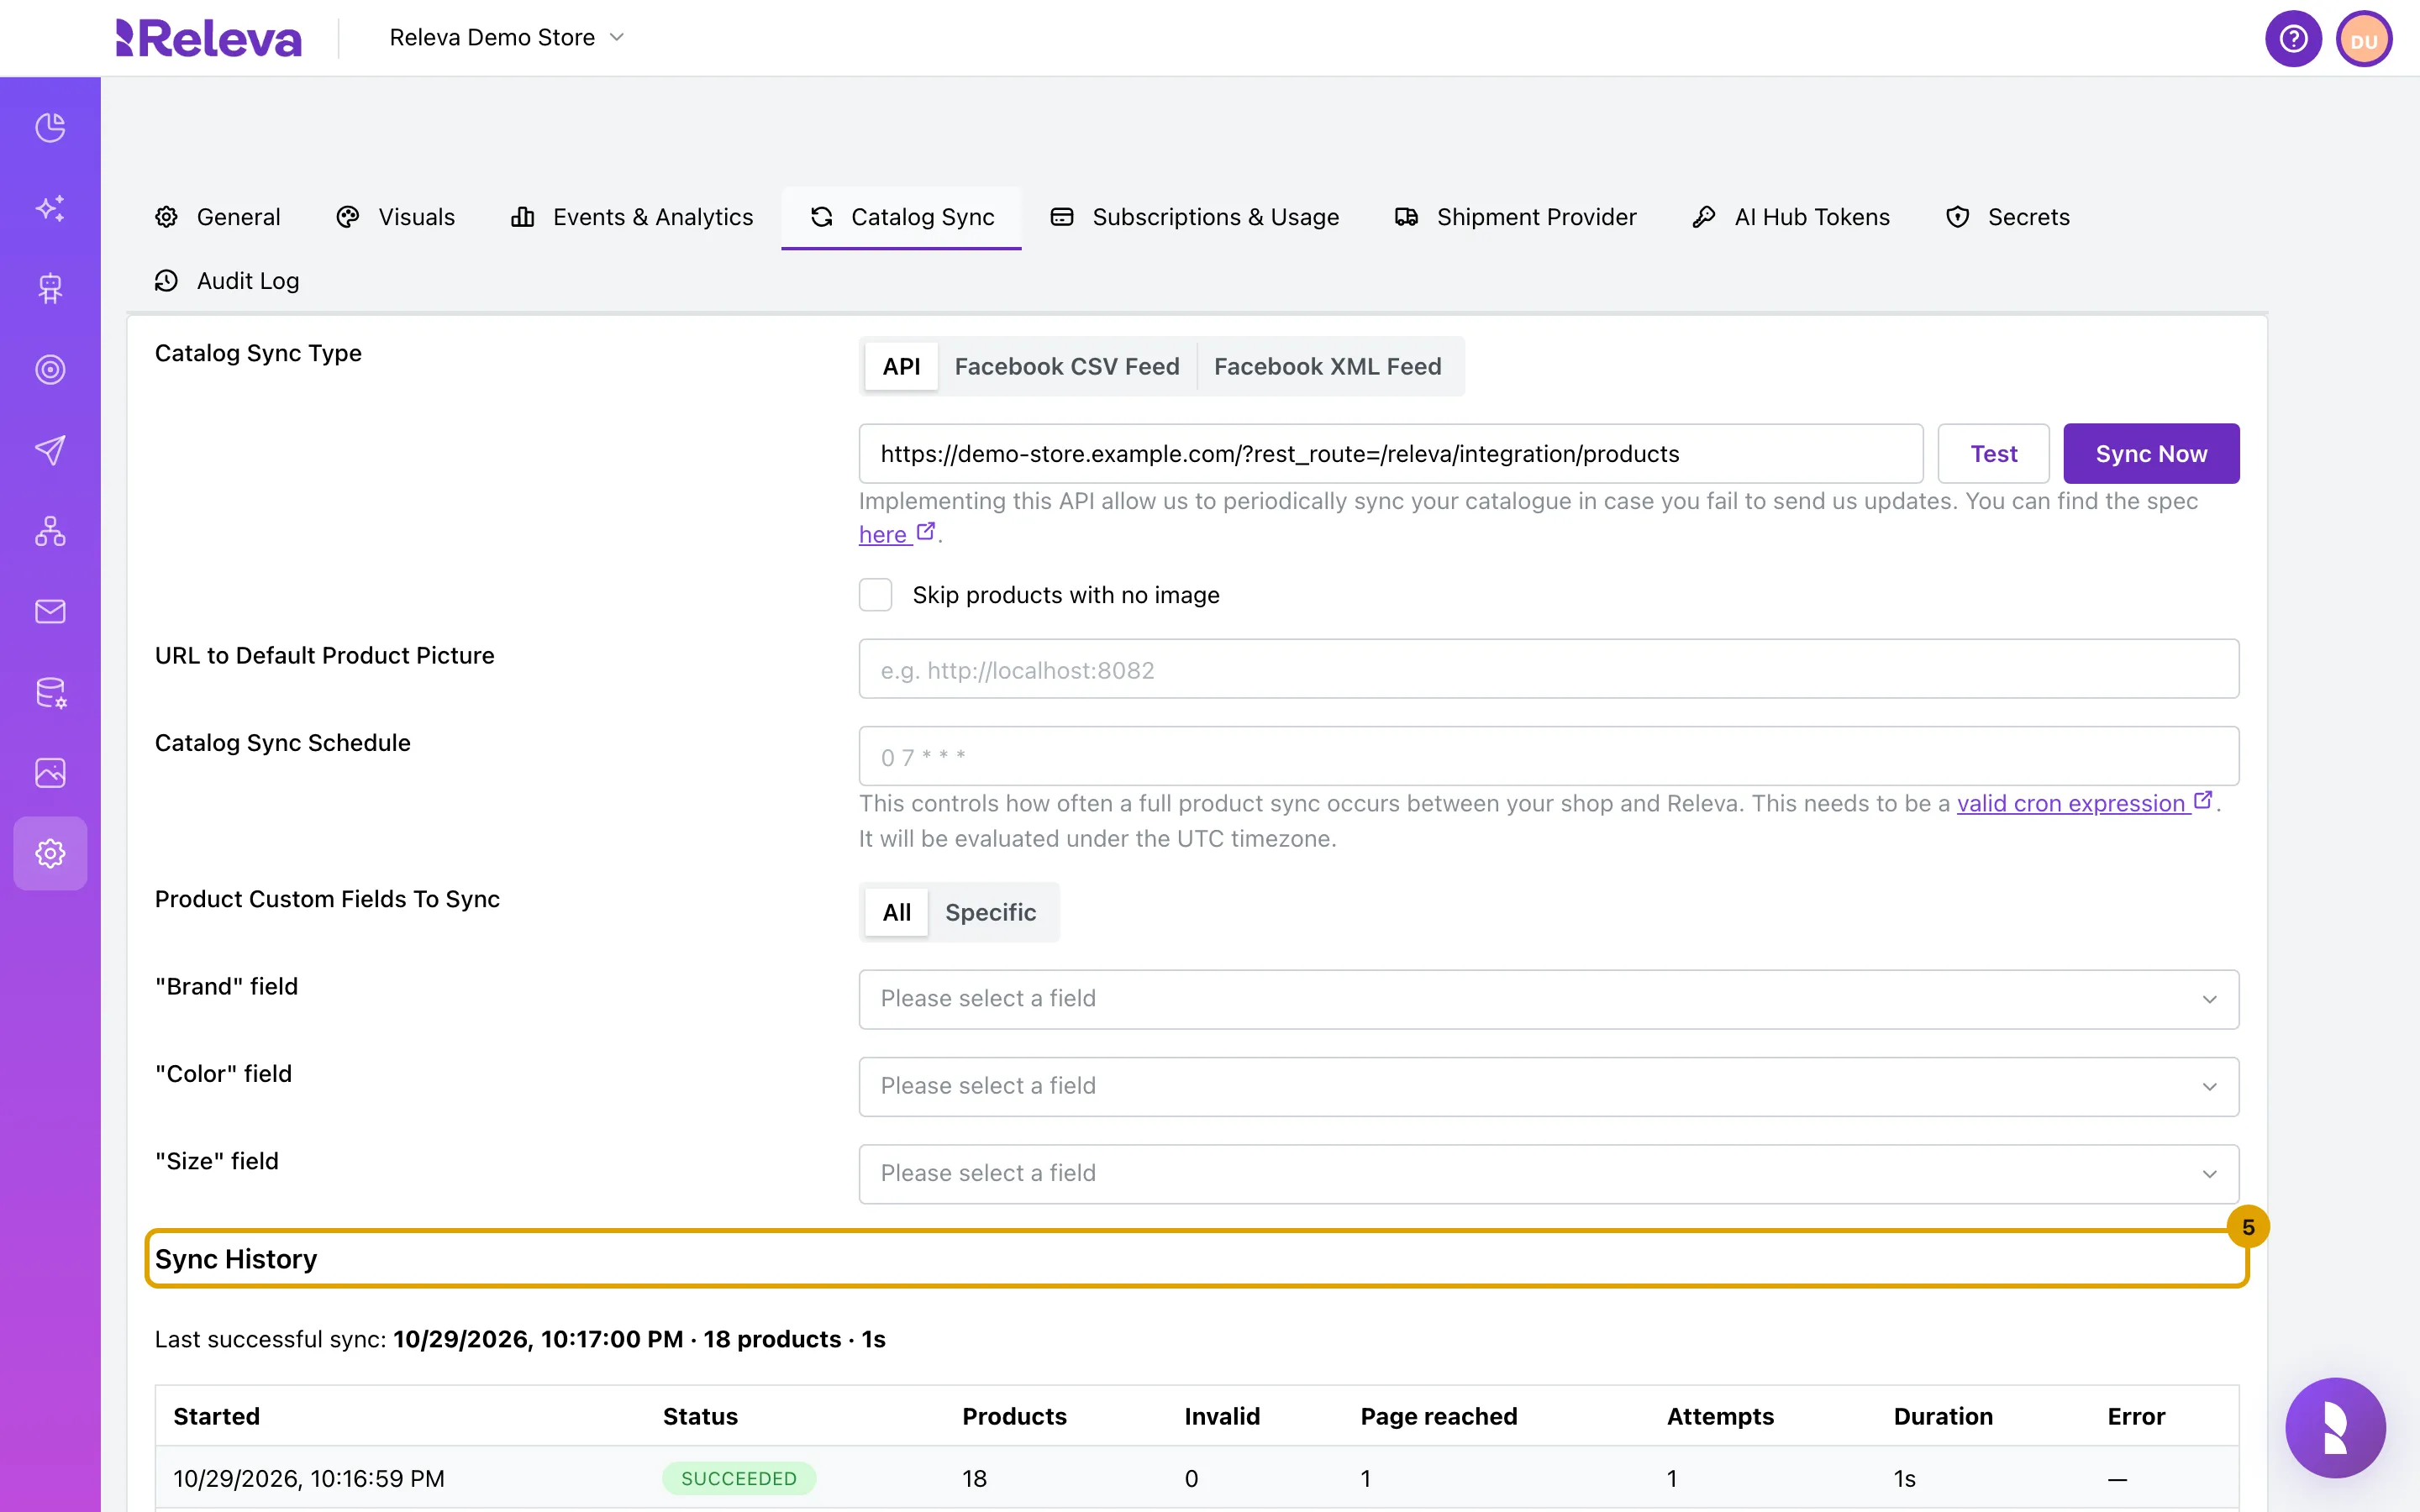
Sync History lists each catalog sync with its status and product count. Last successful sync: shows the time, product count and duration of the last sync that worked; Never means Releva has not read your catalog yet.
Then open your storefront in a browser, visit a few pages, view a product and add it to the cart, and check Data Platform › Events, Data Platform › Products and Data Platform › Profiles in Releva. The screens are the same for every platform: Check that your store data arrives.
In the screenshots the key fields are masked.
Troubleshooting
Section titled “Troubleshooting”Every page in Releva sends me back to the wizard. The shop is not activated yet. Finish all steps and select Go to dashboard on Finished.
Subscription says “No subscriptions are available for your shop. Please contact support@releva.ai to proceed.” No plan matches your shop yet. Write to support with your shop URL; you cannot continue past this step until a plan is available.
The card authorisation failed. Go back to Payment Method and select Add payment method again. Check the card details and approve your bank’s confirmation request when it appears; without it the authorisation fails.
You cannot open Finished. The wizard moves forward only: every earlier step must be complete before the next one opens. The step headers show a tick for each completed step; finish the one without a tick. Go to dashboard itself is greyed out only while Releva is activating the shop.
You have more than one shop in the account. Go to dashboard activates every shop of the account at once, not only the one in the wizard.
The app was uninstalled in MerchantPro. Reinstall it from the App Store and open it again. If the shop stays paused, contact support.
What syncs
Section titled “What syncs”The install permissions say what the MerchantPro app may send. The endpoints named are the Releva endpoints for that data; the app decides which one it calls. What a connector sends can change between versions. If you depend on one of these, ask your account manager.
| Install permission | Data | Likely endpoint |
|---|---|---|
| View catalog pages (view_item_list), View product page (view_content) | Page views and product views (“the pixel”) | POST /api/v0/push/{accessToken} |
| Allow products information to be exported to Releva, Allow inventory information to be exported to Releva | Catalog and stock | Catalog pull from the address the app set on Catalog Sync, or POST /api/v0/products and POST /api/v0/products/availability |
| Allow customer information to be sent to Releva after registering | Customer profiles | POST /api/v0/profiles or the Partner API profile endpoint |
| Allow order information to be sent to Releva after order is placed | Orders | POST /api/v0/carts |
| Sync newsletter subscribers | Subscription status | Subscriber pull from the Subscriber Sync API address, or profile upserts with a subscription date |
| Cart contents, search, cookie consent, unsubscribes, web push | not listed on the install screen |
Order status changes are not sent: MerchantPro shops do not send orderStatusChanged events.
How the app talks to Releva
Section titled “How the app talks to Releva”The MerchantPro app is a partner integration. Partner apps create the merchant’s account and shop through the Partner API (POST /api/v0/partners/domains with platform: "merchantpro"), receive the shop’s keys in the response, and pass the catalog and subscriber sync addresses at creation. A MerchantPro shop is created paused and starts when the merchant selects Go to dashboard. The billing steps in the wizard mean Releva bills MerchantPro merchants itself. See How the Partner API works and the Partner API overview.