

Add an App Inbox message to a push notification
The App Inbox is a message centre inside your Android or iOS app. A push notification disappears once it is dismissed; an inbox message stays in the app until the shopper deletes it or it expires. You add an inbox message as a channel of a push notification: the push announces it, and a tap on the push can open the inbox. Saving sends nothing: the push and its inbox message are drafts until a workflow or campaign uses them. For how delivery, personalisation and expiry work, read How the App Inbox works.
This guide creates an Android push with an App Inbox message. The same steps work with IOS, with both, or with App Inbox alone (an inbox-only message without a visible push).
Before you start
Section titled “Before you start”-
Your app uses a Releva mobile SDK and shows the inbox. See Mobile SDKs overview.
-
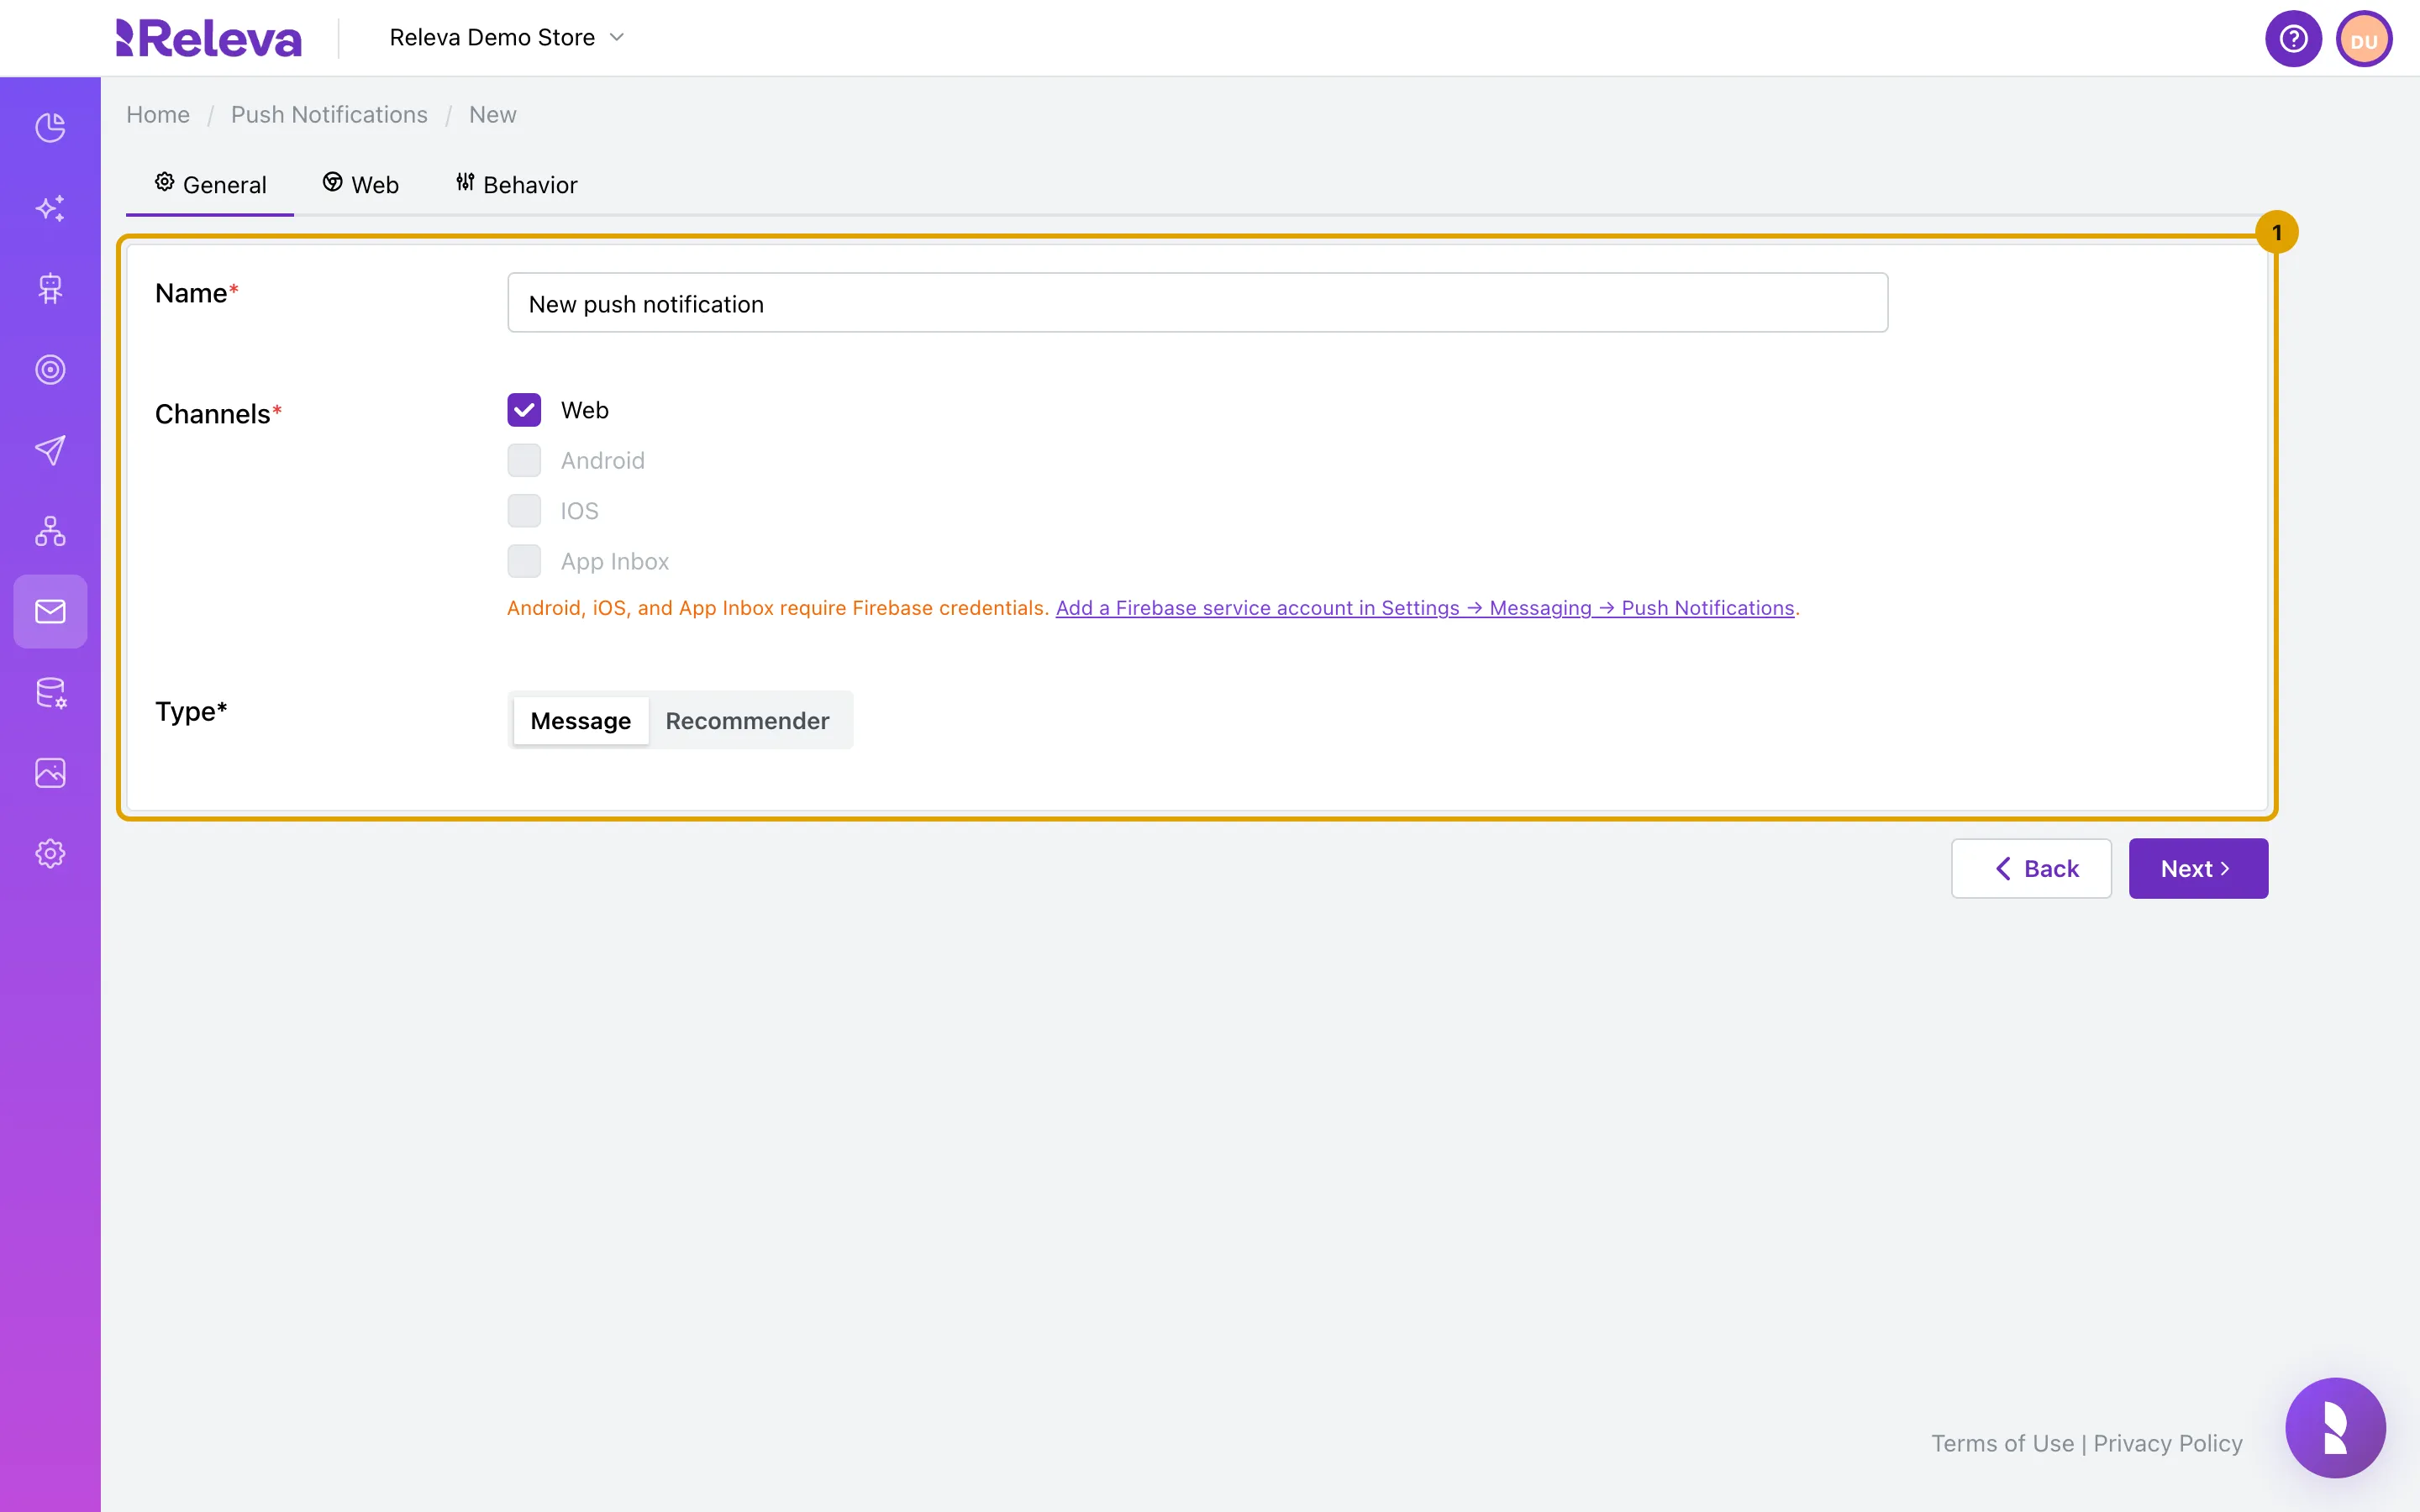
A developer added the Firebase service account of your app under Settings › Messaging › Push Notifications. The inbox is synced through Firebase, so App Inbox stays greyed out without it; see Add your Firebase credentials for app push.
-
Your plan includes creating push notifications. If New push Notification shows a lock, ask your account owner to unlock it.
-
You have the text of the push and the content of the inbox message, and any images are uploaded to your files.
-
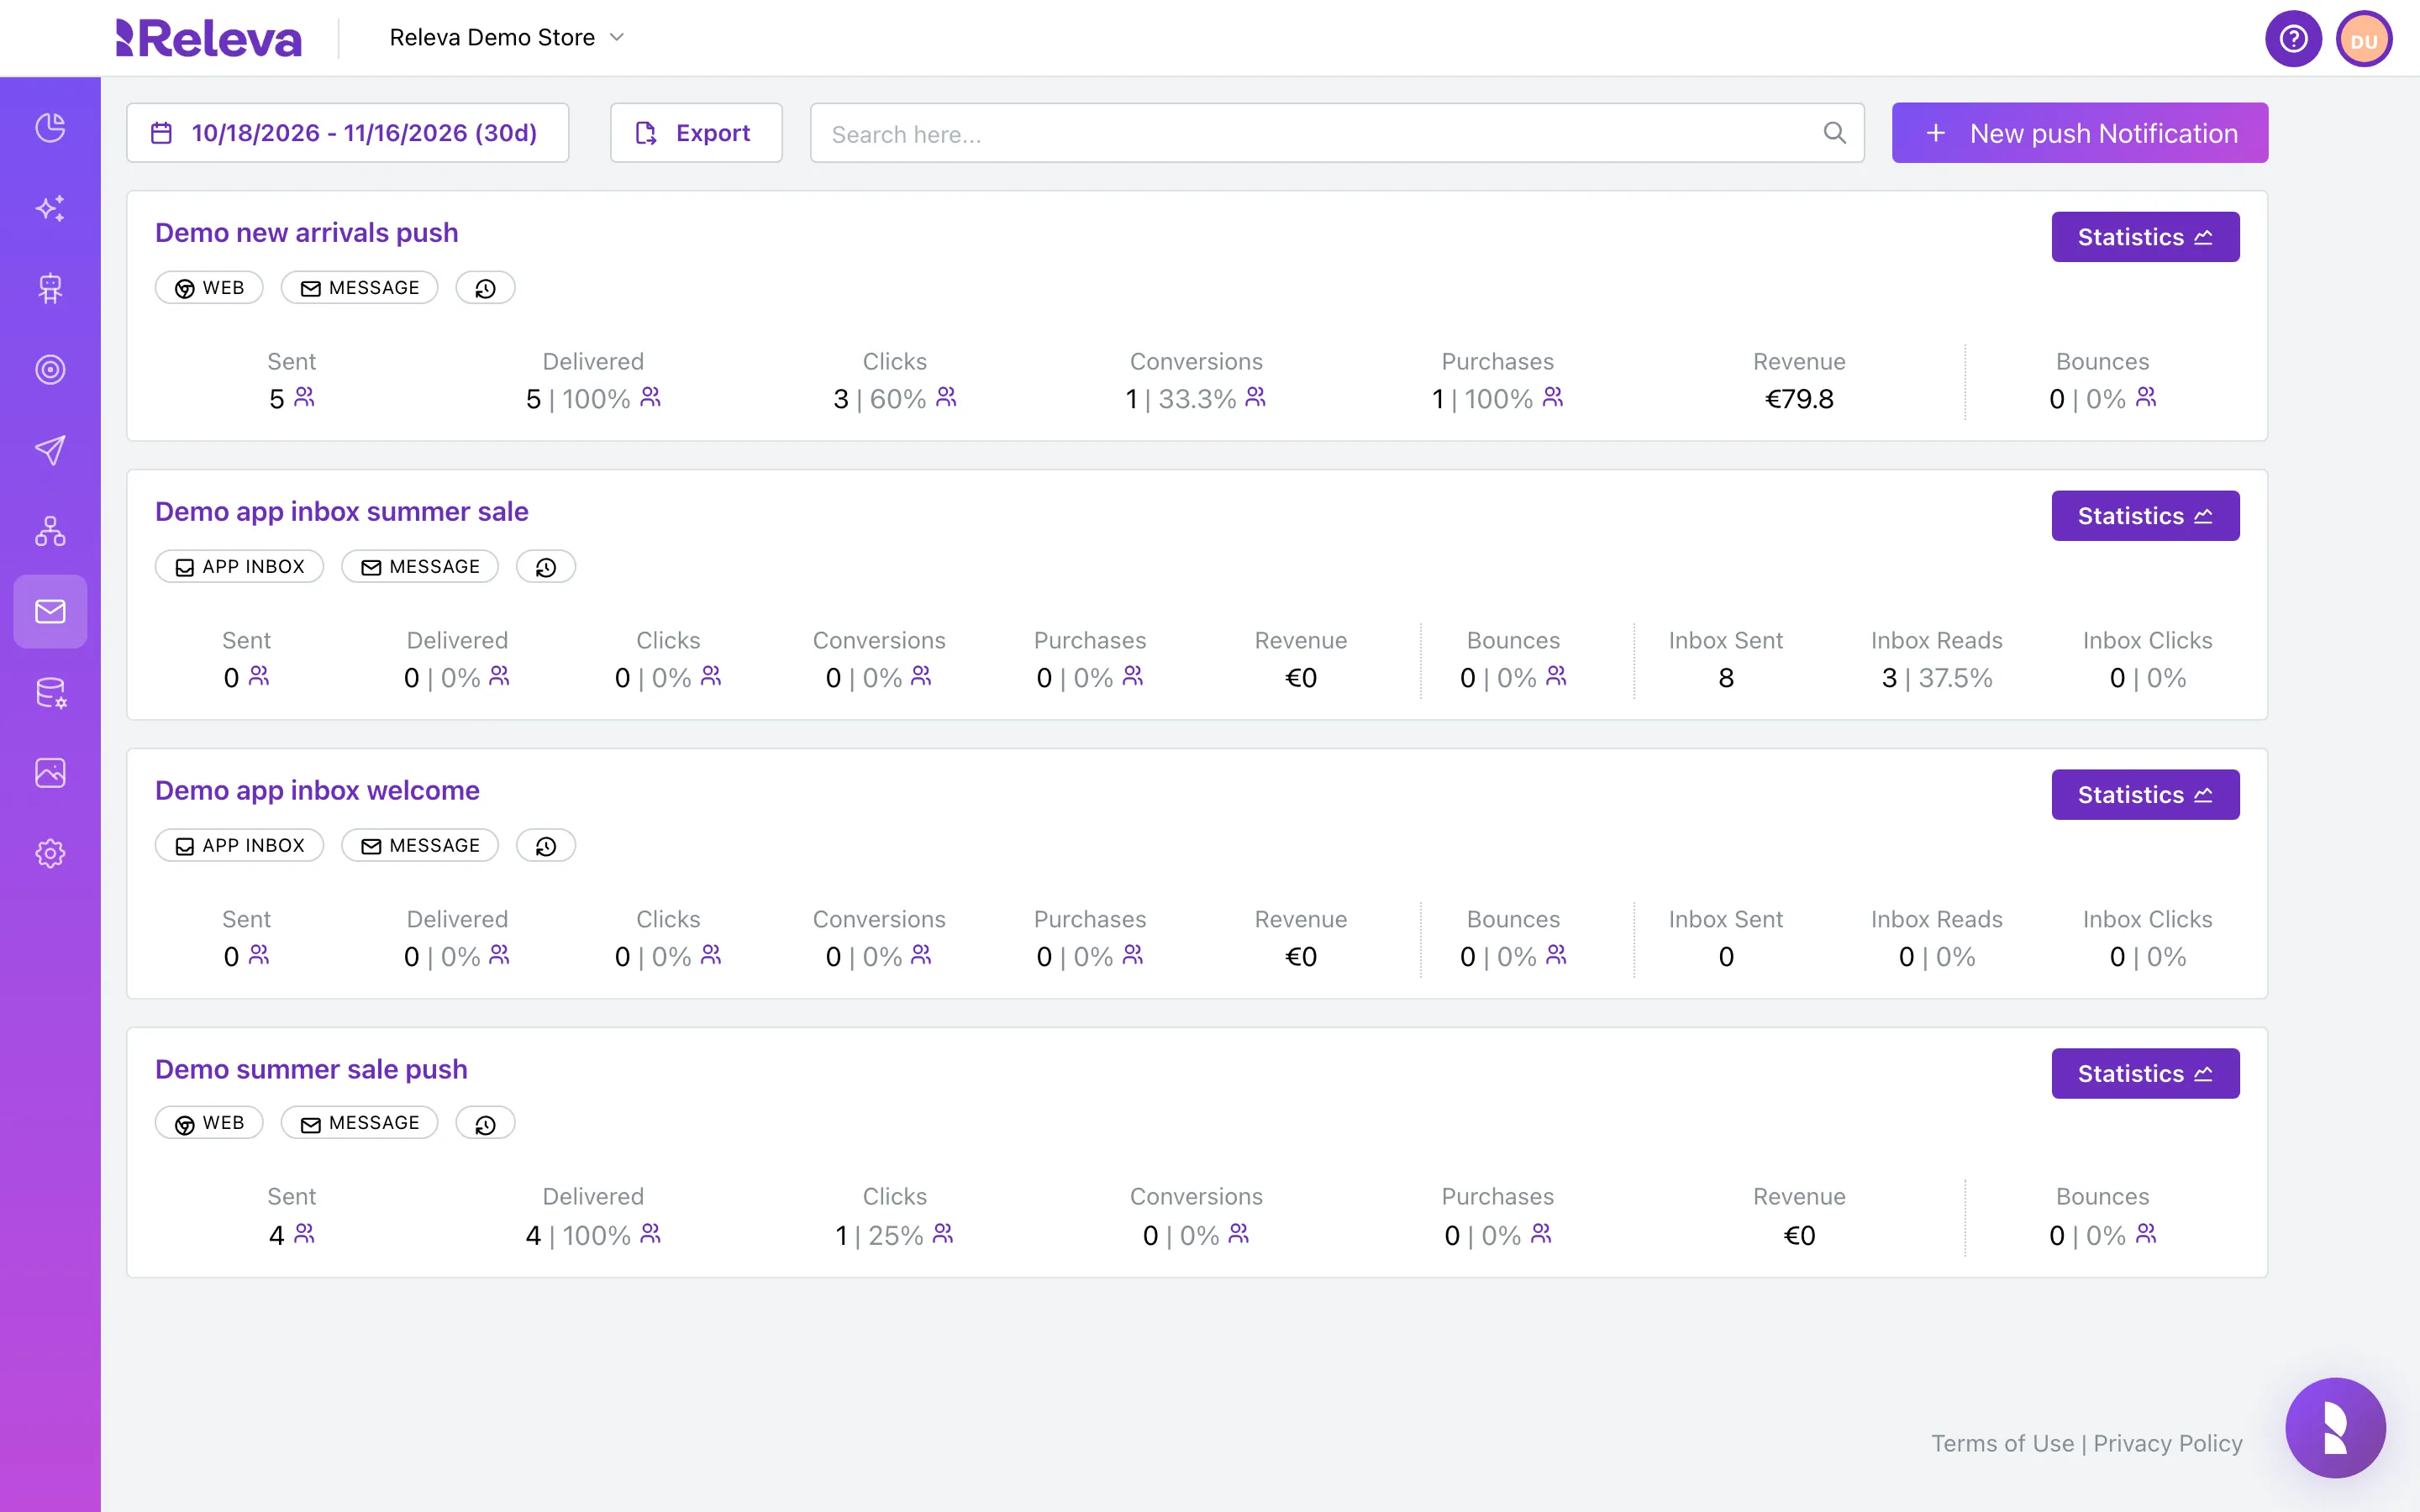
Go to Marketing Channels › Push Notifications
-
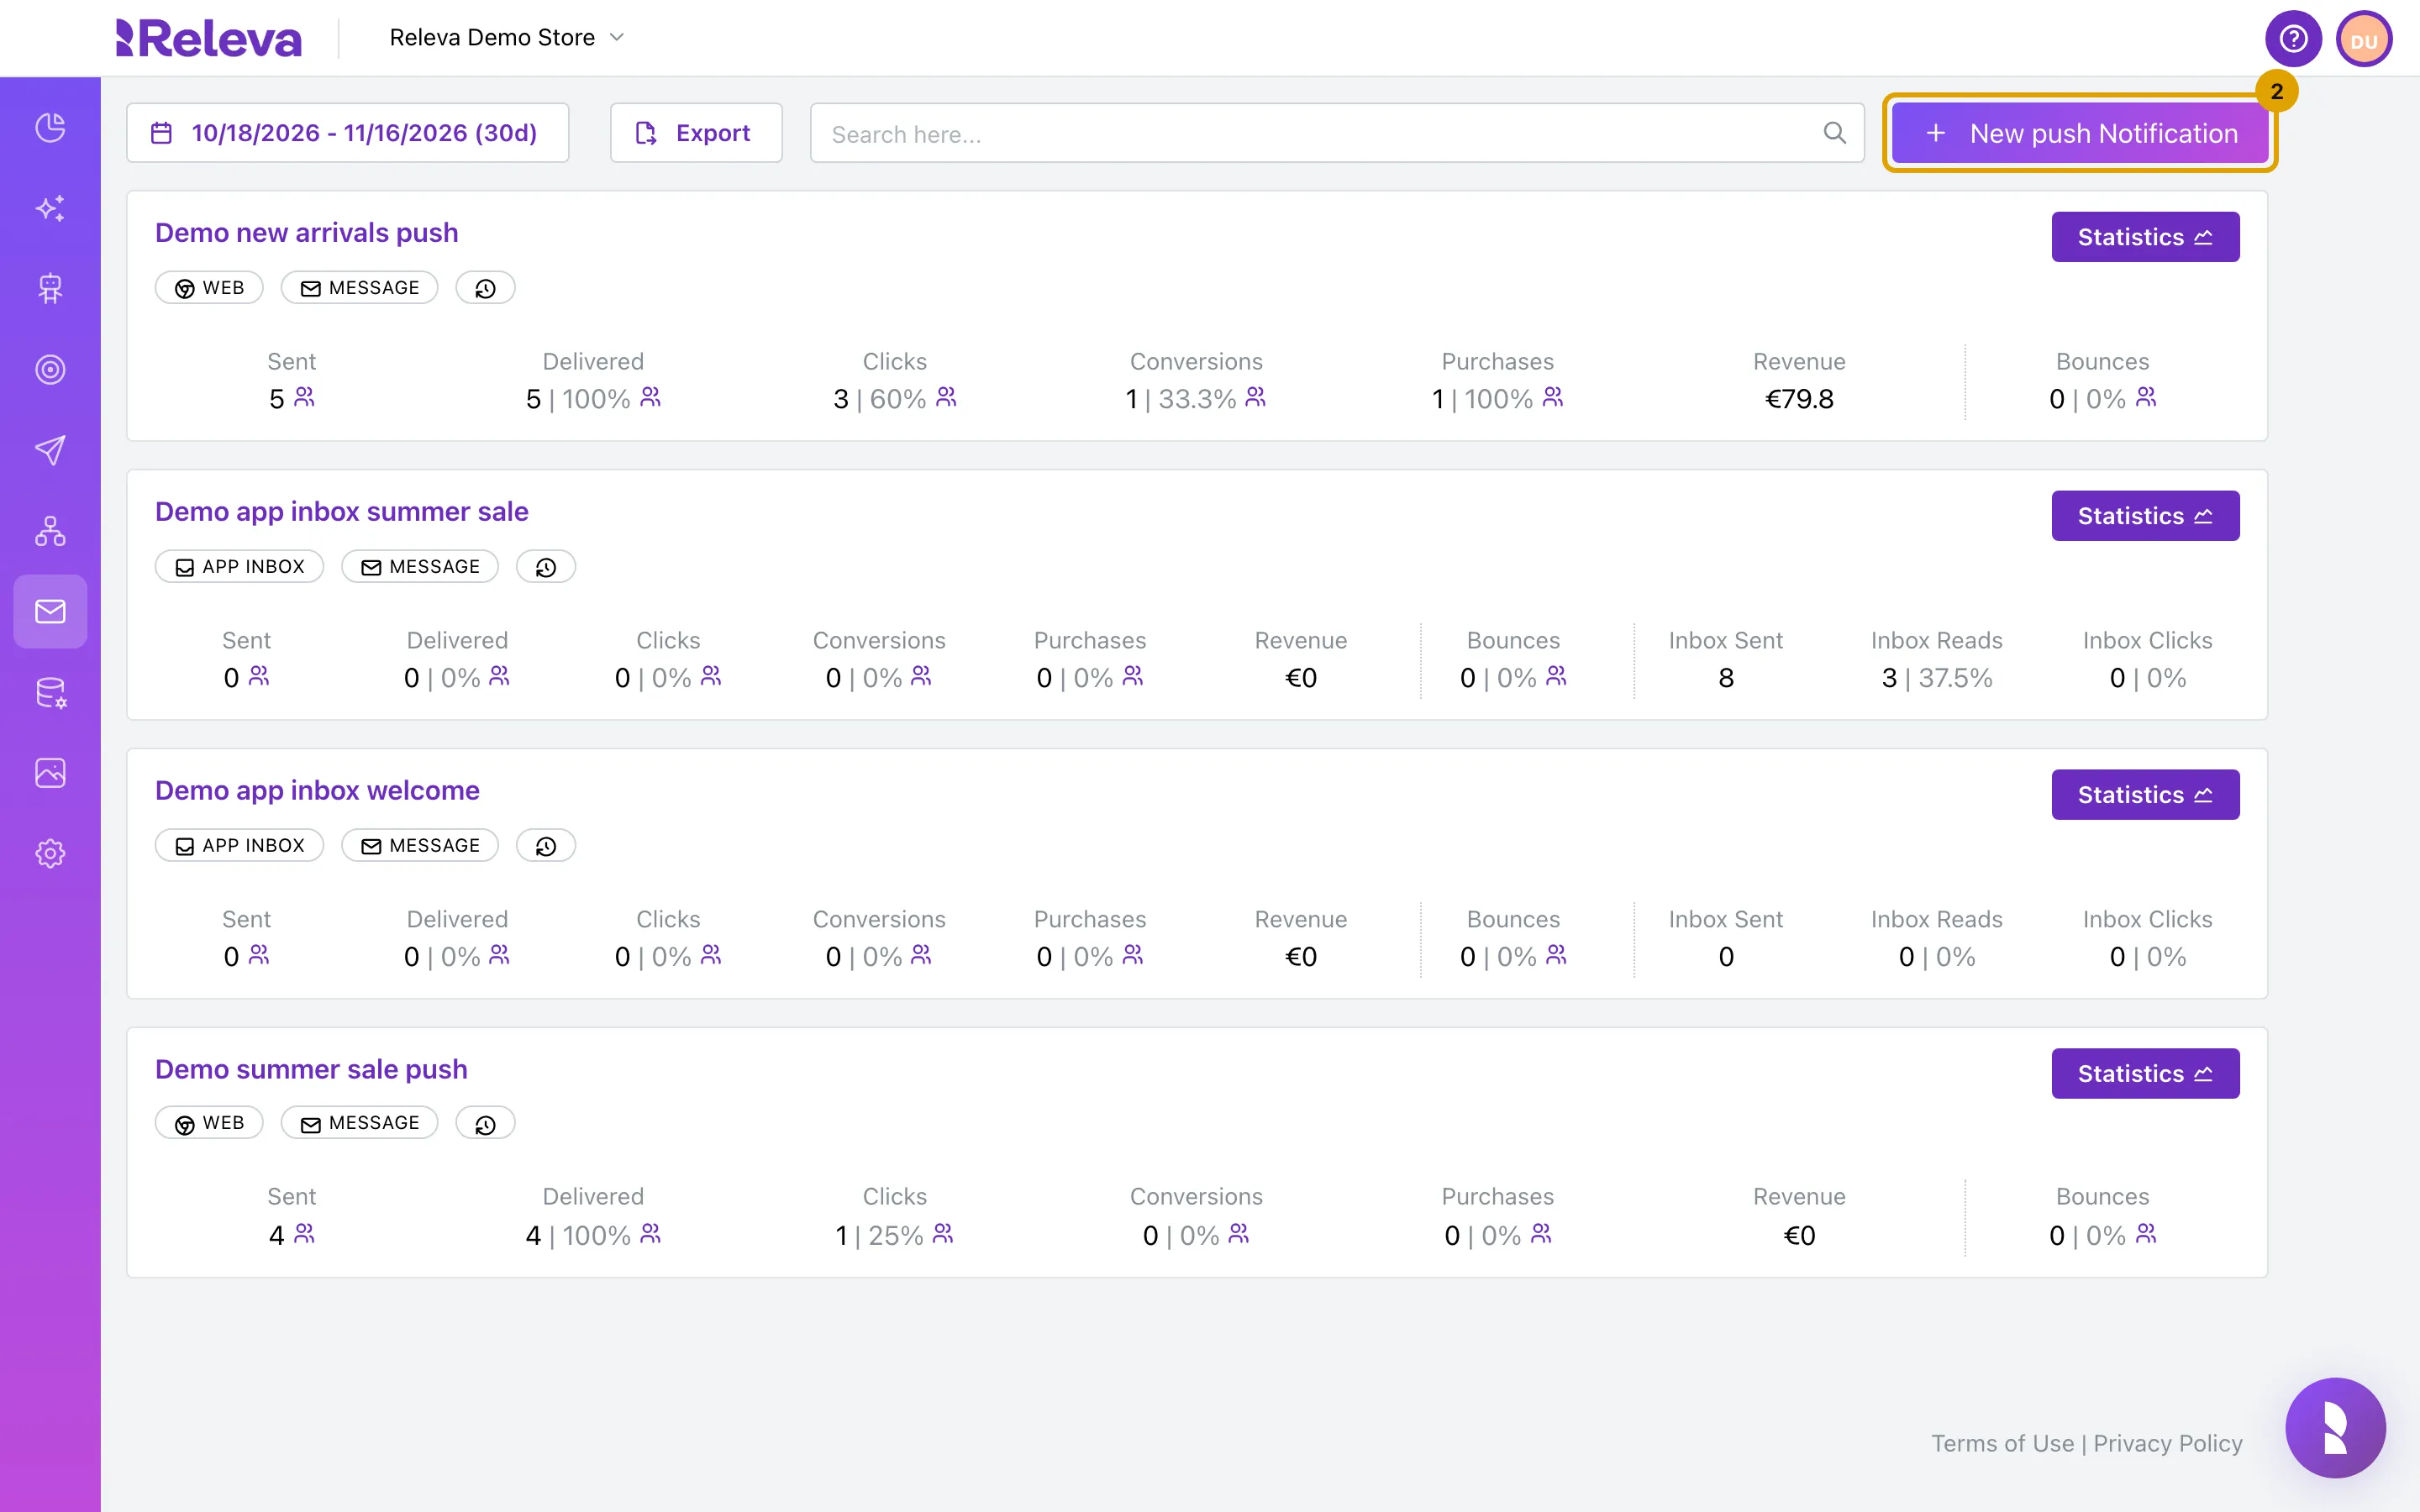
Select New push Notification
-
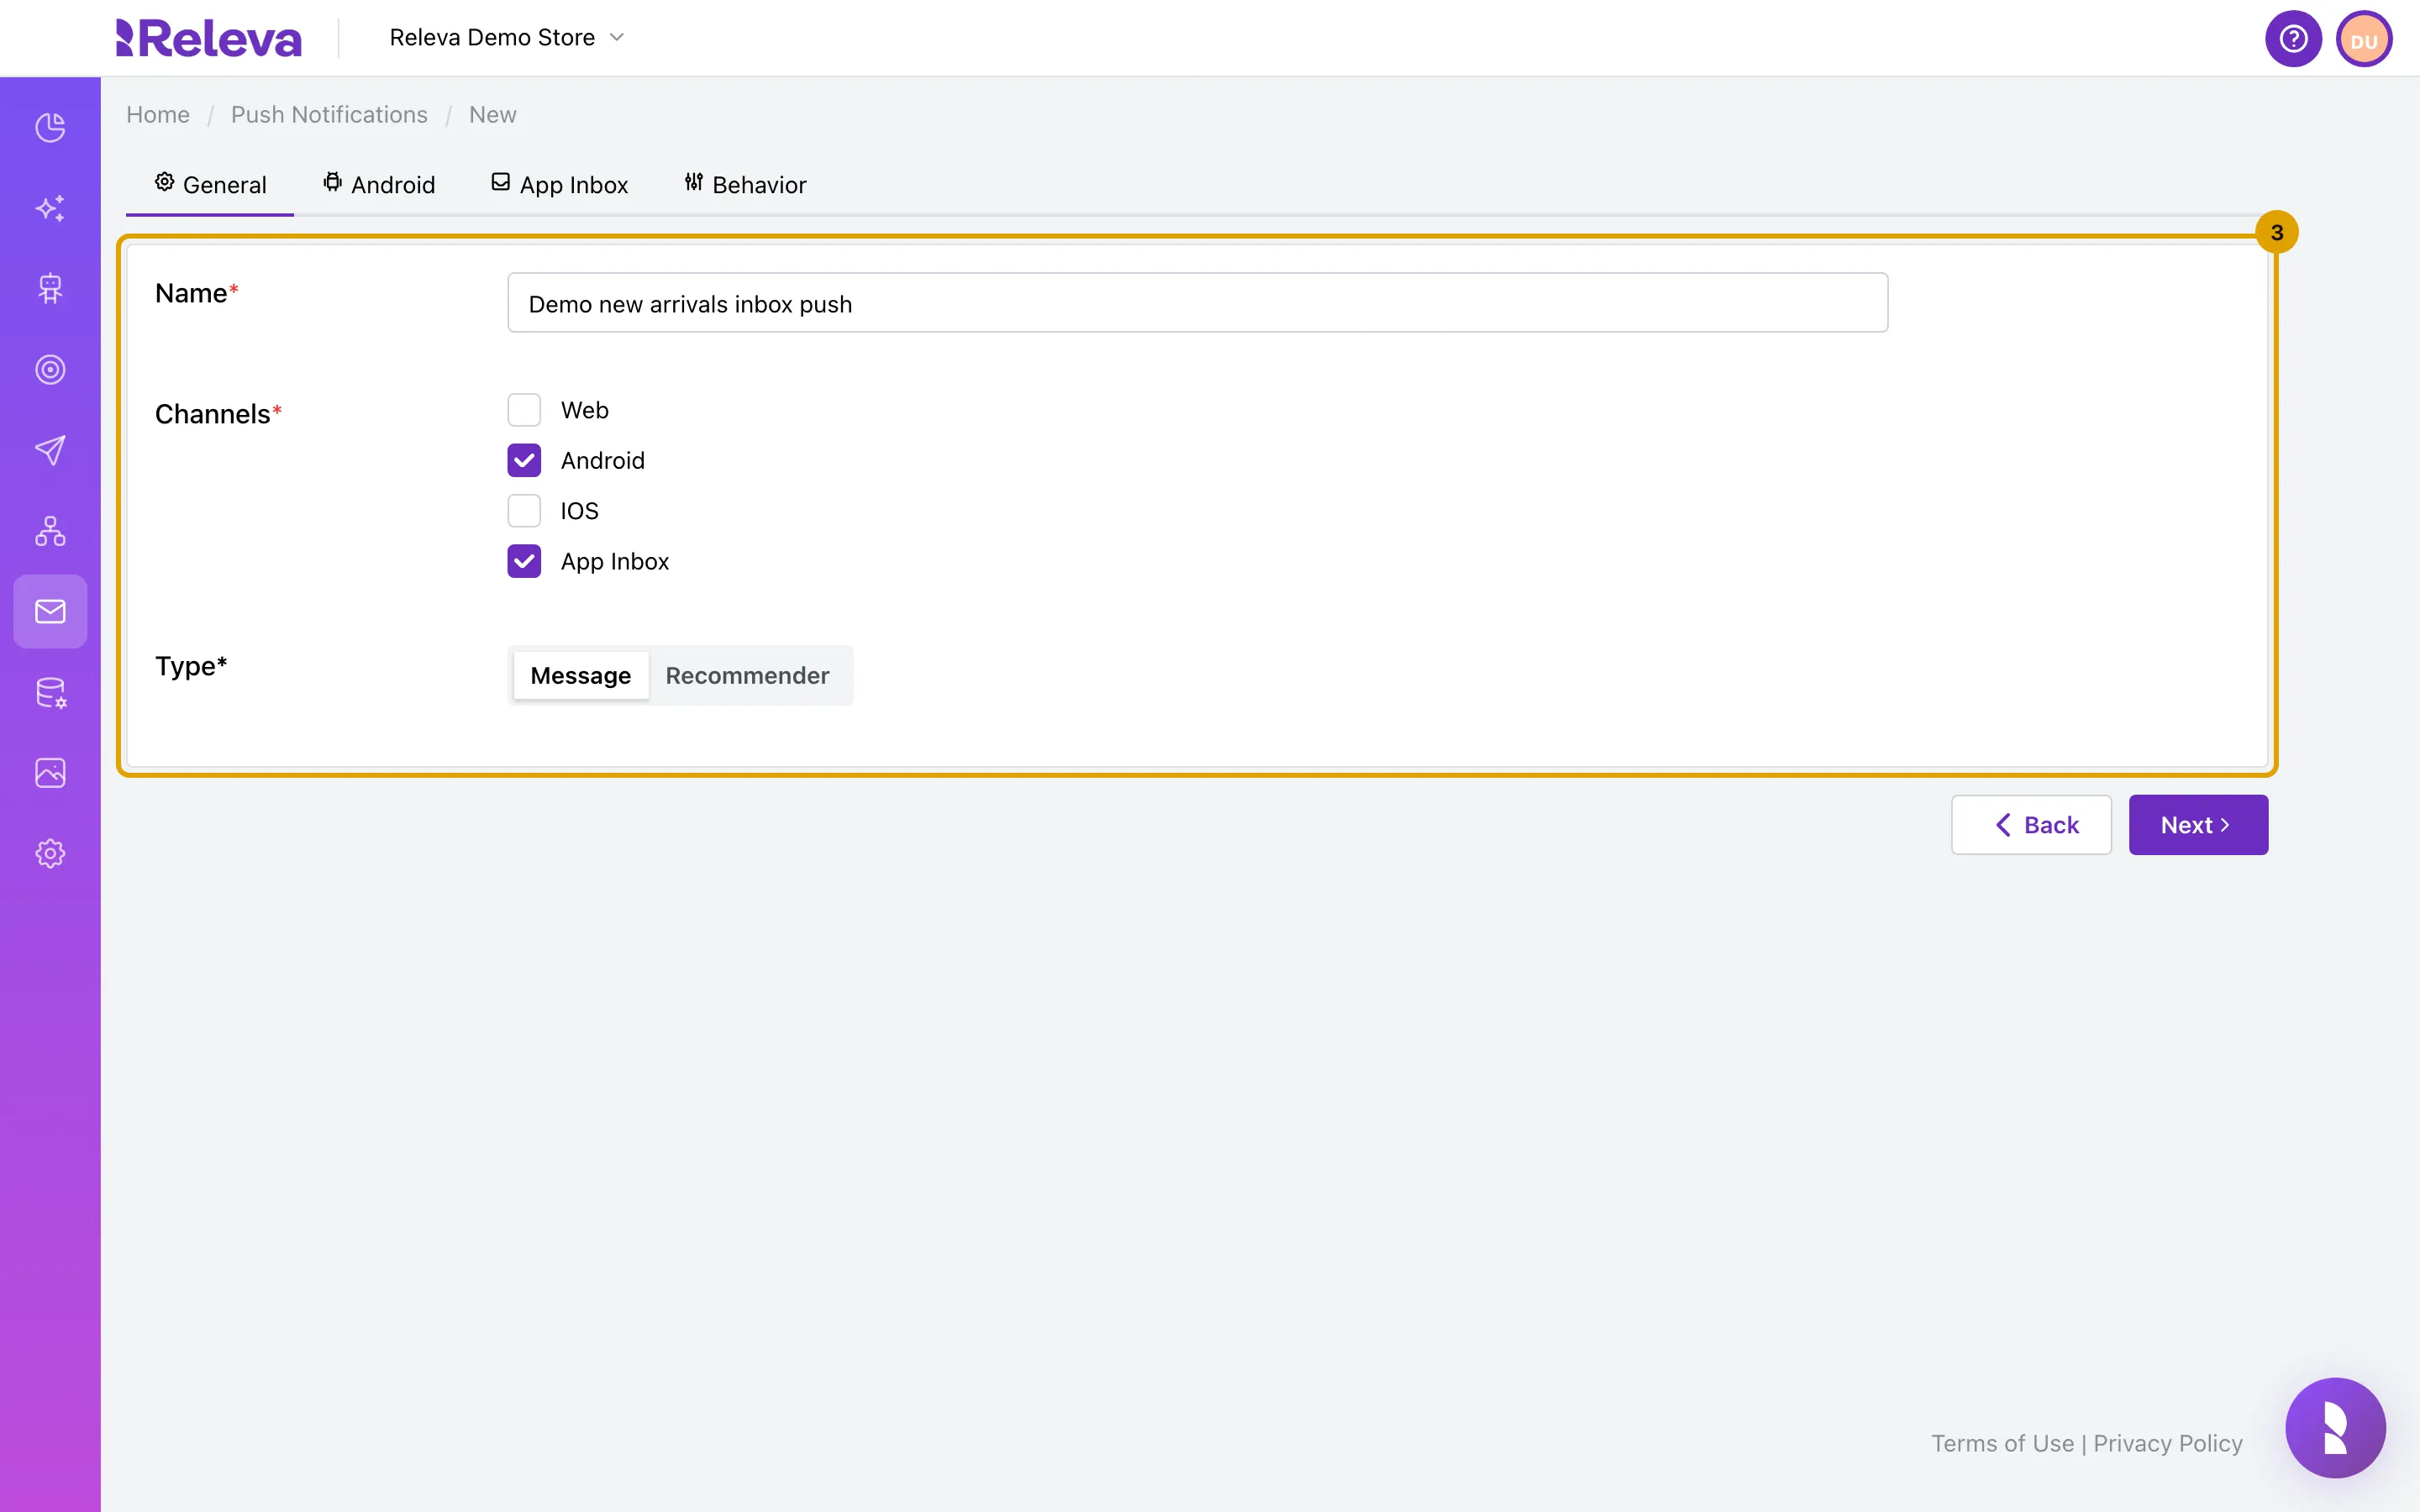
Enter a Name. Under Channels, clear Web, check the app platforms (here Android) and check App Inbox
The tabs Android and App Inbox appear between General and Behavior. The name is only shown in Releva, but it must be unique among all push notifications in the shop.
-
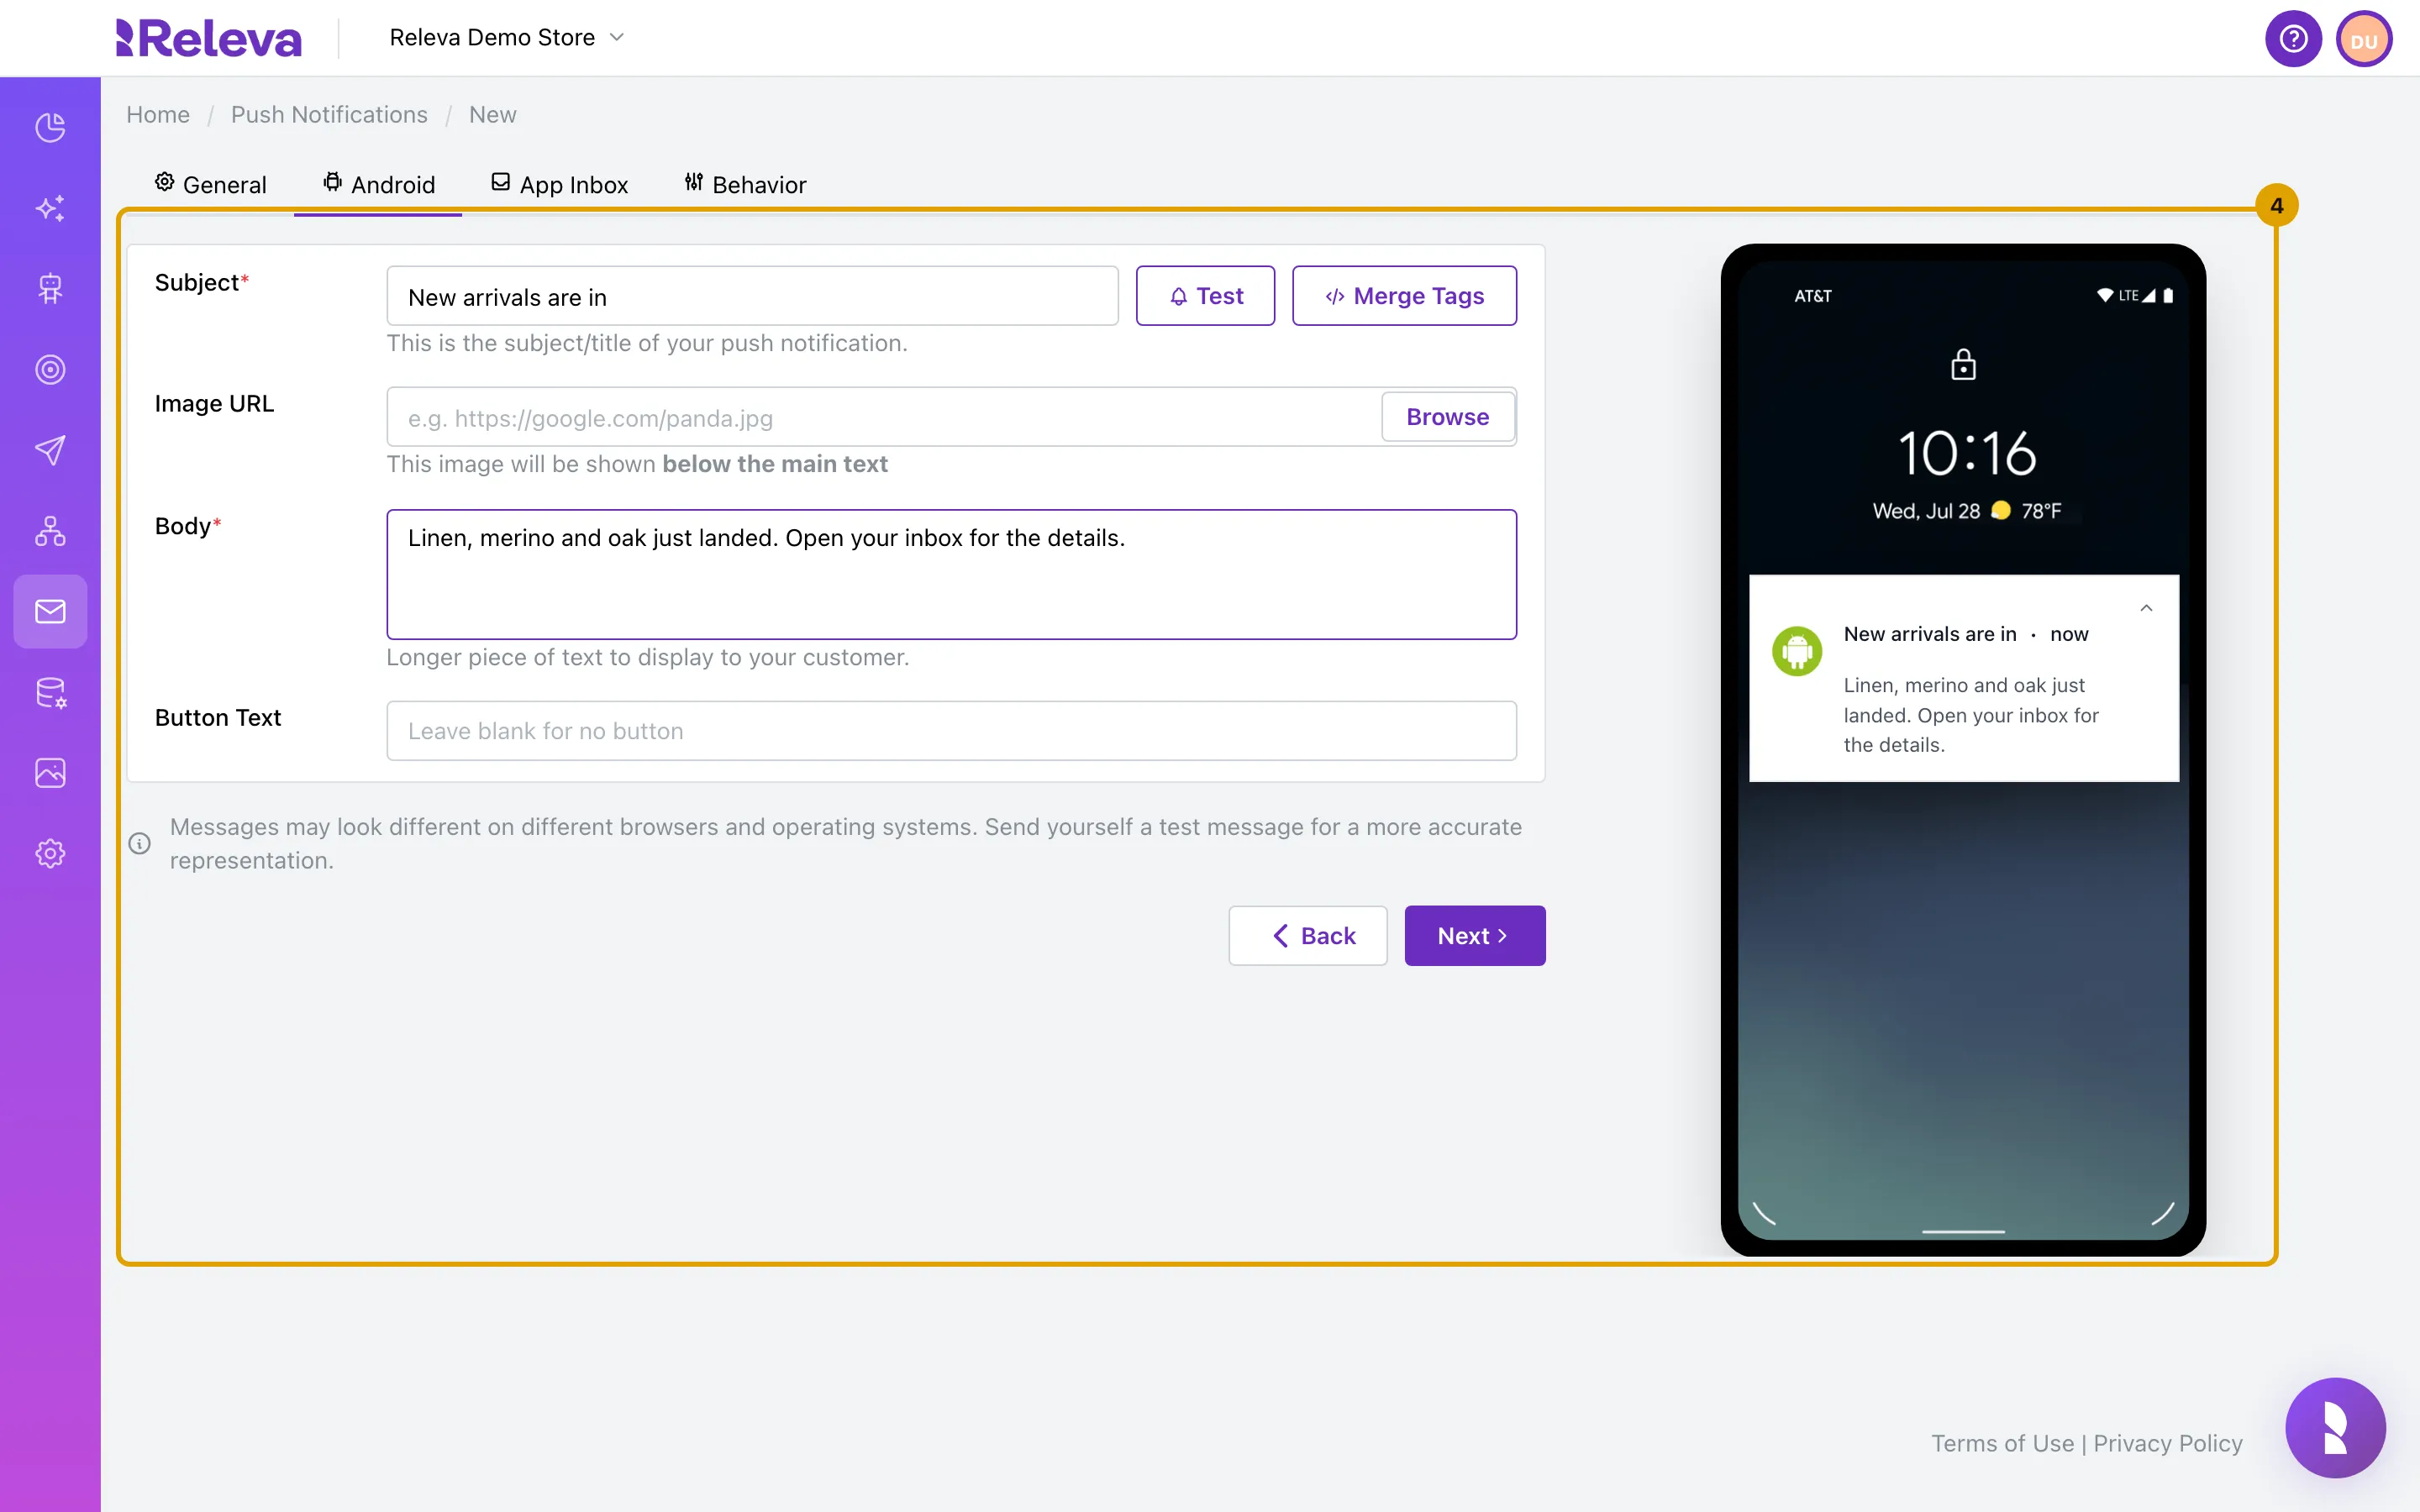
Select Next. On the Android tab, enter the Subject and the Body of the push that announces the inbox message
Keep the push short and point to the inbox, for example “Open your inbox for the details.” An Image URL and Button Text are optional, as in Create a mobile app push notification.
-
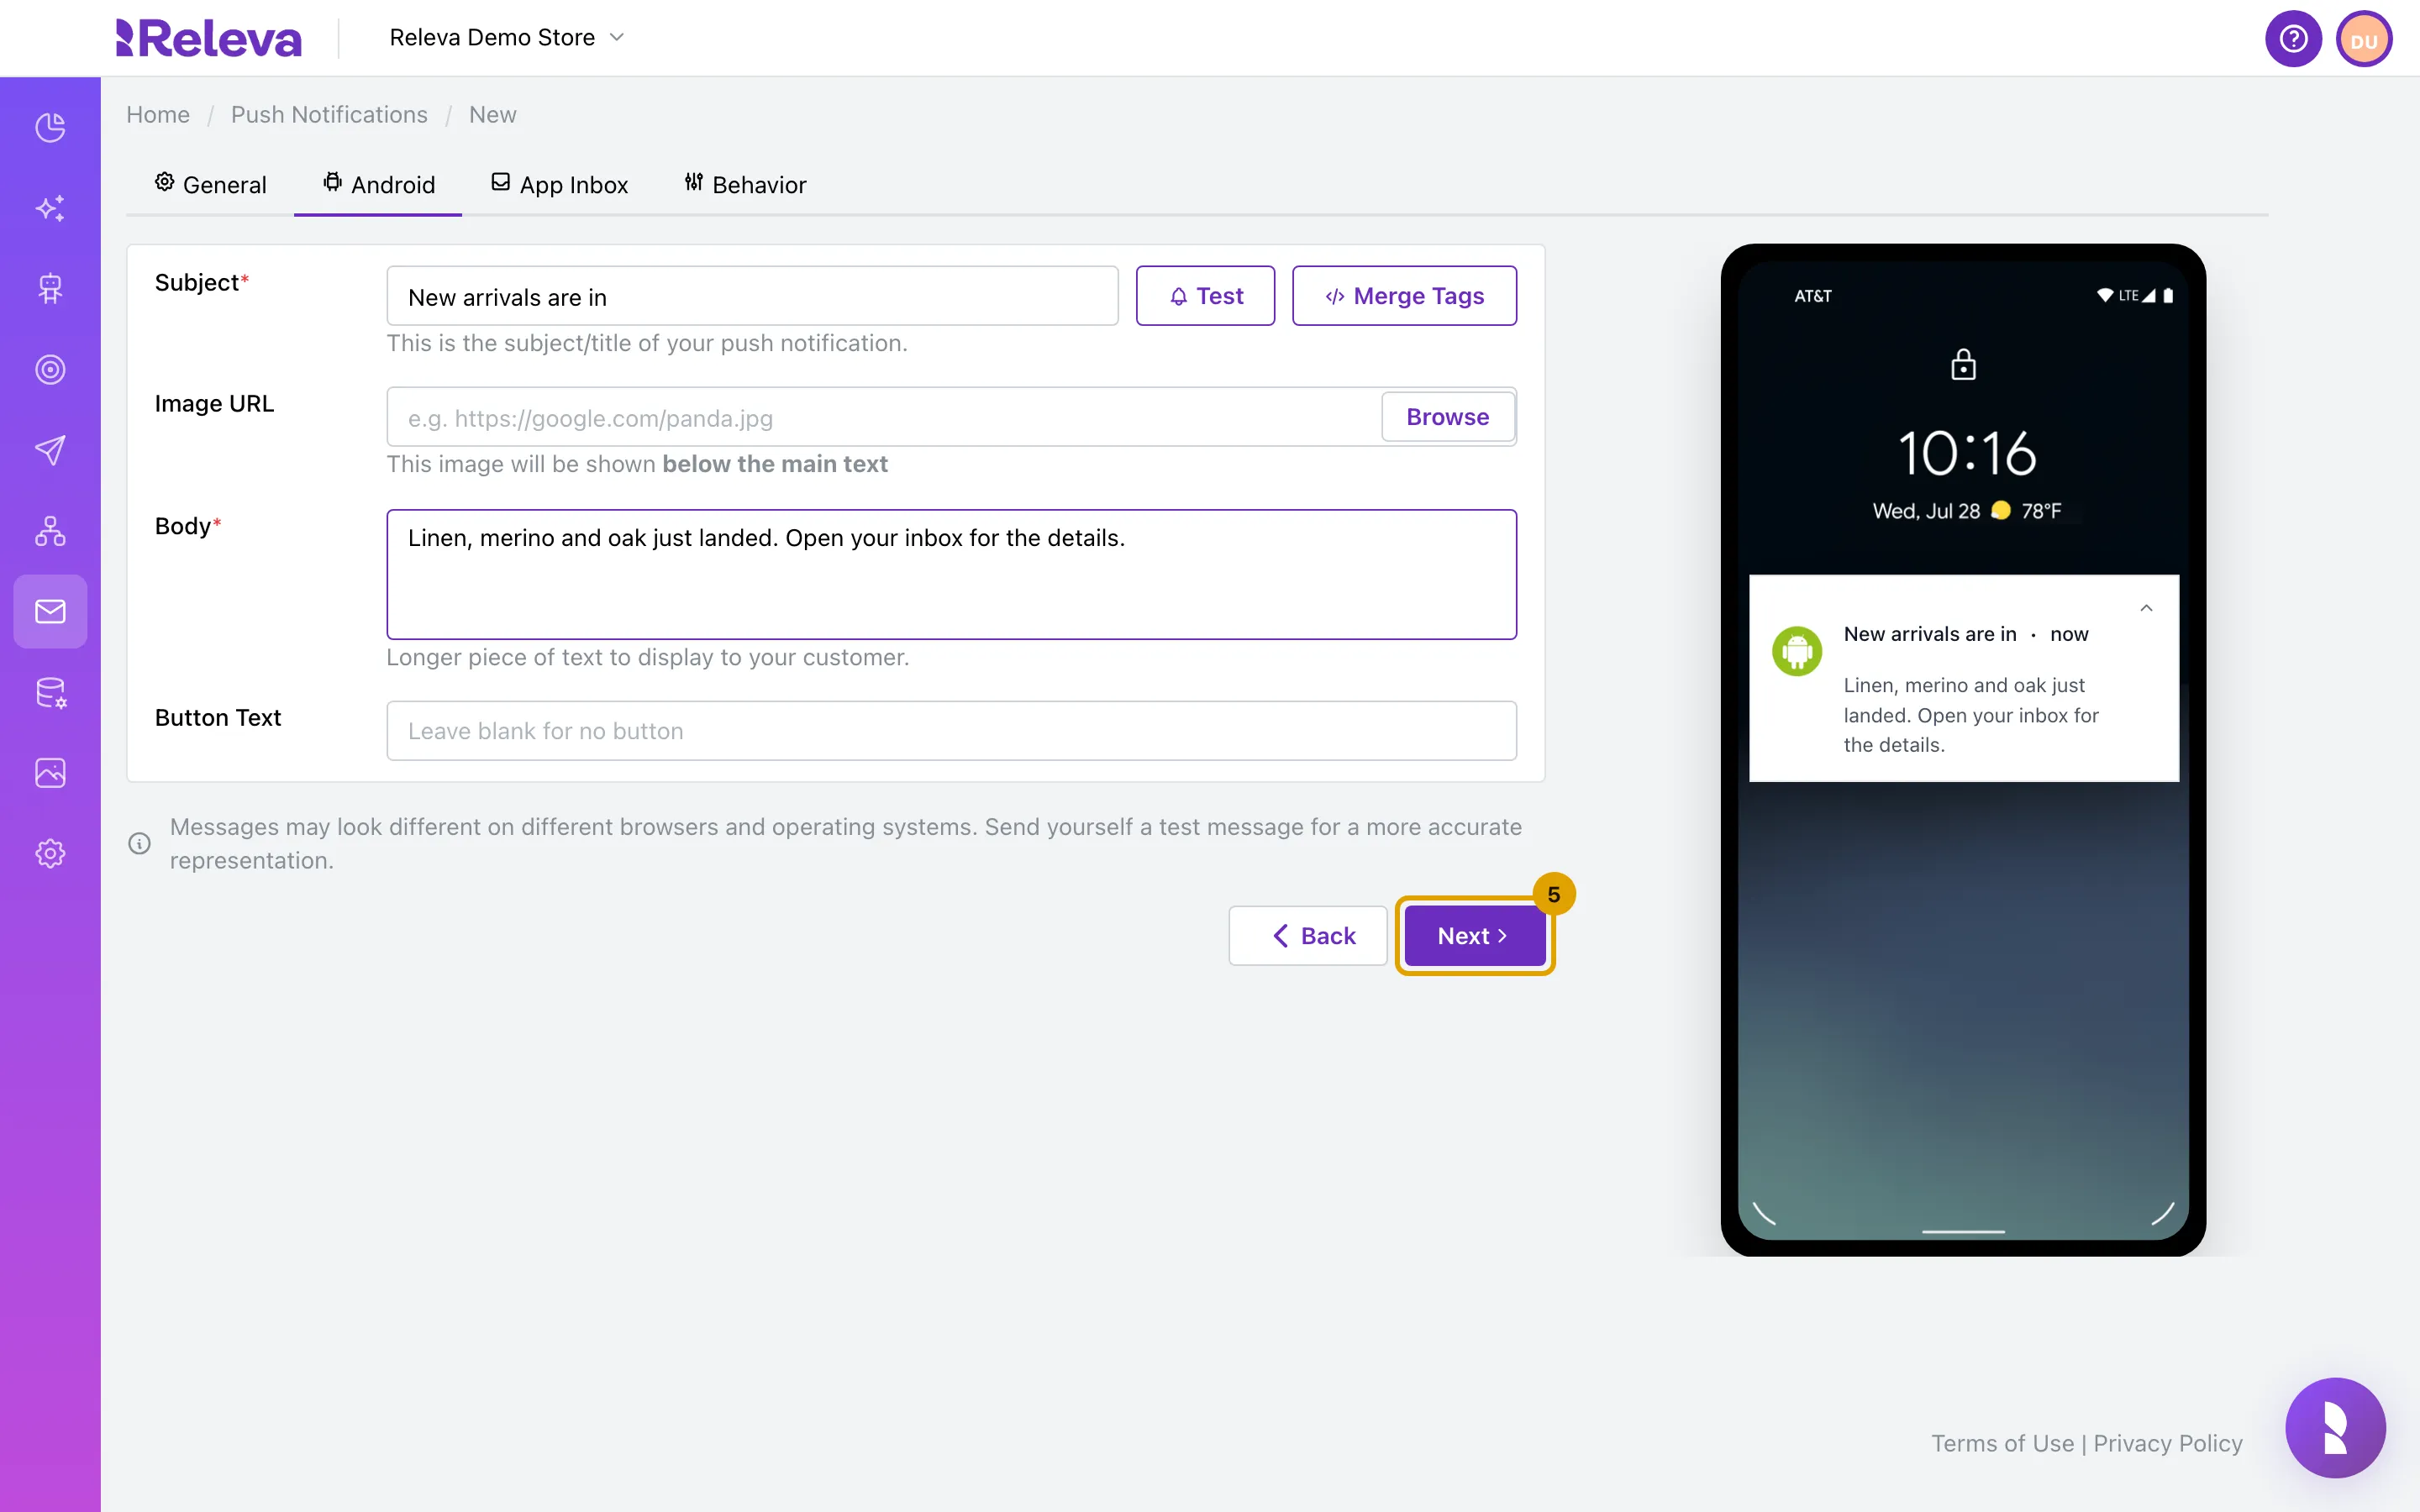
Select Next
-
On the App Inbox tab, enter the Title of the inbox message. Build the message below by dragging blocks such as Heading and Button from Blocks onto the message, and enter the button’s Link
The Title is “Shown as the message header” and supports merge tags such as
{{firstName}}; Merge Tags lists them. In the builder, you can also select a block to add it at the end, or start from Templates. Select a block on the message to change it in the panel on the right; a button needs a Link. The apps draw headings, text, images, buttons, dividers, spacers and carousels; other blocks show on the web only. Preview shows the message as the apps draw it and lists those blocks under Not shown in the apps.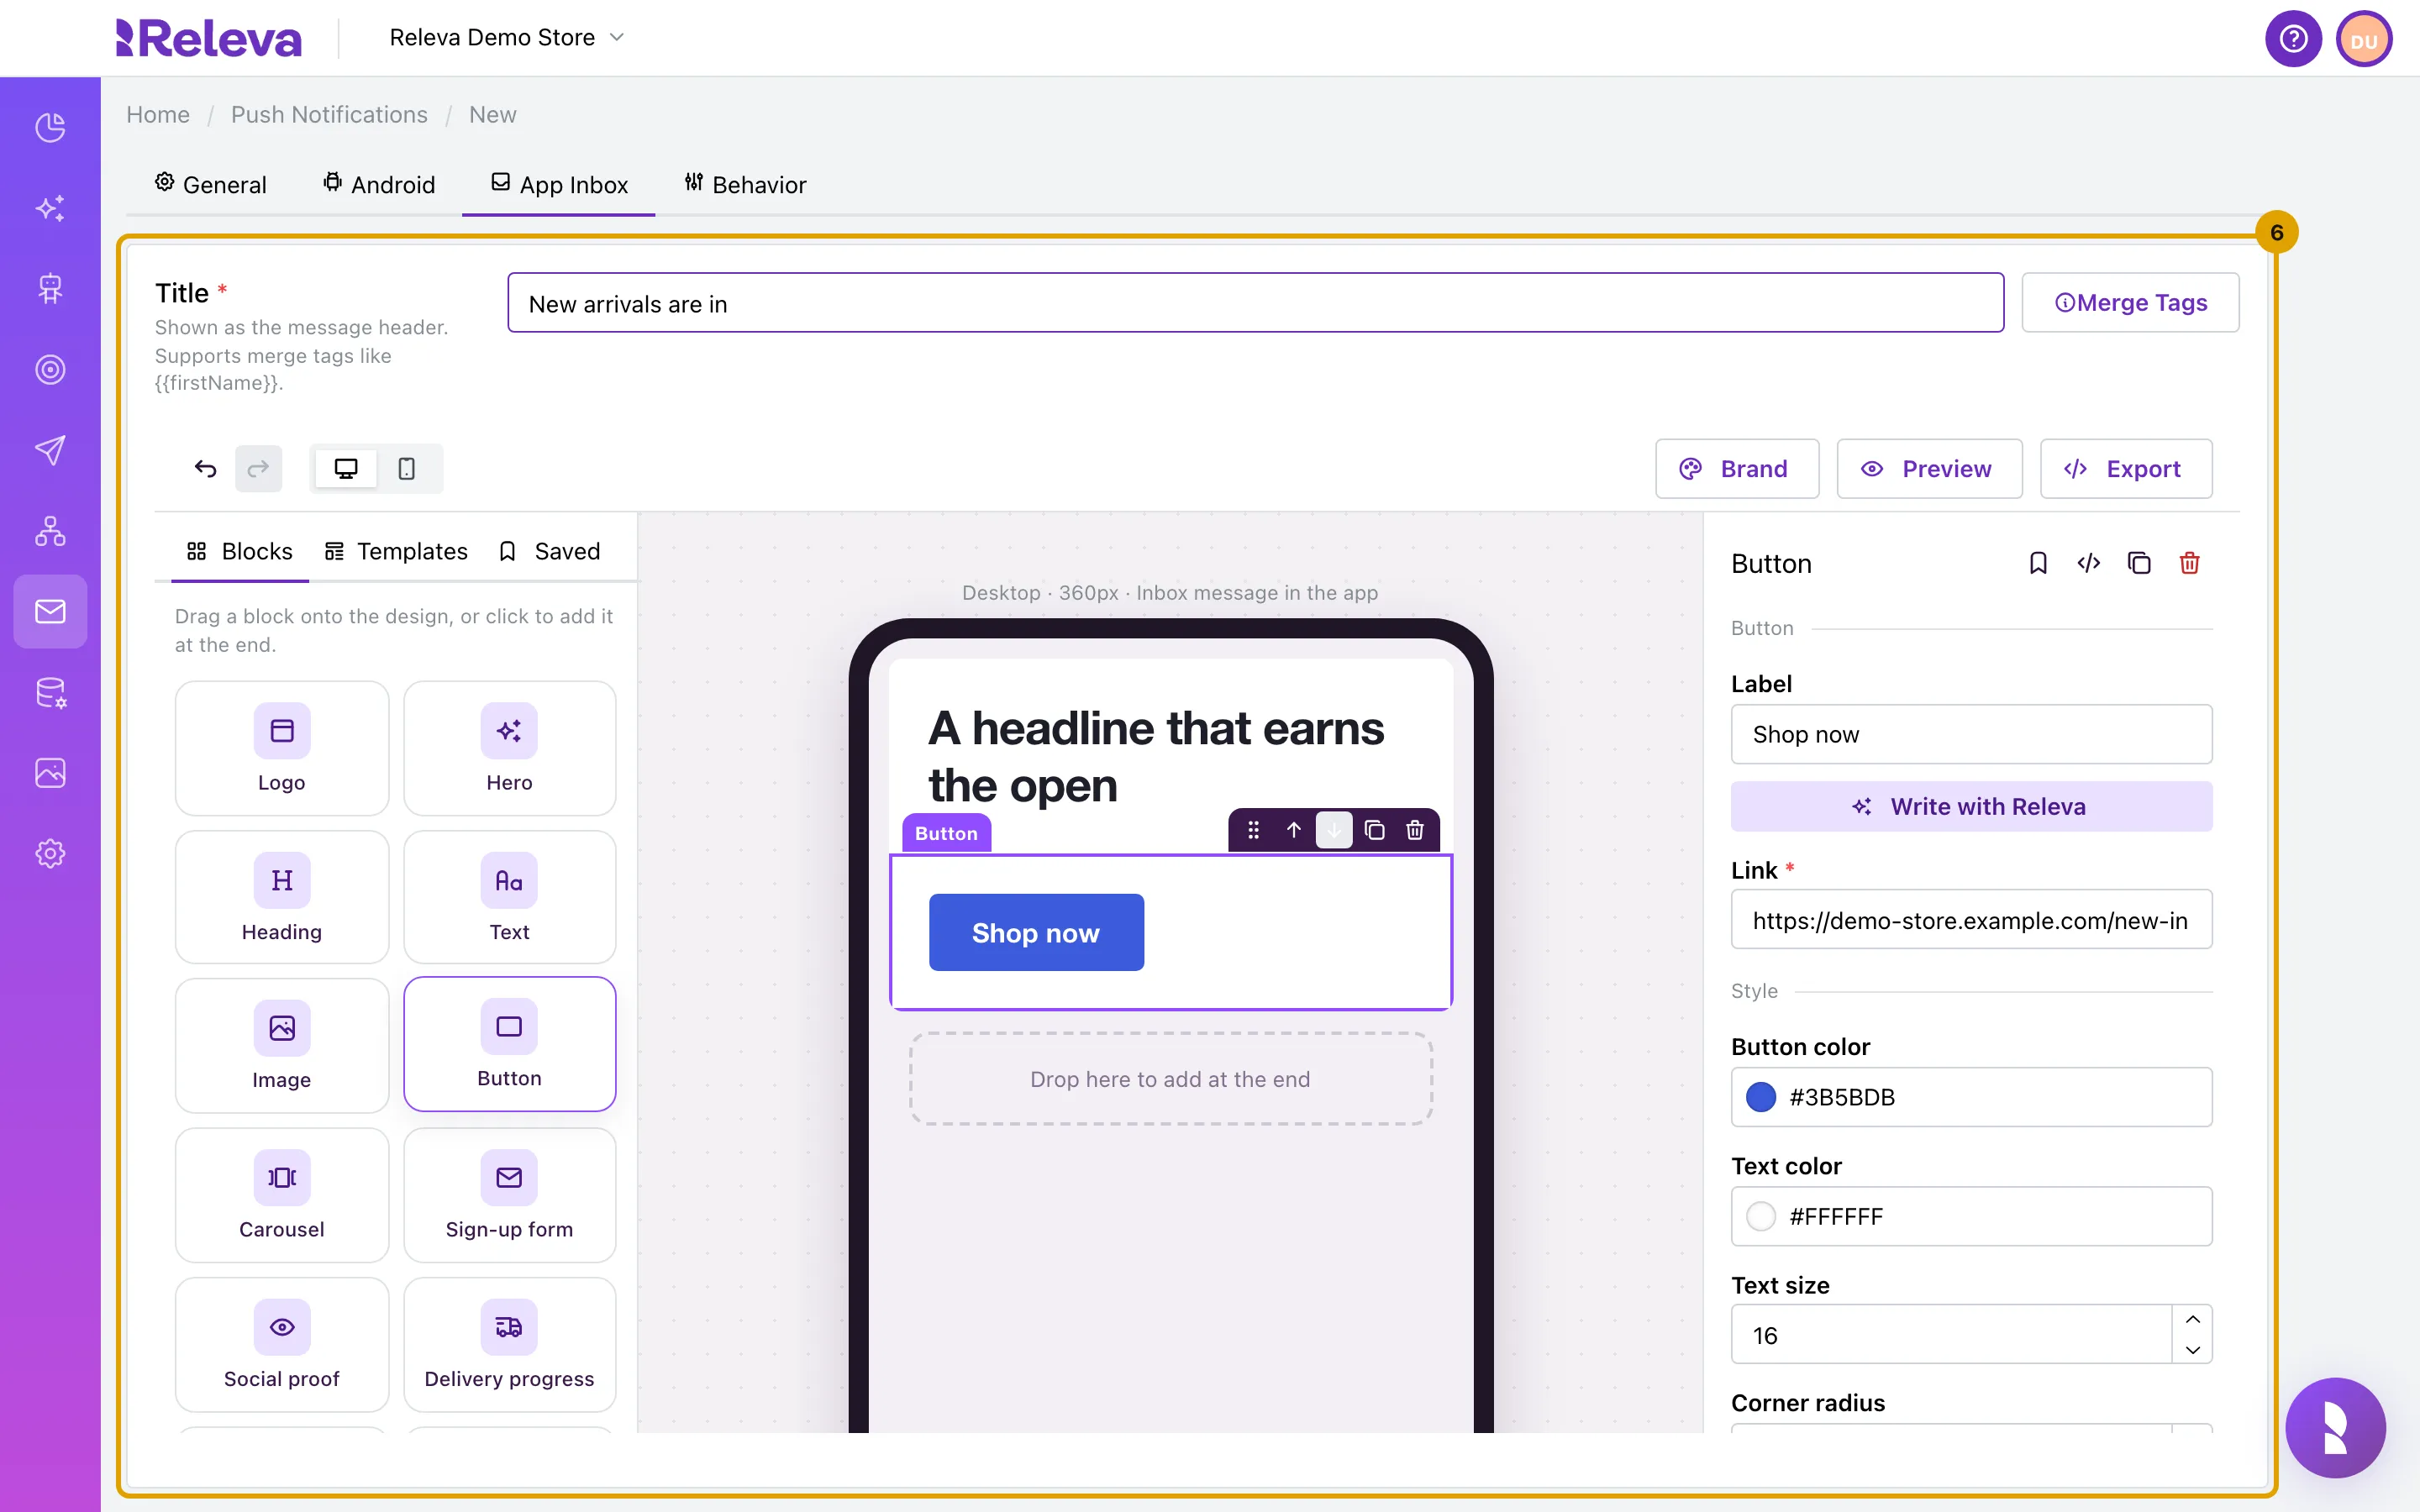
-
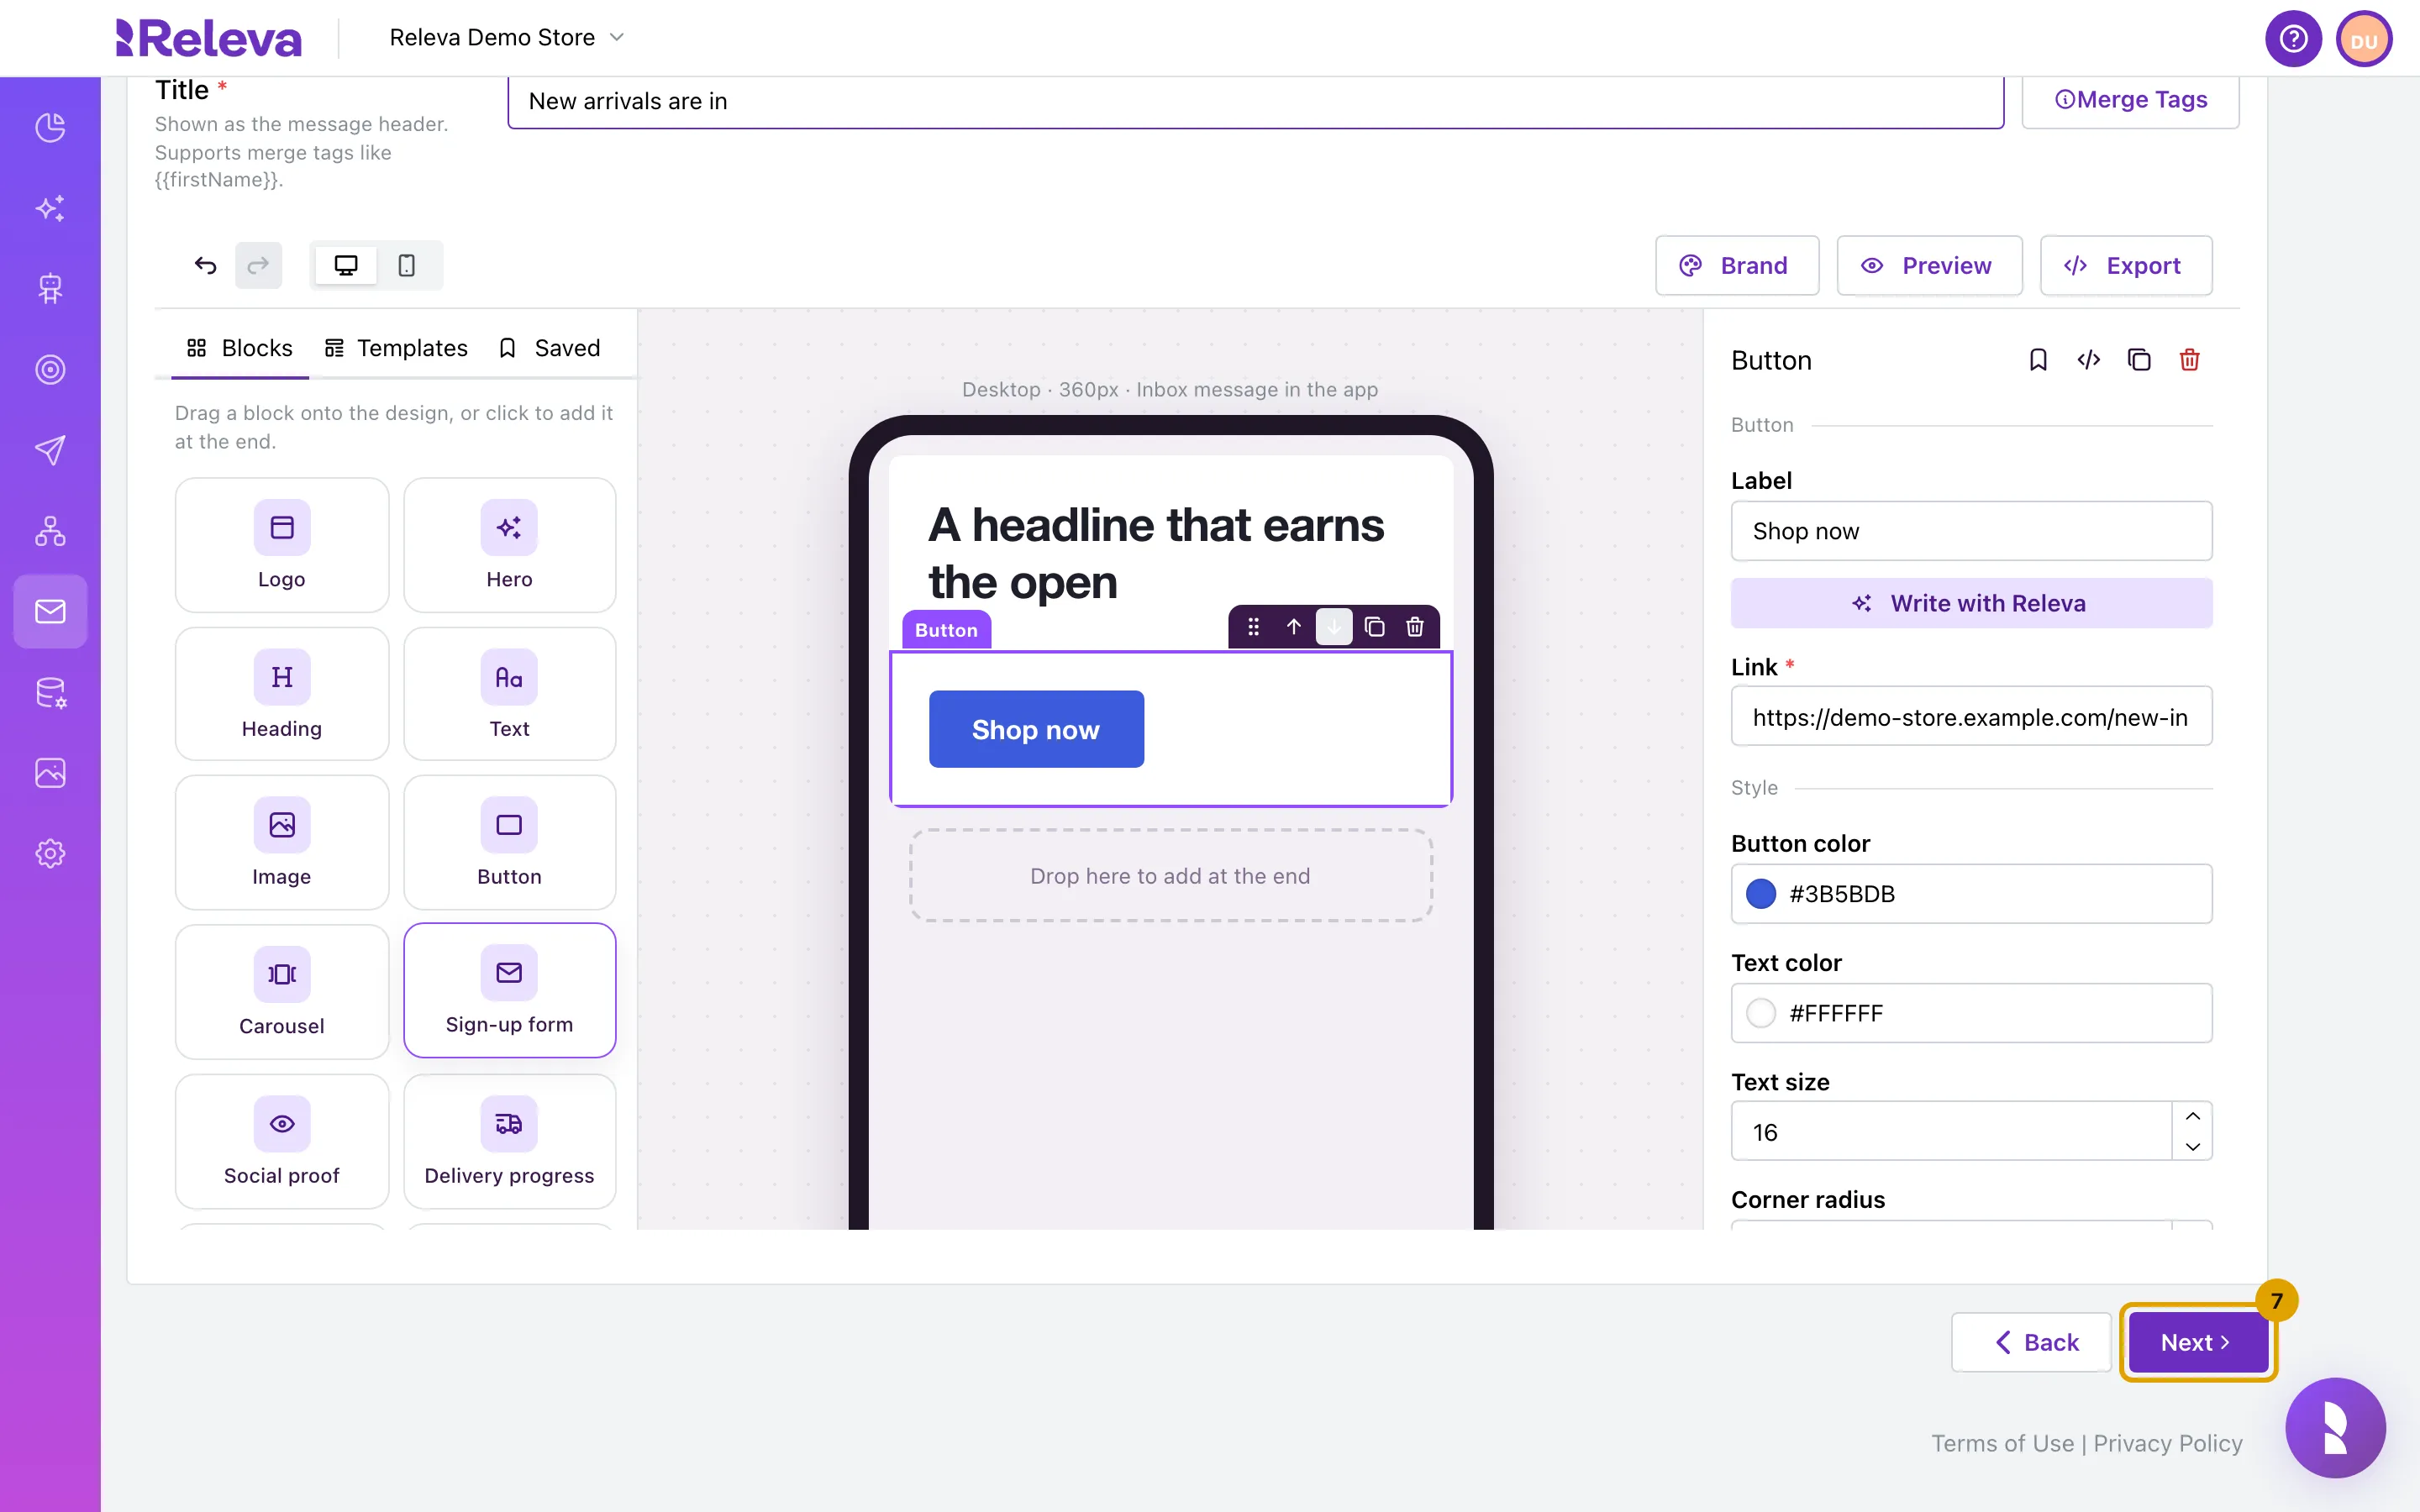
Select Next
-
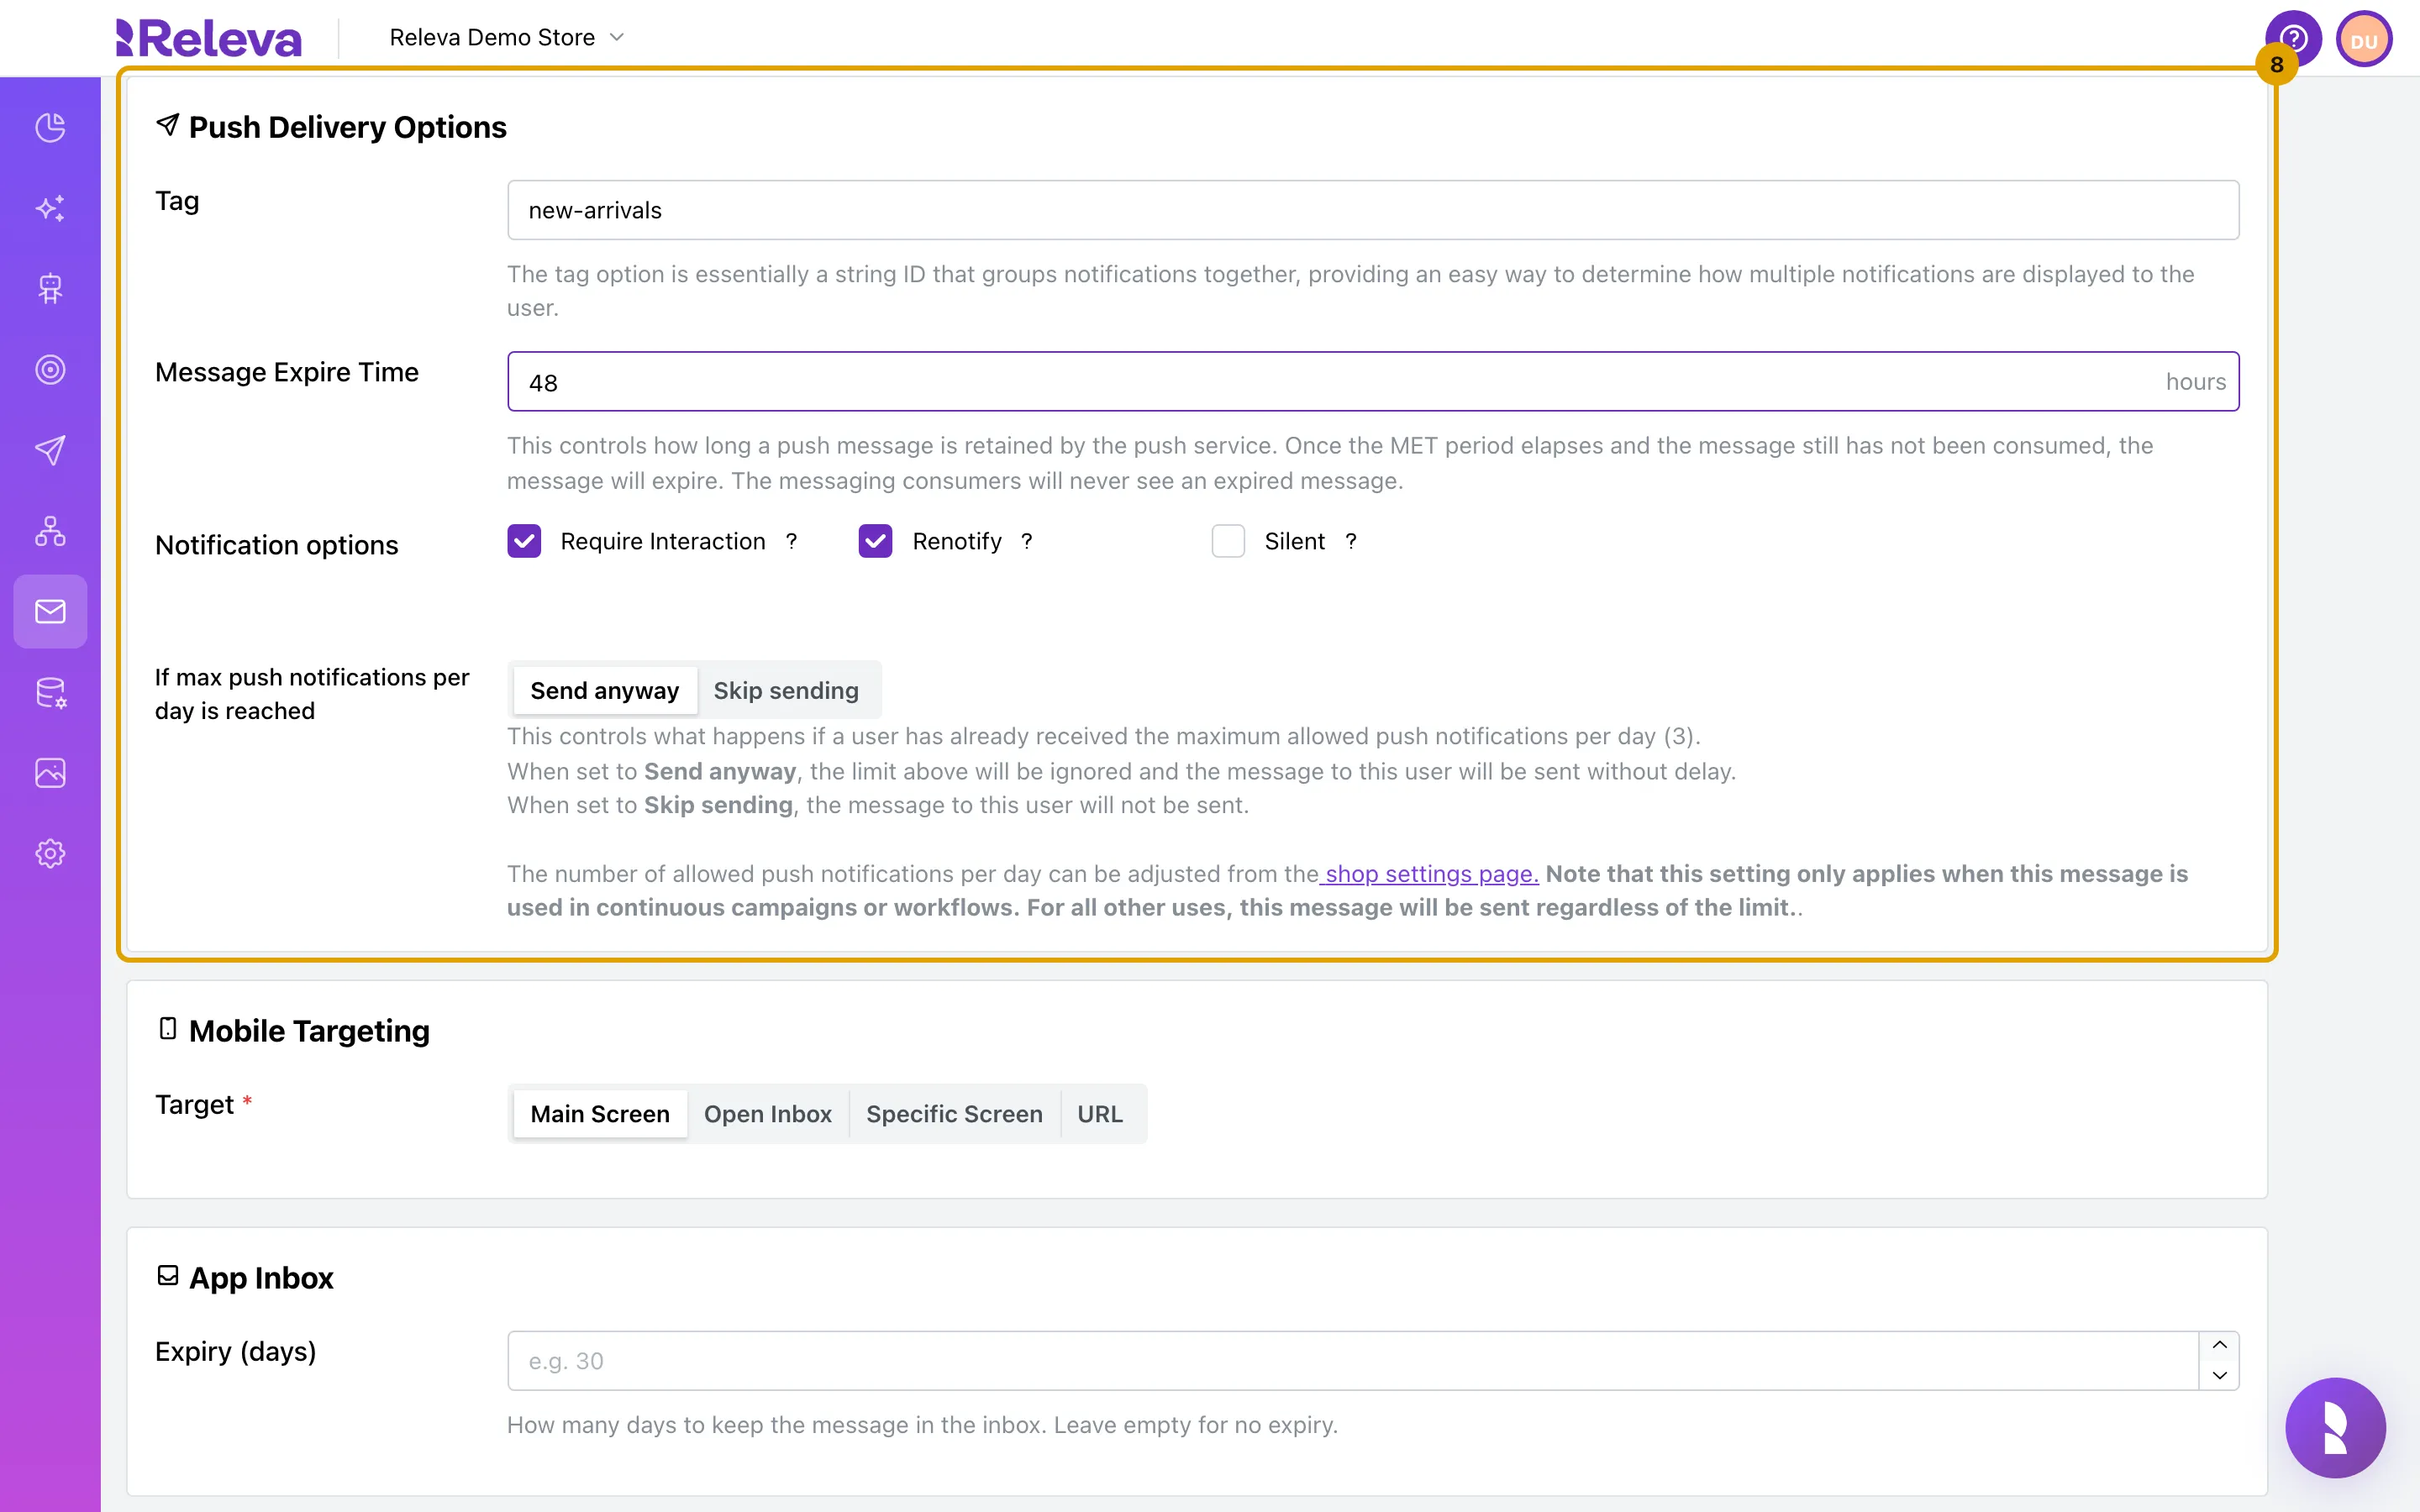
Under Push Delivery Options, enter a Tag and set Message Expire Time in hours
With App Inbox, If max push notifications per day is reached offers only Send anyway and Skip sending: Reschedule cannot be combined with the inbox, so the form switches to Send anyway when you check App Inbox. The other options are explained in How push notifications work.
-
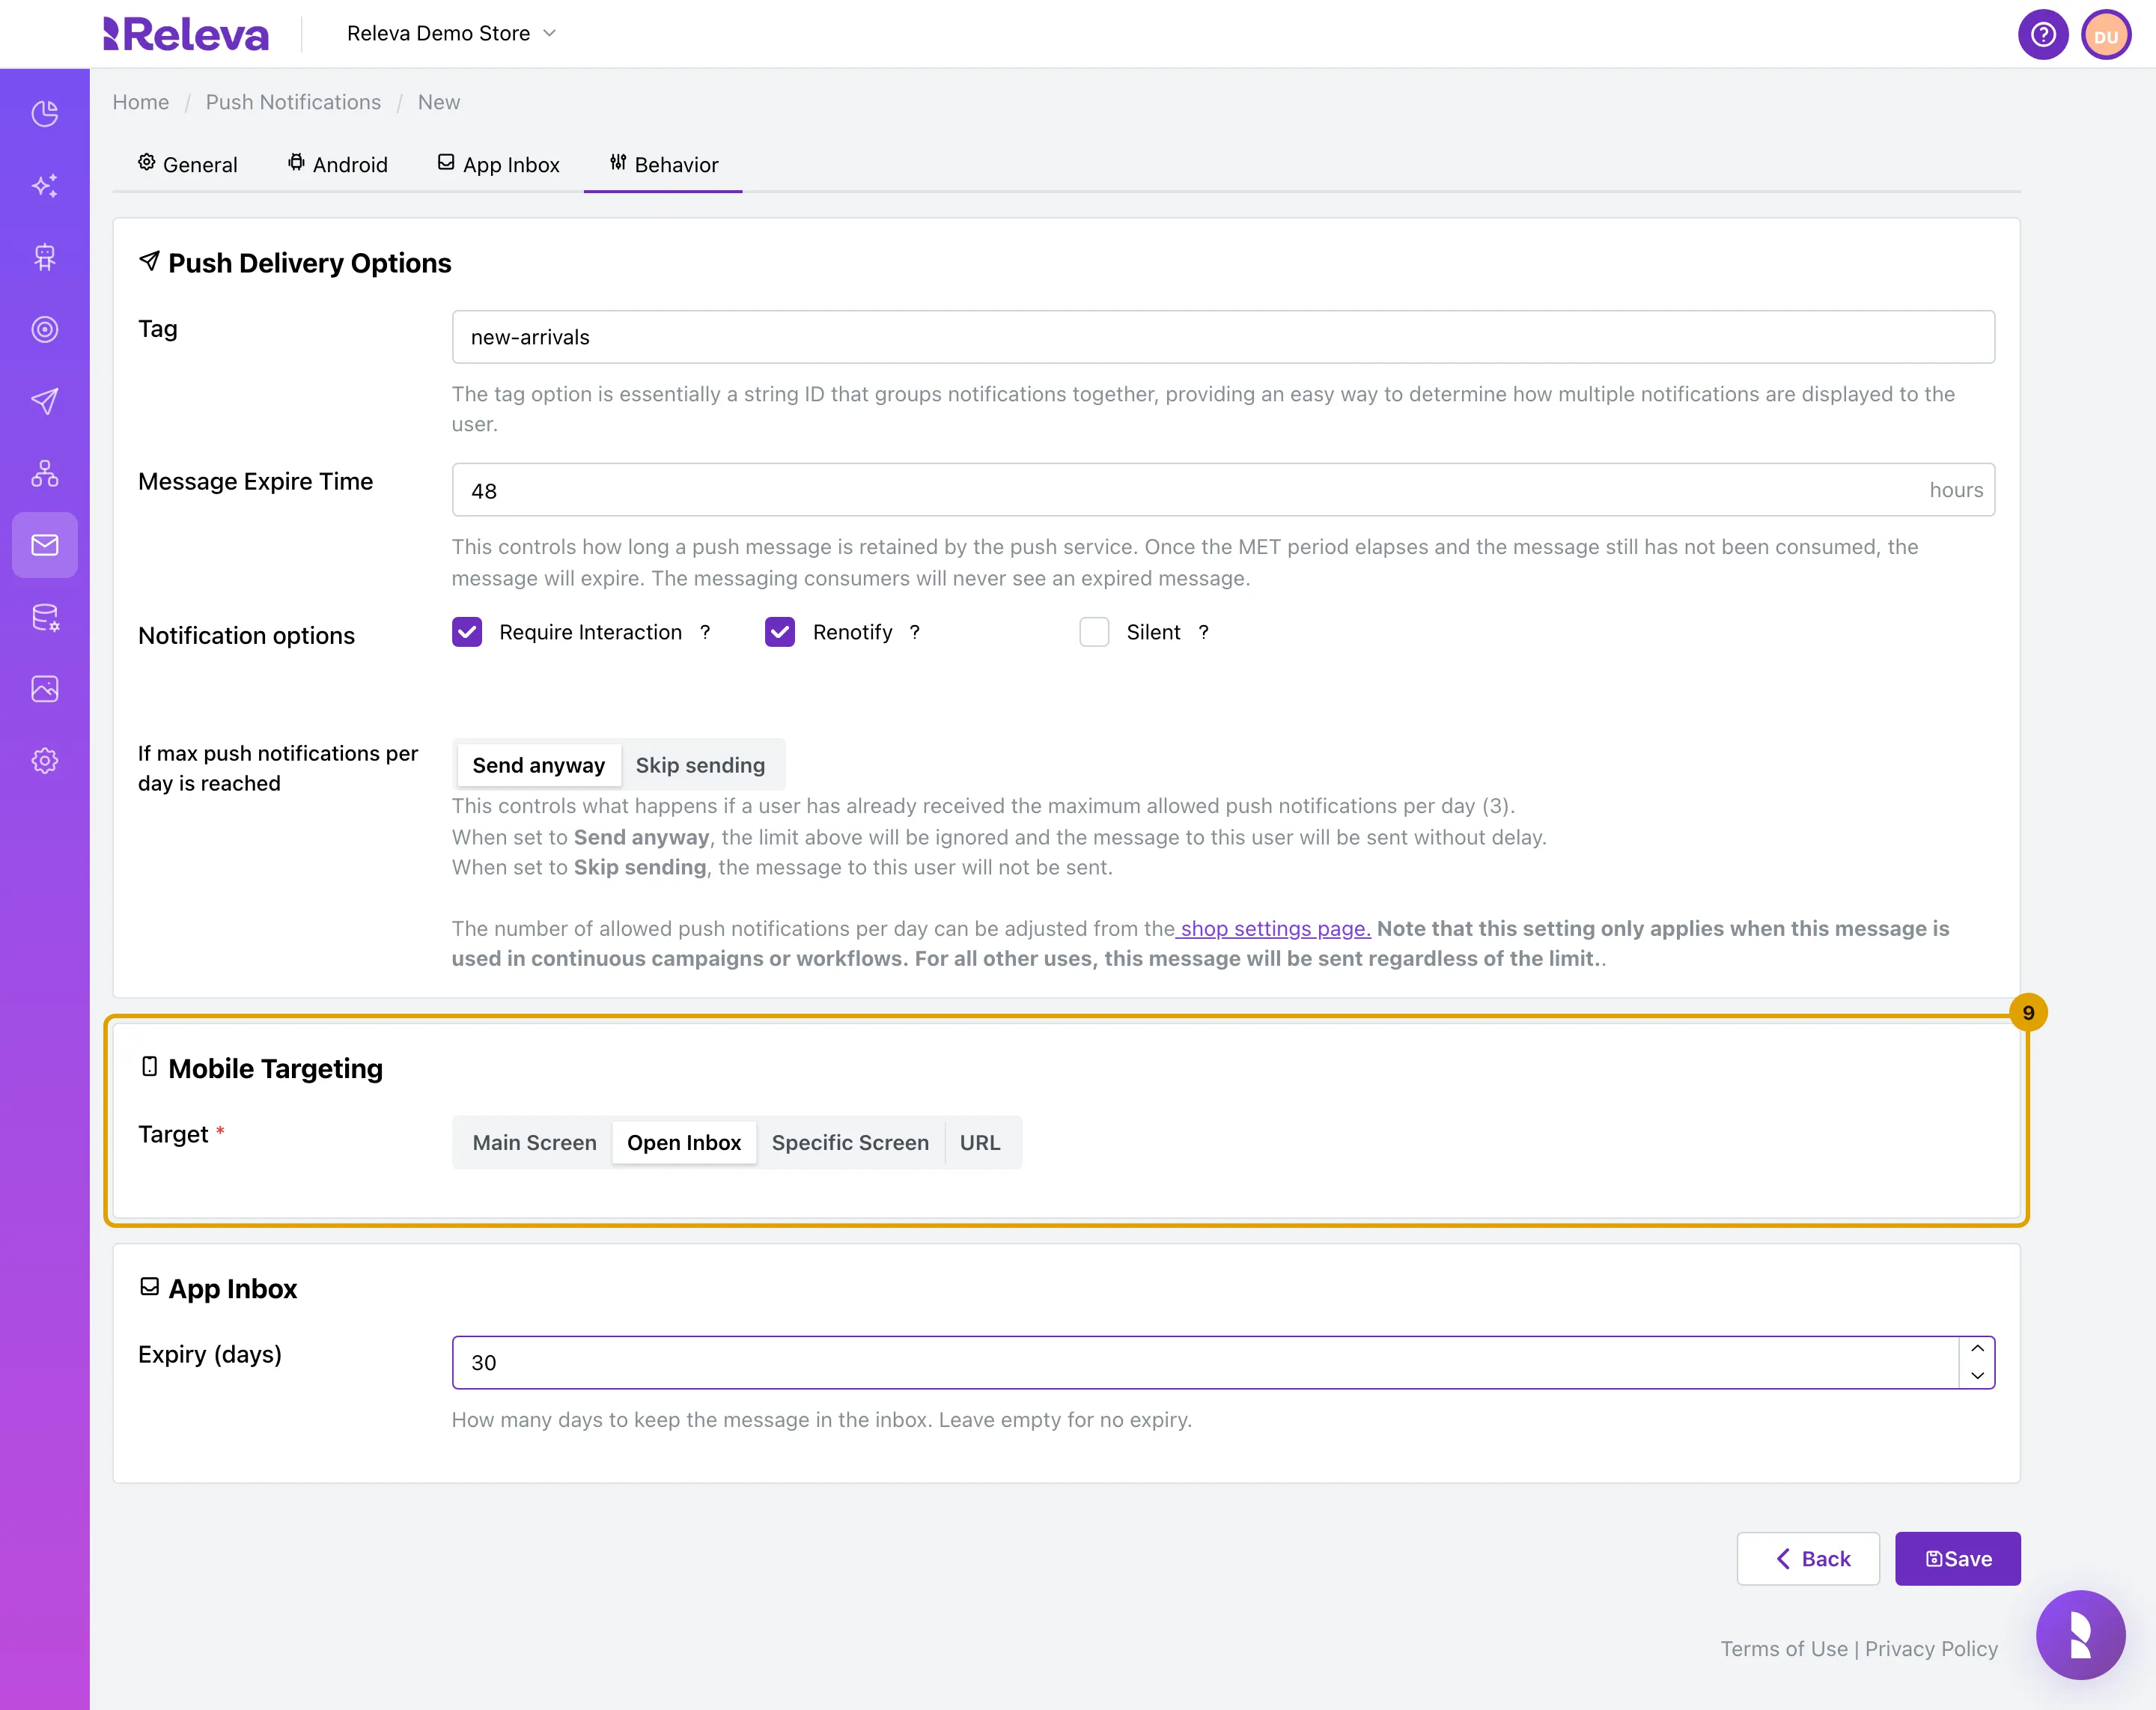
Under Mobile Targeting, select Open Inbox so a tap on the push opens the inbox. Under App Inbox, set Expiry (days), or leave it empty to keep the message
Open Inbox is offered only while App Inbox is checked. You can also open the Main Screen, a Specific Screen or a URL instead. Expiry (days) accepts 1 to 365: “How many days to keep the message in the inbox. Leave empty for no expiry.” The expiry counts from the day each shopper receives the message.
-
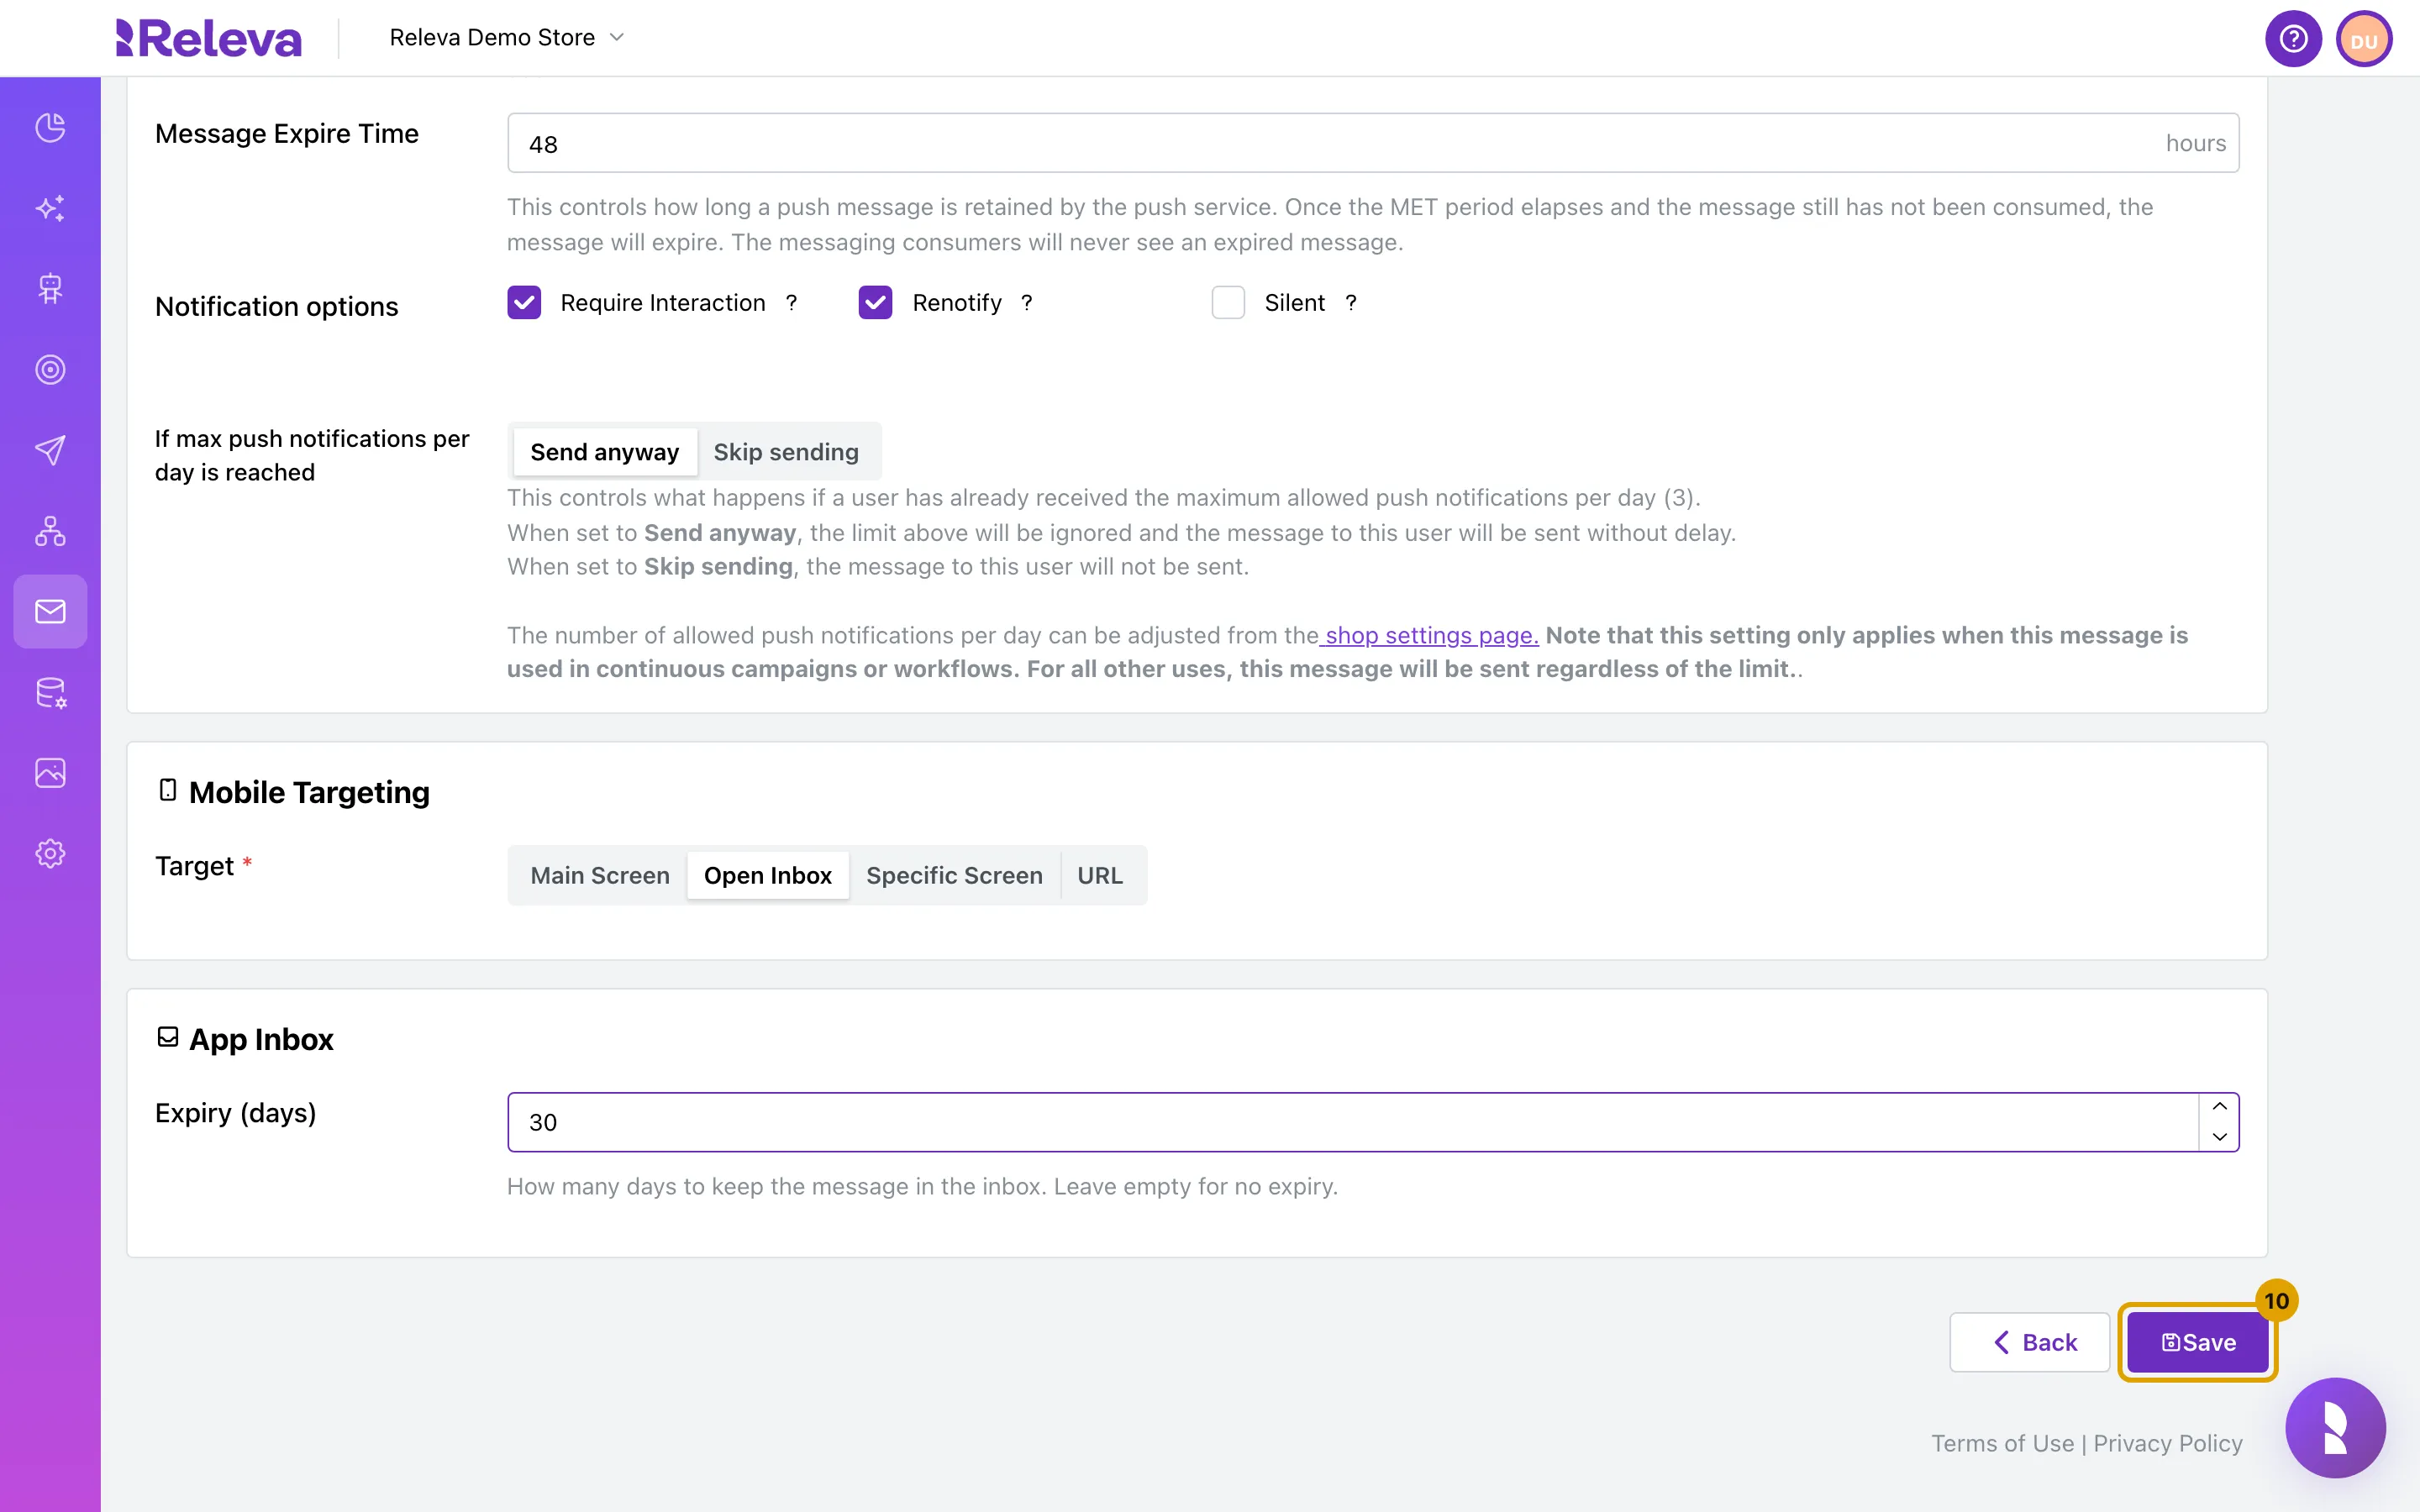
Select Save
Save stays disabled until the App Inbox tab has a Title, every checked push platform has a Subject and a Body, Tag and Message Expire Time are set, and no merge tag is broken.
-
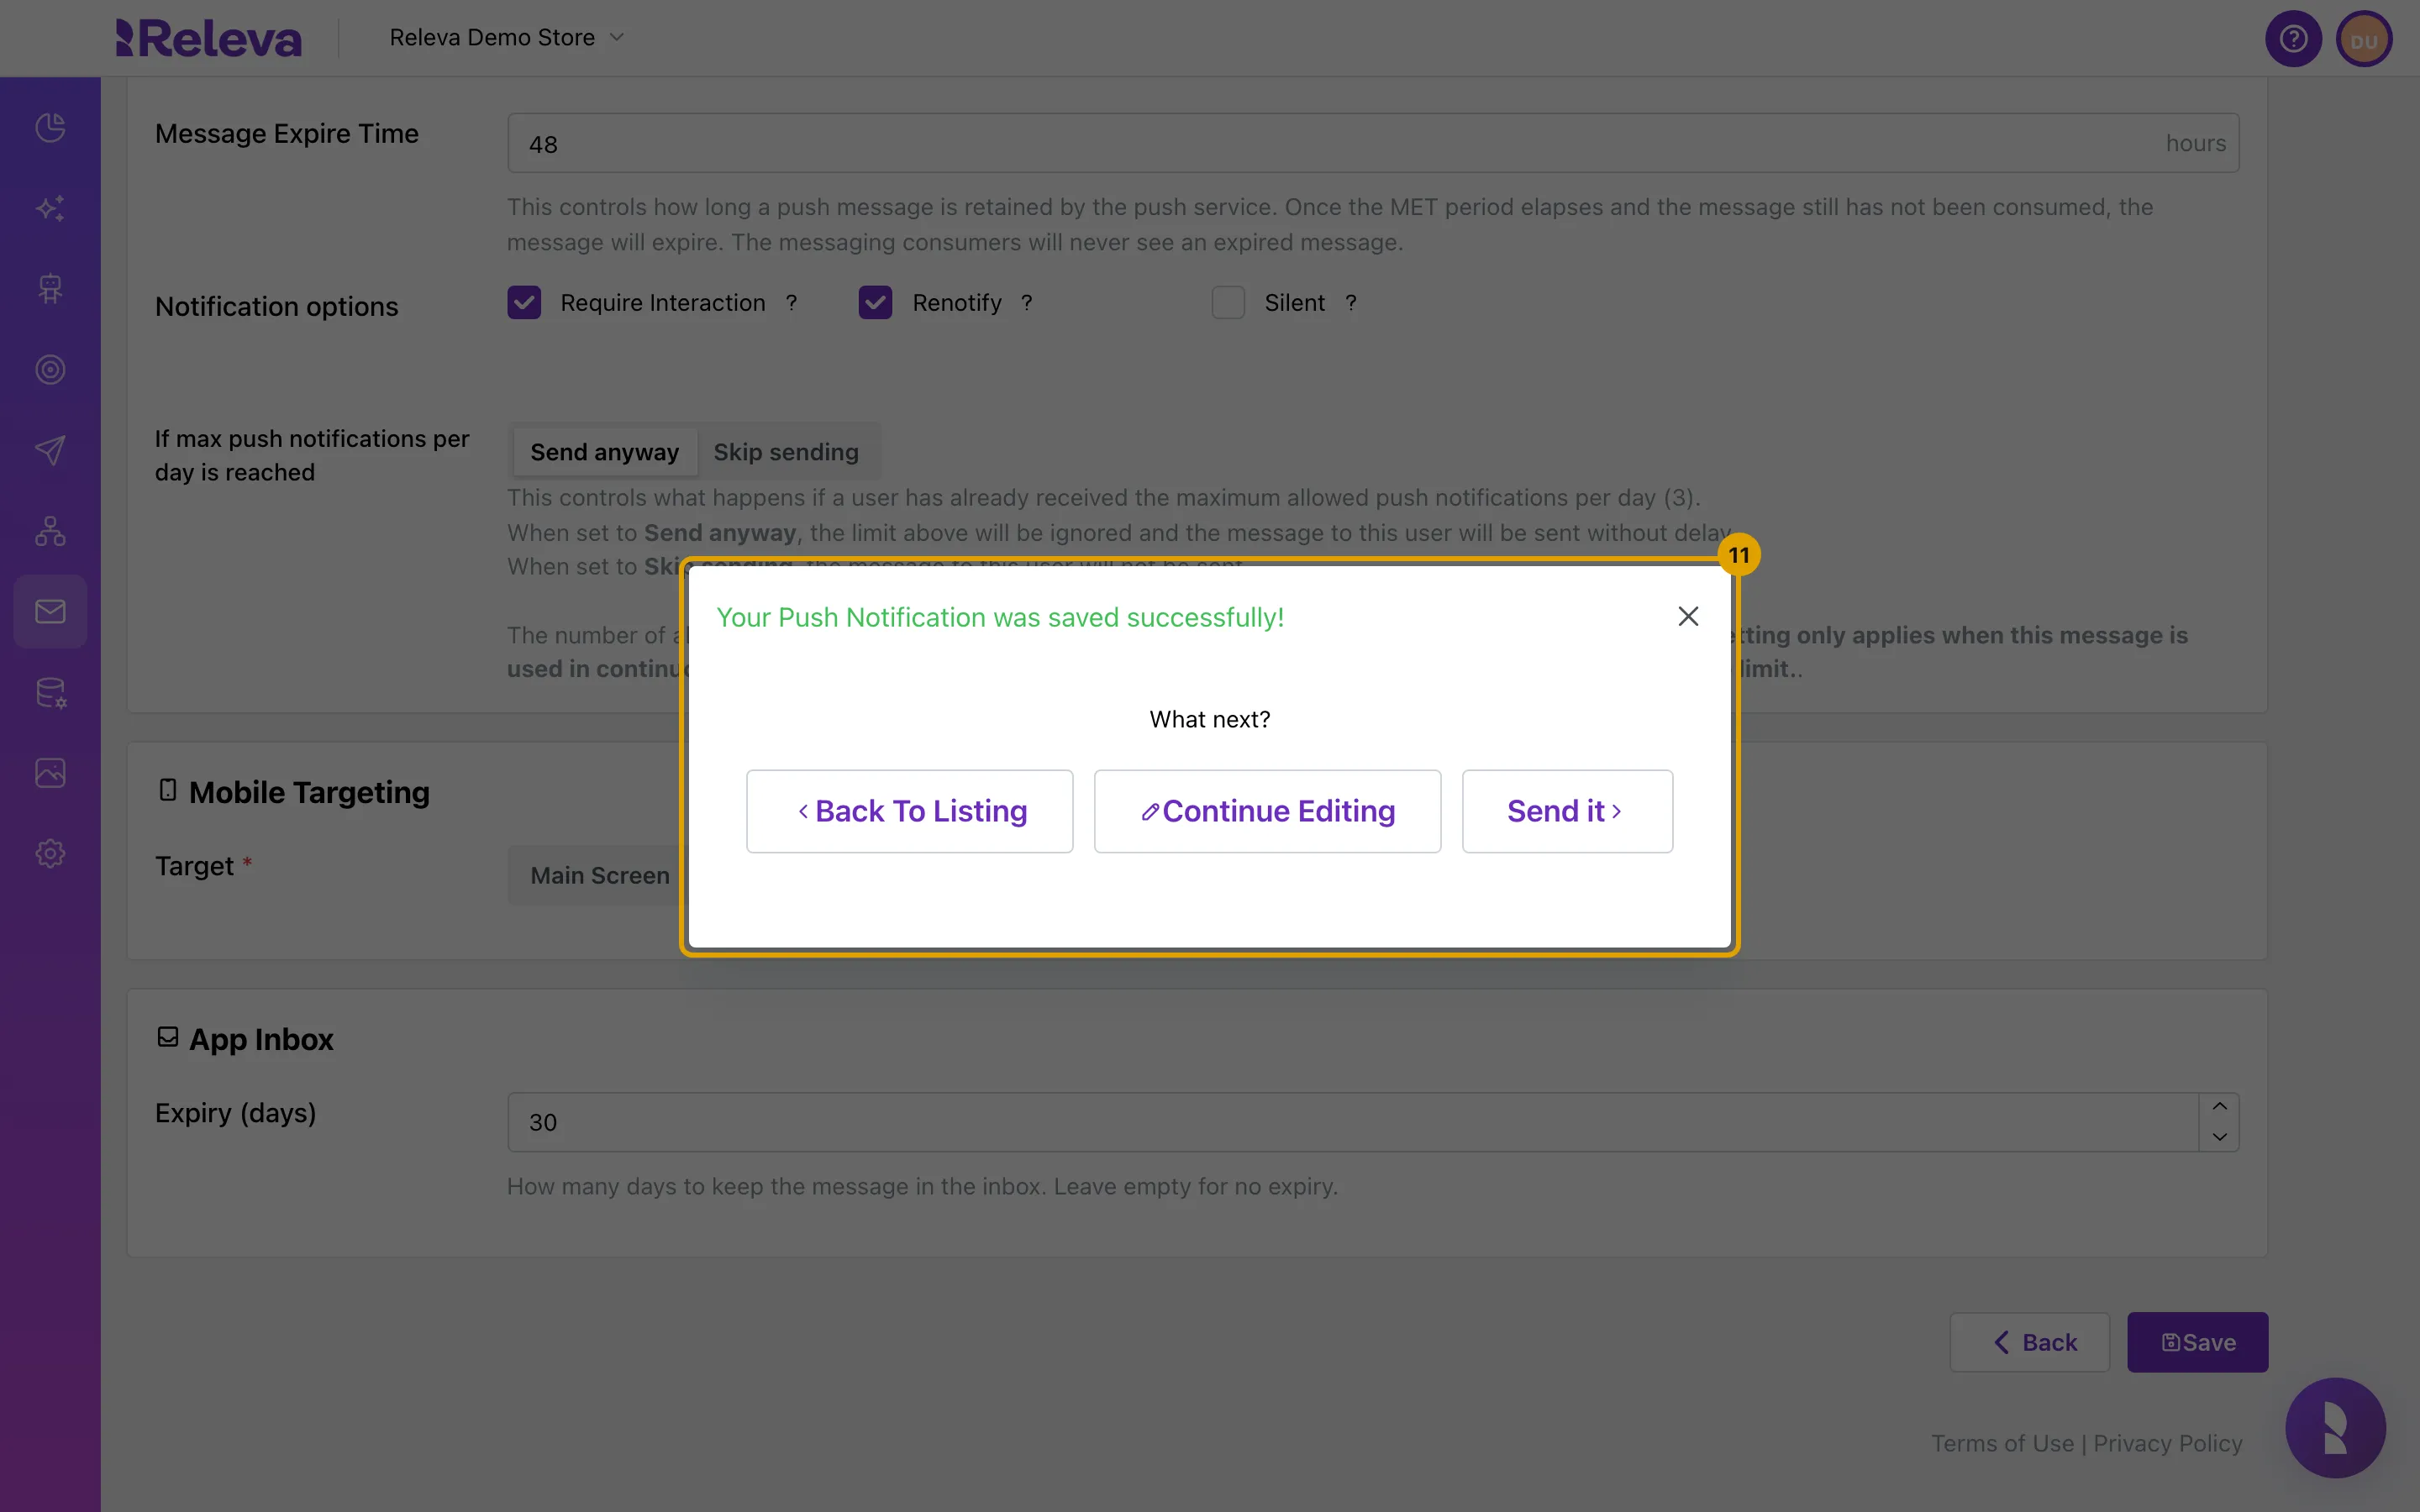
Releva confirms that the push notification was saved. The push and its inbox message are drafts until you send them with a workflow
Choose Back To Listing, Continue Editing or Send it; see Send a push notification with a workflow.
Check it worked
Section titled “Check it worked”- The notification is the first card on the Push Notifications list with the badges ANDROID, APP INBOX and MESSAGE. Cards with APP INBOX also show Inbox Sent, Inbox Reads and Inbox Clicks, all 0 until it is sent.
- Open the notification and go to the App Inbox tab: your title and message are there, and a Test button now appears next to Merge Tags. Test delivers the inbox message to one profile, without a push. Use only your own test profile: a delivered inbox message cannot be recalled.
Troubleshooting
Section titled “Troubleshooting”App Inbox is greyed out. The shop has no Firebase credentials. A developer adds them under Settings › Messaging › Push Notifications; see Add your Firebase credentials for app push.
Title is required. The Title on the App Inbox tab is empty. Enter a title; Save stays disabled until you do.
Invalid merge tag: Parse error on line 1. A merge tag in the Title, Subject or Body is not closed, for example {{firstName without }}. Fix it or pick the tag from Merge Tags.
Push Notification Name must be unique! Another push notification in the shop already has this name, with or without an inbox message. Give the notification a different Name.
There is no Test button on the App Inbox tab. It appears only after the first save. Save, then select Continue Editing.
There is no Reschedule option. Reschedule is not available with App Inbox. Choose Send anyway or Skip sending.
Open Inbox is missing under Mobile Targeting. App Inbox is not checked under Channels. When you clear App Inbox, a target of Open Inbox is reset as well.