

Edit an HTML email
An HTML email is an email you write as code. Instead of the drag-and-drop editor, it has a code editor with a live preview next to it. You cannot start an HTML email from New email: that menu opens the drag-and-drop editor only. To work on an HTML email, open one that already exists, or make a copy of it and change the copy. For the other email types and how emails get sent, read How emails work.
Before you start
Section titled “Before you start”- You have an HTML email in Marketing Channels › Emails. To find it, read Find an email and check its results.
- To send yourself a test, your sender domain must be verified. See Set up your email sender and DNS records.
- Saving an email sends nothing. A campaign or a workflow sends it.
-
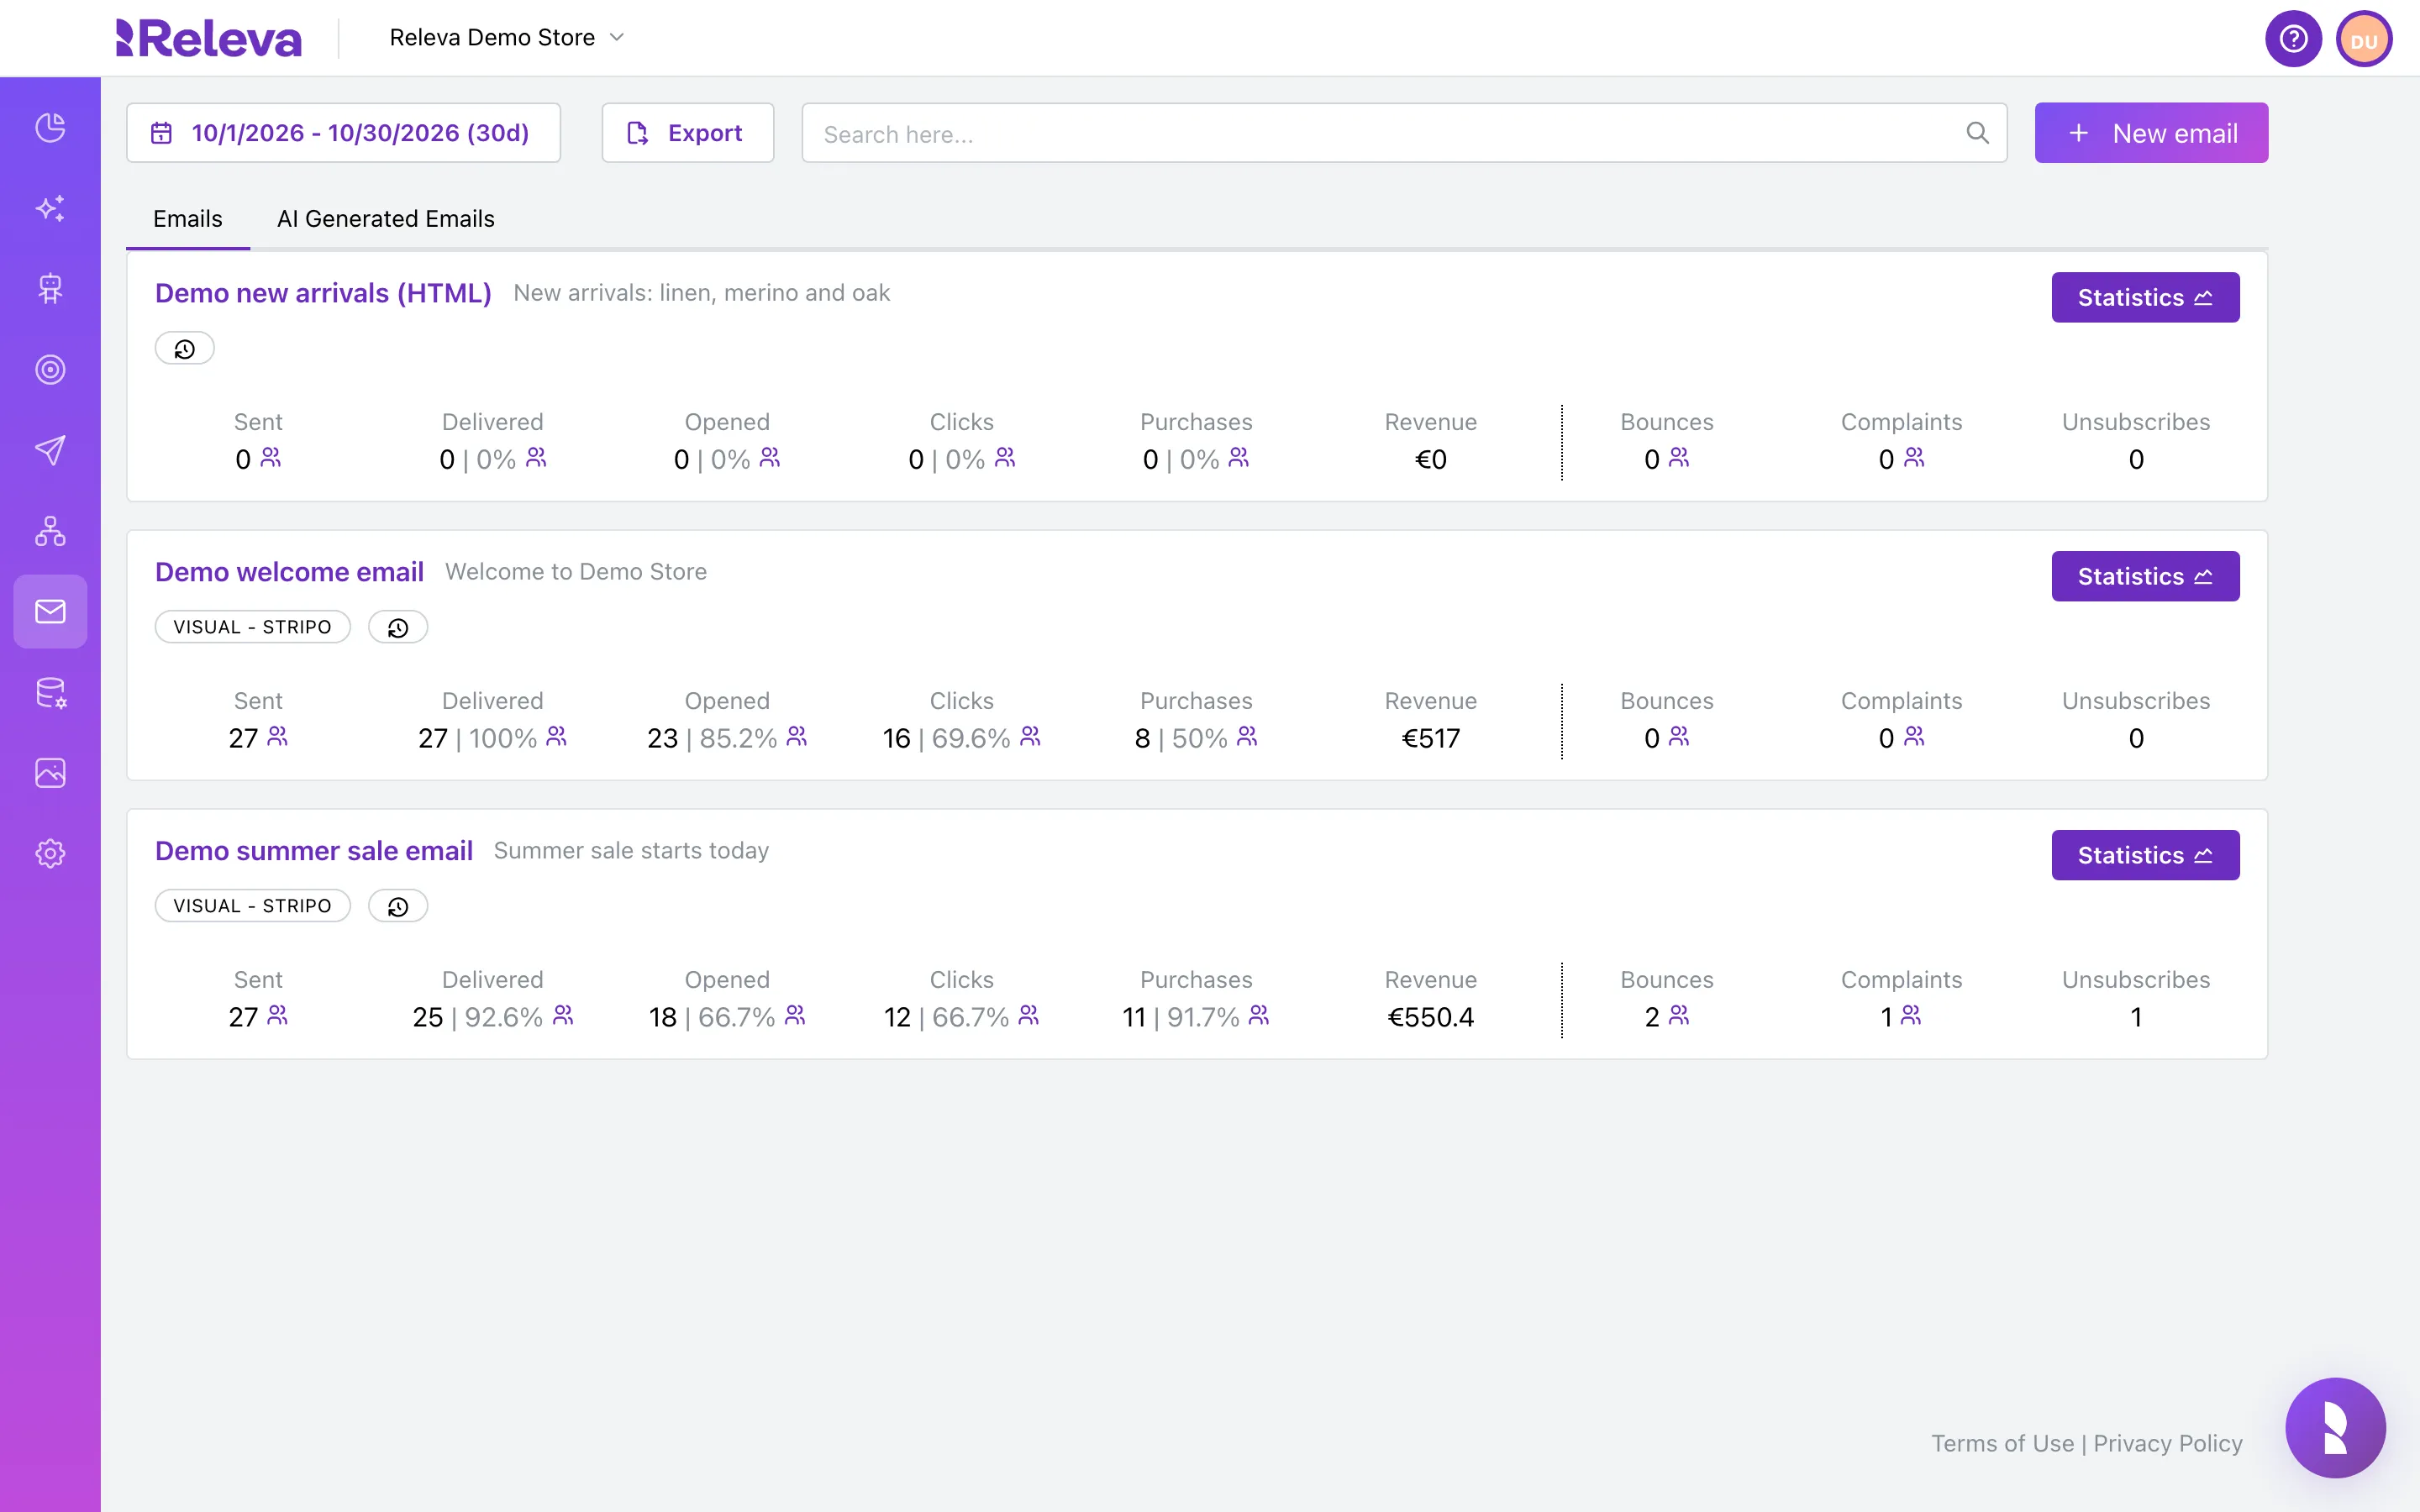
Go to Marketing Channels › Emails
-
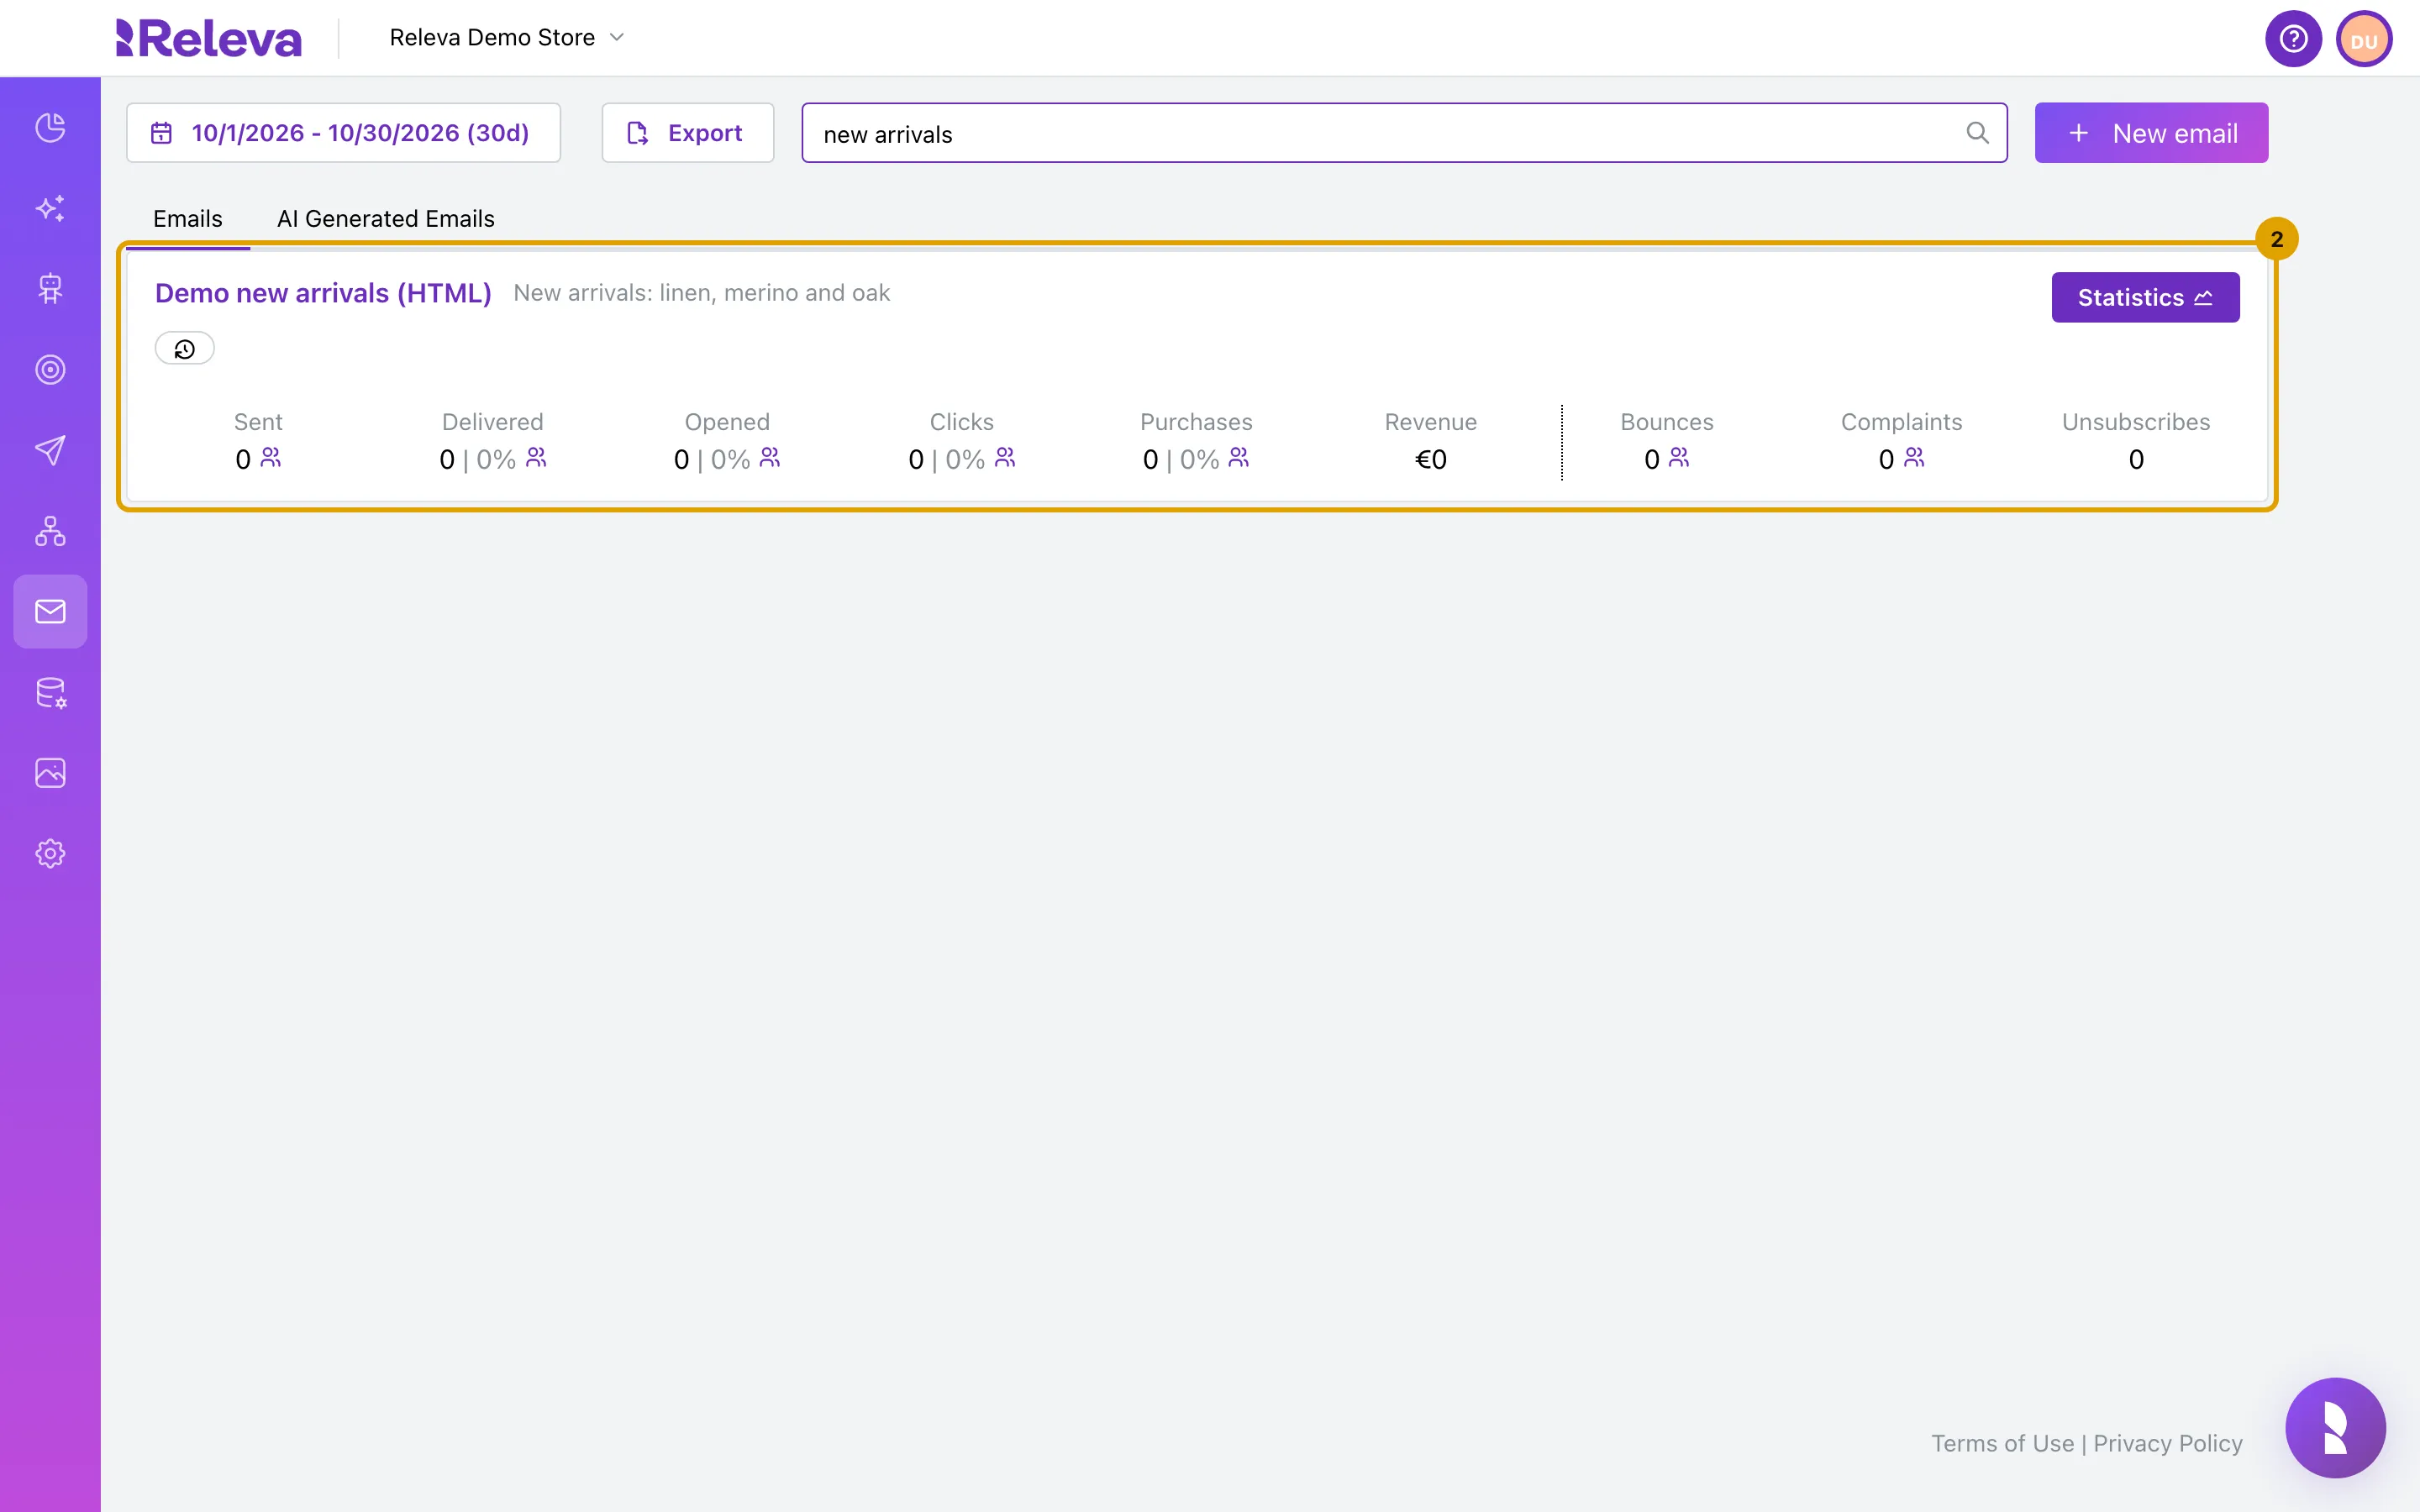
Find your HTML email, for example by typing part of its name in Search here…
HTML emails have no editor badge on their card. Emails built in the drag-and-drop editor show VISUAL - STRIPO.
-
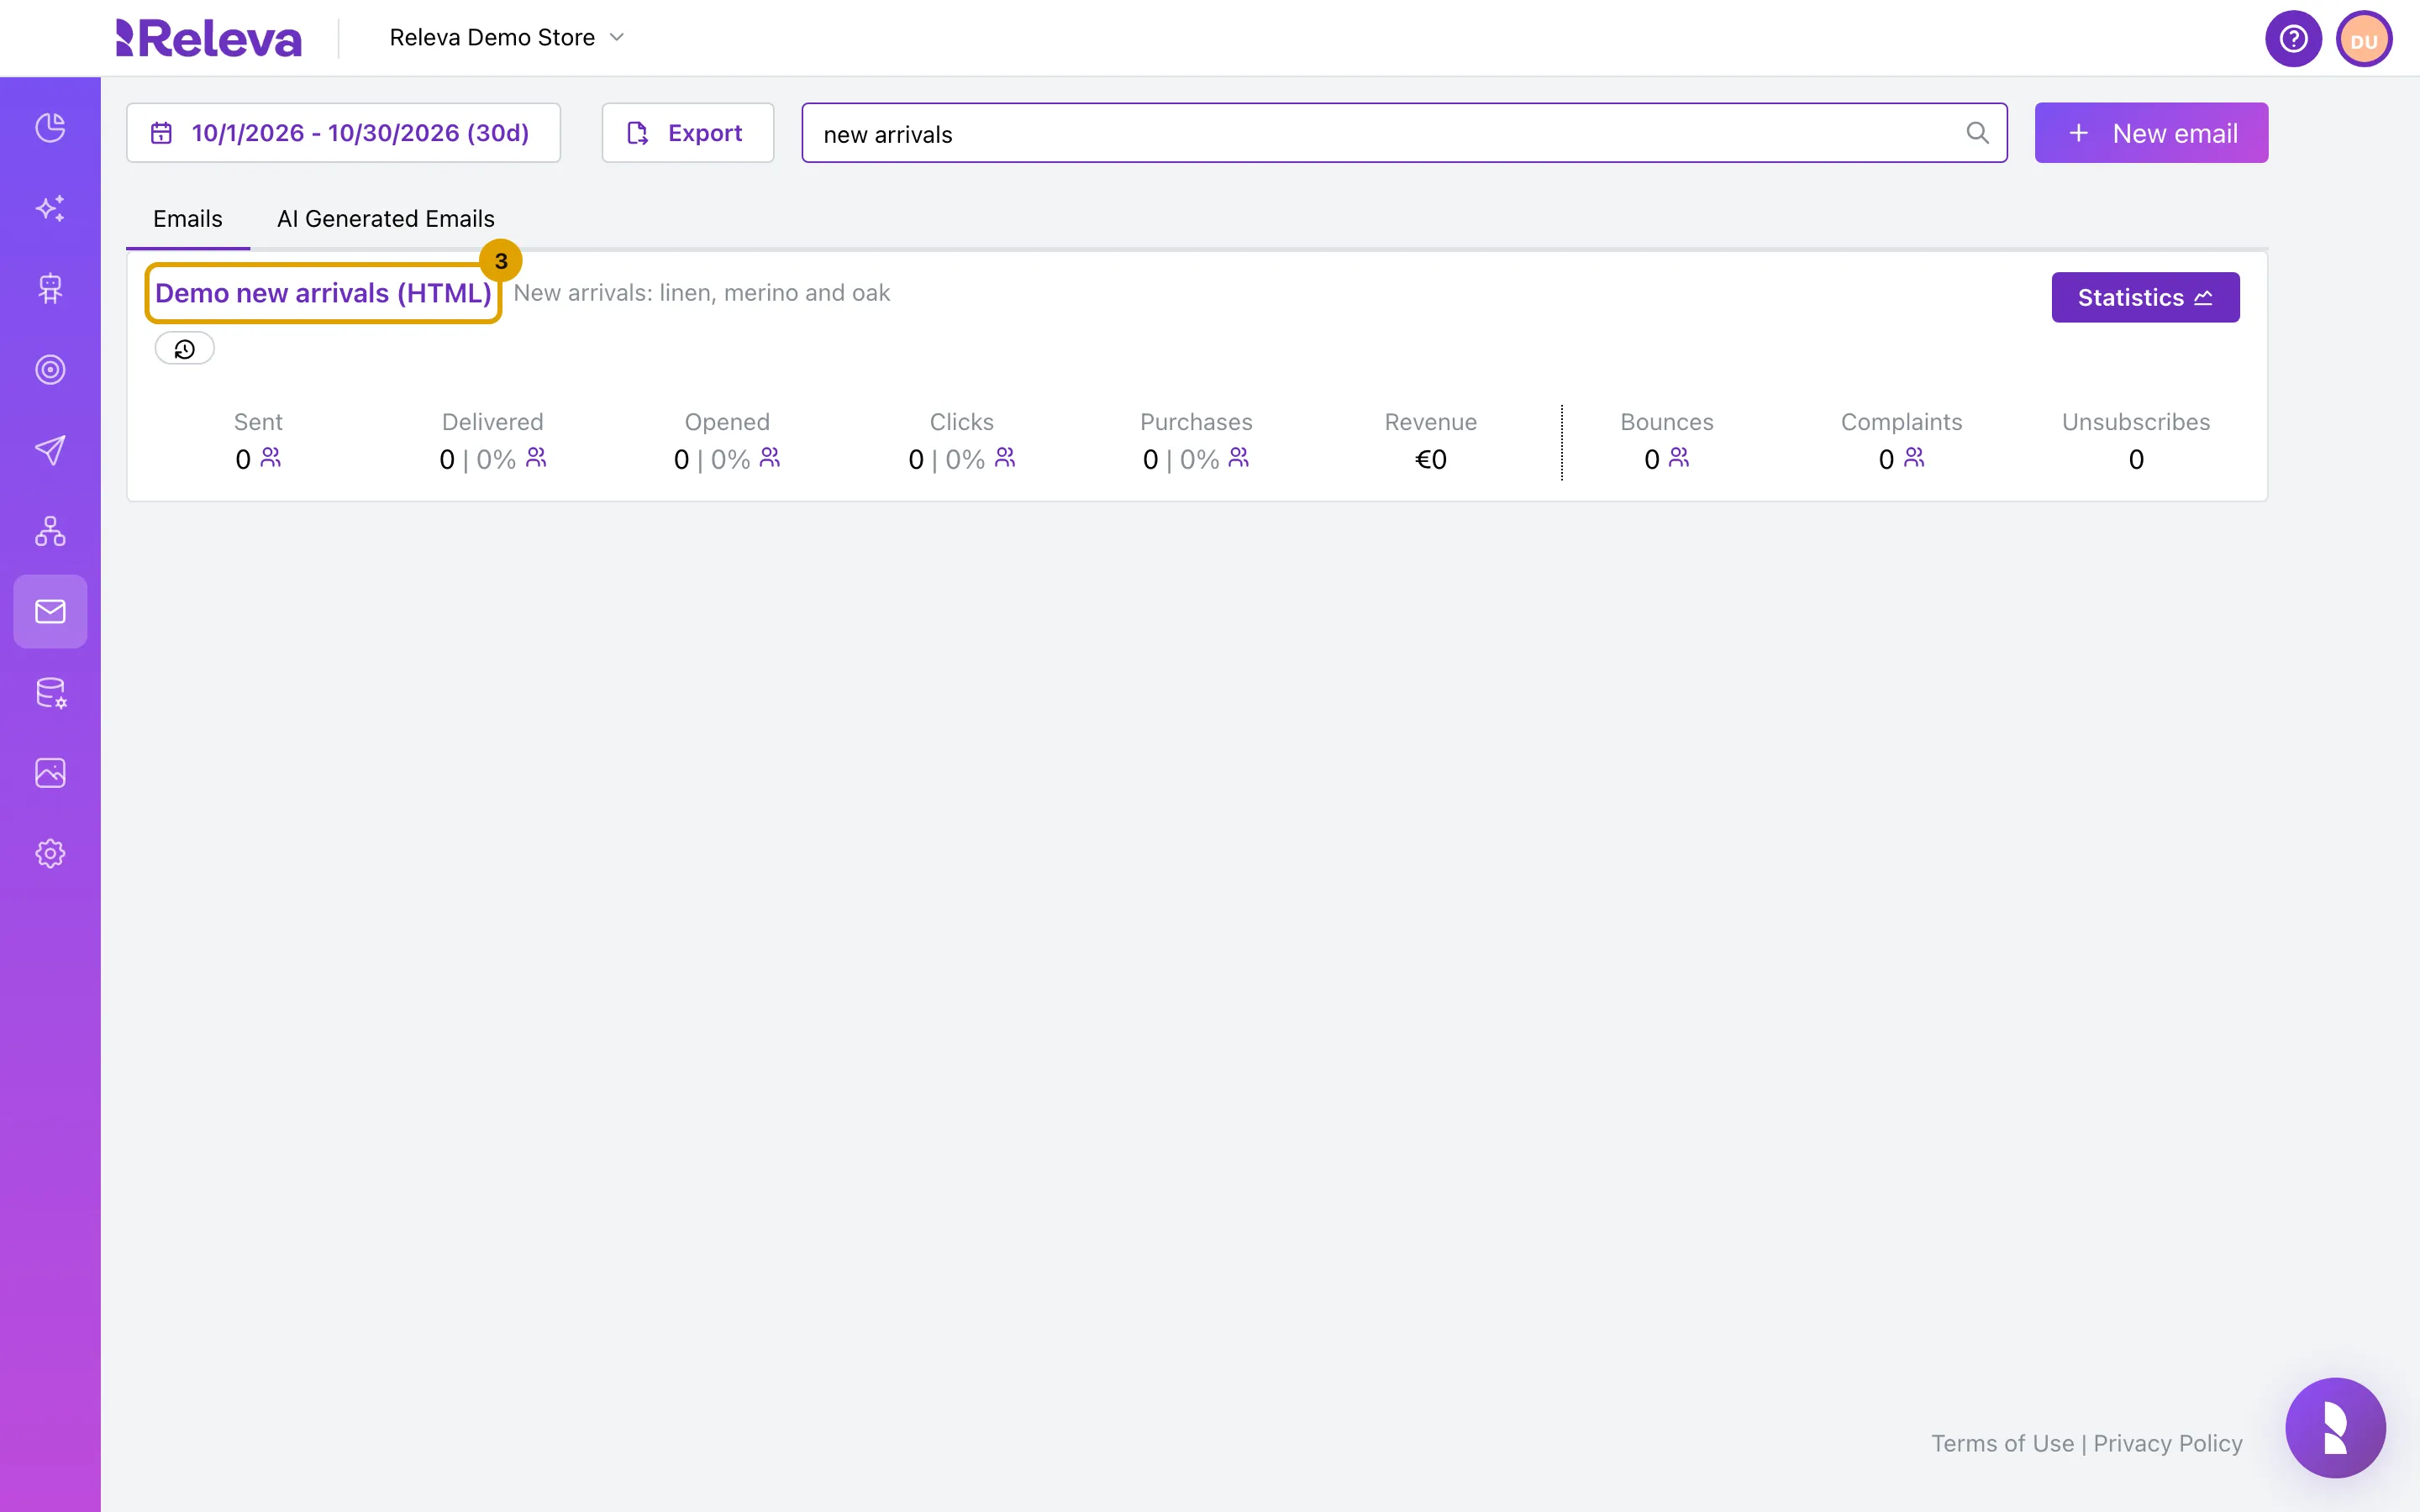
Select the email’s name to open it
-
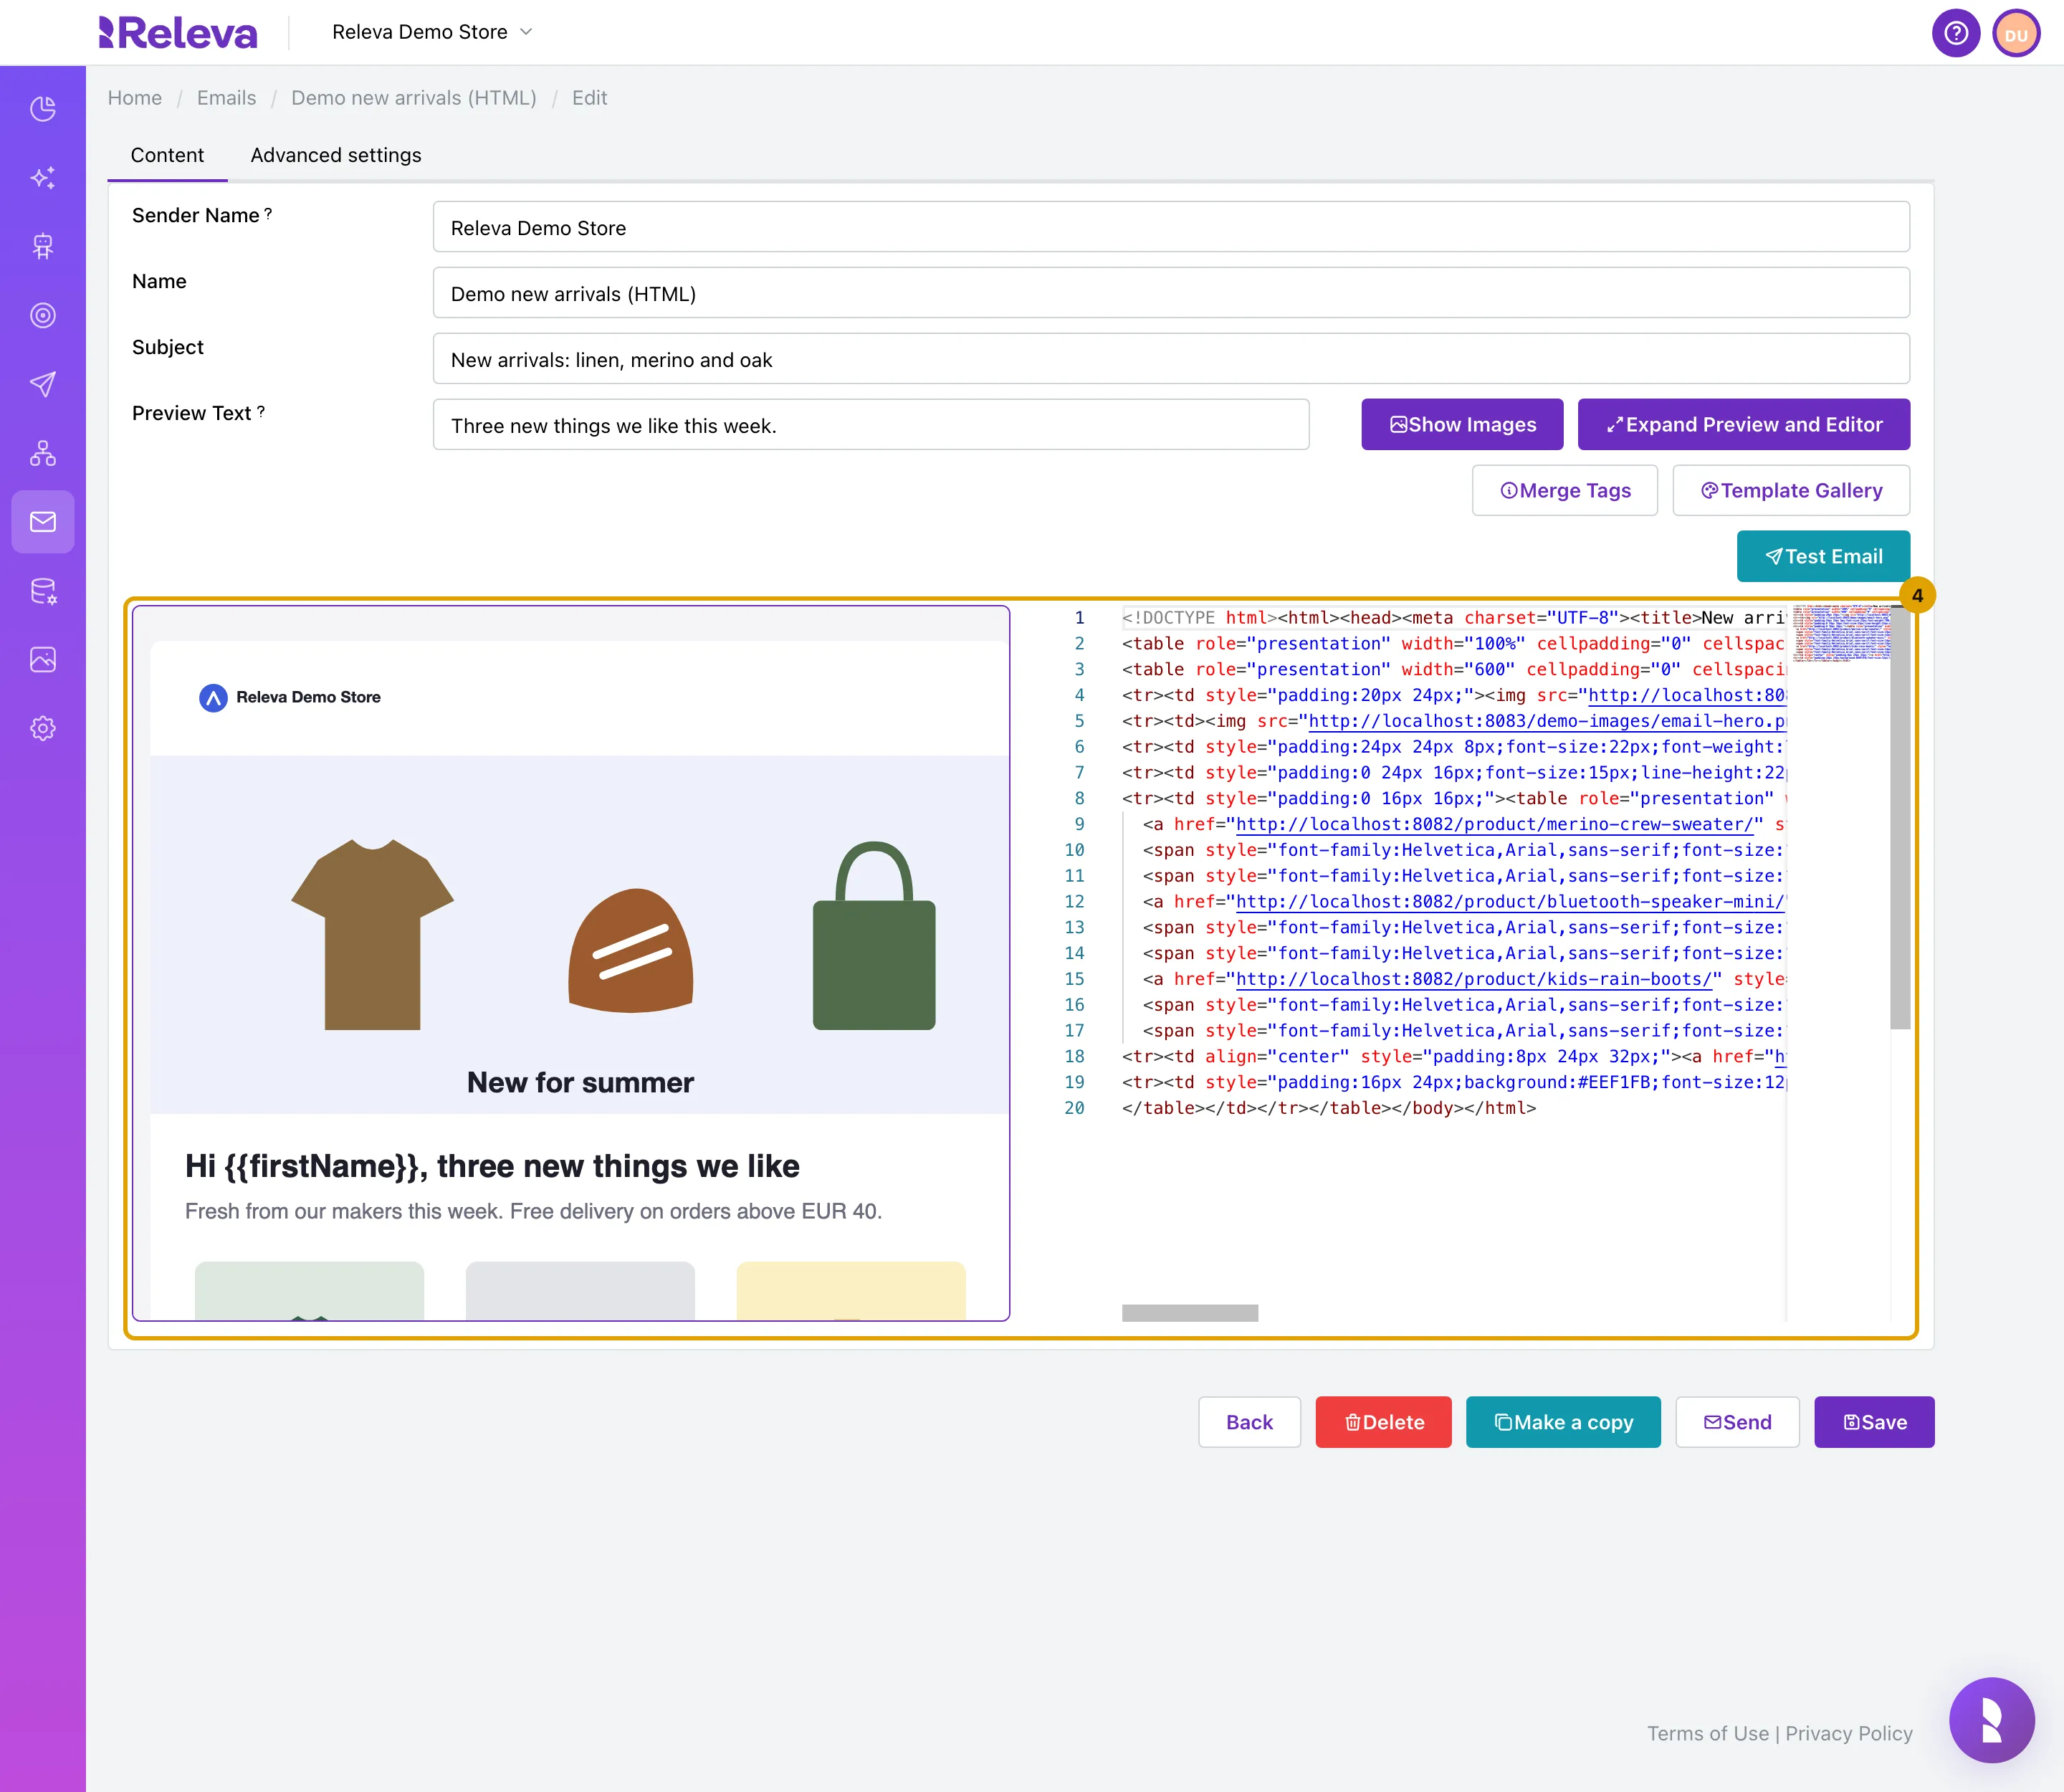
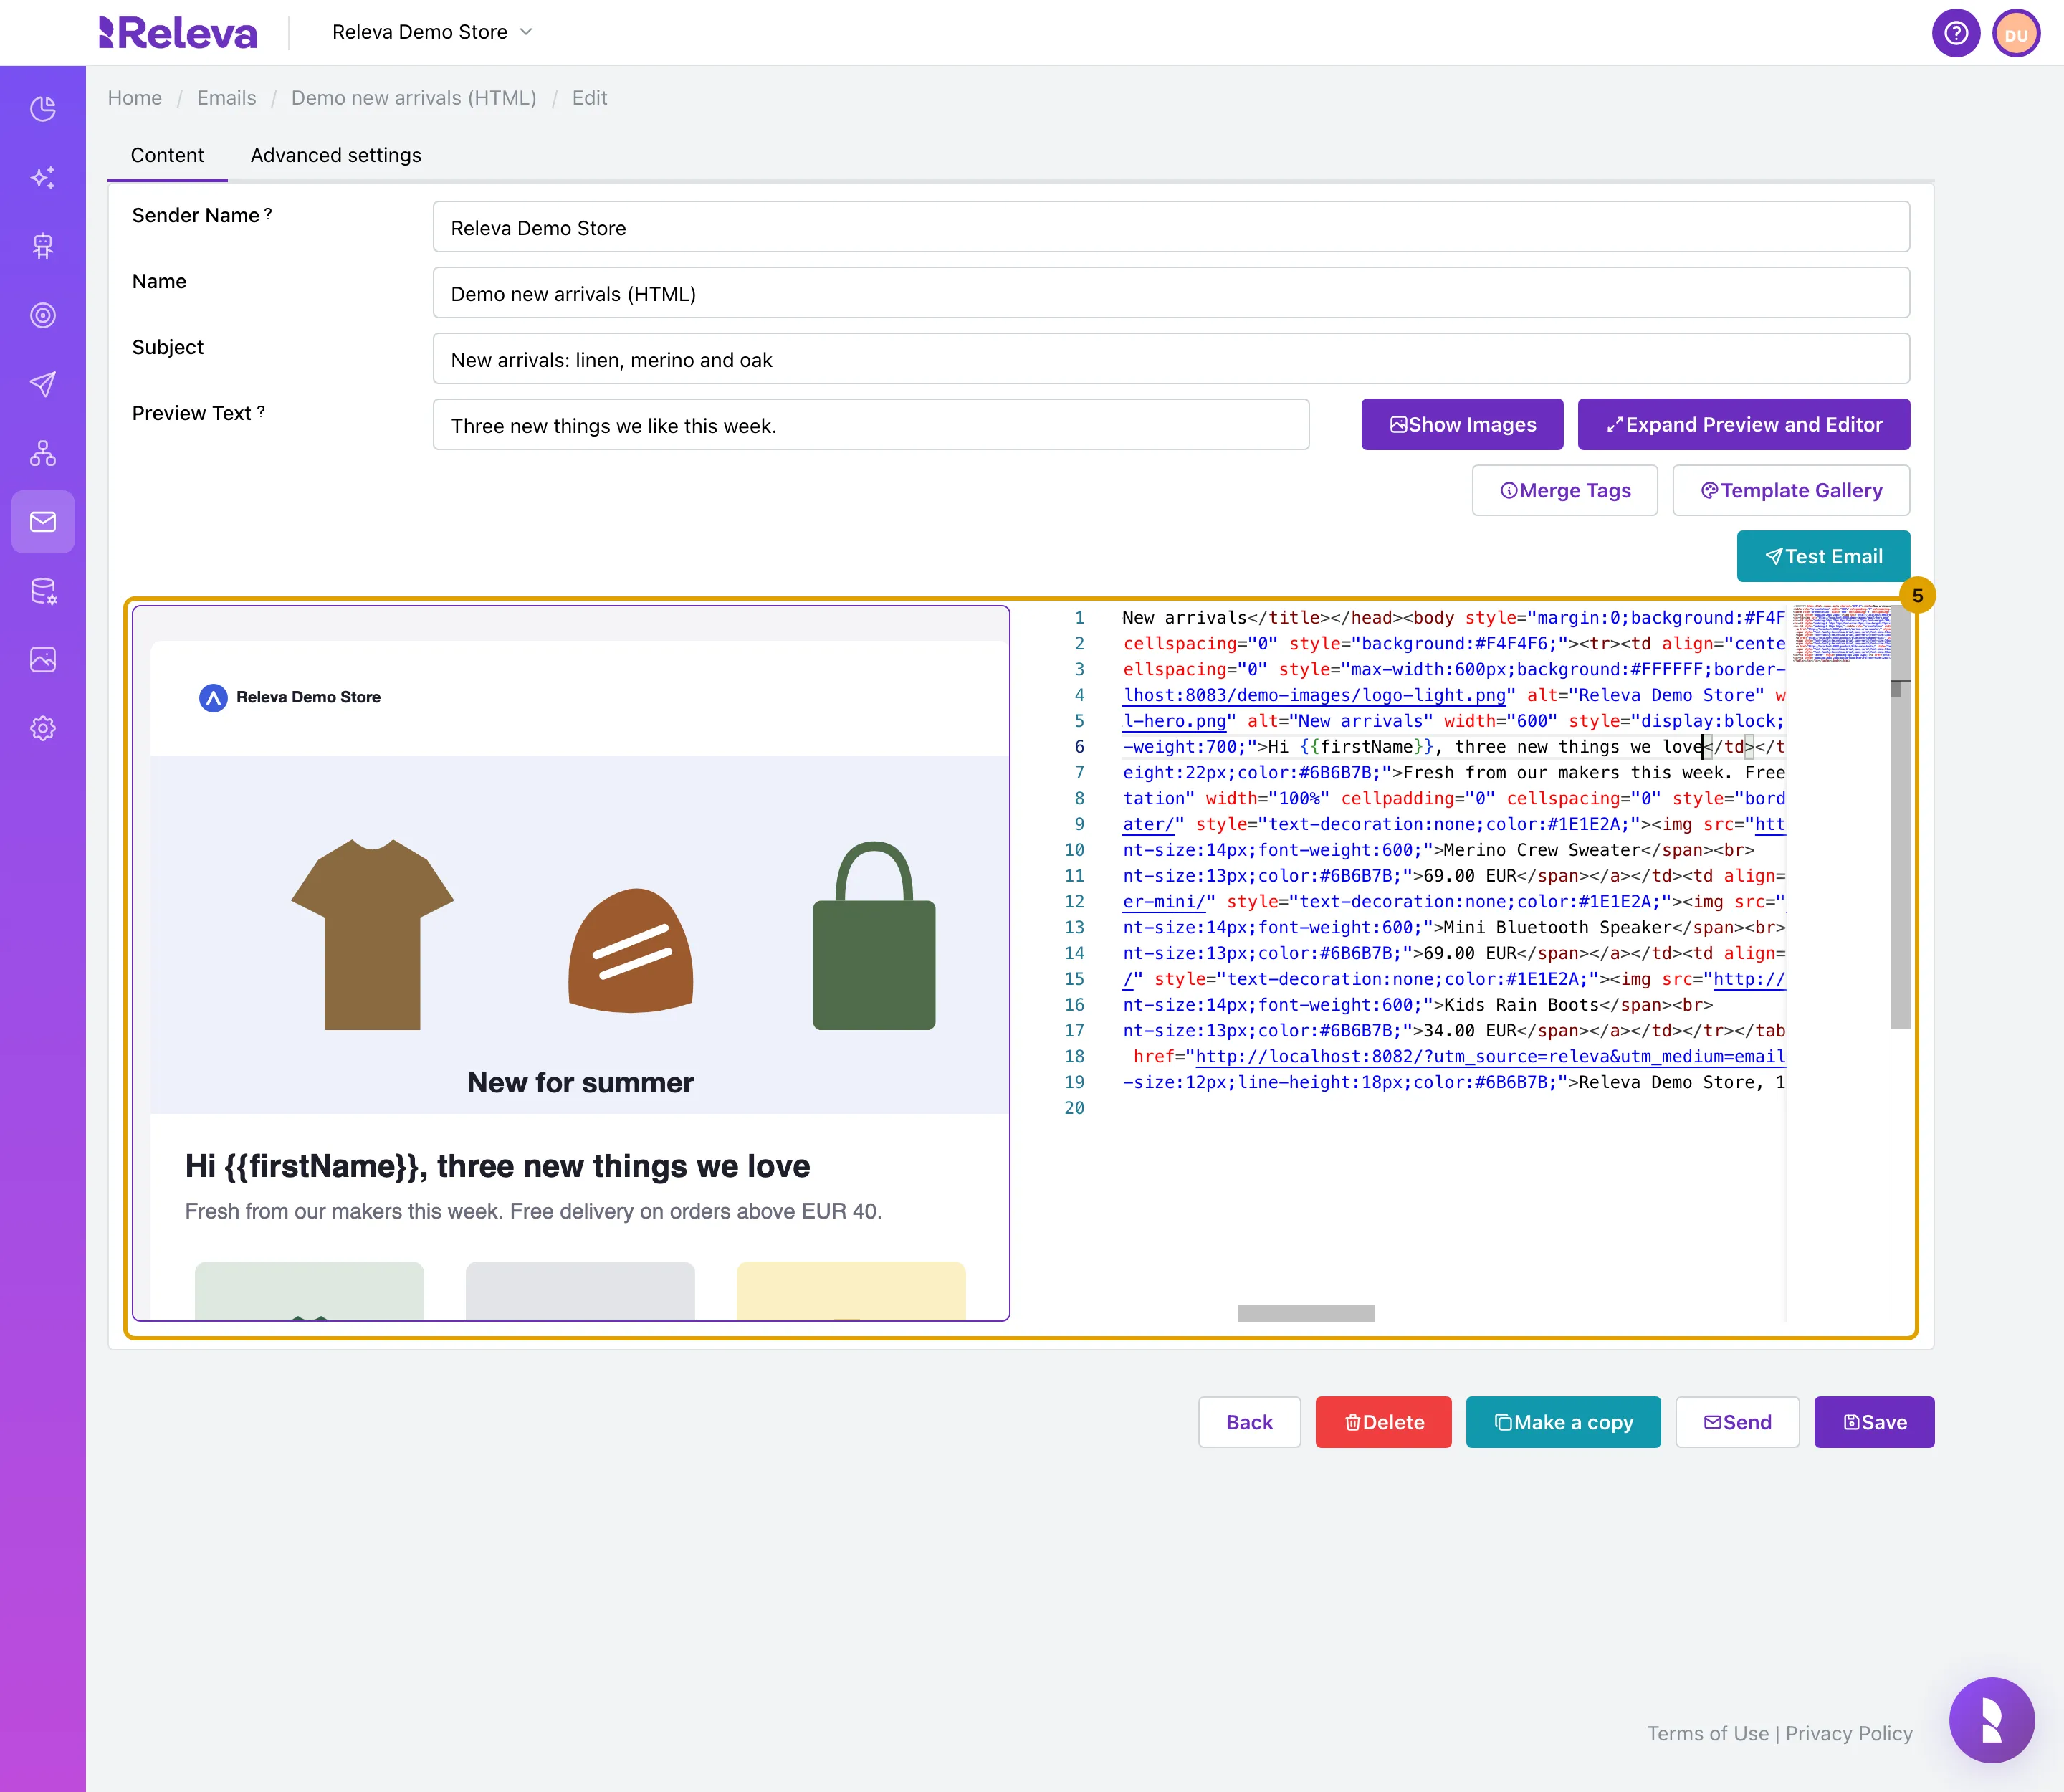
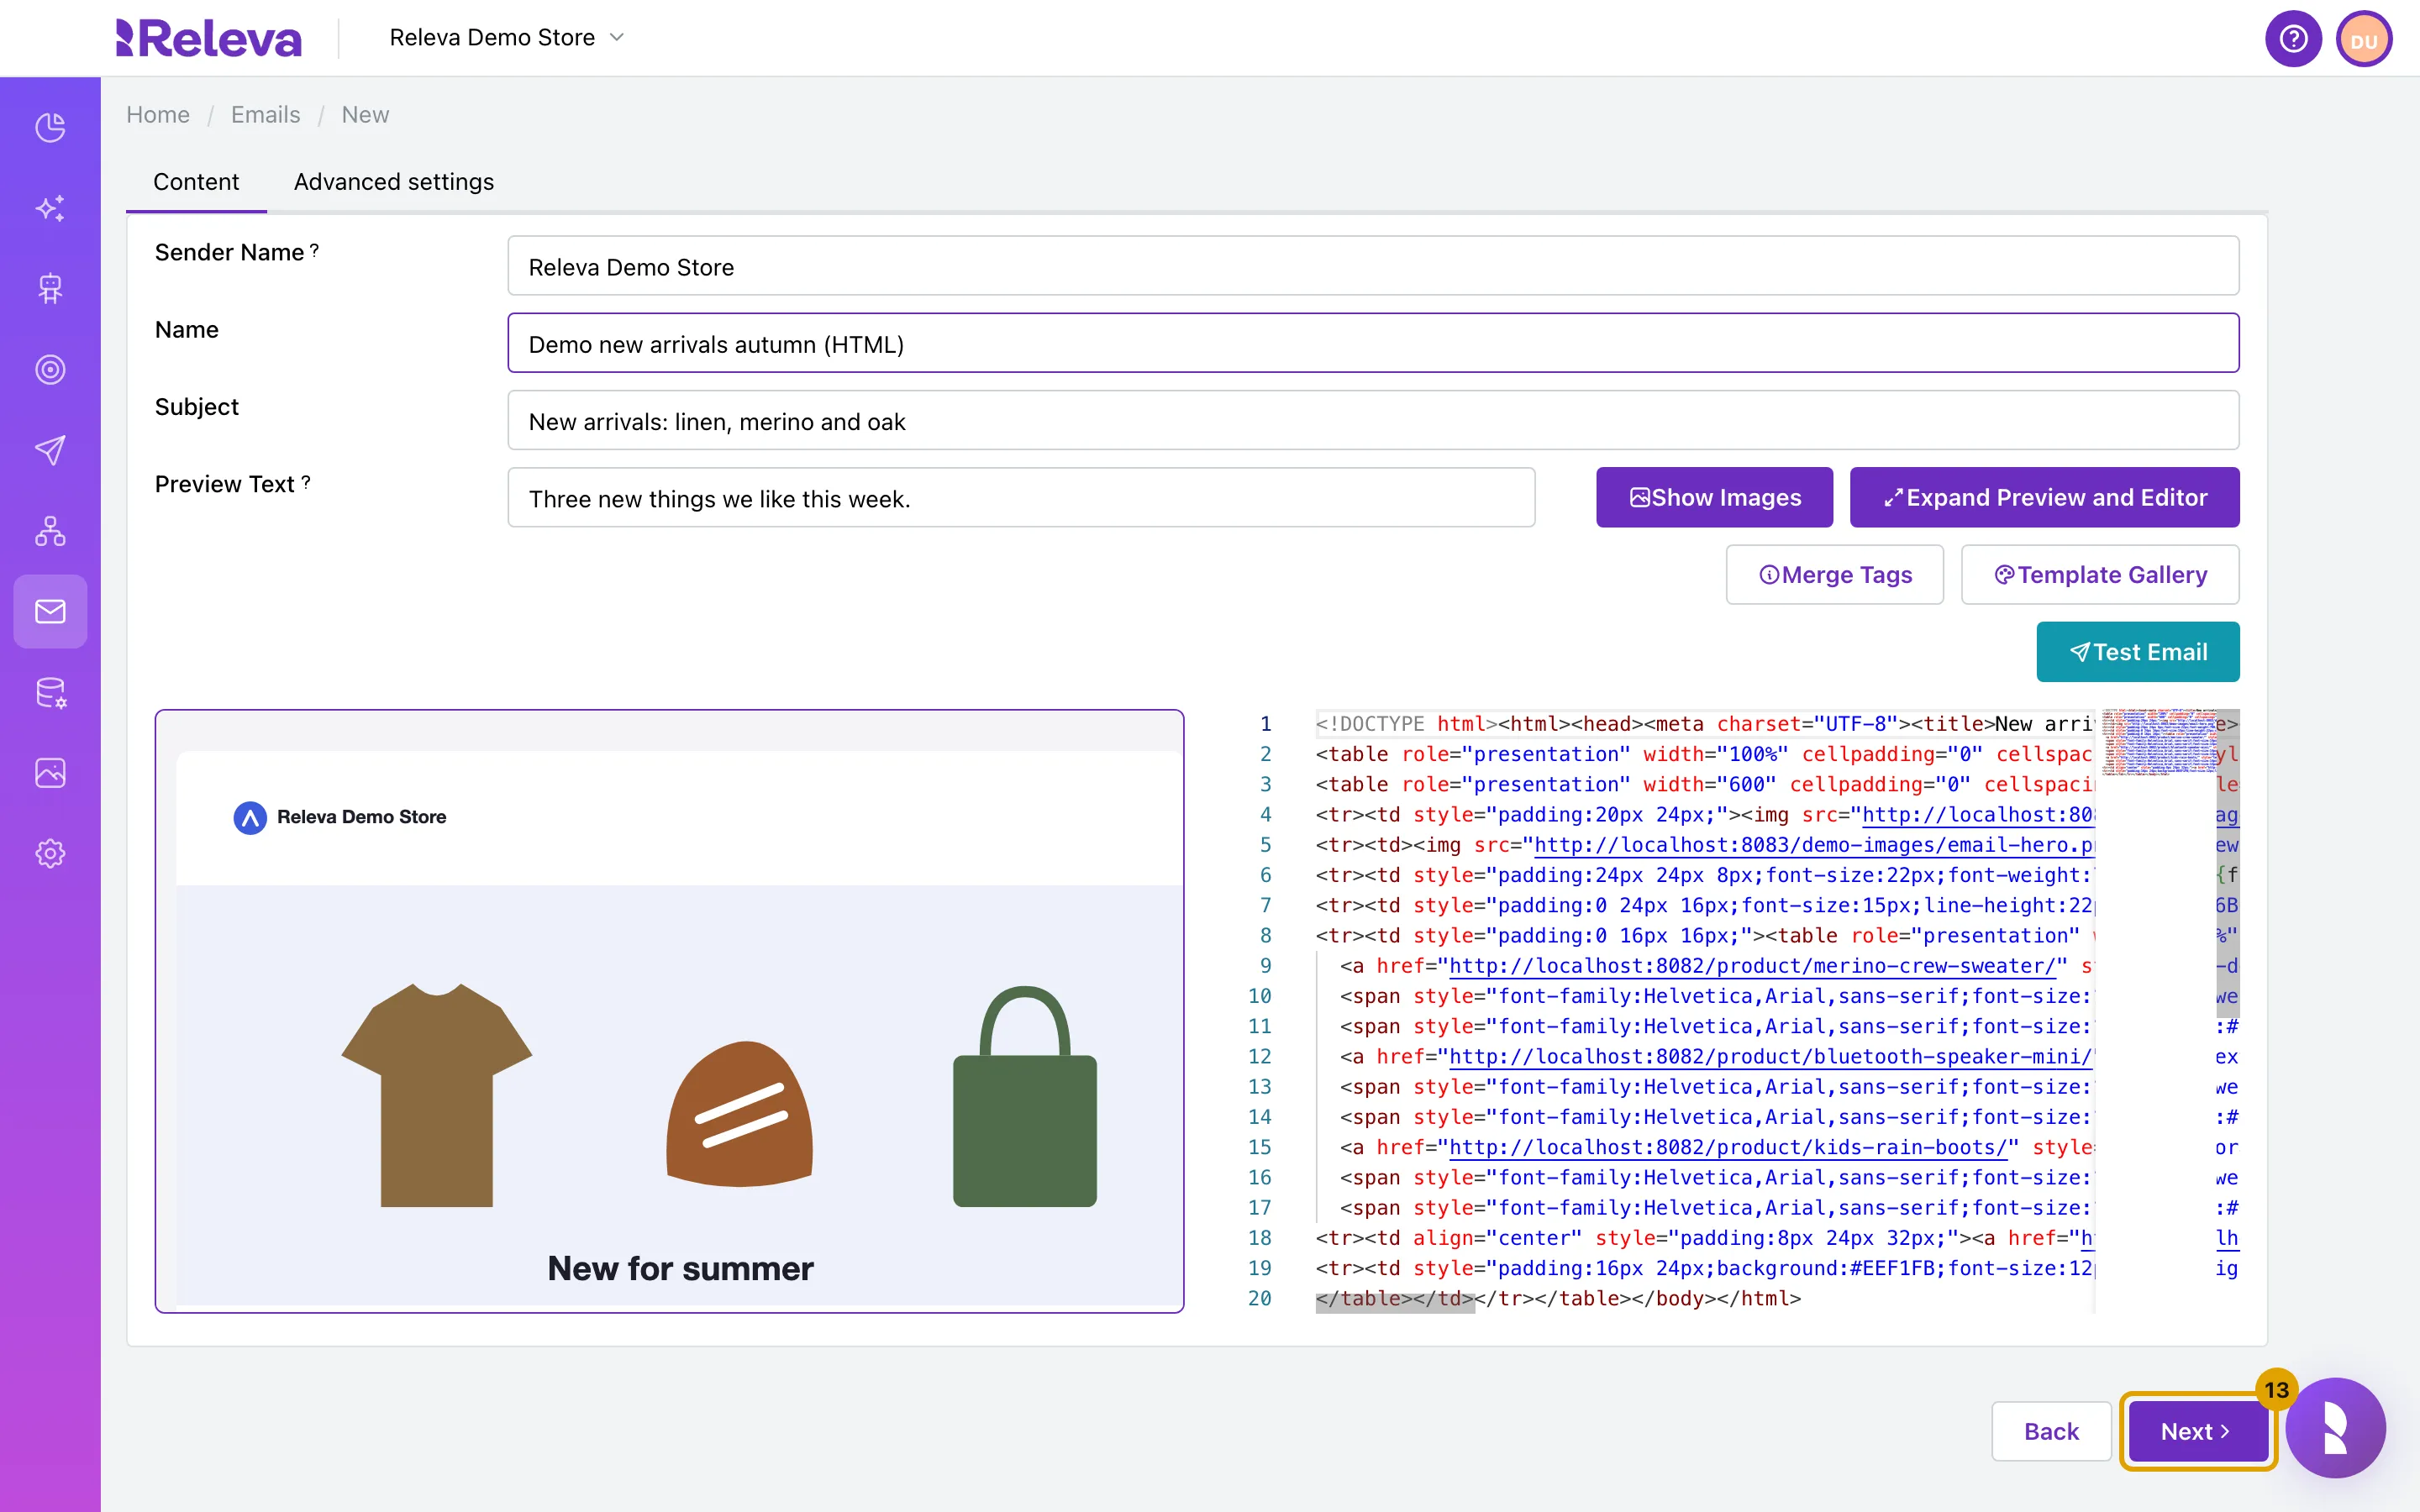
The email opens on the Content tab. The preview is on the left and the HTML code editor on the right
Above them are Sender Name (the name shown in the inbox; Unicode is supported), Name (the internal name you search for), Subject and Preview Text (shown in the inbox just after the subject line, not in the email body).
-
Change the HTML in the code editor. The preview updates as you type
In this example, the greeting changes from “three new things we like” to “three new things we love”.
-
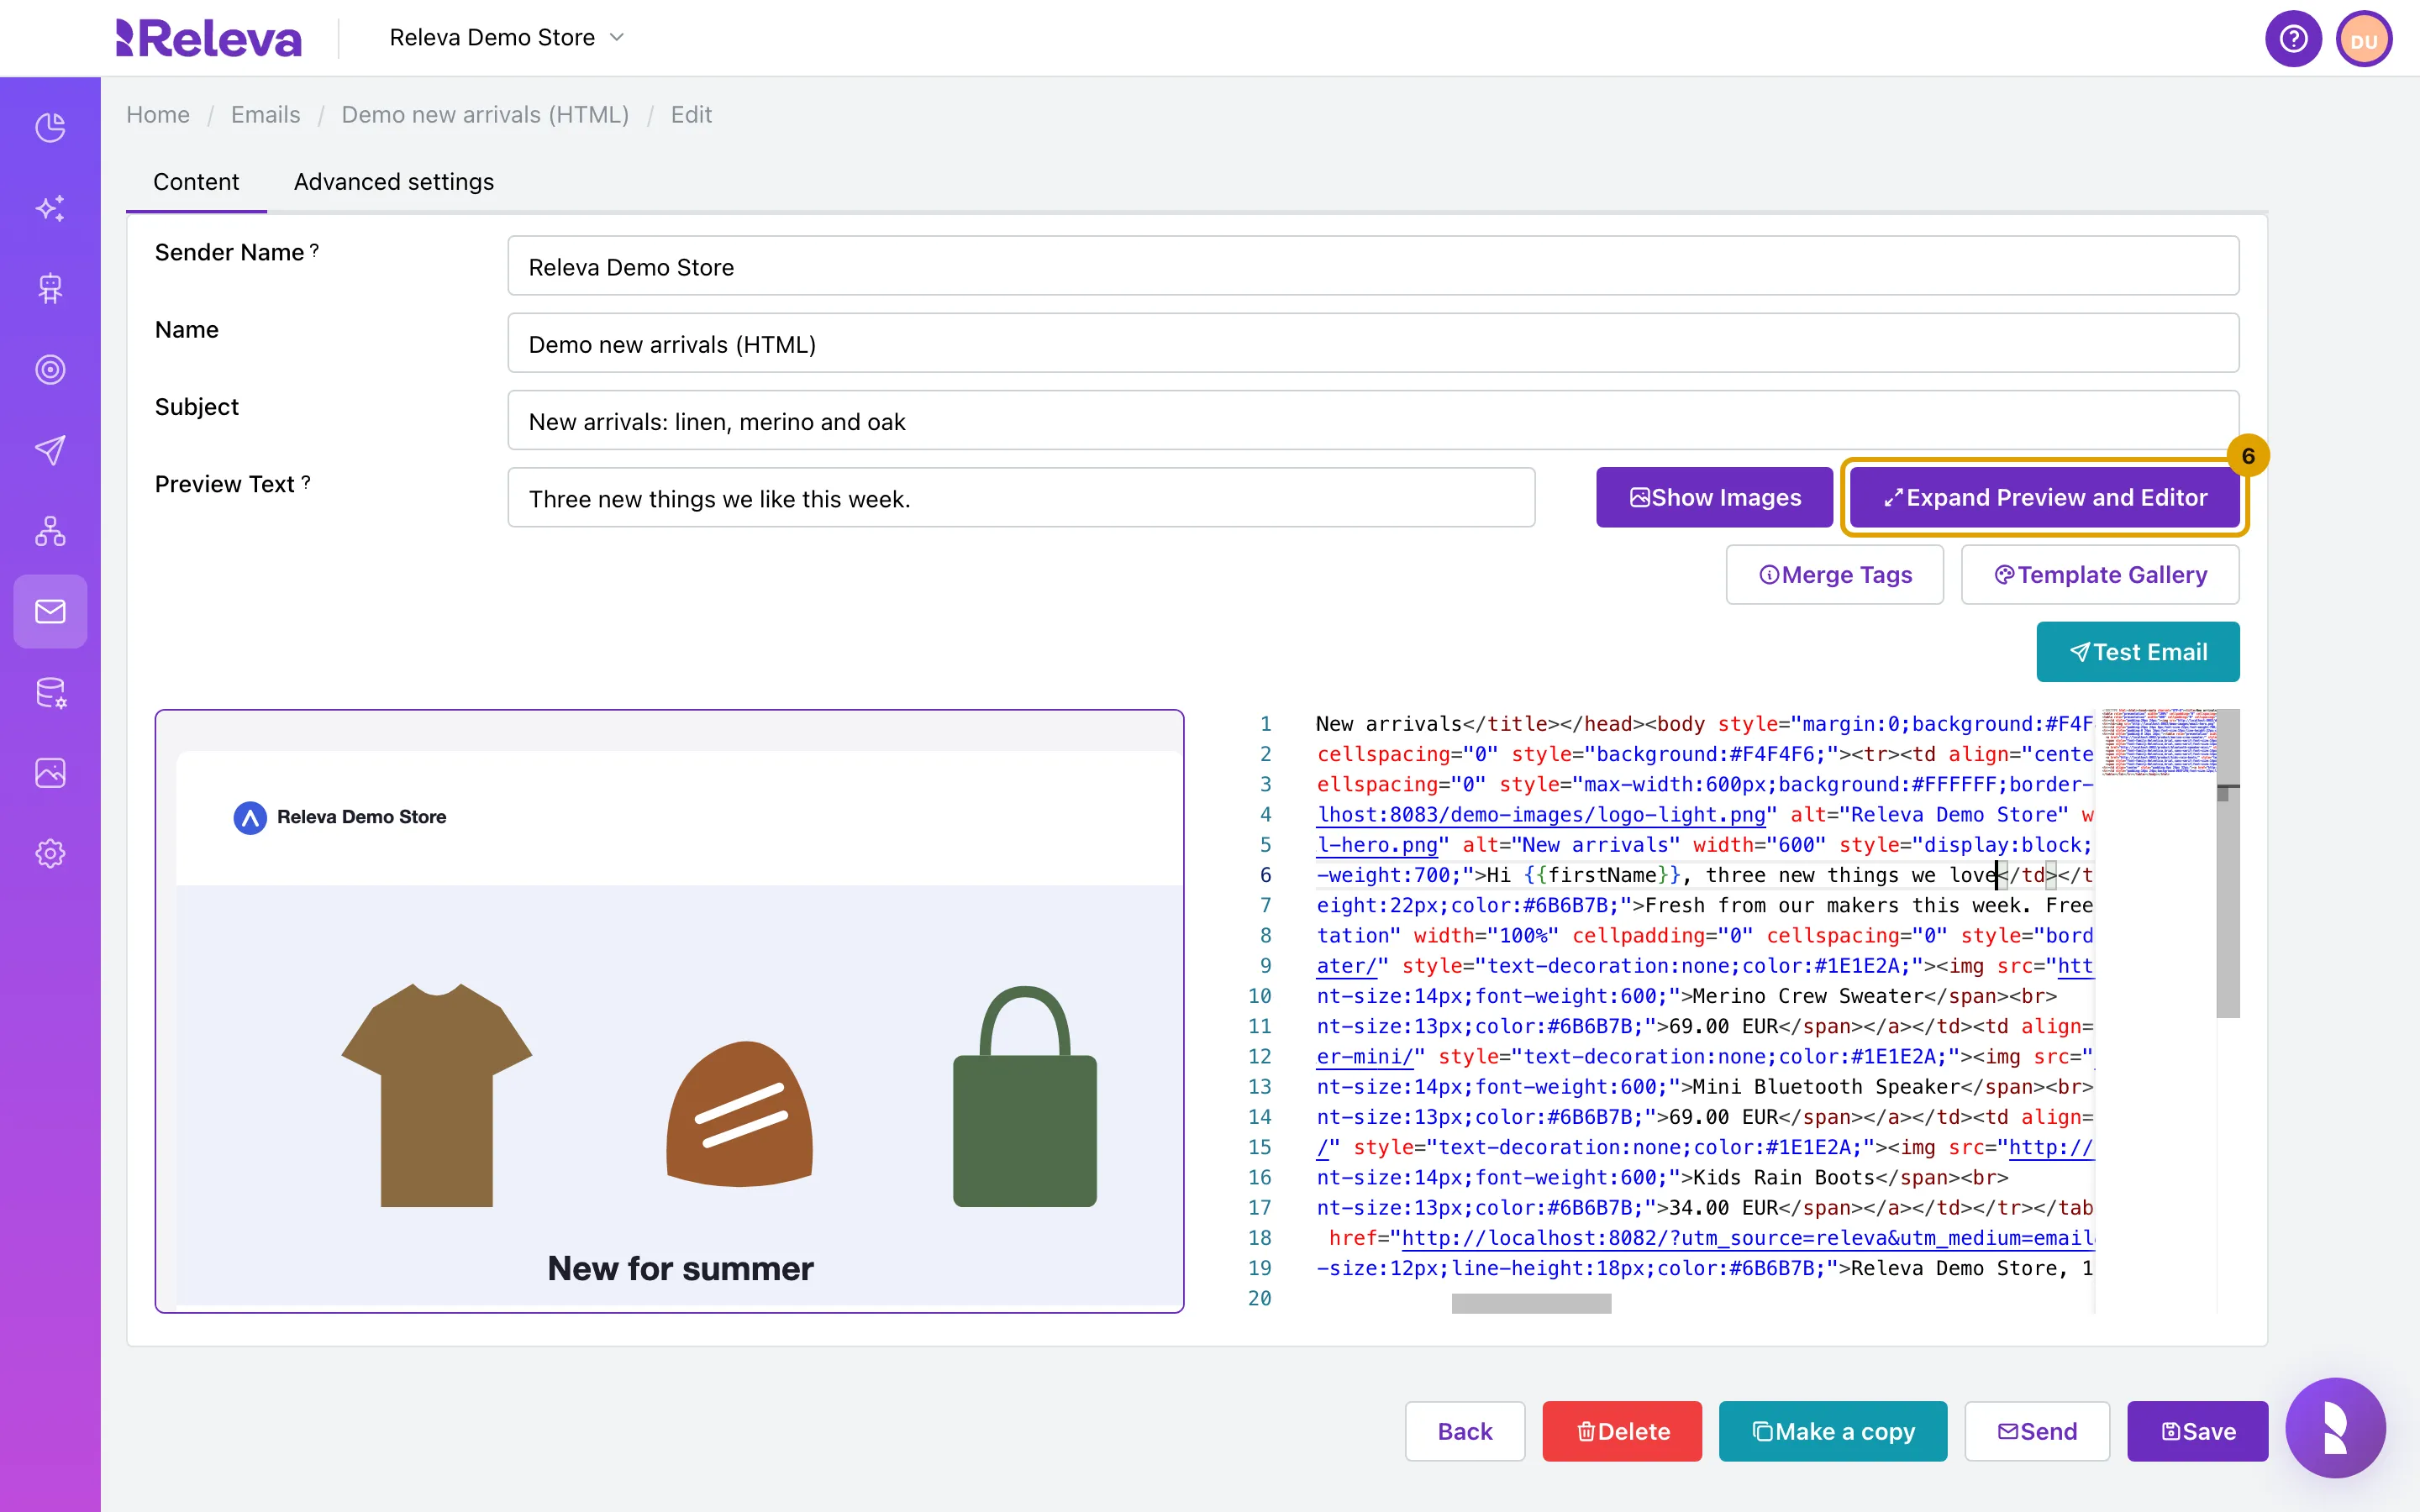
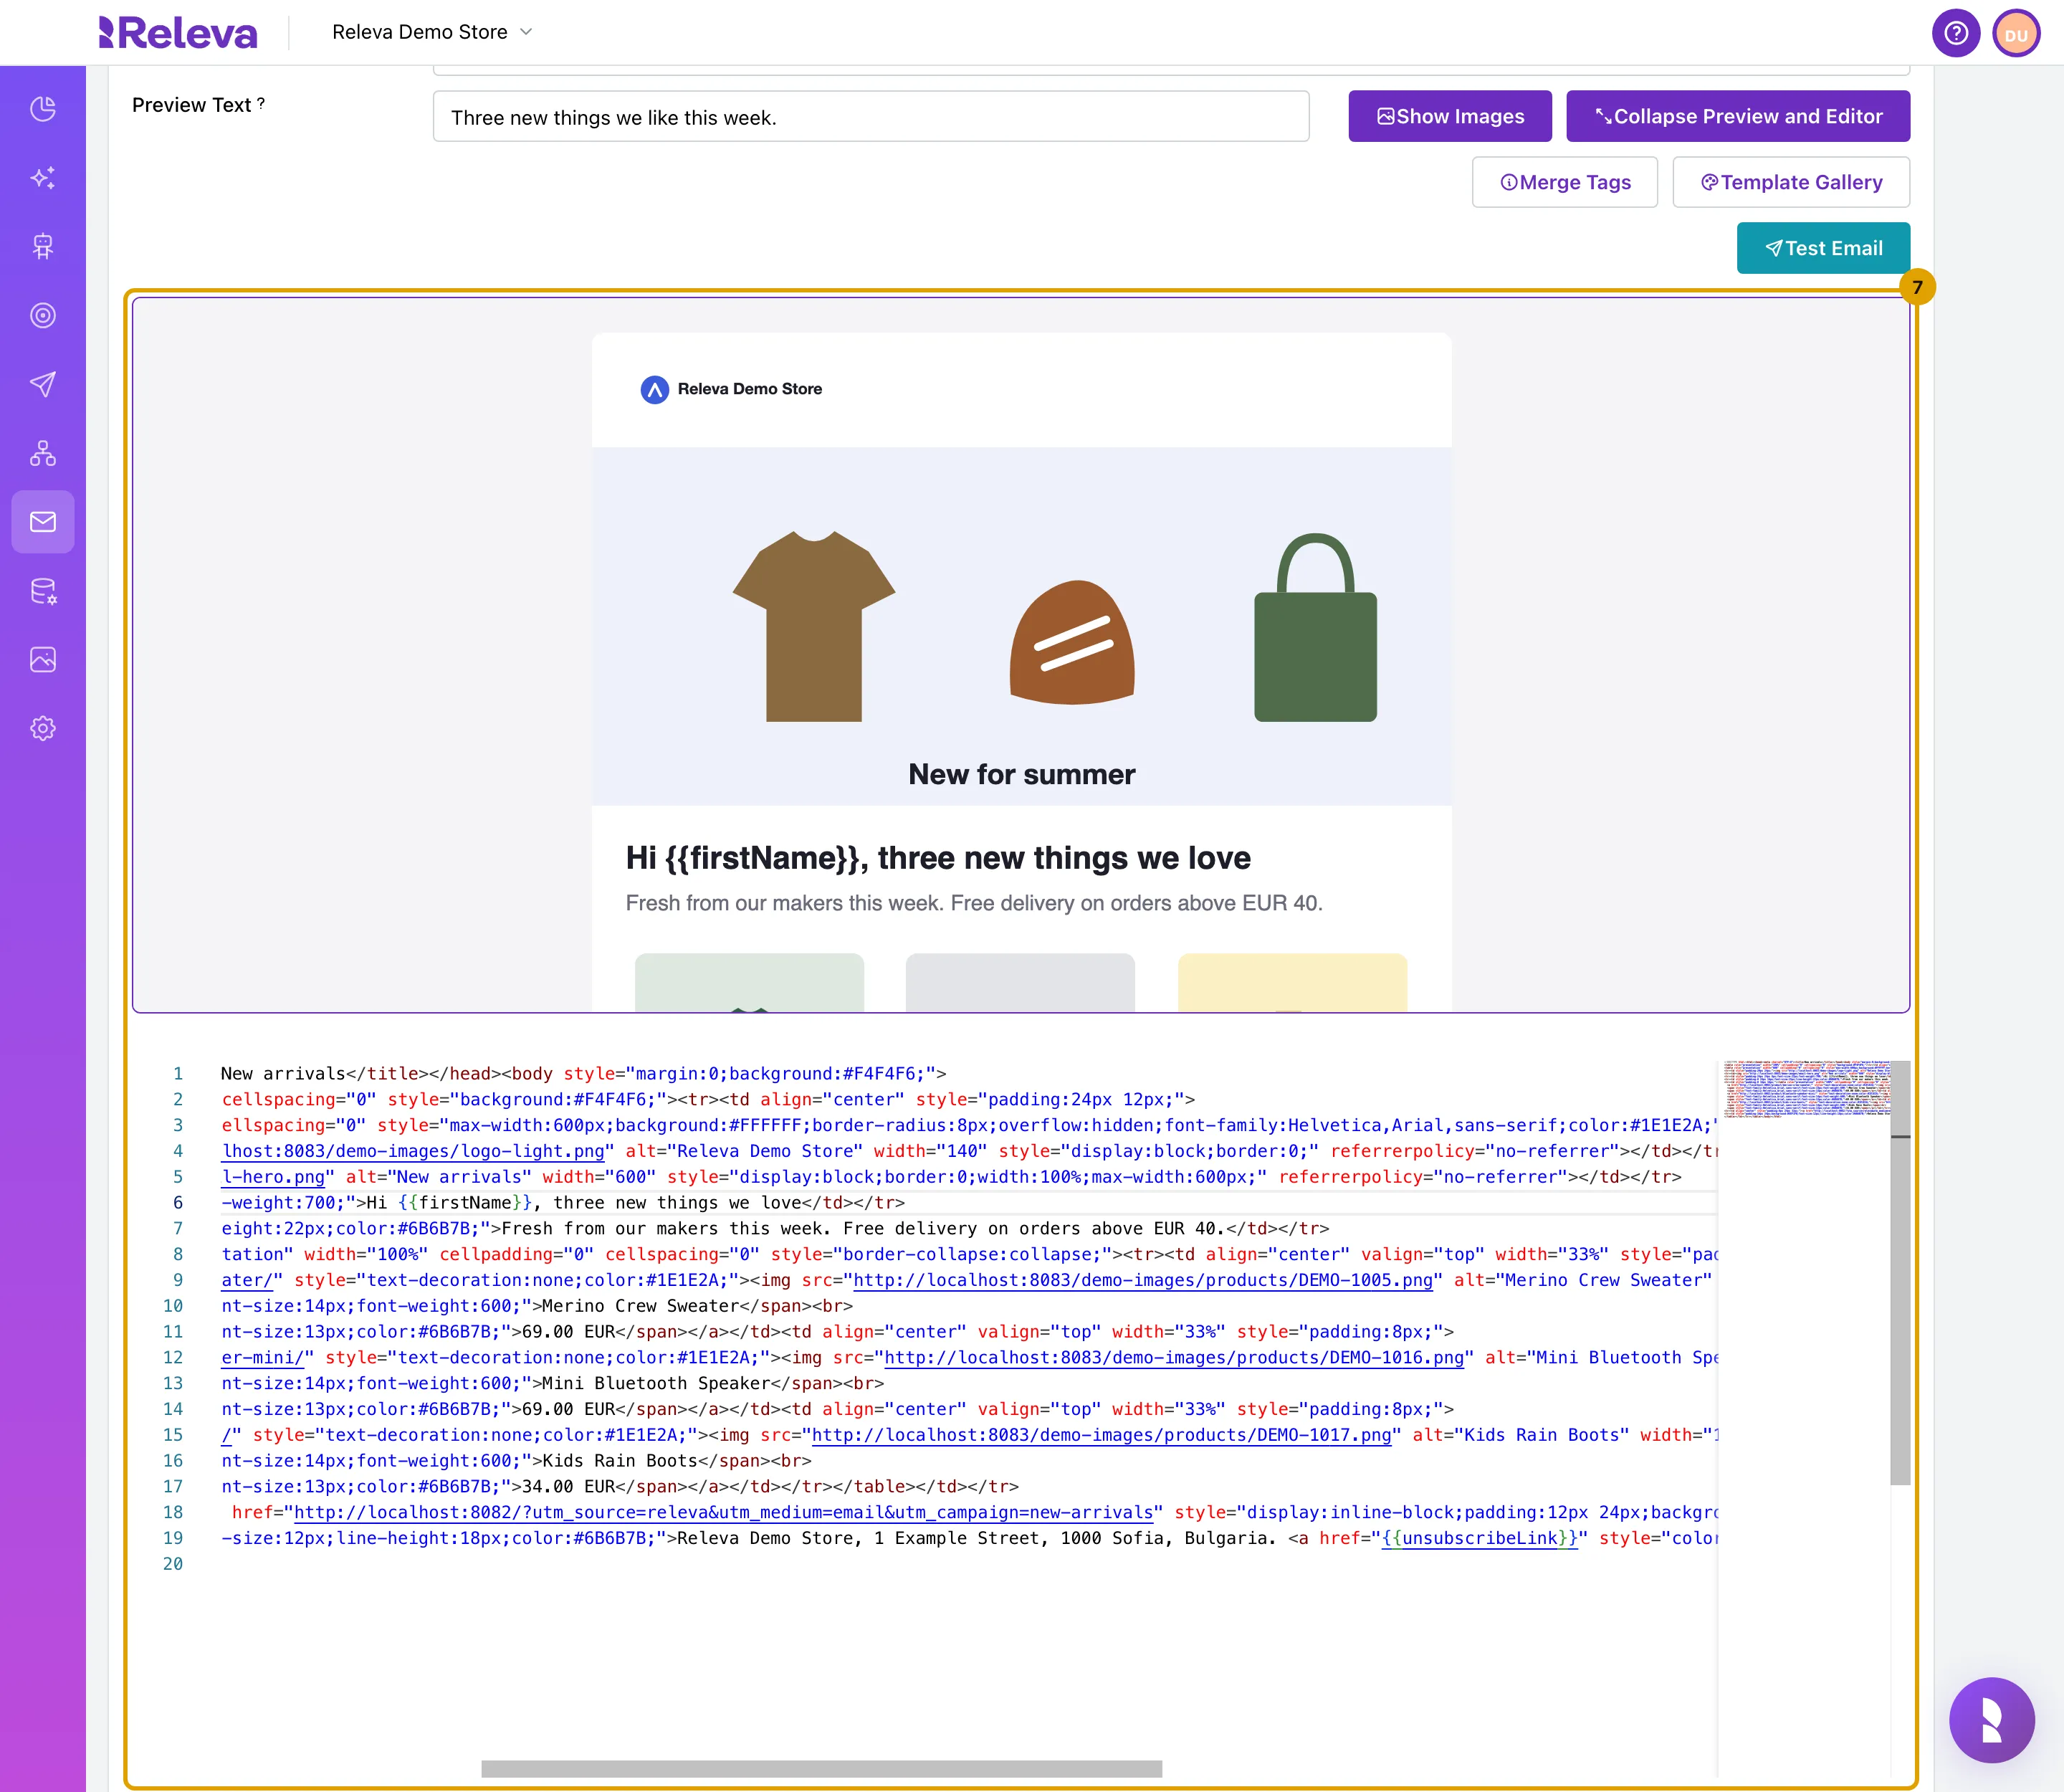
For more room, select Expand Preview and Editor
The preview and the editor now take the full width, one above the other. Select Collapse Preview and Editor to go back.
-
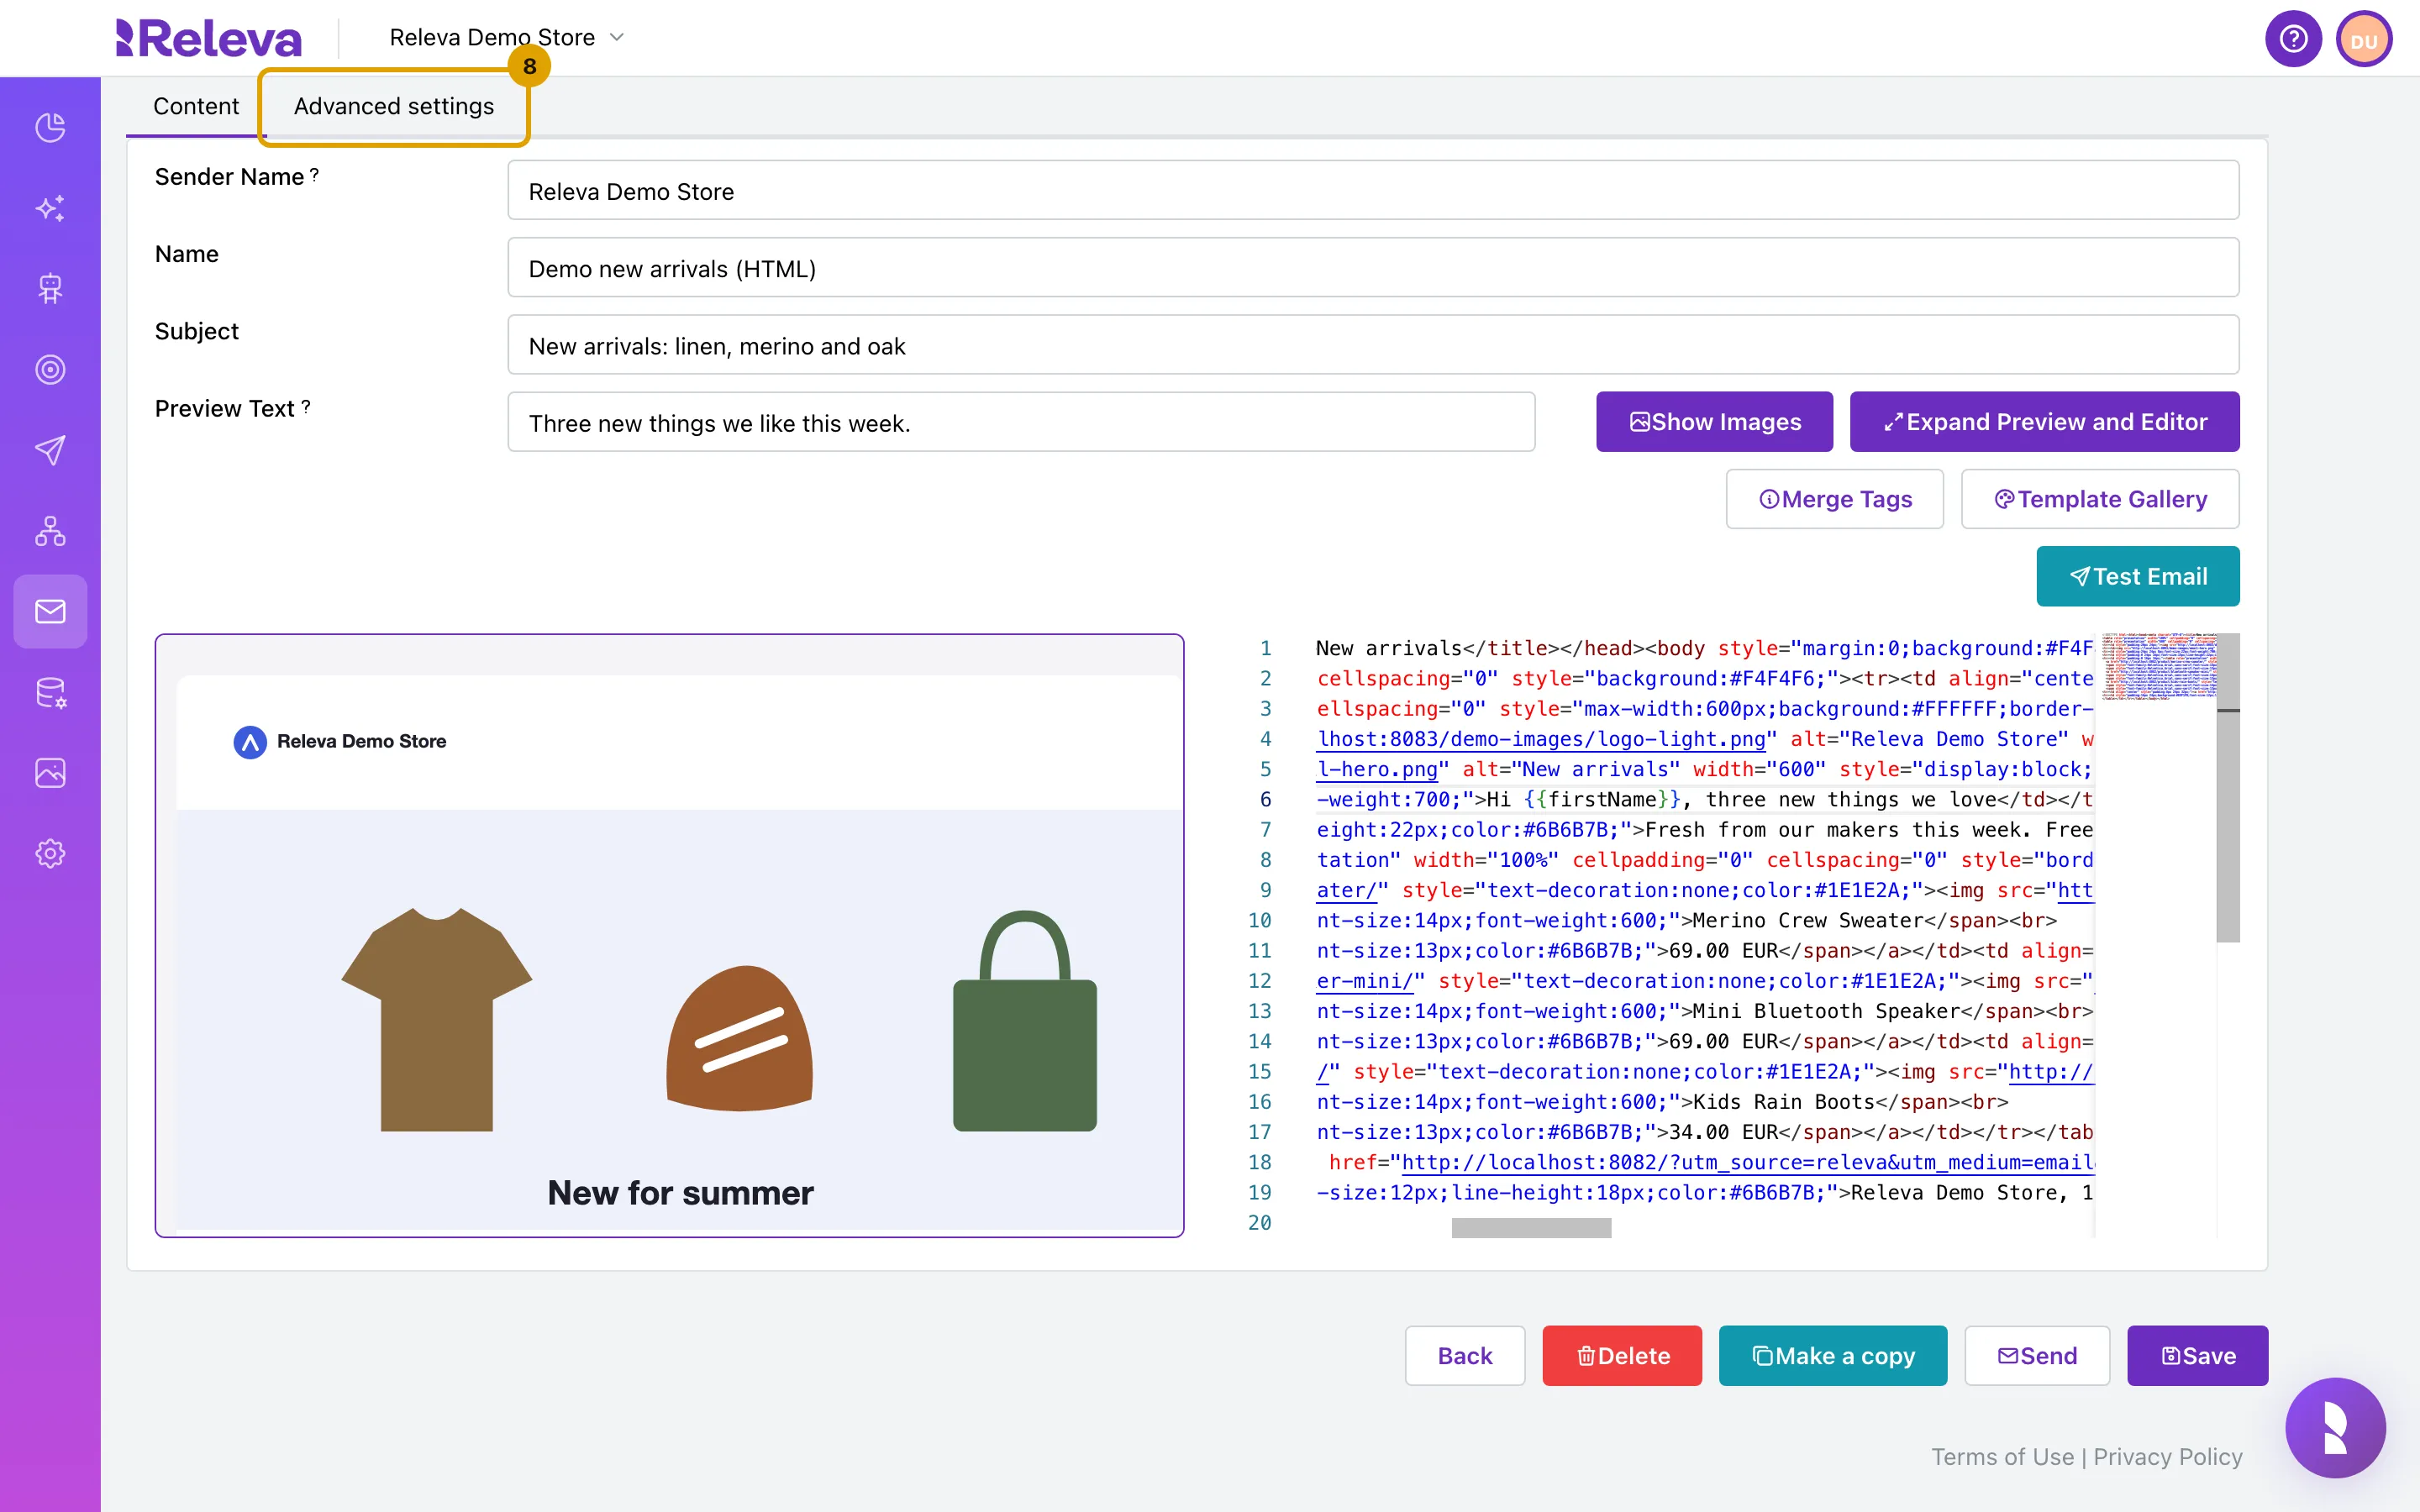
Select the Advanced settings tab
-
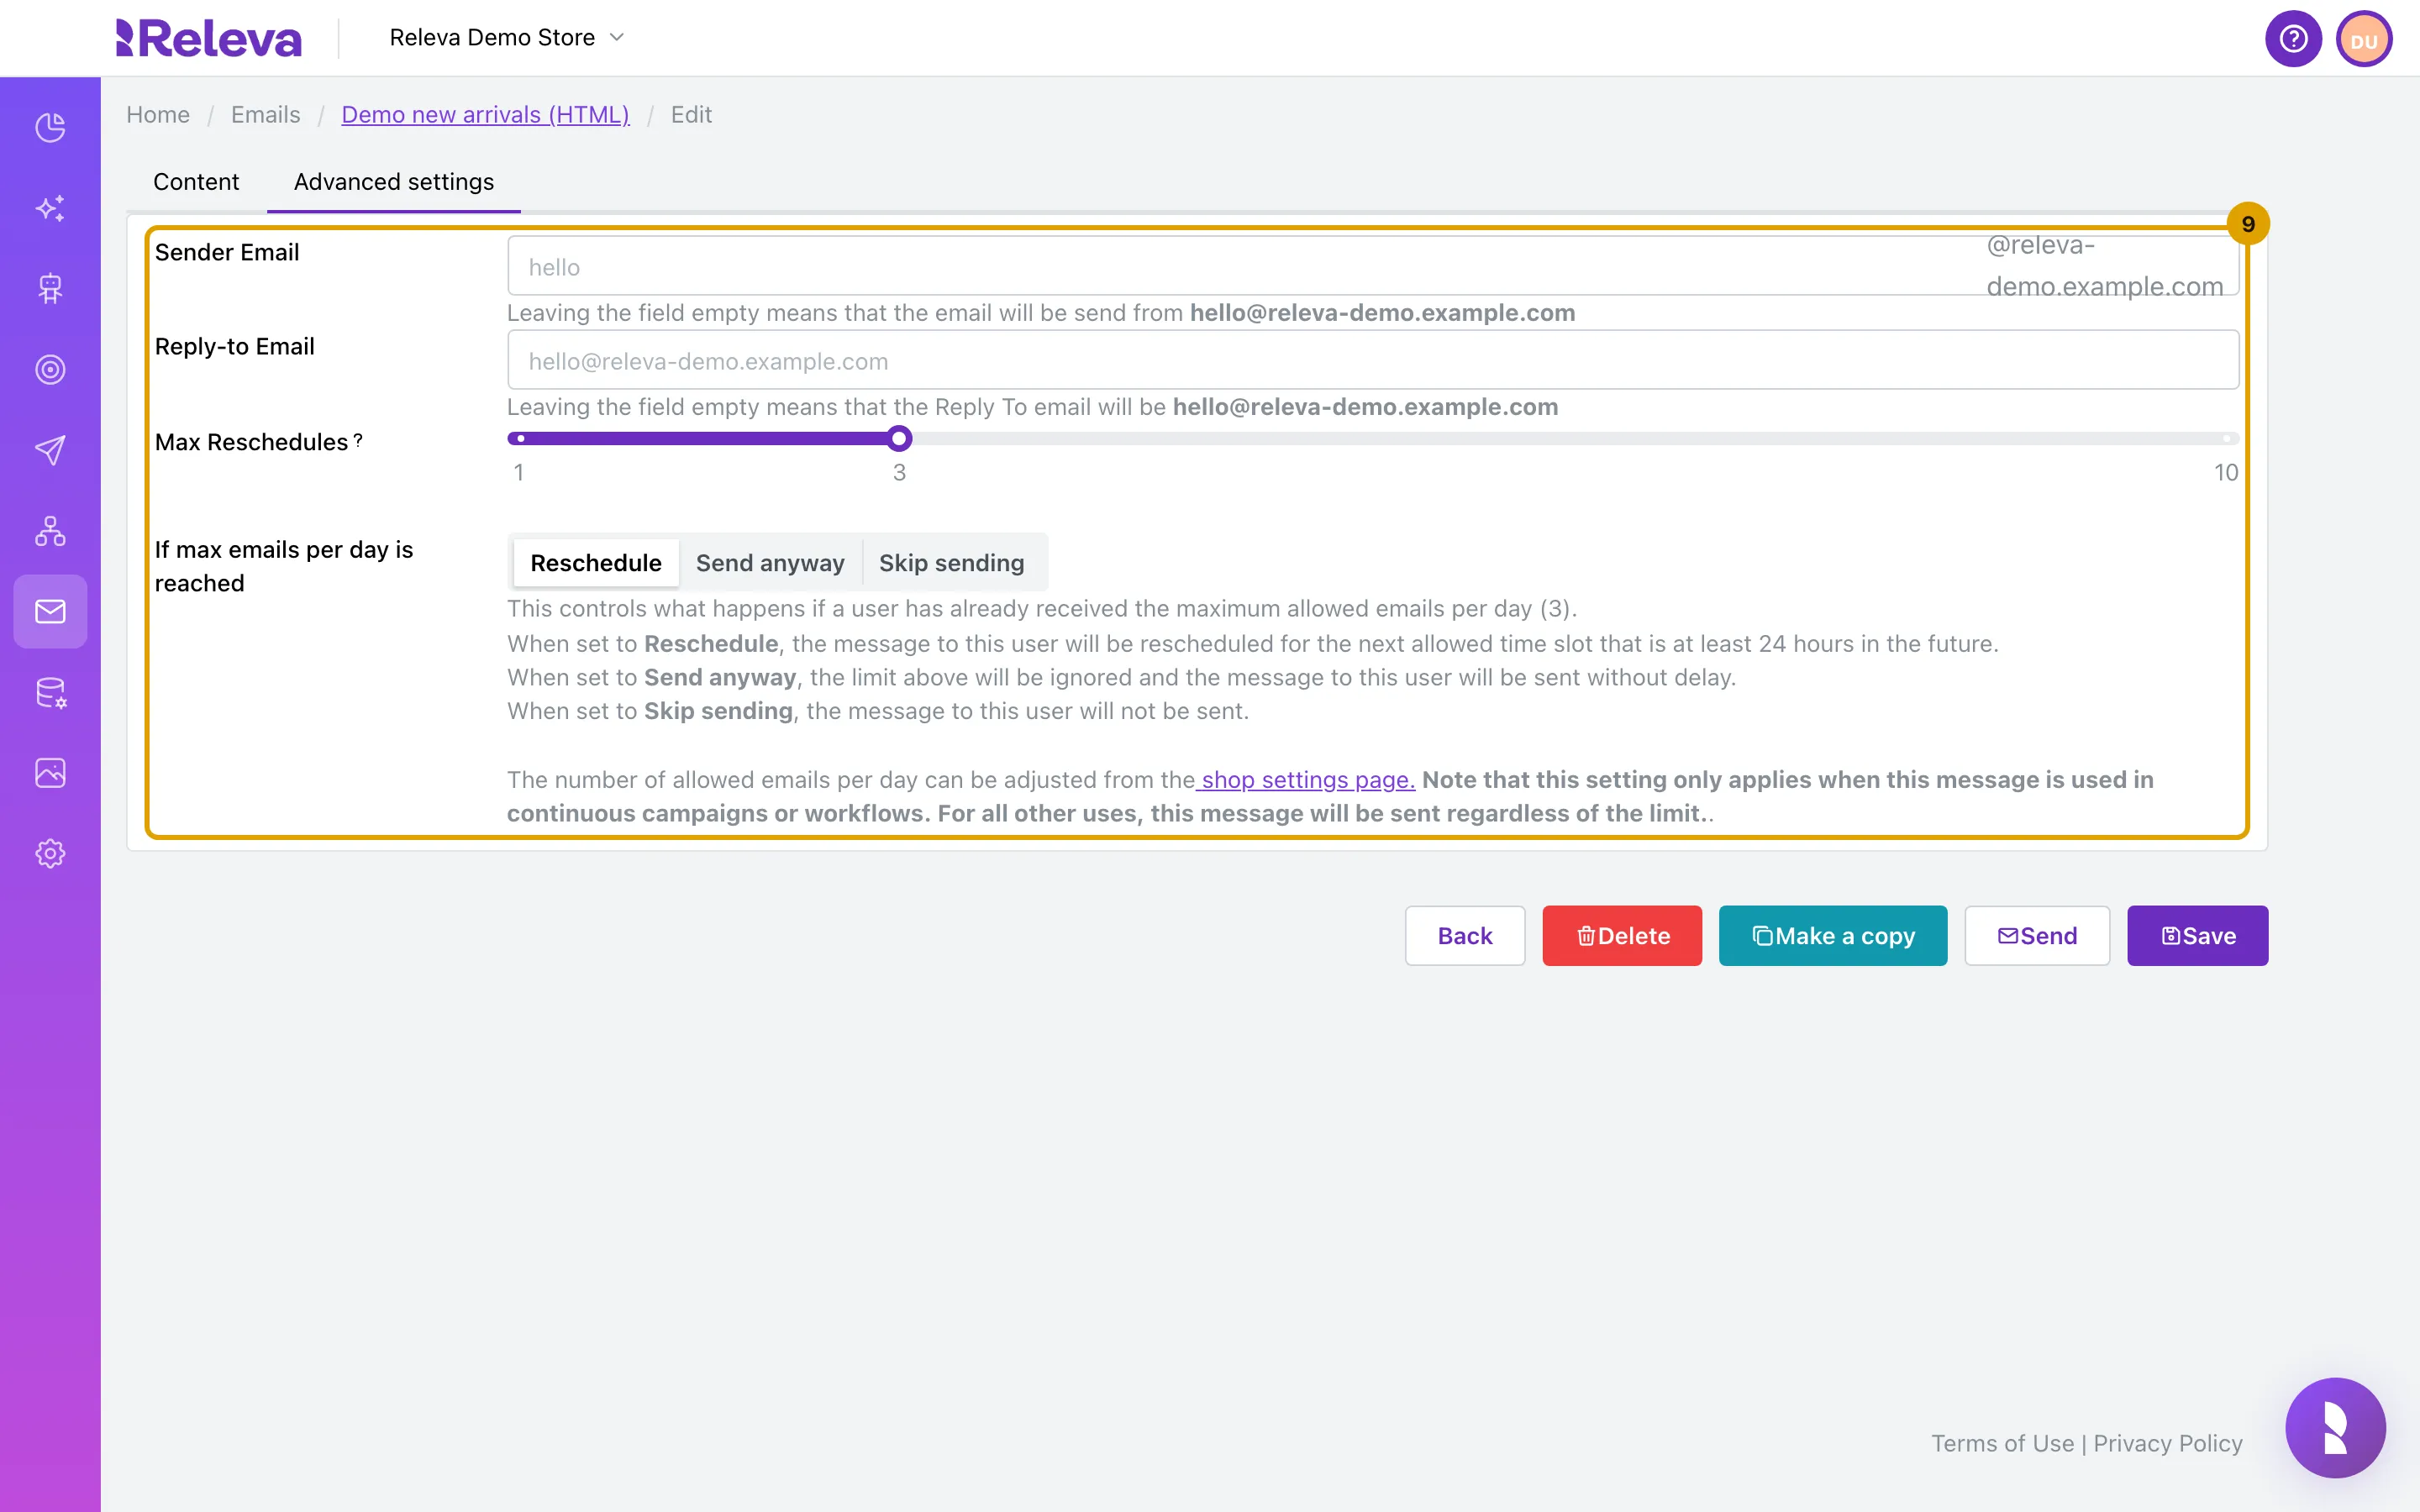
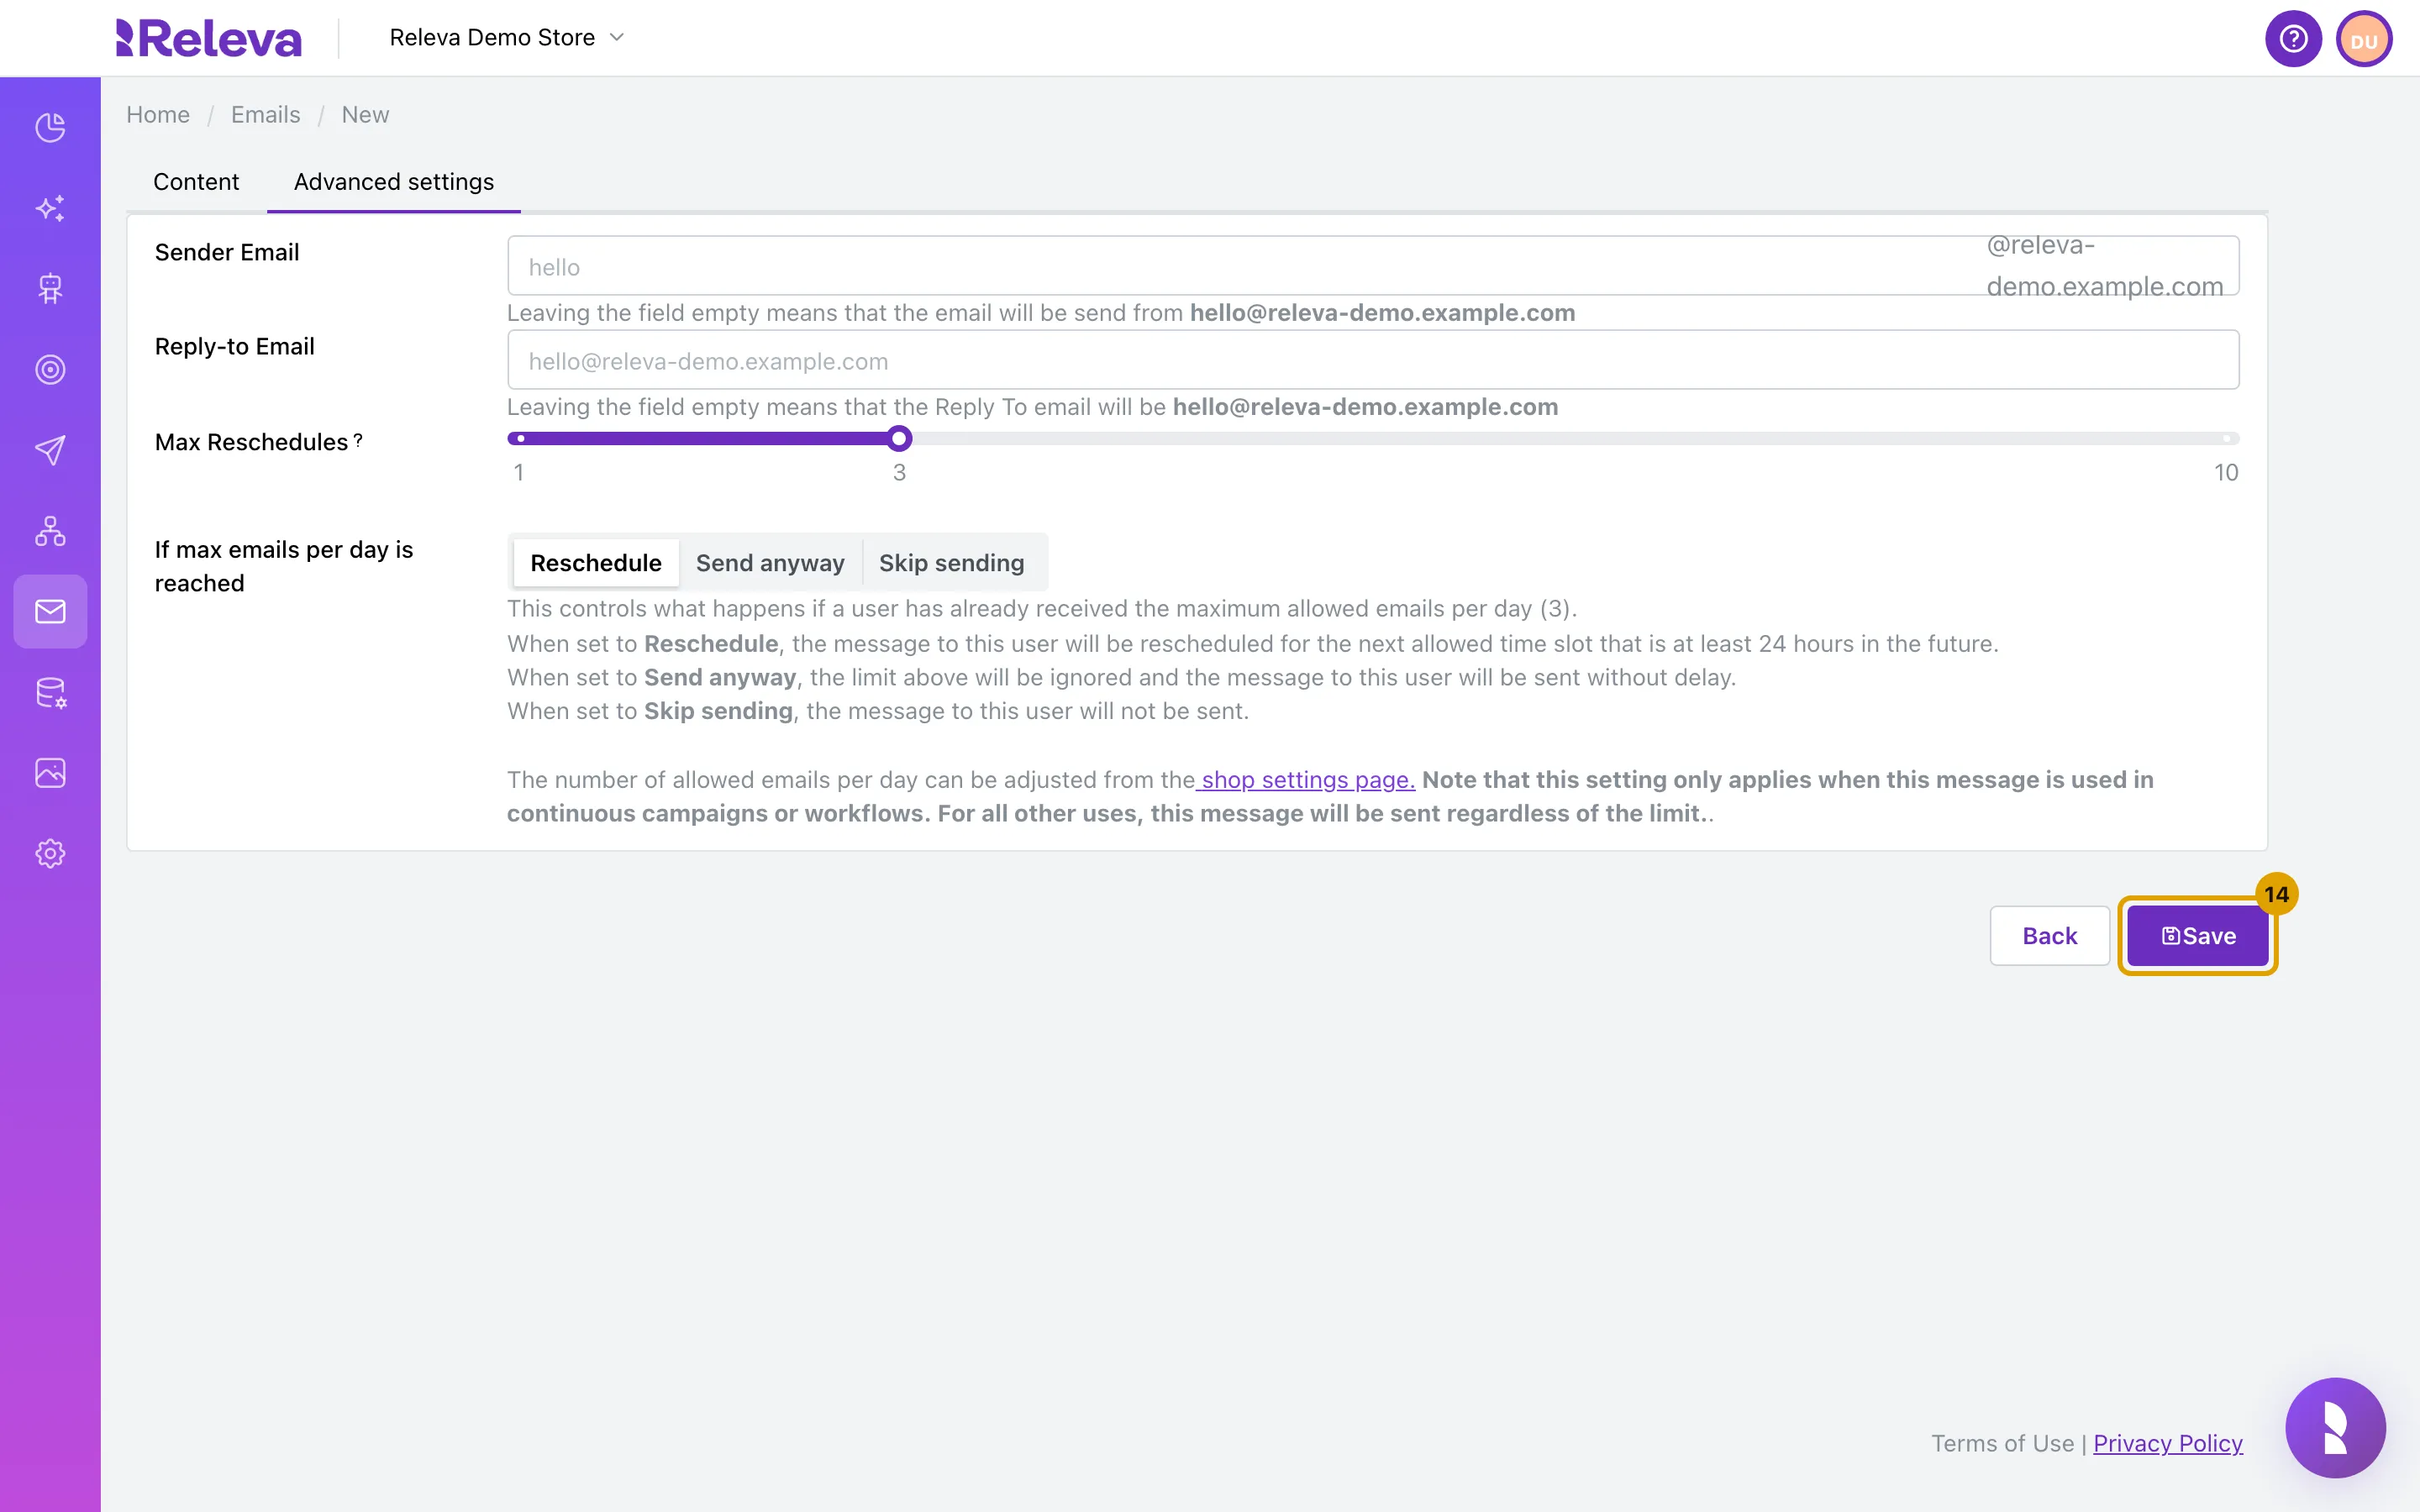
Set the sender and the daily limit if they differ from your shop’s defaults
- Sender Email: the part before the
@. Your sender domain is added after it. Leave it empty to send from your shop’s default address. - Reply-to Email: where replies go. Leave it empty to use your shop’s default.
- Max Reschedules: with Reschedule, how many times Releva tries again, 1 to 10 (default 3).
- If max emails per day is reached: Reschedule, Send anyway or Skip sending, for a person who has already received the daily maximum of emails. This applies to one-off and continuous sends, not to triggered workflows.
- Sender Email: the part before the
-
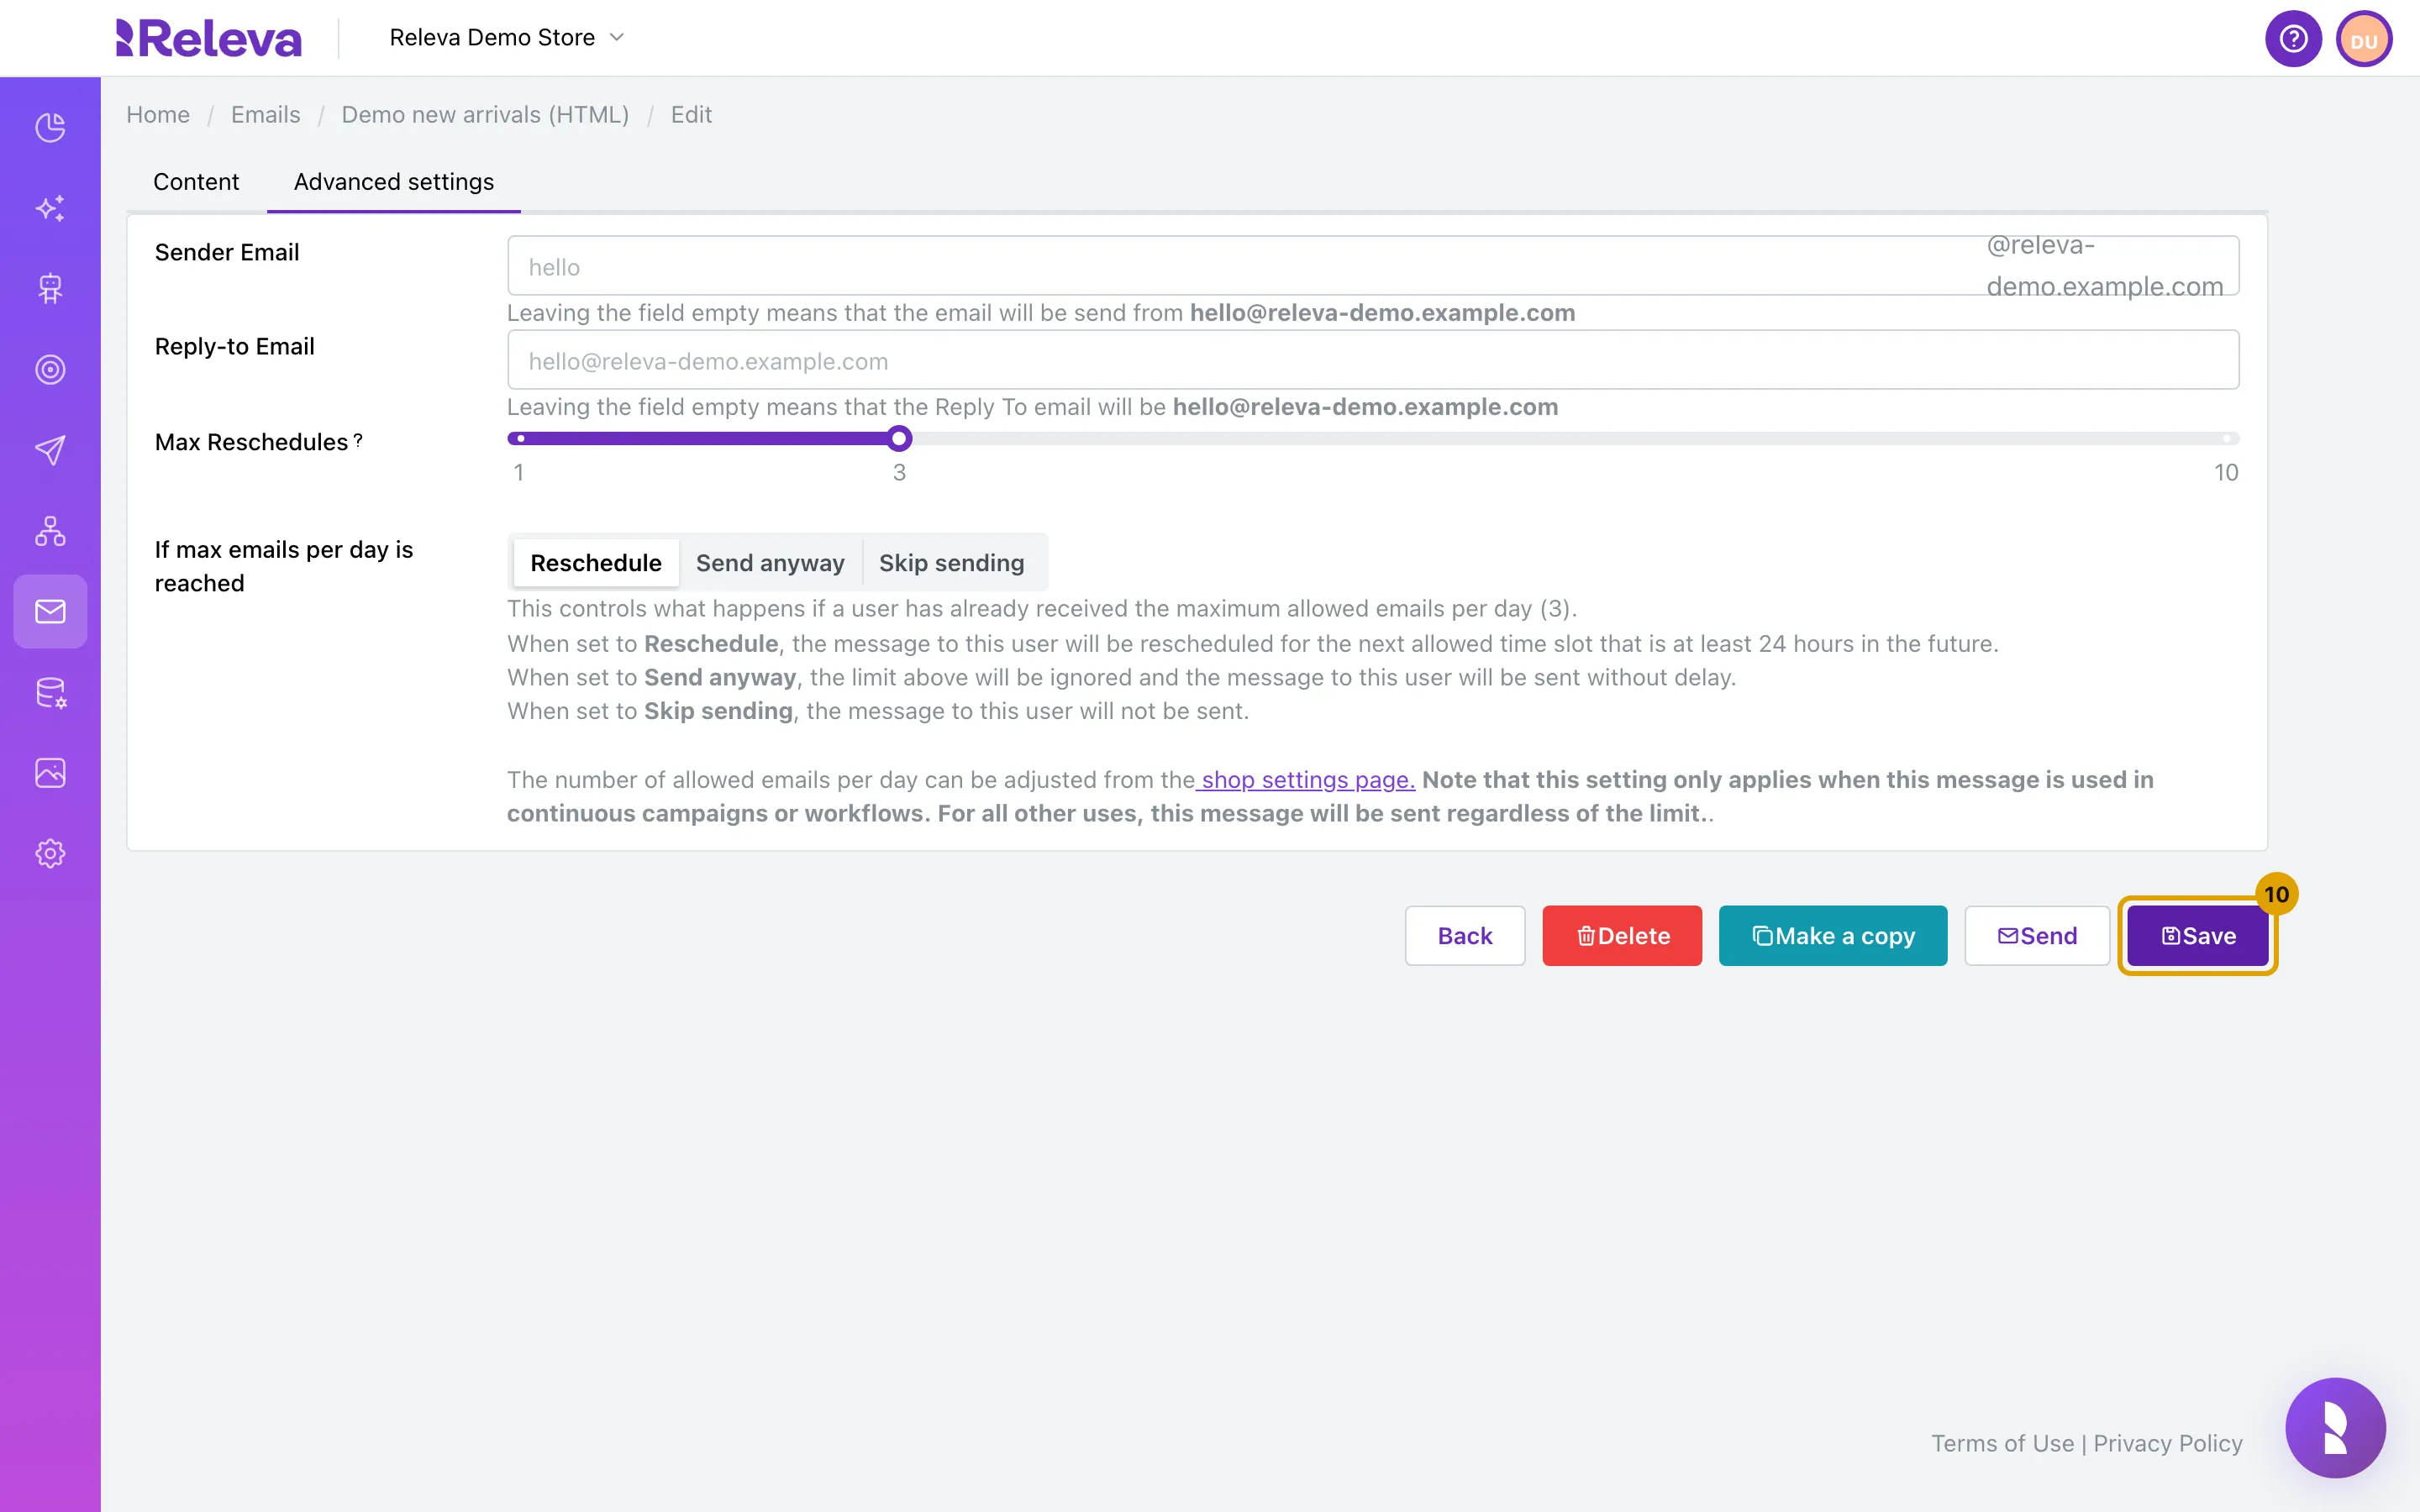
Select Save
Releva saves your changes and takes you back to the Emails list. Back on Advanced settings returns to Content; on Content it leaves without saving.
Merge tags
Section titled “Merge tags”Merge tags put each person’s details into the email. Type them in the HTML, in Subject, in Preview Text or in Sender Name. In the preview they show as written, for example Hi {{firstName}}. Releva fills them in for each person when the email is sent.
| Merge tag | What it inserts |
|---|---|
{{firstName}} |
The person’s first name |
{{lastName}} |
The person’s last name |
{{email}} |
The person’s email address |
{{unsubscribeLink}} |
A link to unsubscribe. Every marketing email needs one. |
{{subscriptionManagementLink}} |
A link to the person’s subscription settings |
{{viewInBrowserLink}} |
A link to open the email in a browser |
{{subscribeLink}} |
A link to subscribe |
{{currentYear}} |
The current year, for example in the footer |
Use them in a link like this: <a href="{{unsubscribeLink}}">Unsubscribe</a>. Your profile custom fields, coupons and surveys can be used as merge tags too. For more on personalisation, read How emails work.
Images. To use an image from your files, select Show Images. Your files open next to the preview. Copy an image’s link and paste it into an <img src="..."> in the code. See Find a file and copy its link.
Make a copy of an HTML email
Section titled “Make a copy of an HTML email”To change a copy and keep the original as it is, make a copy. The copy is also the way to start a new HTML email.
-
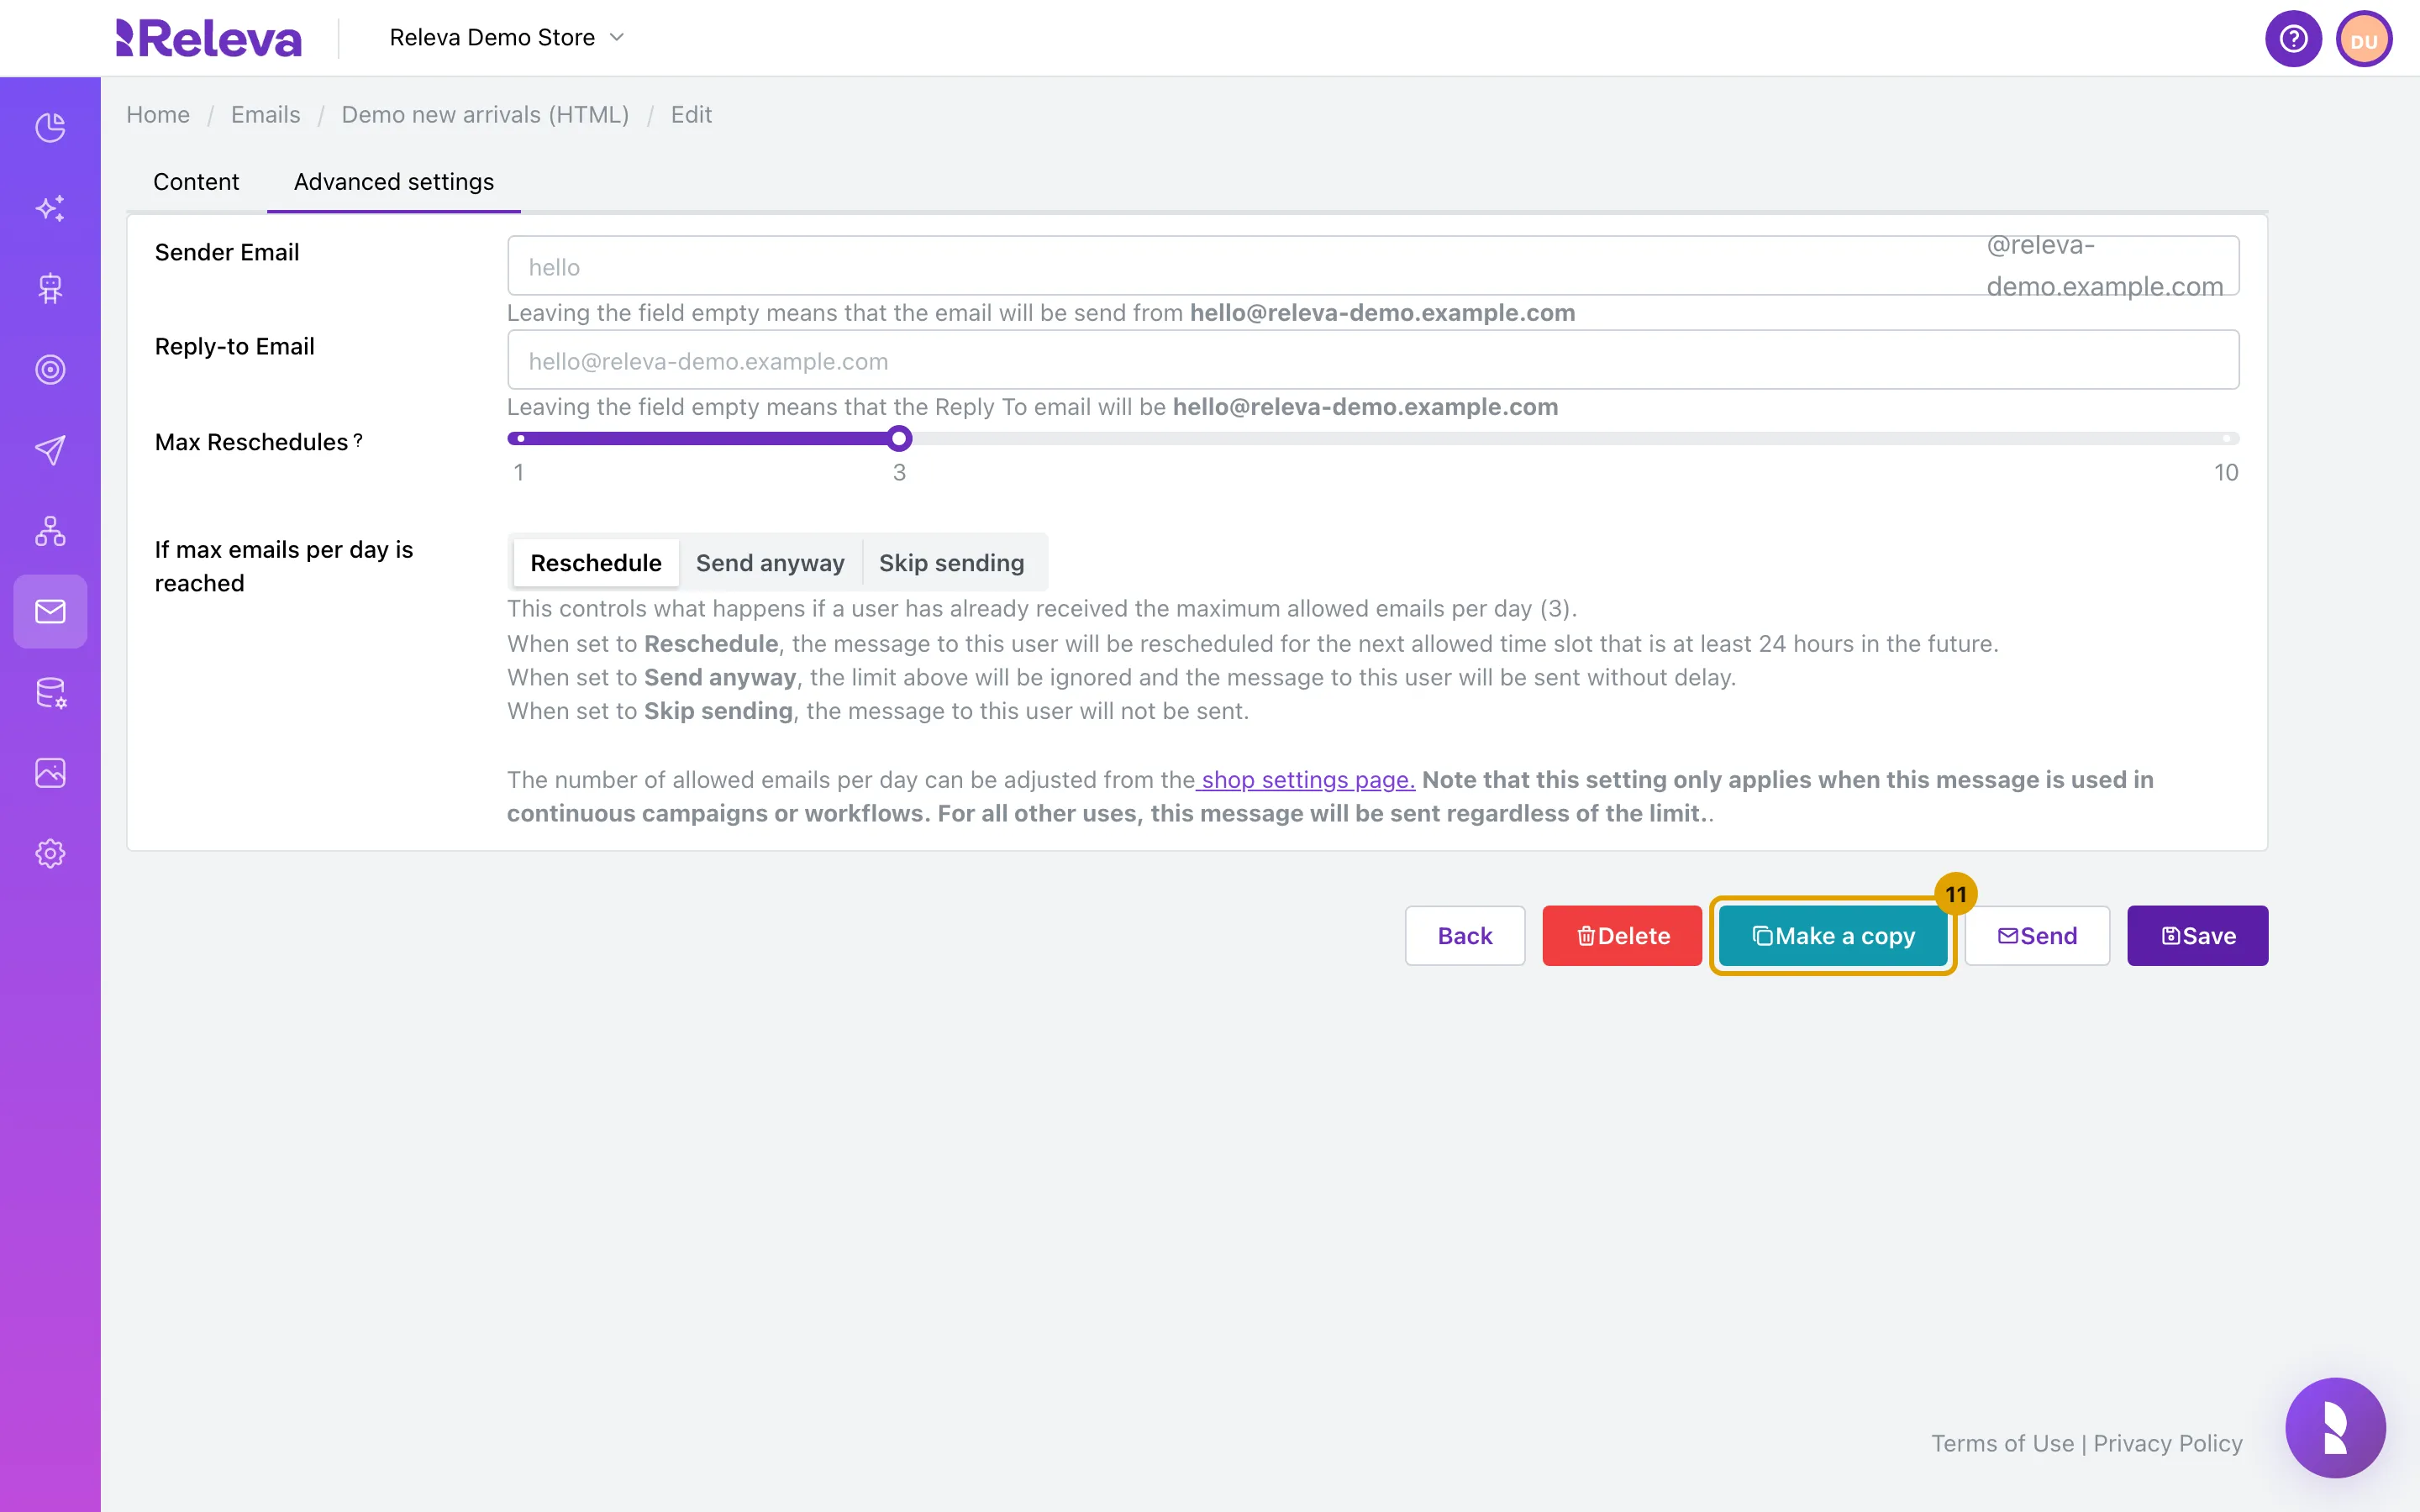
On the email, select Make a copy
The copy is made from the saved email. Changes you have not saved are not copied.
-
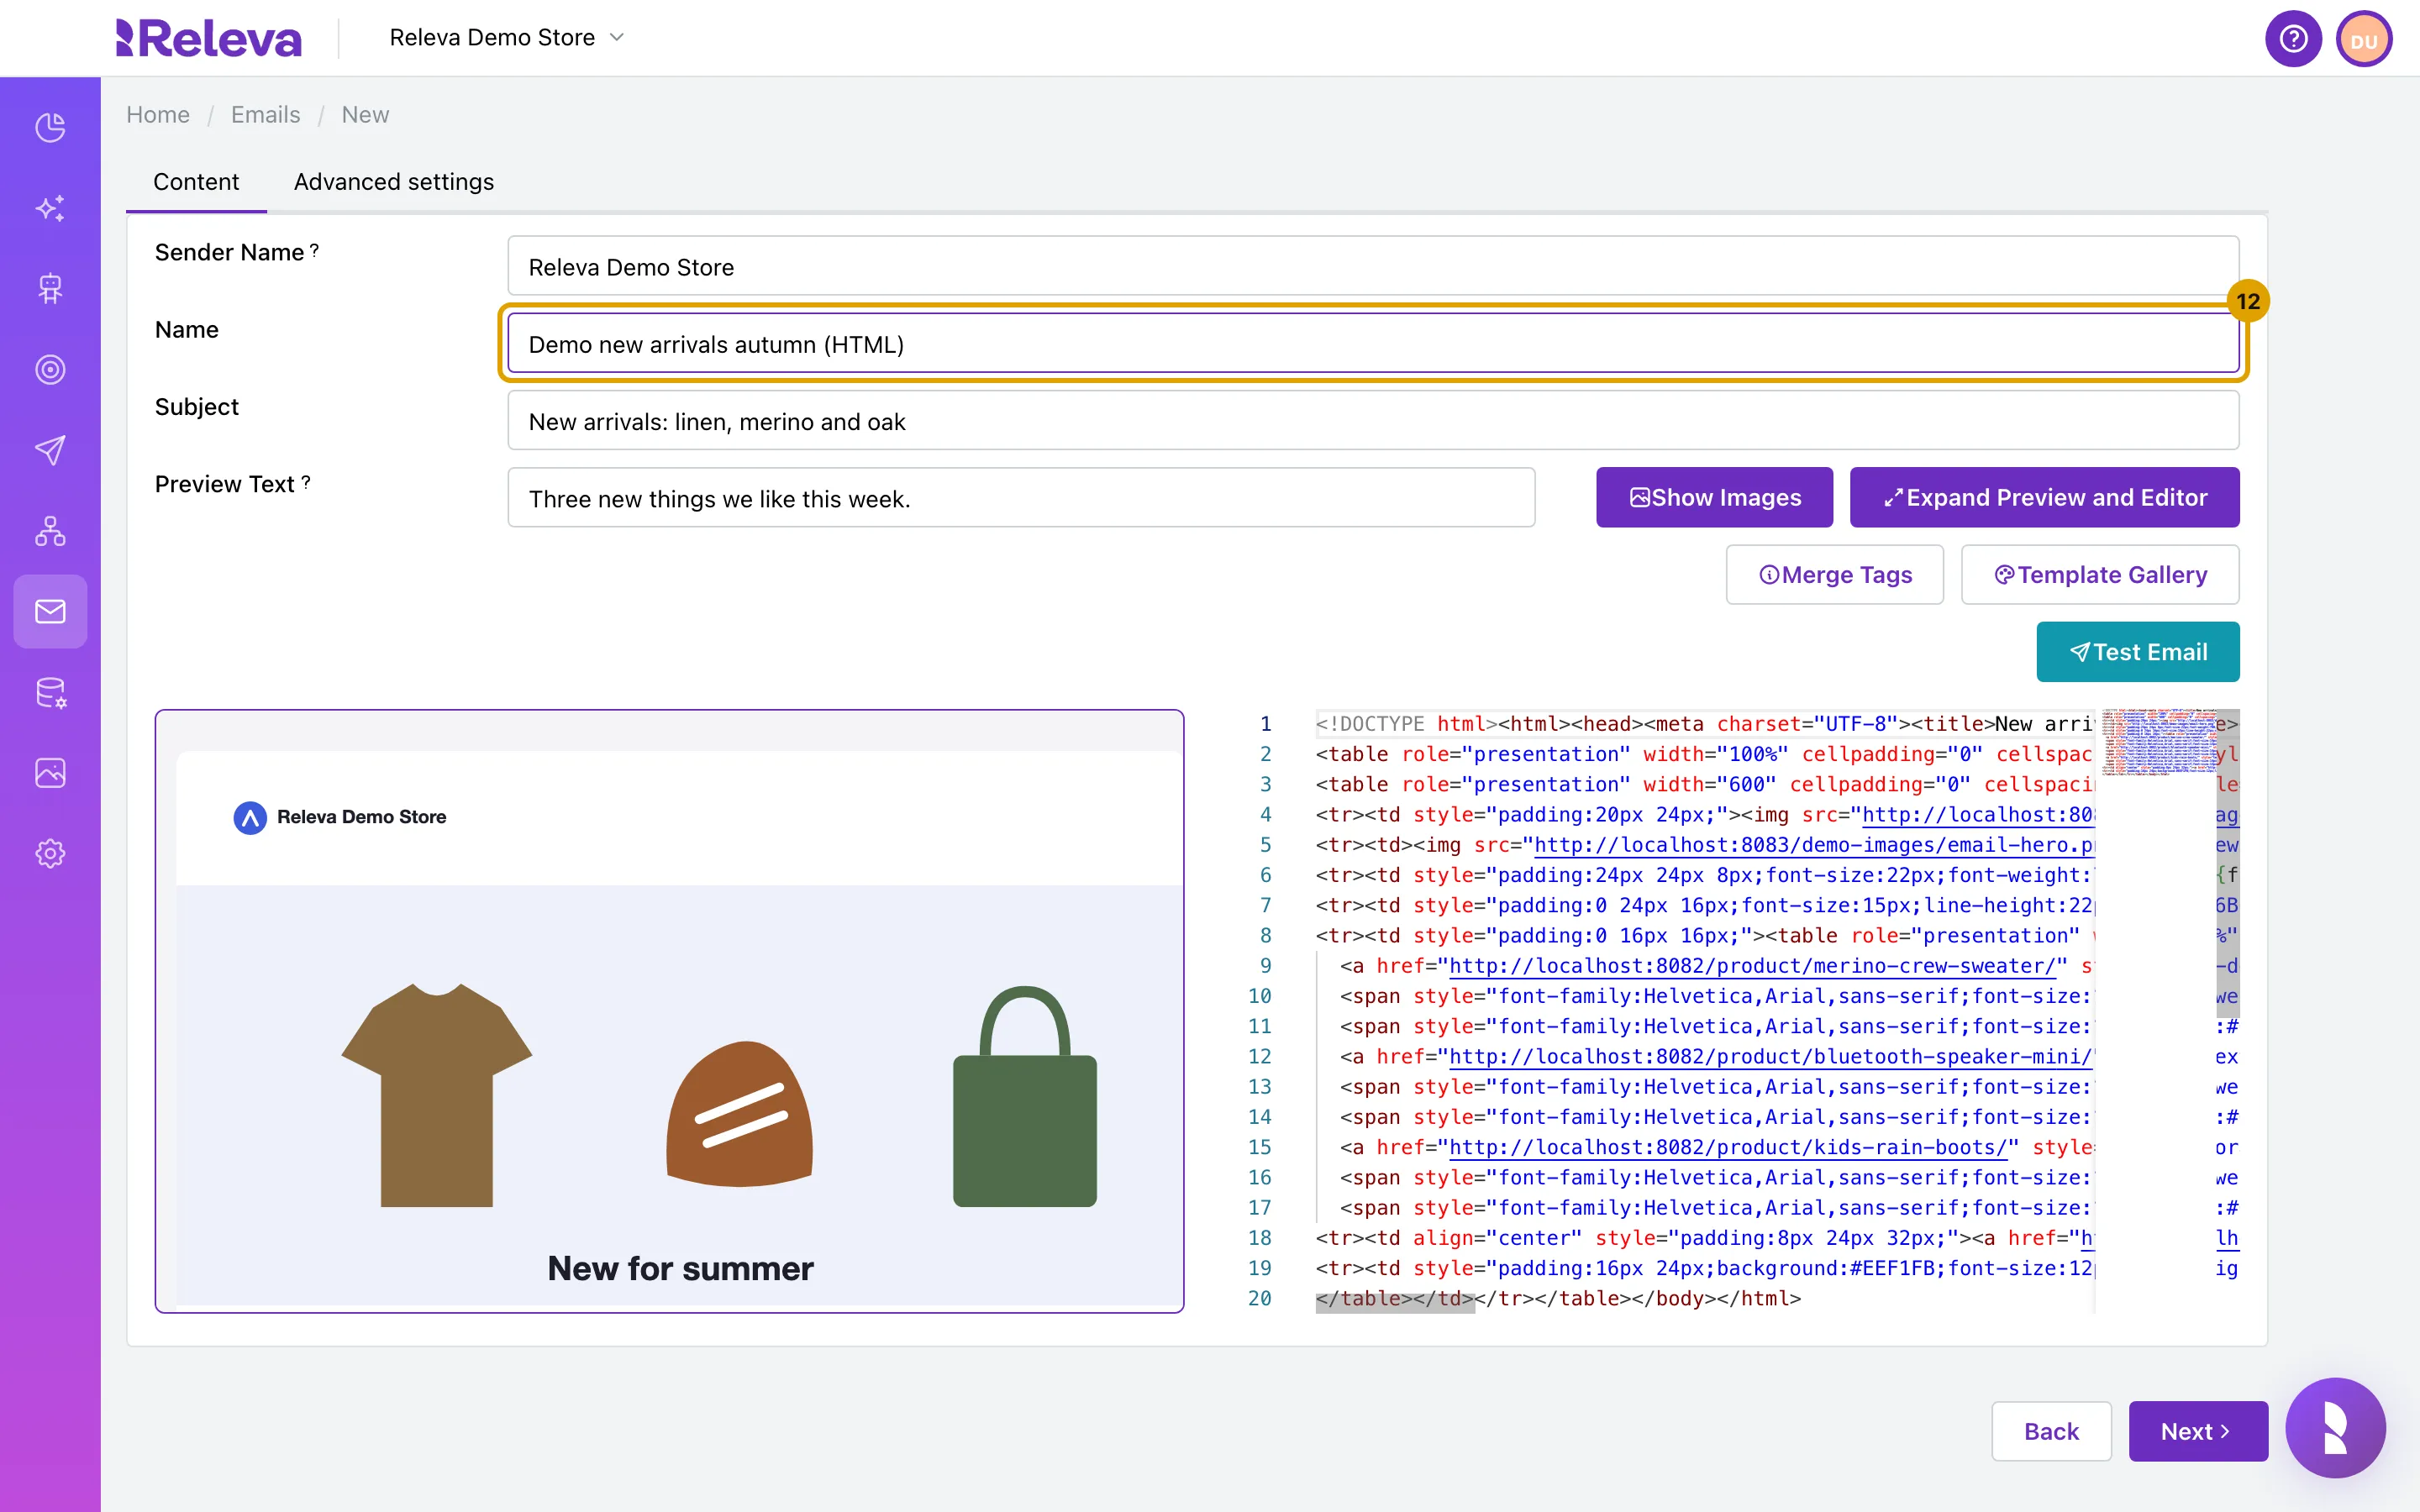
The copy opens as a new email called “Copy of” plus the original name, with the same content. In Name, enter a new name
-
Change the copy as you need, then select Next
-
Check the Advanced settings and select Save
-
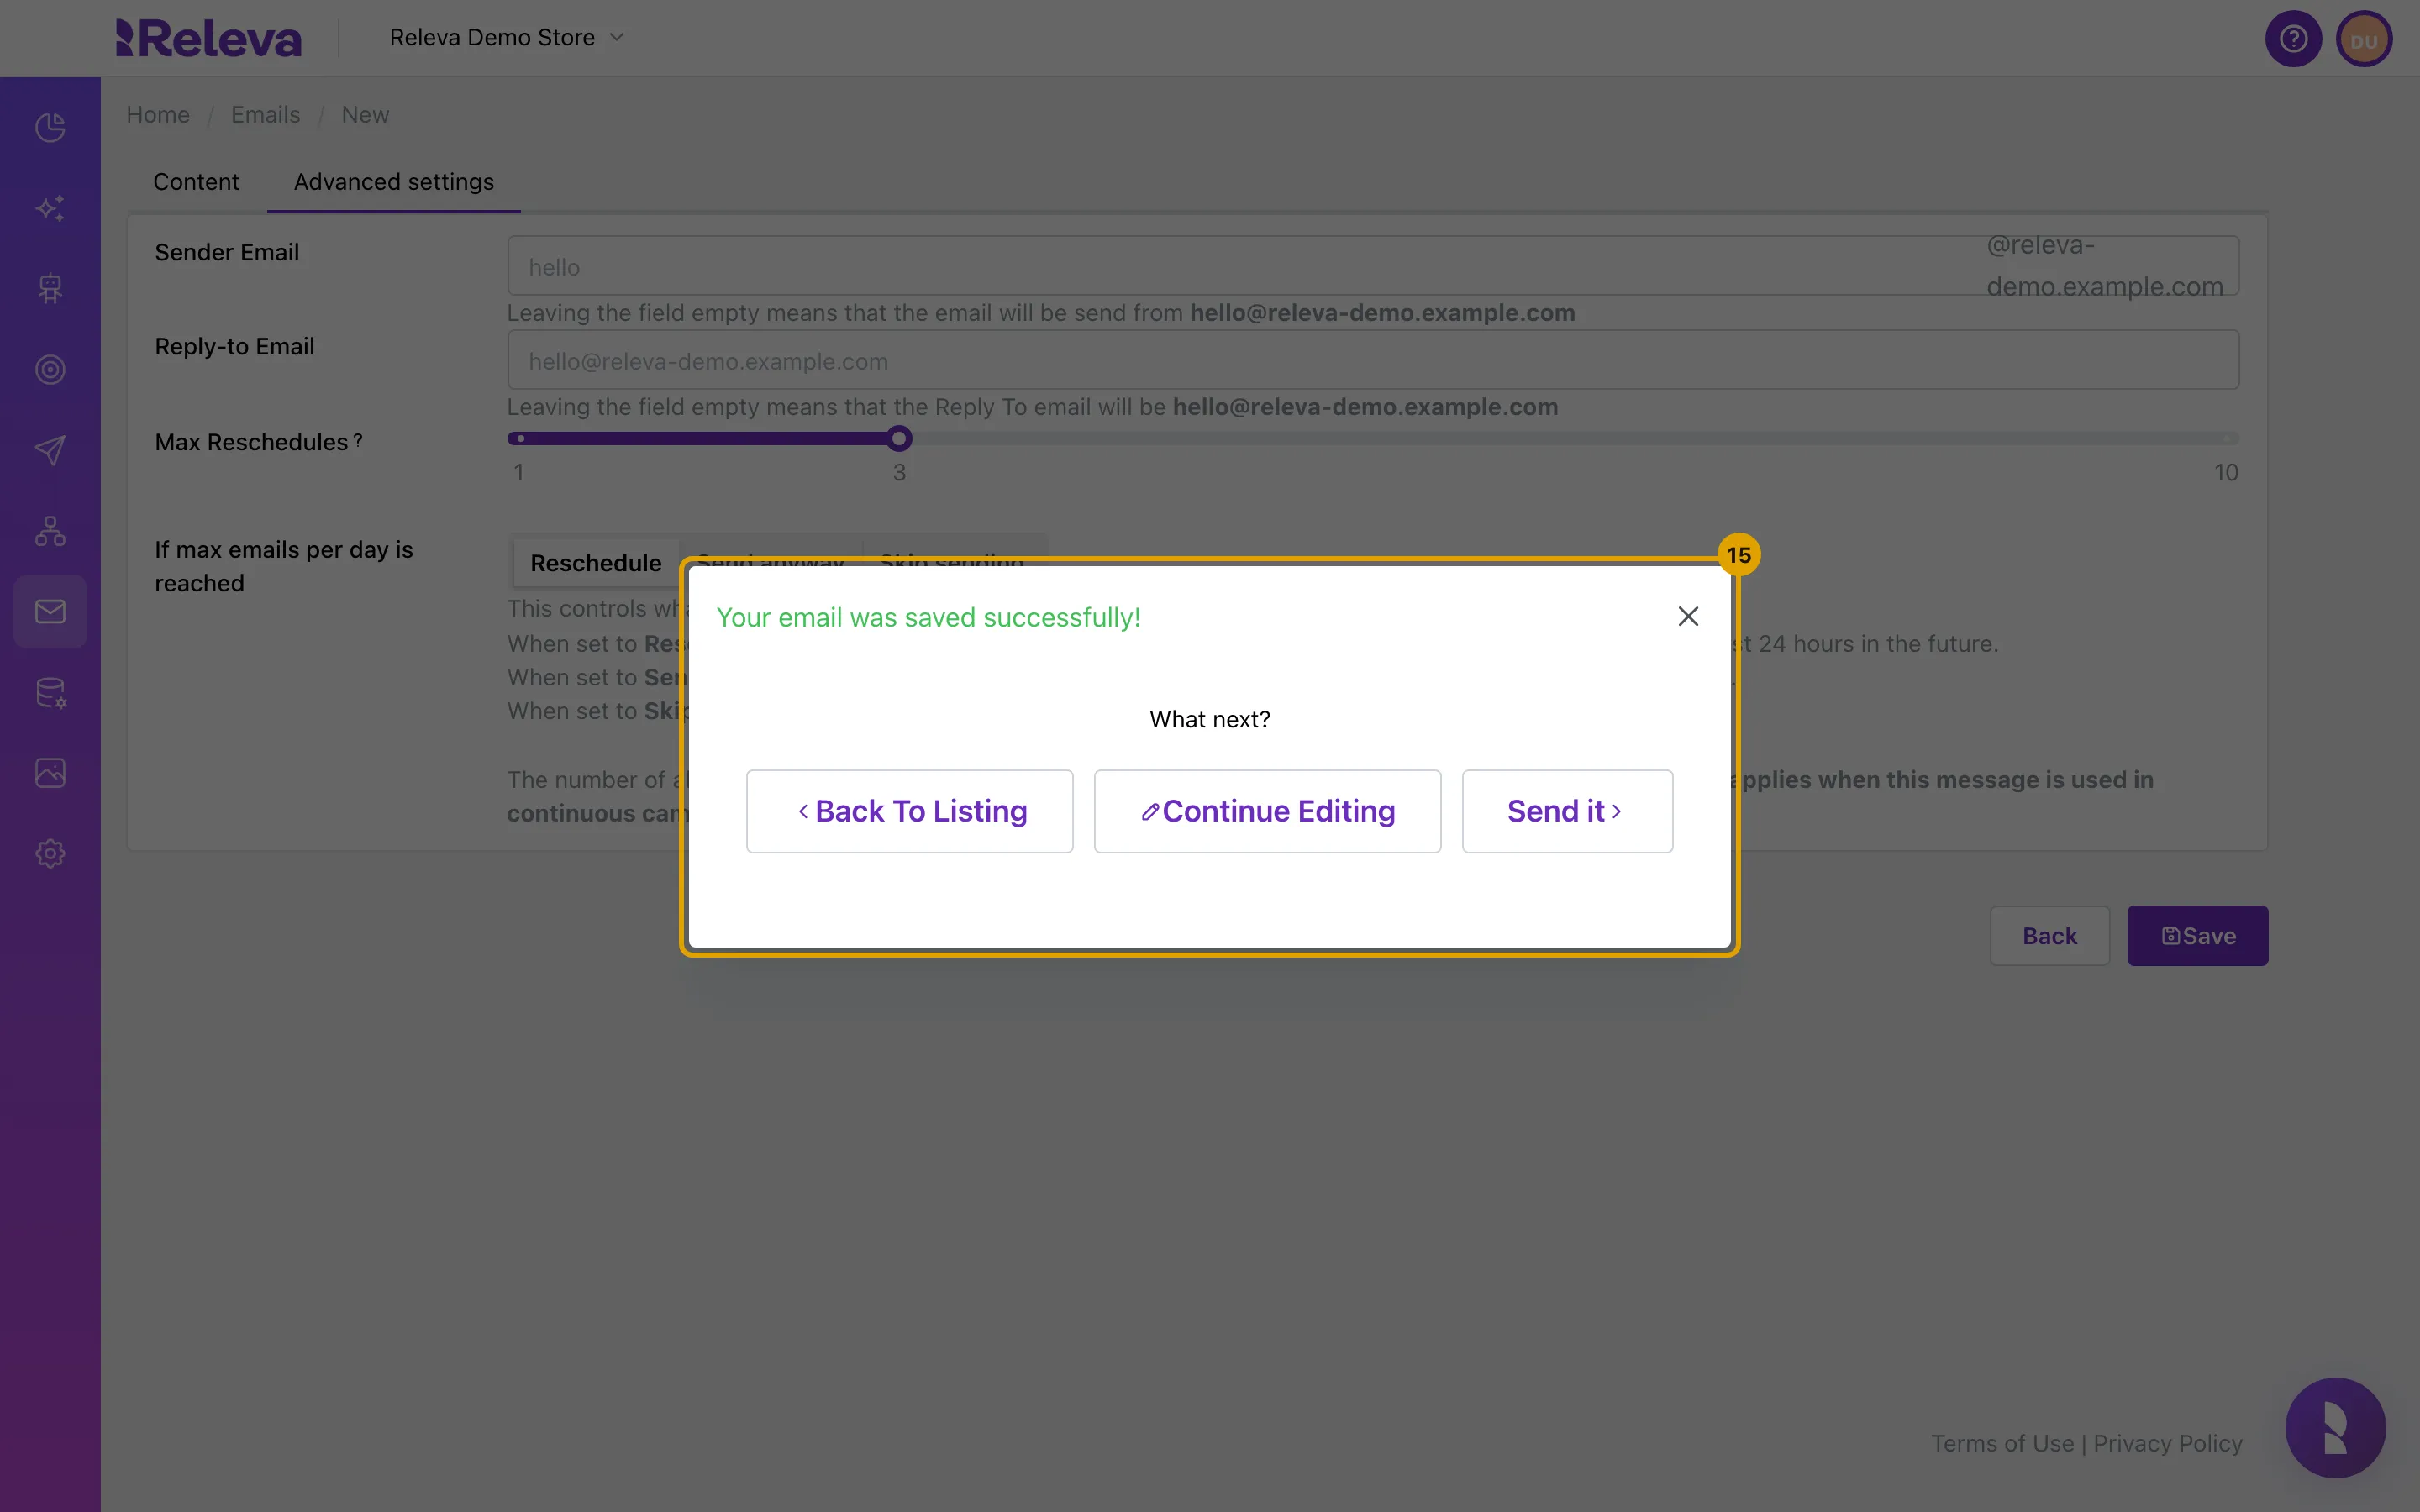
Releva saves the copy and asks What next?
Select Back To Listing to go to the Emails list, Continue Editing to keep working on the copy, or Send it to choose a campaign or a workflow that sends it.
Check it worked
Section titled “Check it worked”- The email, or the copy, is in the Emails list with the name you gave it.
- Open it: the preview shows your change.
- To see the email in an inbox, select Test Email and send it to yourself. This needs a verified sender domain.
Troubleshooting
Section titled “Troubleshooting”Save is greyed out. Name or Subject is empty, or a merge tag in Subject, Preview Text or Sender Name is broken, for example {{firstName without the closing }}.
Test Email is greyed out. Your sender domain is not verified yet. Follow Set up your email sender and DNS records.
Part of my HTML is gone after saving. Releva removes <script>, <iframe>, <object> and <embed> tags when you save, because email clients block them. It also adds referrerpolicy="no-referrer" to every <img>.
An image or link works in the preview but not in the email. The preview resolves a relative address, such as /images/hero.png, against your shop’s URL. Email clients do not. Use full https:// addresses for every image and link.
Merge Tags shows nothing. The Merge Tags button does not open a list at the moment. Use the table in Merge tags above.
Template Gallery shows drag-and-drop templates. Template Gallery opens the gallery of the drag-and-drop editor. Its templates make drag-and-drop emails, not HTML ones, so don’t use it on an HTML email. To start from an existing HTML email, use Make a copy.
I can’t find Make a copy. It is not offered for custom emails.