

Build an email in the visual editor
The visual editor builds an email by dragging structures (rows with columns) and blocks (text, images, buttons, products) onto the page. This guide starts from a blank email, adds a text block with a merge tag and a product block, and saves the email. Saving sends nothing: a campaign or a workflow sends the email. For how emails are sent and counted, read How emails work.
Before you start
Section titled “Before you start”- For a product block, you have a product feed with the Marketing Channels scope and a layout with the Email scope. See How product feeds work and Create a layout for email product blocks.
- Your plan includes emails. If New email shows a lock, ask your account owner.
-
Go to Marketing Channels › Emails.
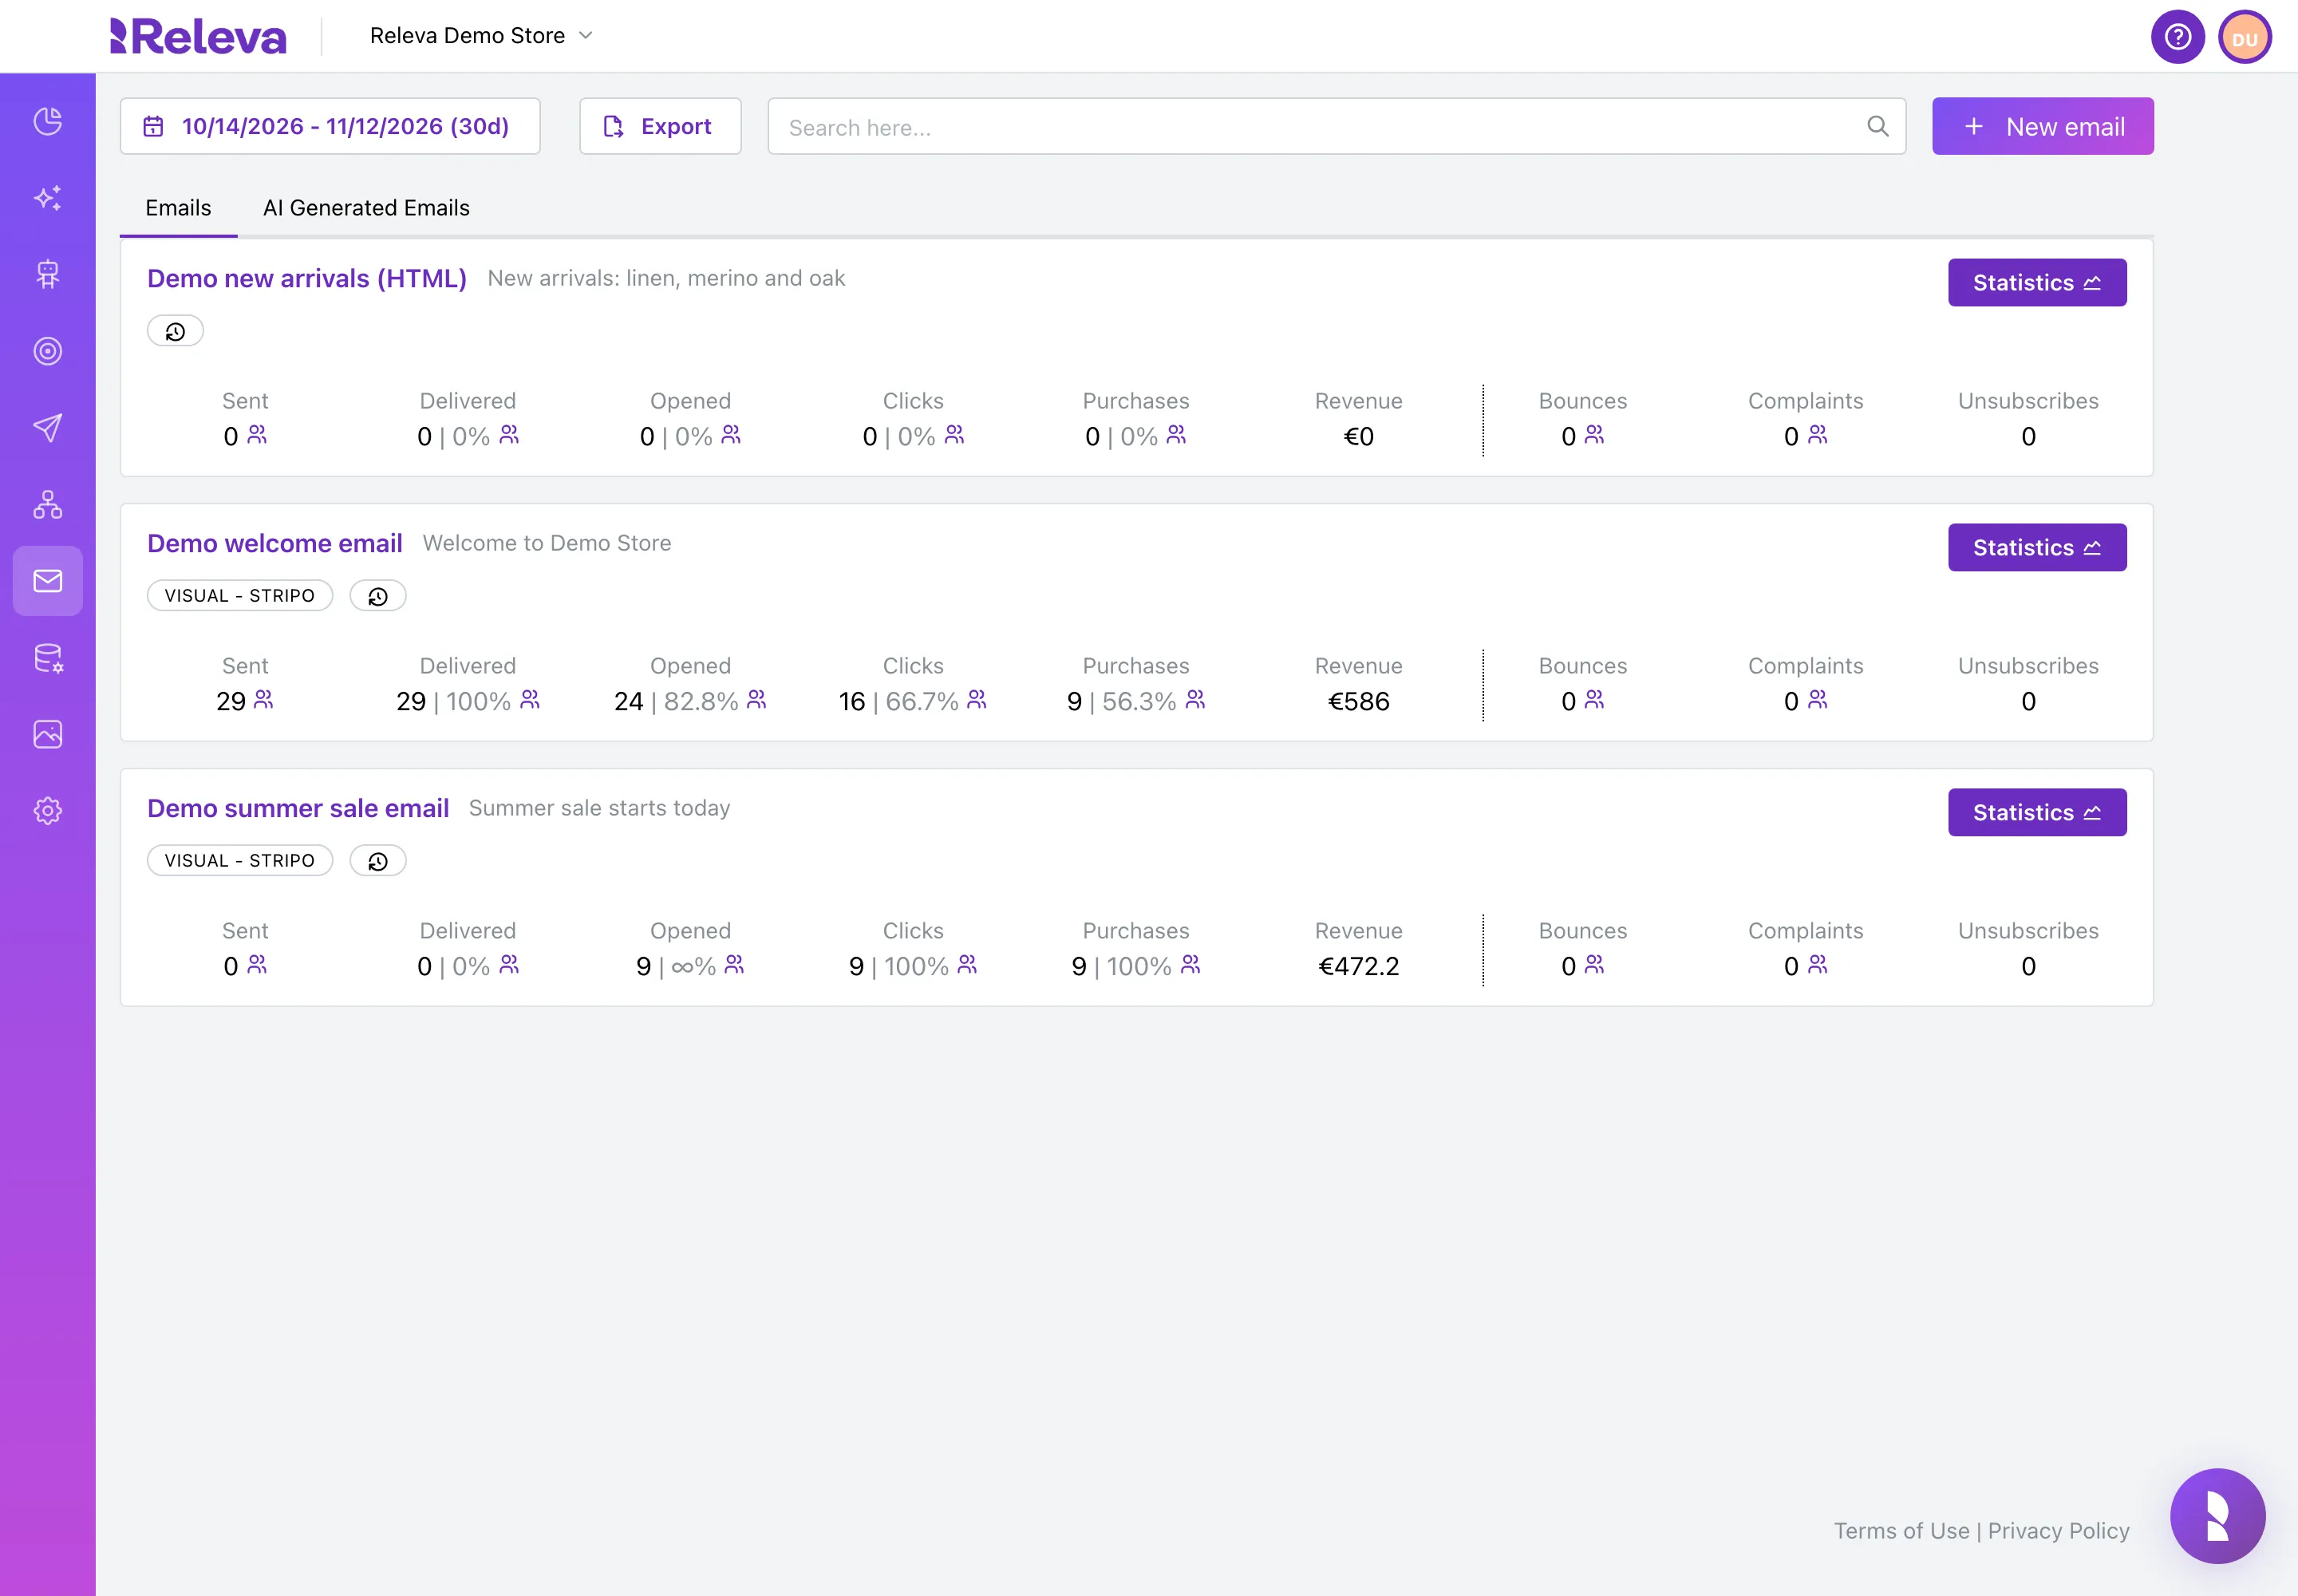
-
Select New email.
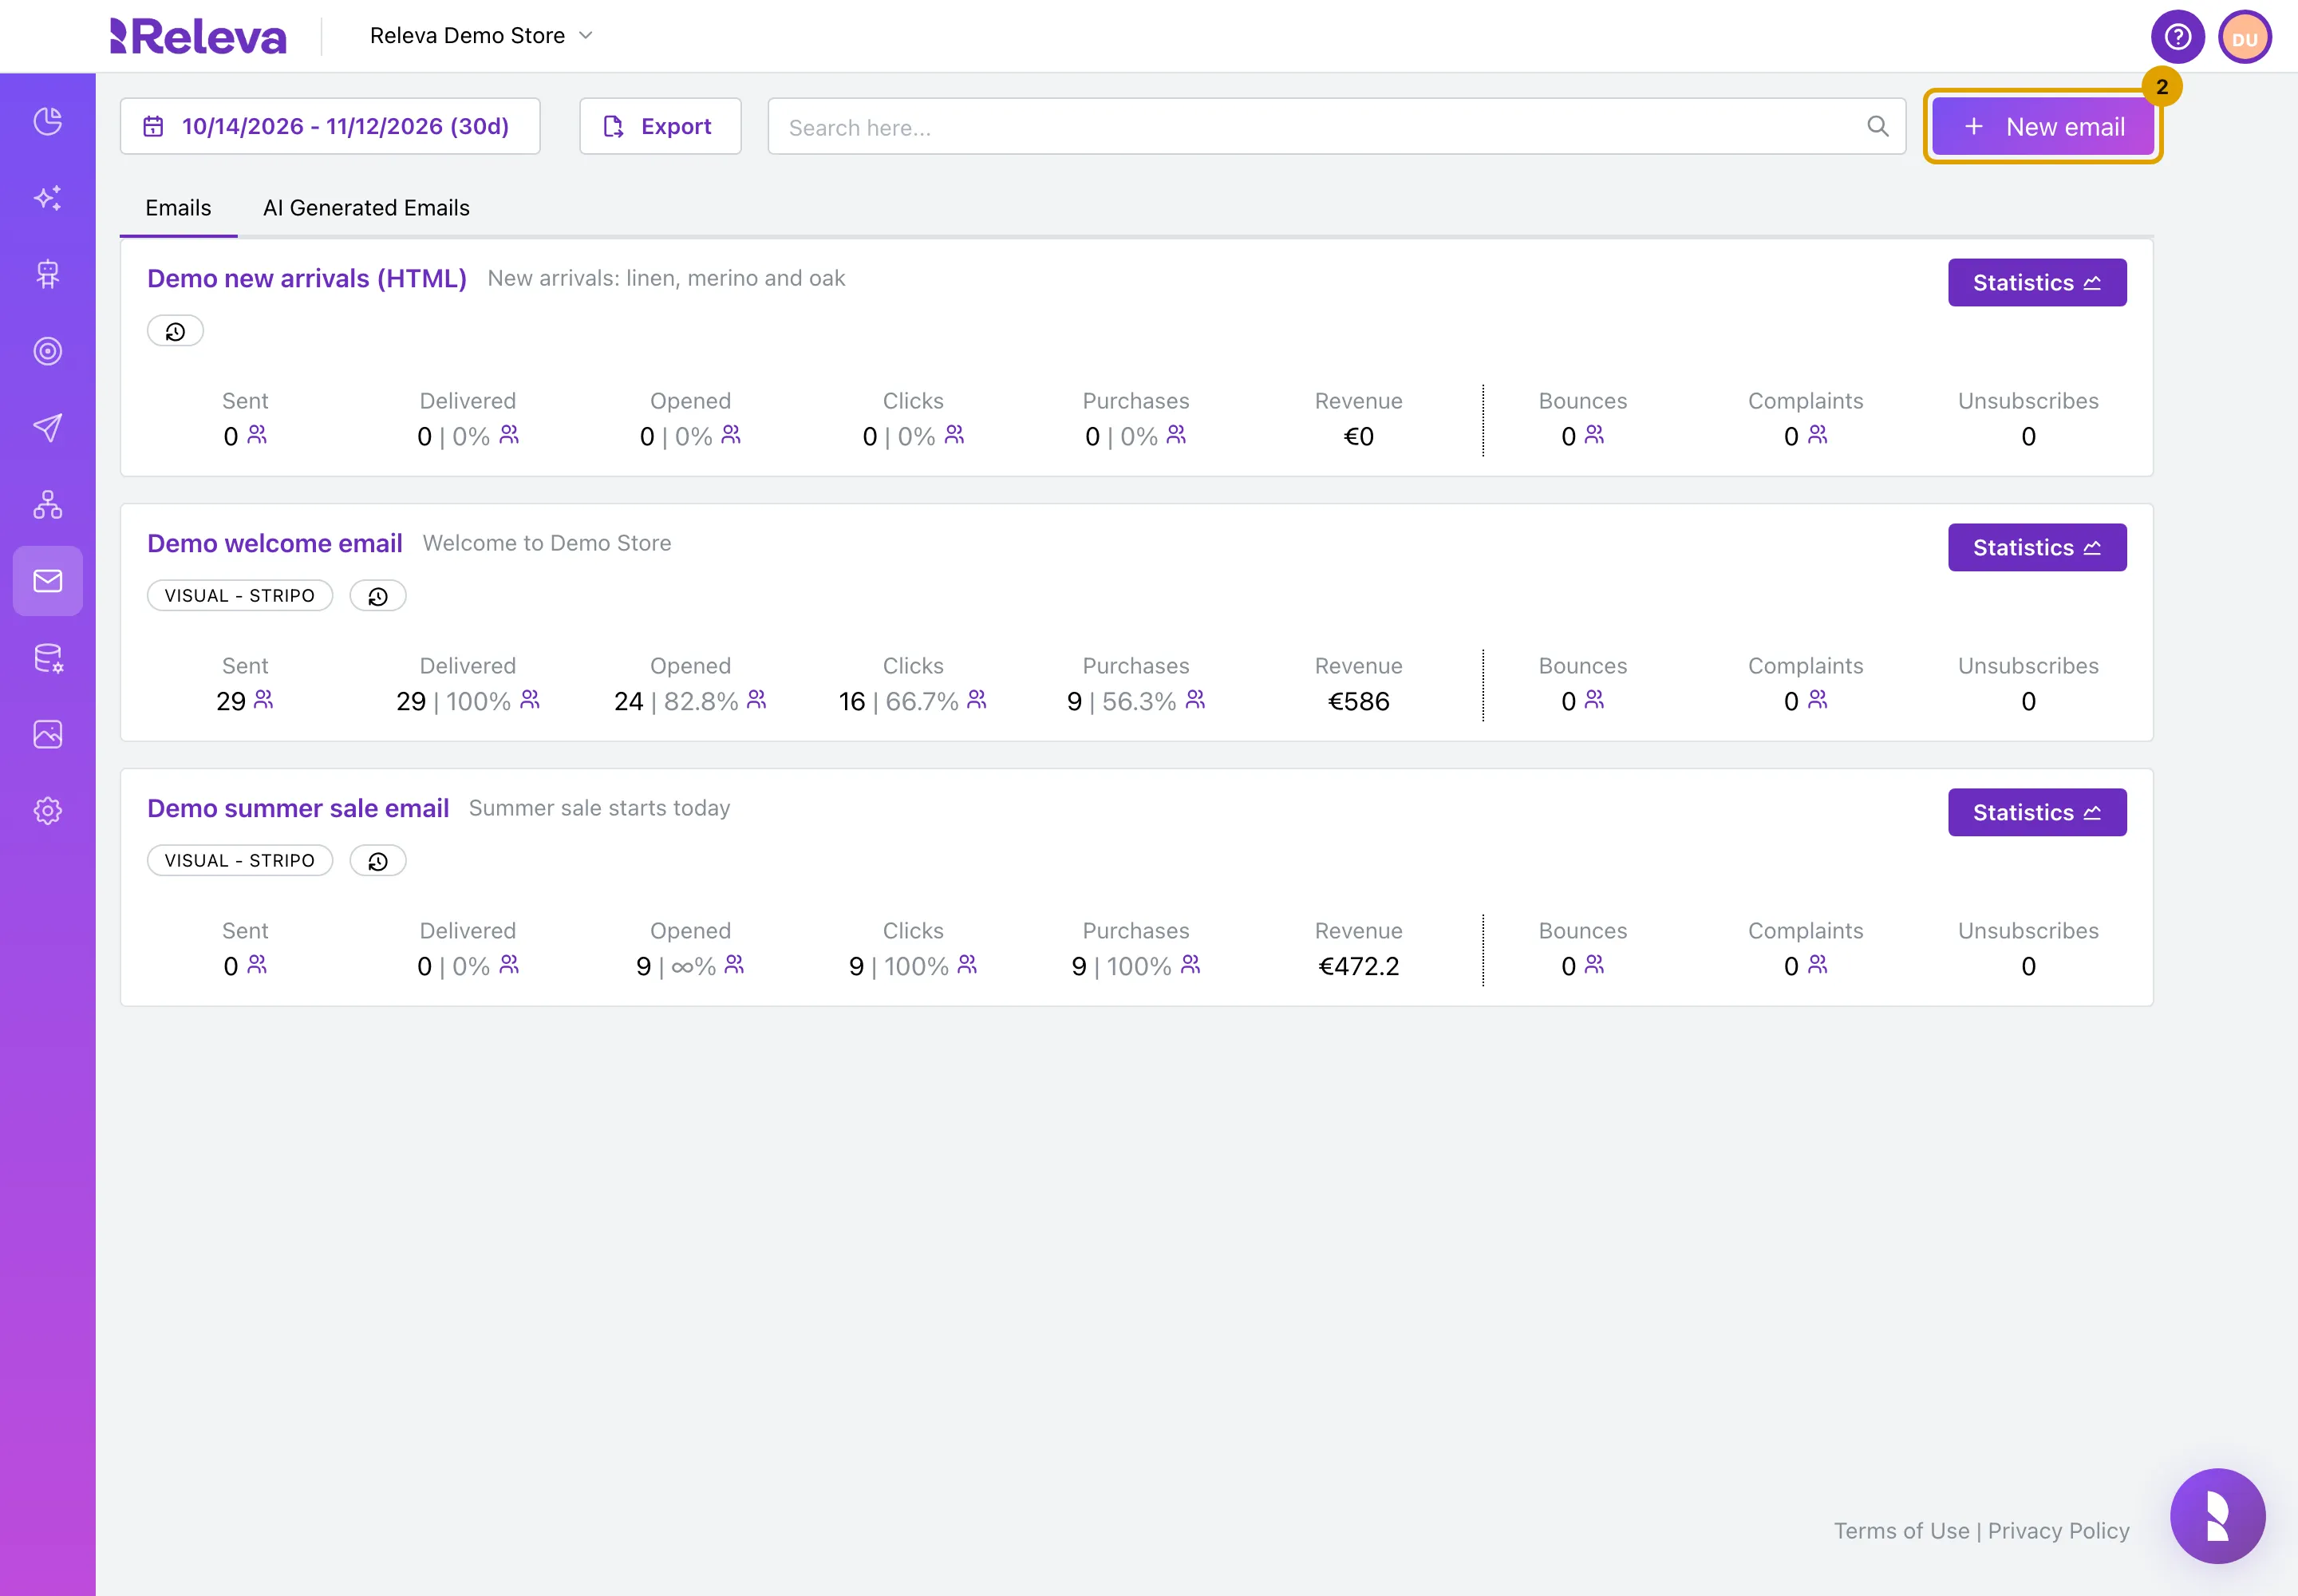
-
Select Create Blank to start from an empty design.
Browse Email Templates Gallery starts from a ready-made template instead.
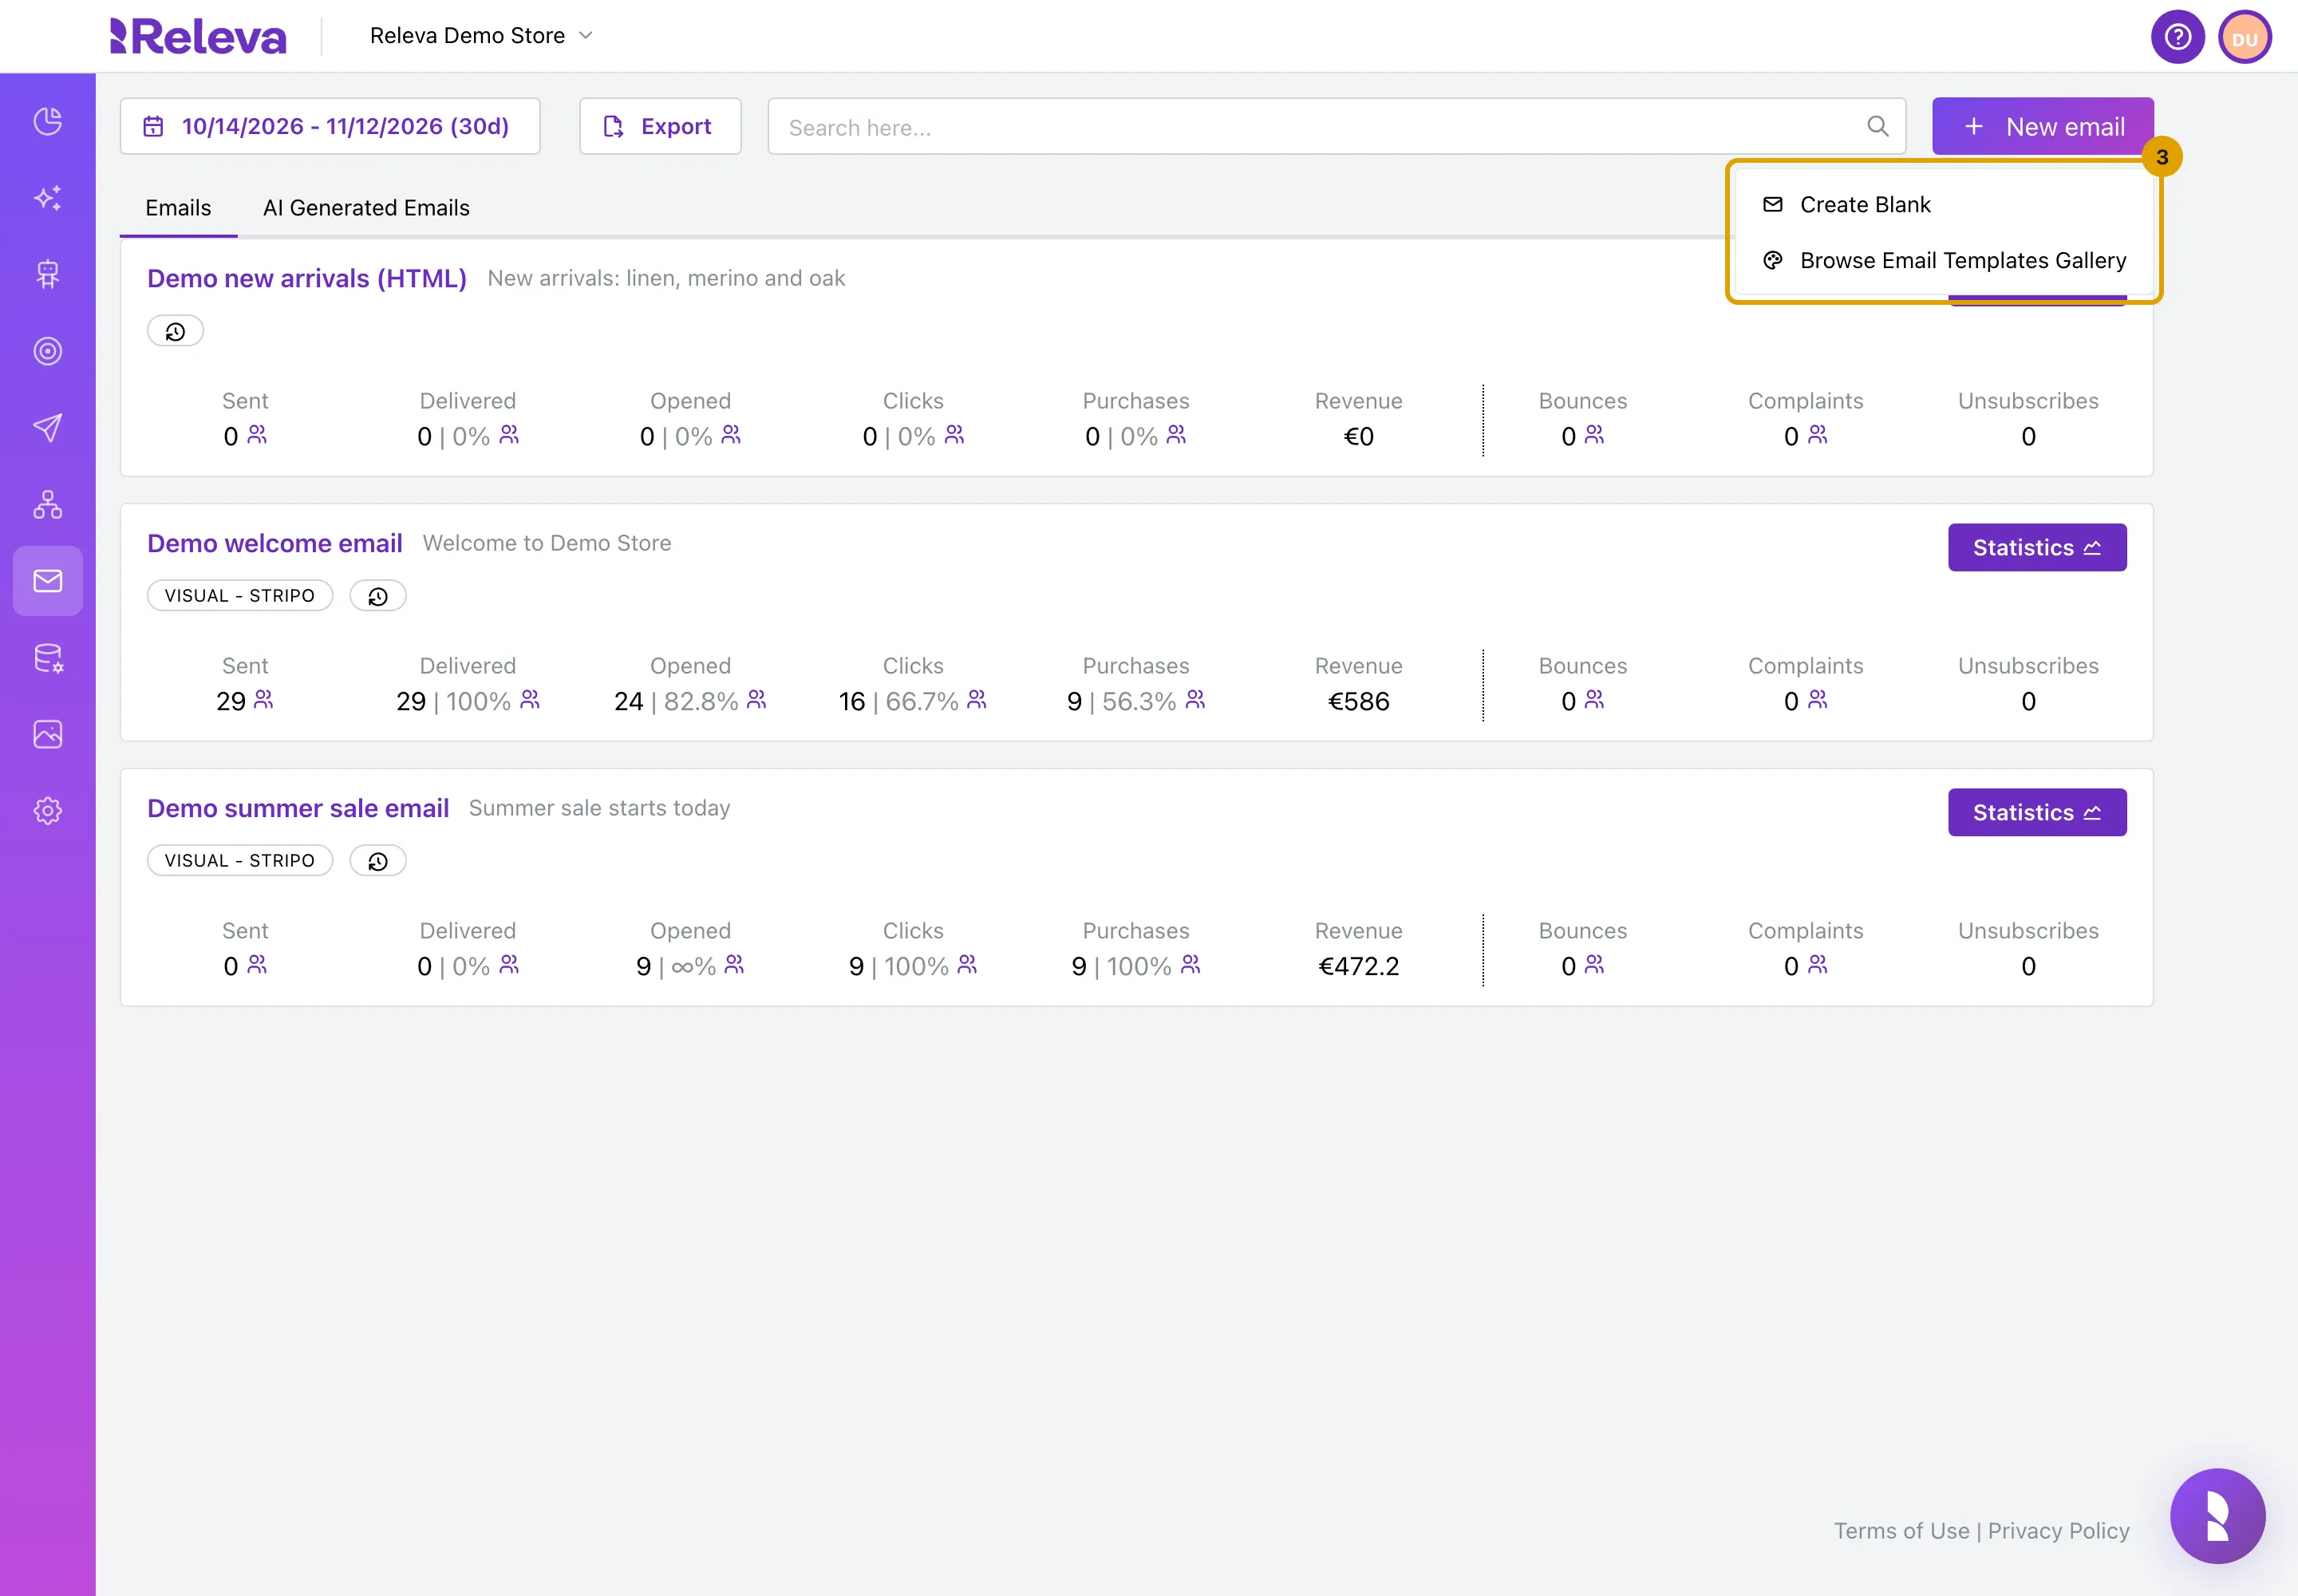
-
Enter a Name you will recognise in the list, a Subject and a Preview Text.
A new email starts with the name “New email” and the date, and the subject “Test email”. Sender Name starts with your shop’s default sender name. Preview Text shows in the inbox after the subject, not in the email body.
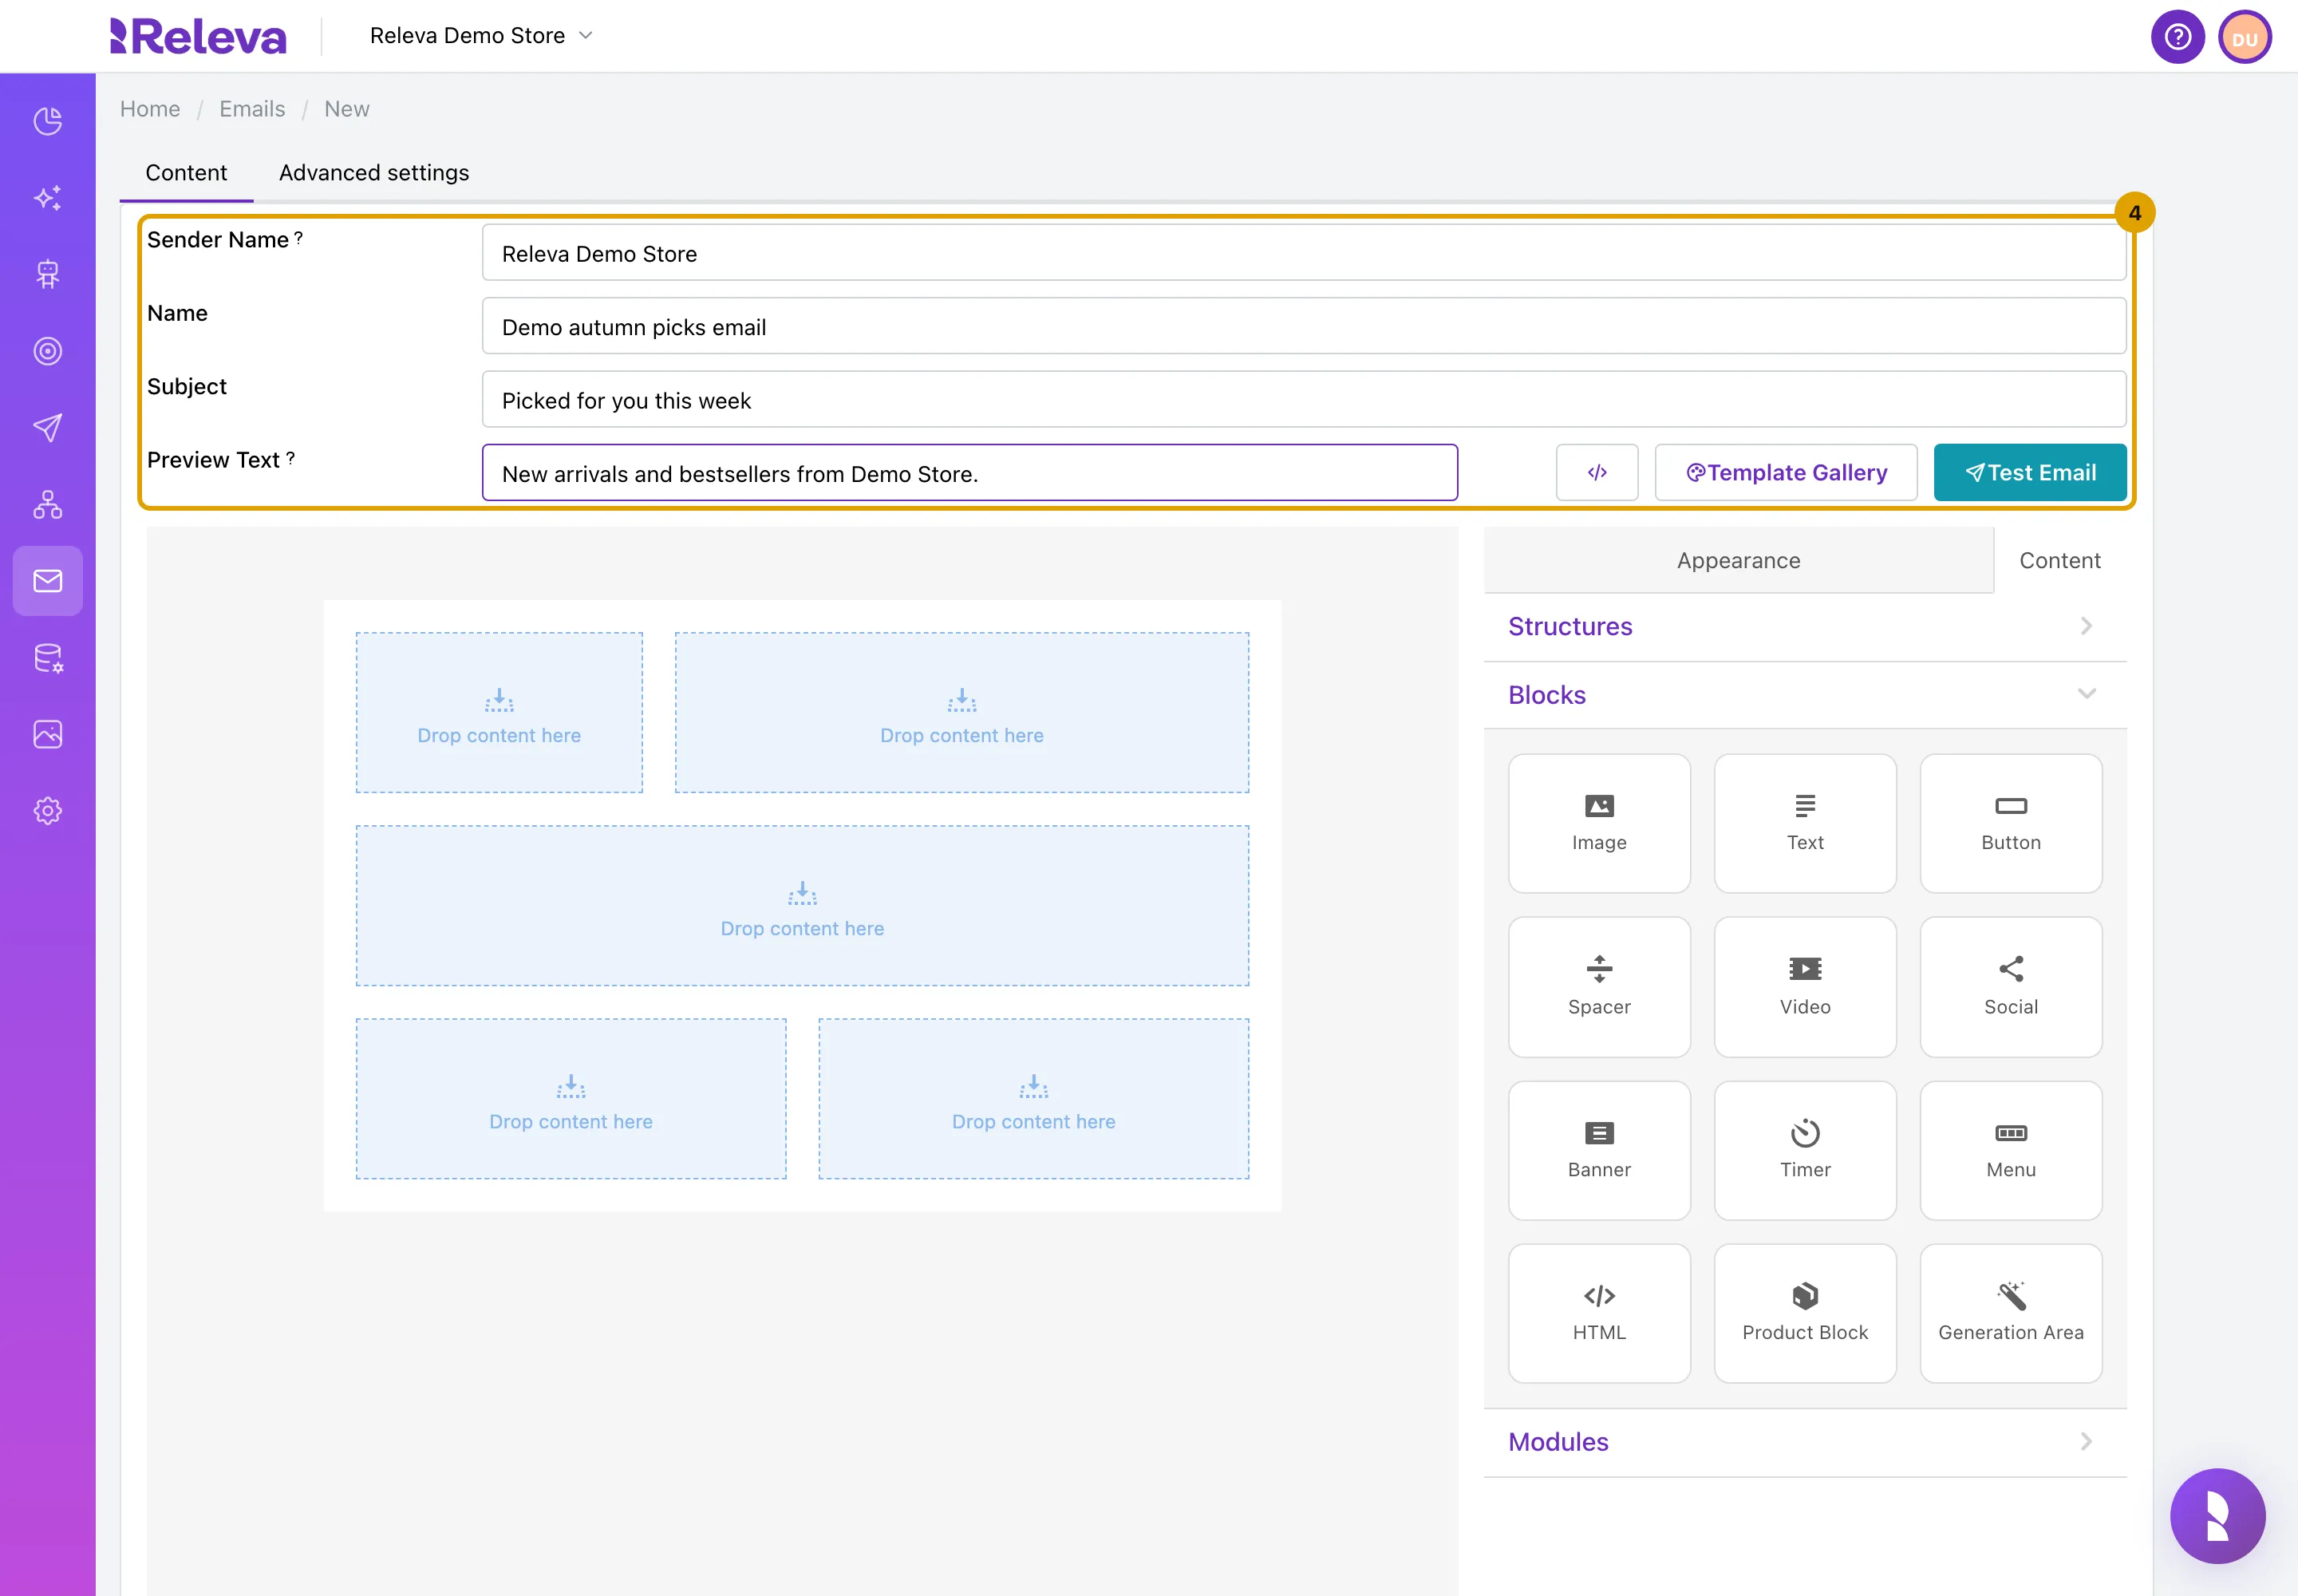
-
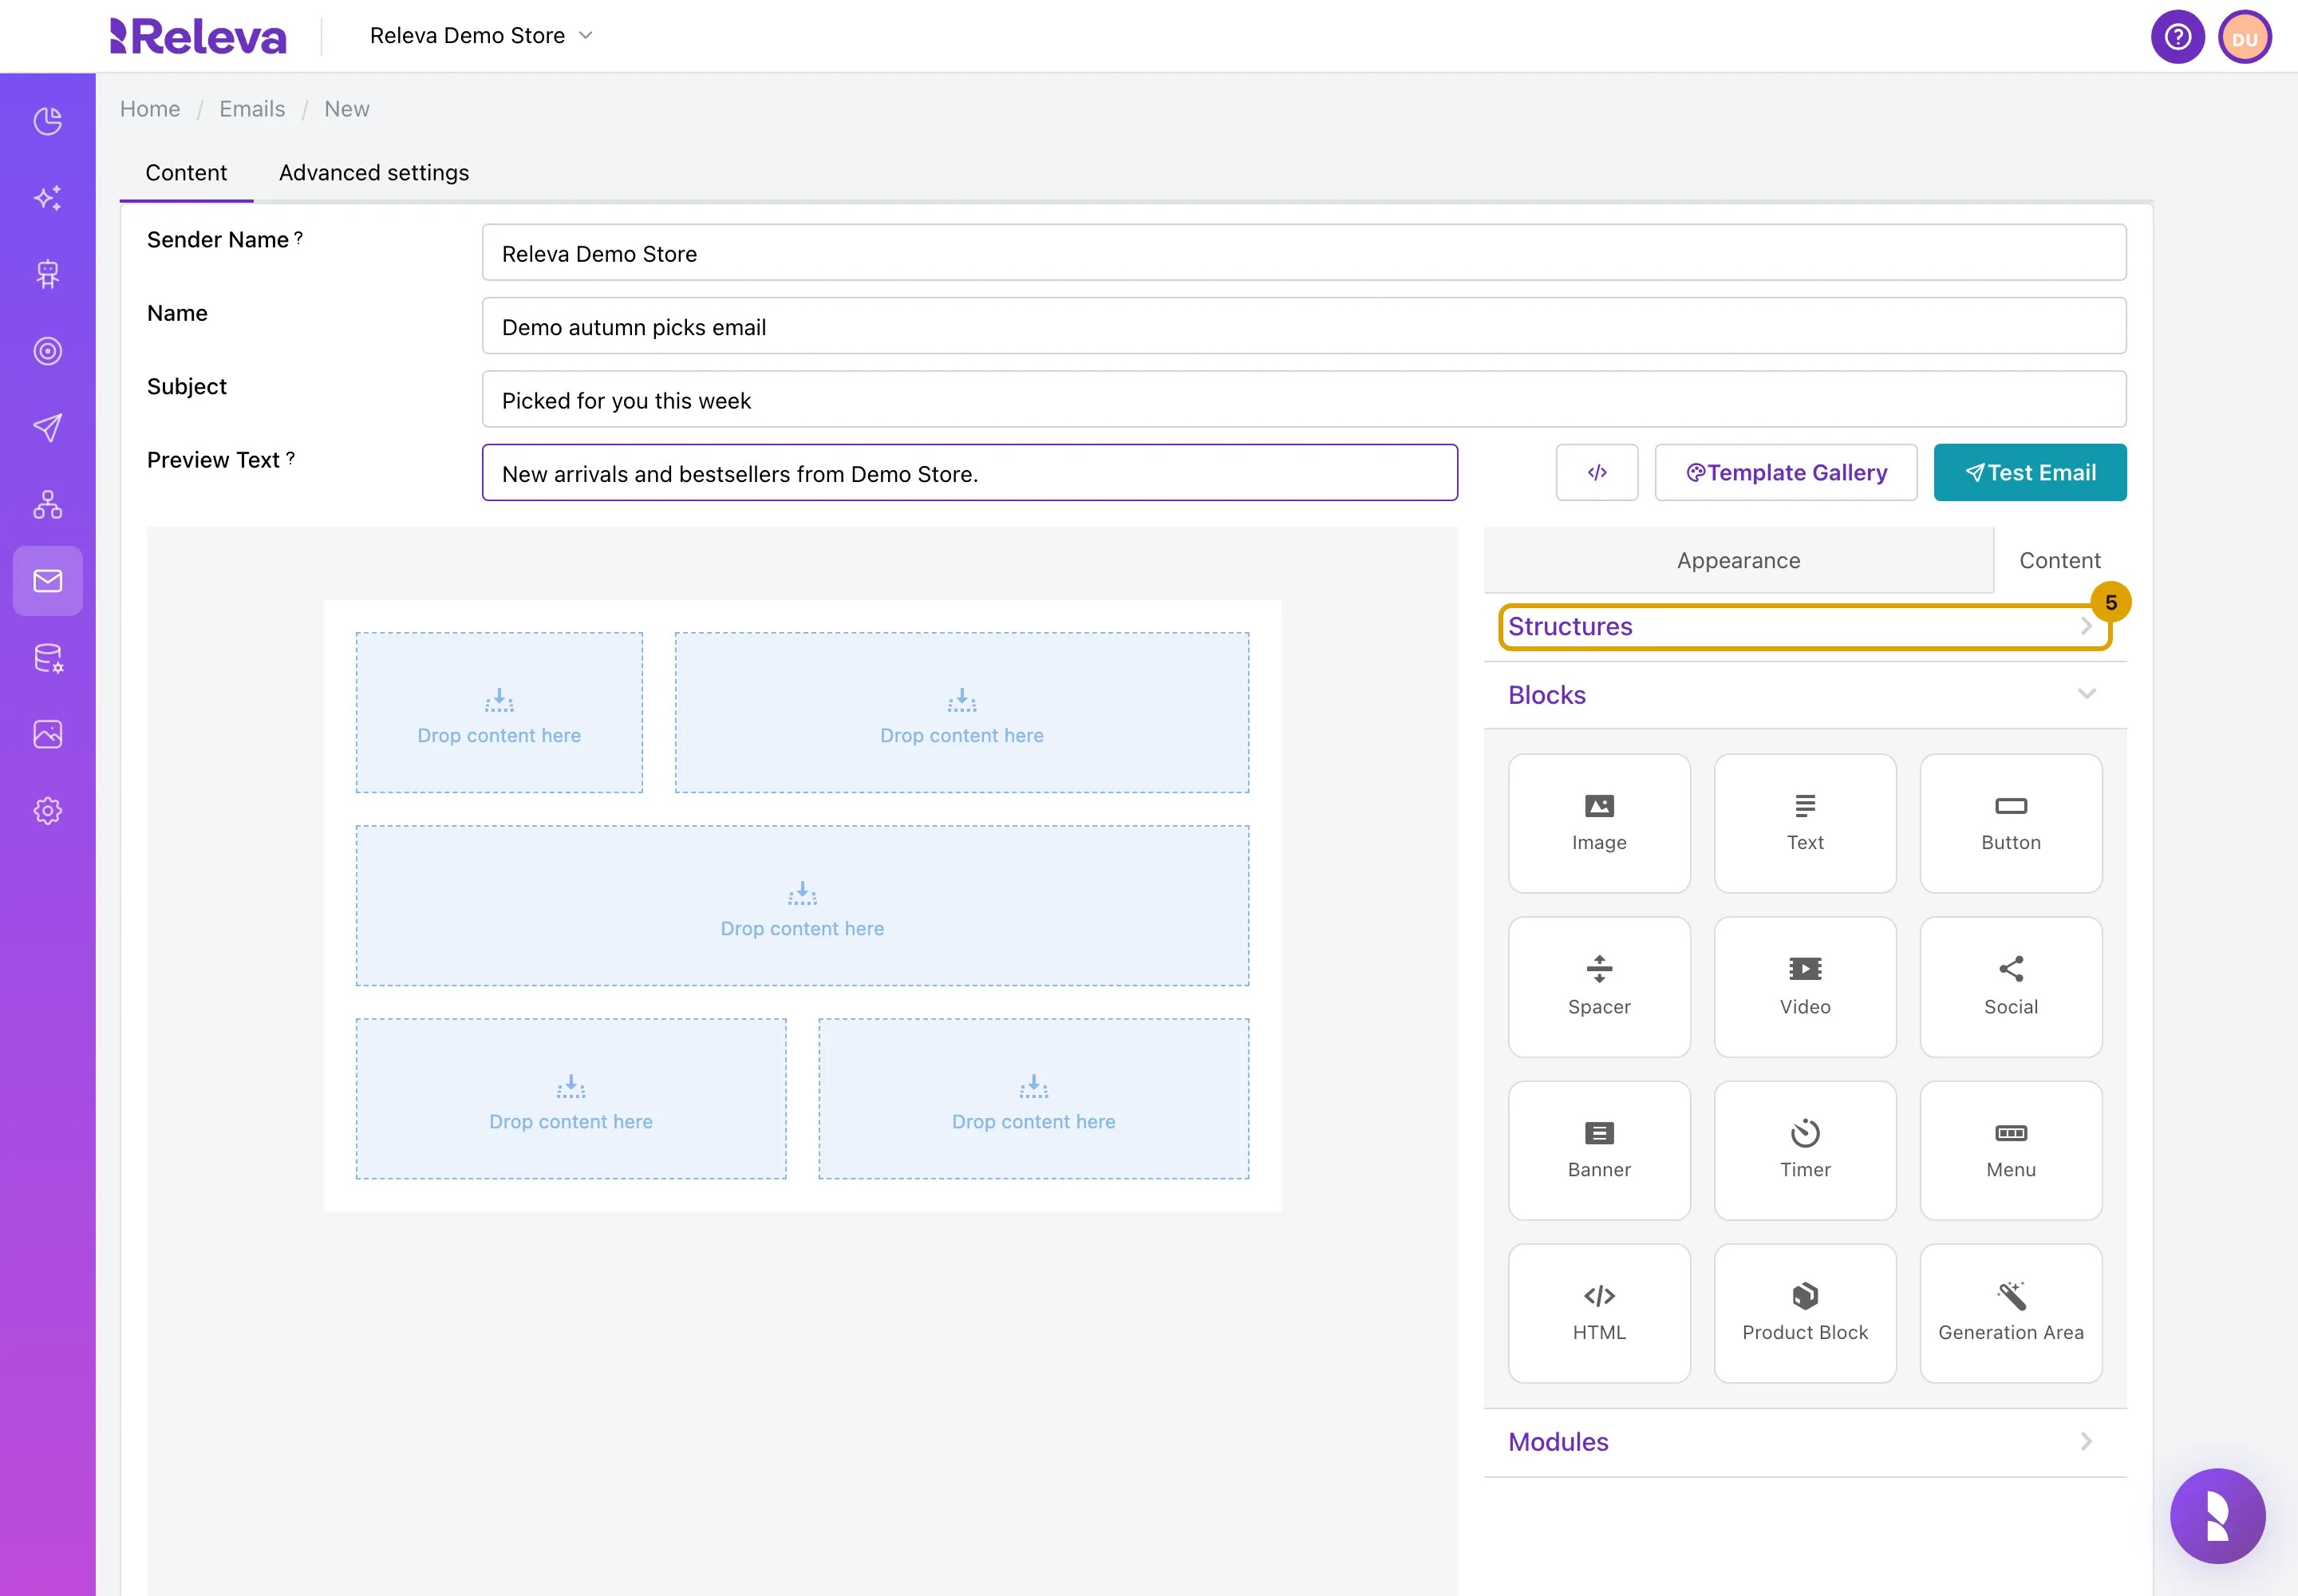
Open Structures to see the row layouts. Drag a structure onto the email to add a row with one or more columns.
A blank email already has a few empty structures, each with Drop content here areas.
-
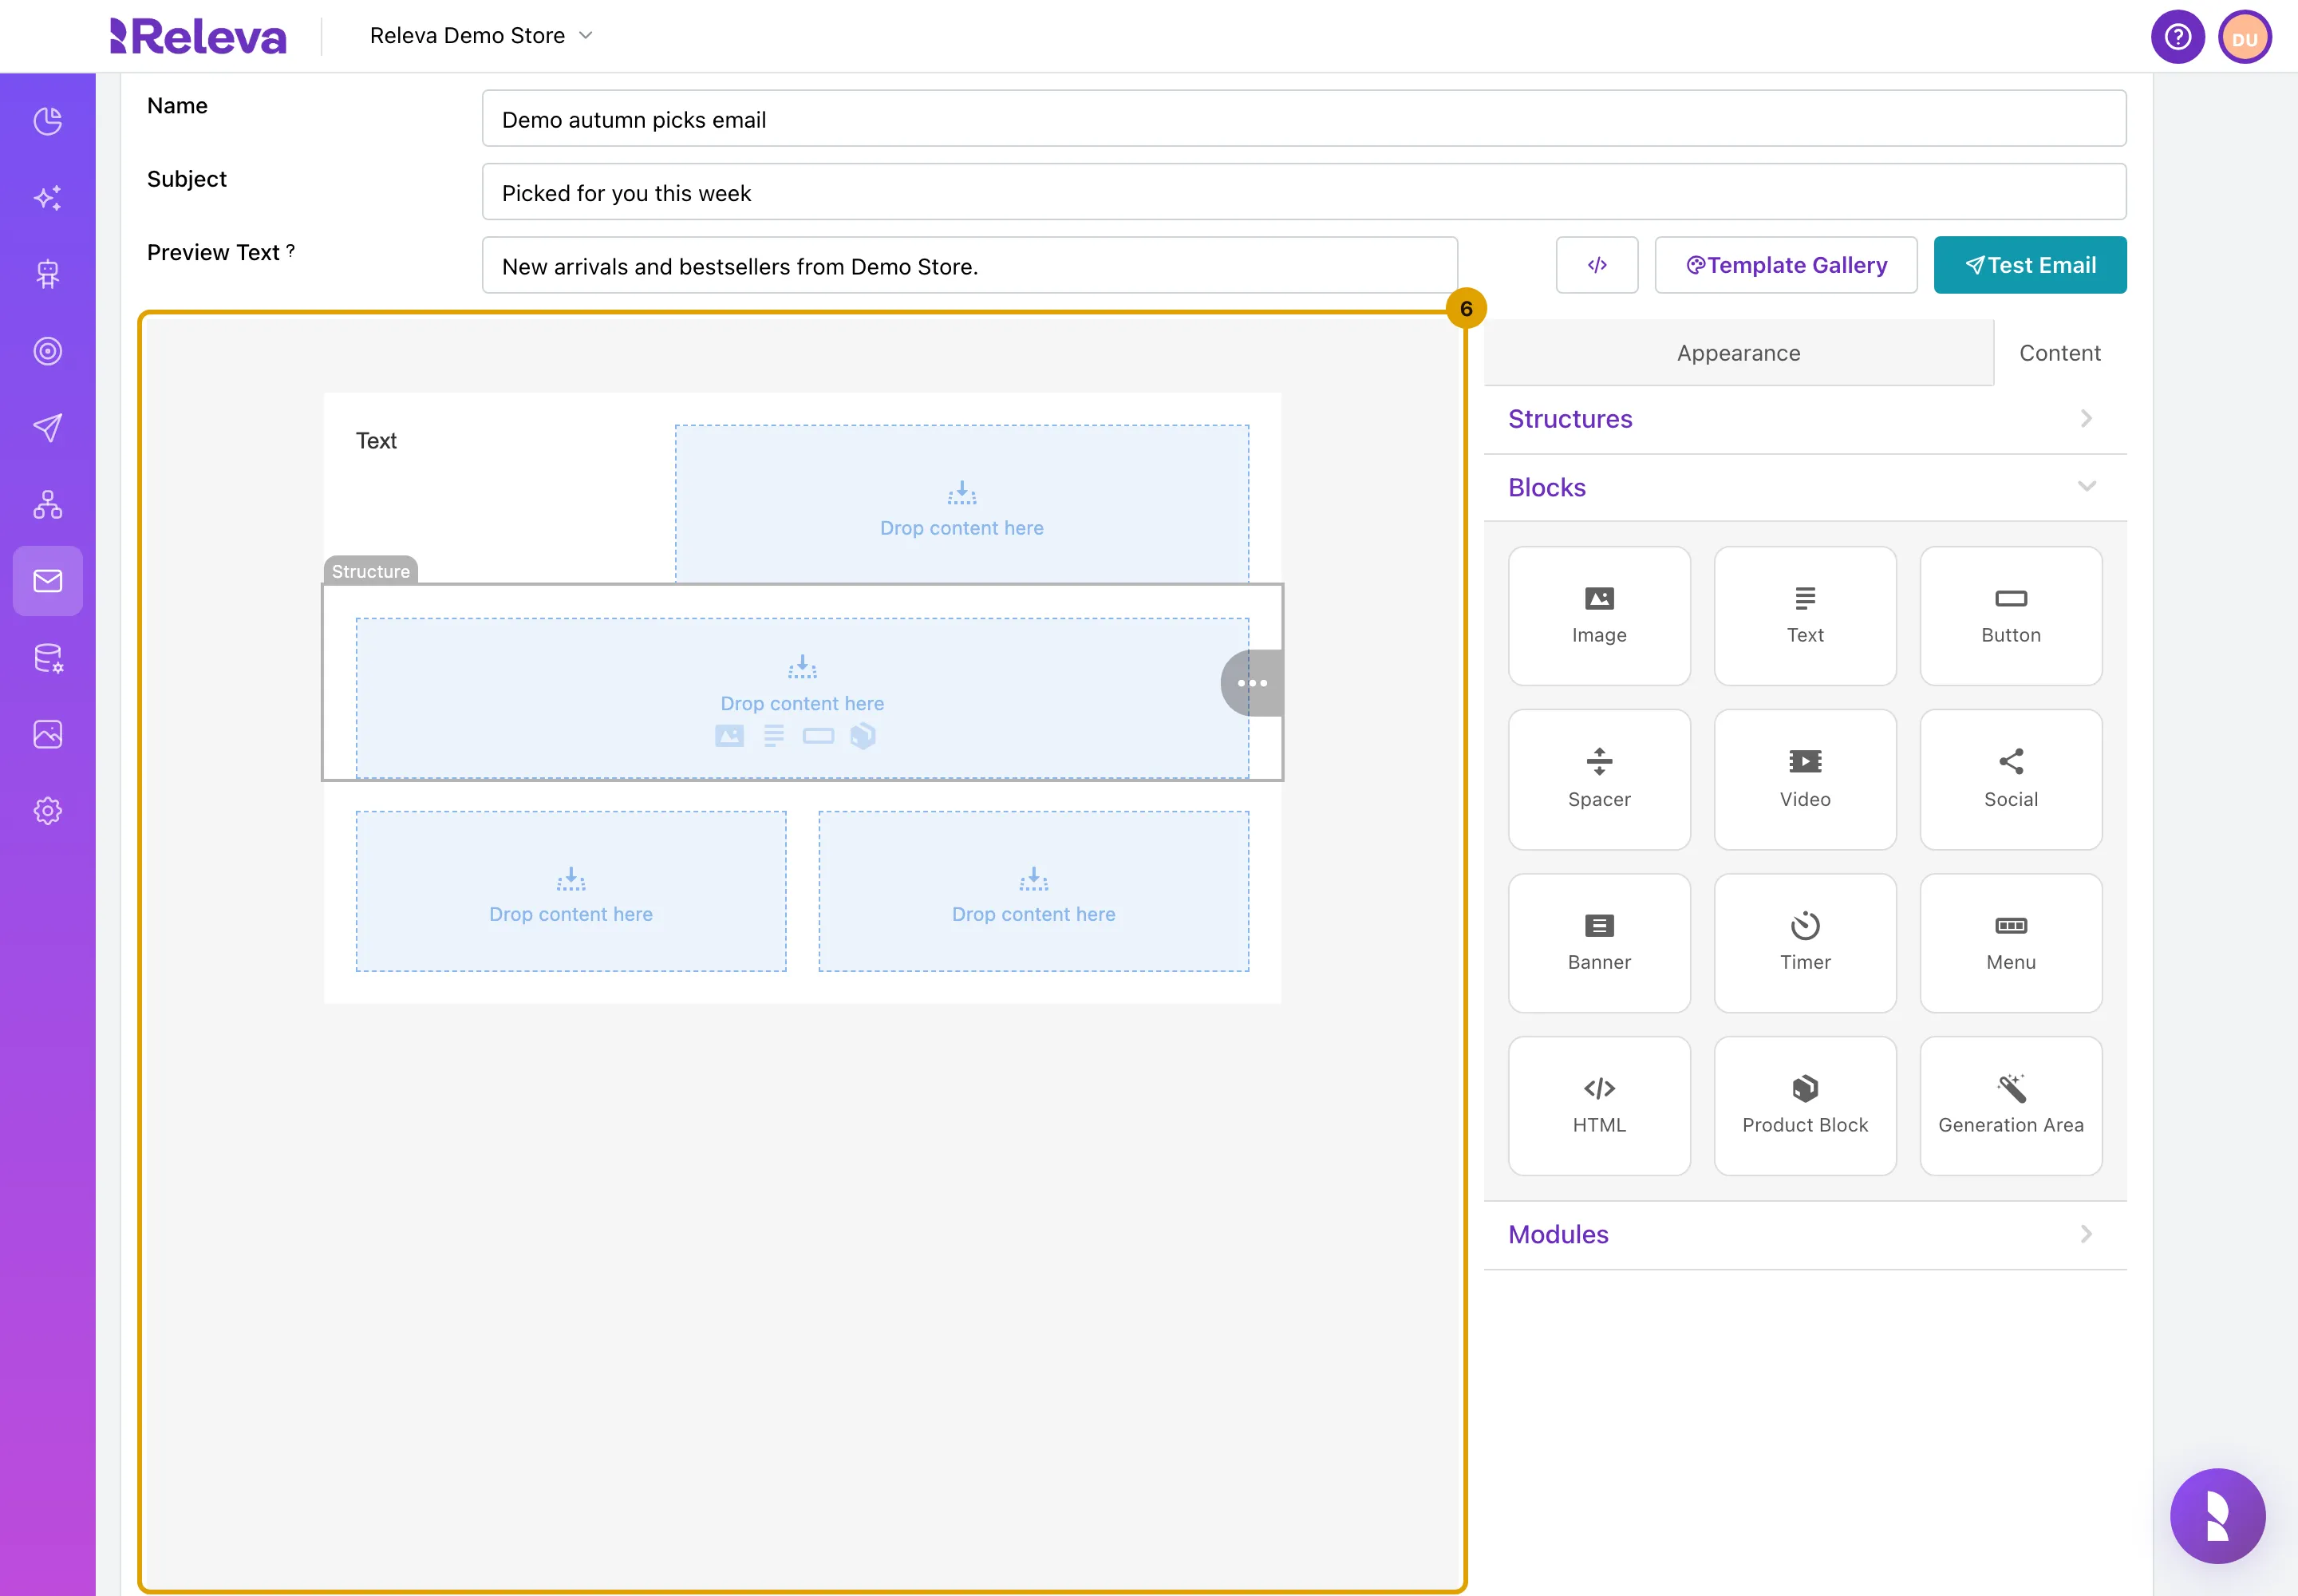
Under Blocks, drag Text onto a Drop content here area.
The other blocks are Image, Button, Spacer, Video, Social, Banner, Timer, Menu, HTML, Product Block and Generation Area. Select a block to change its settings on the right; select back to return to the block list.
-
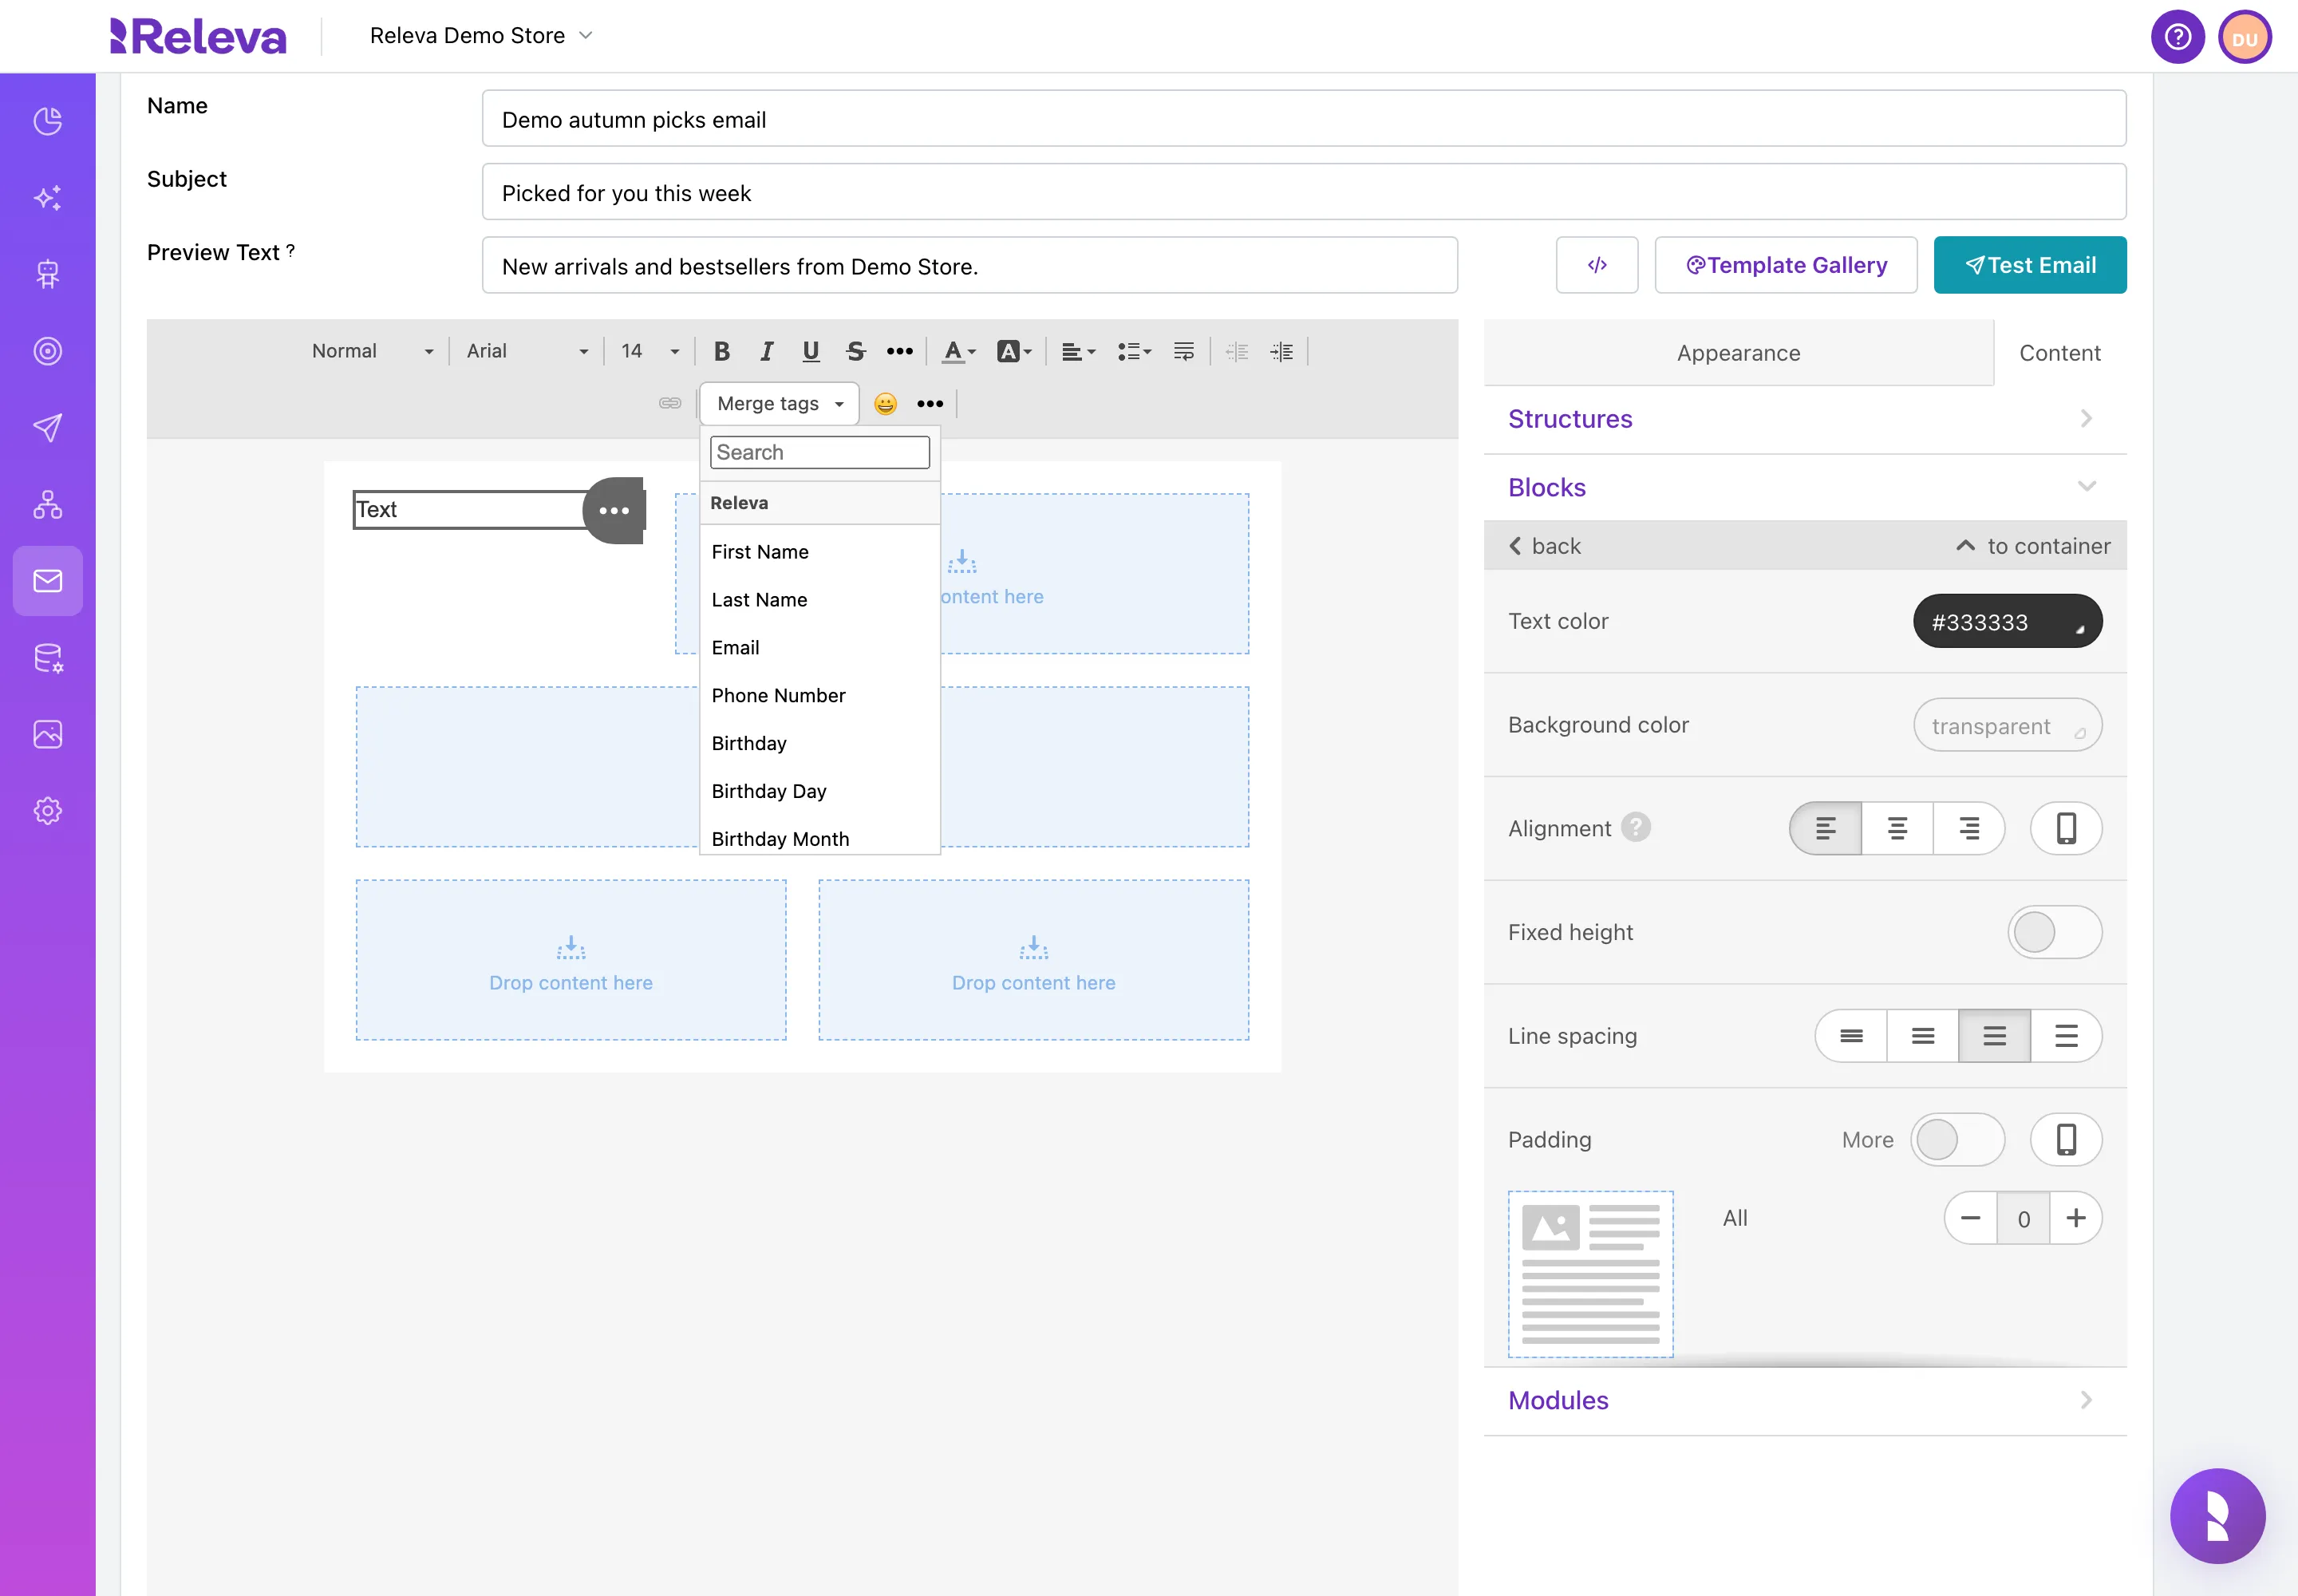
Select the text block and open Merge tags in the text toolbar. Pick a tag, for example First Name.
The Releva list holds profile fields such as First Name, Last Name, Email and Phone Number, your custom fields, dynamic coupons and survey values. To give each recipient their own coupon code, pick your list’s Dynamic coupon: … entry. Each tag is filled in for every recipient when the email is sent. For links, the link settings offer special links such as Unsubscribe link, Subscribe link, Subscription Management Link, View in browser link and one survey link per survey.
-
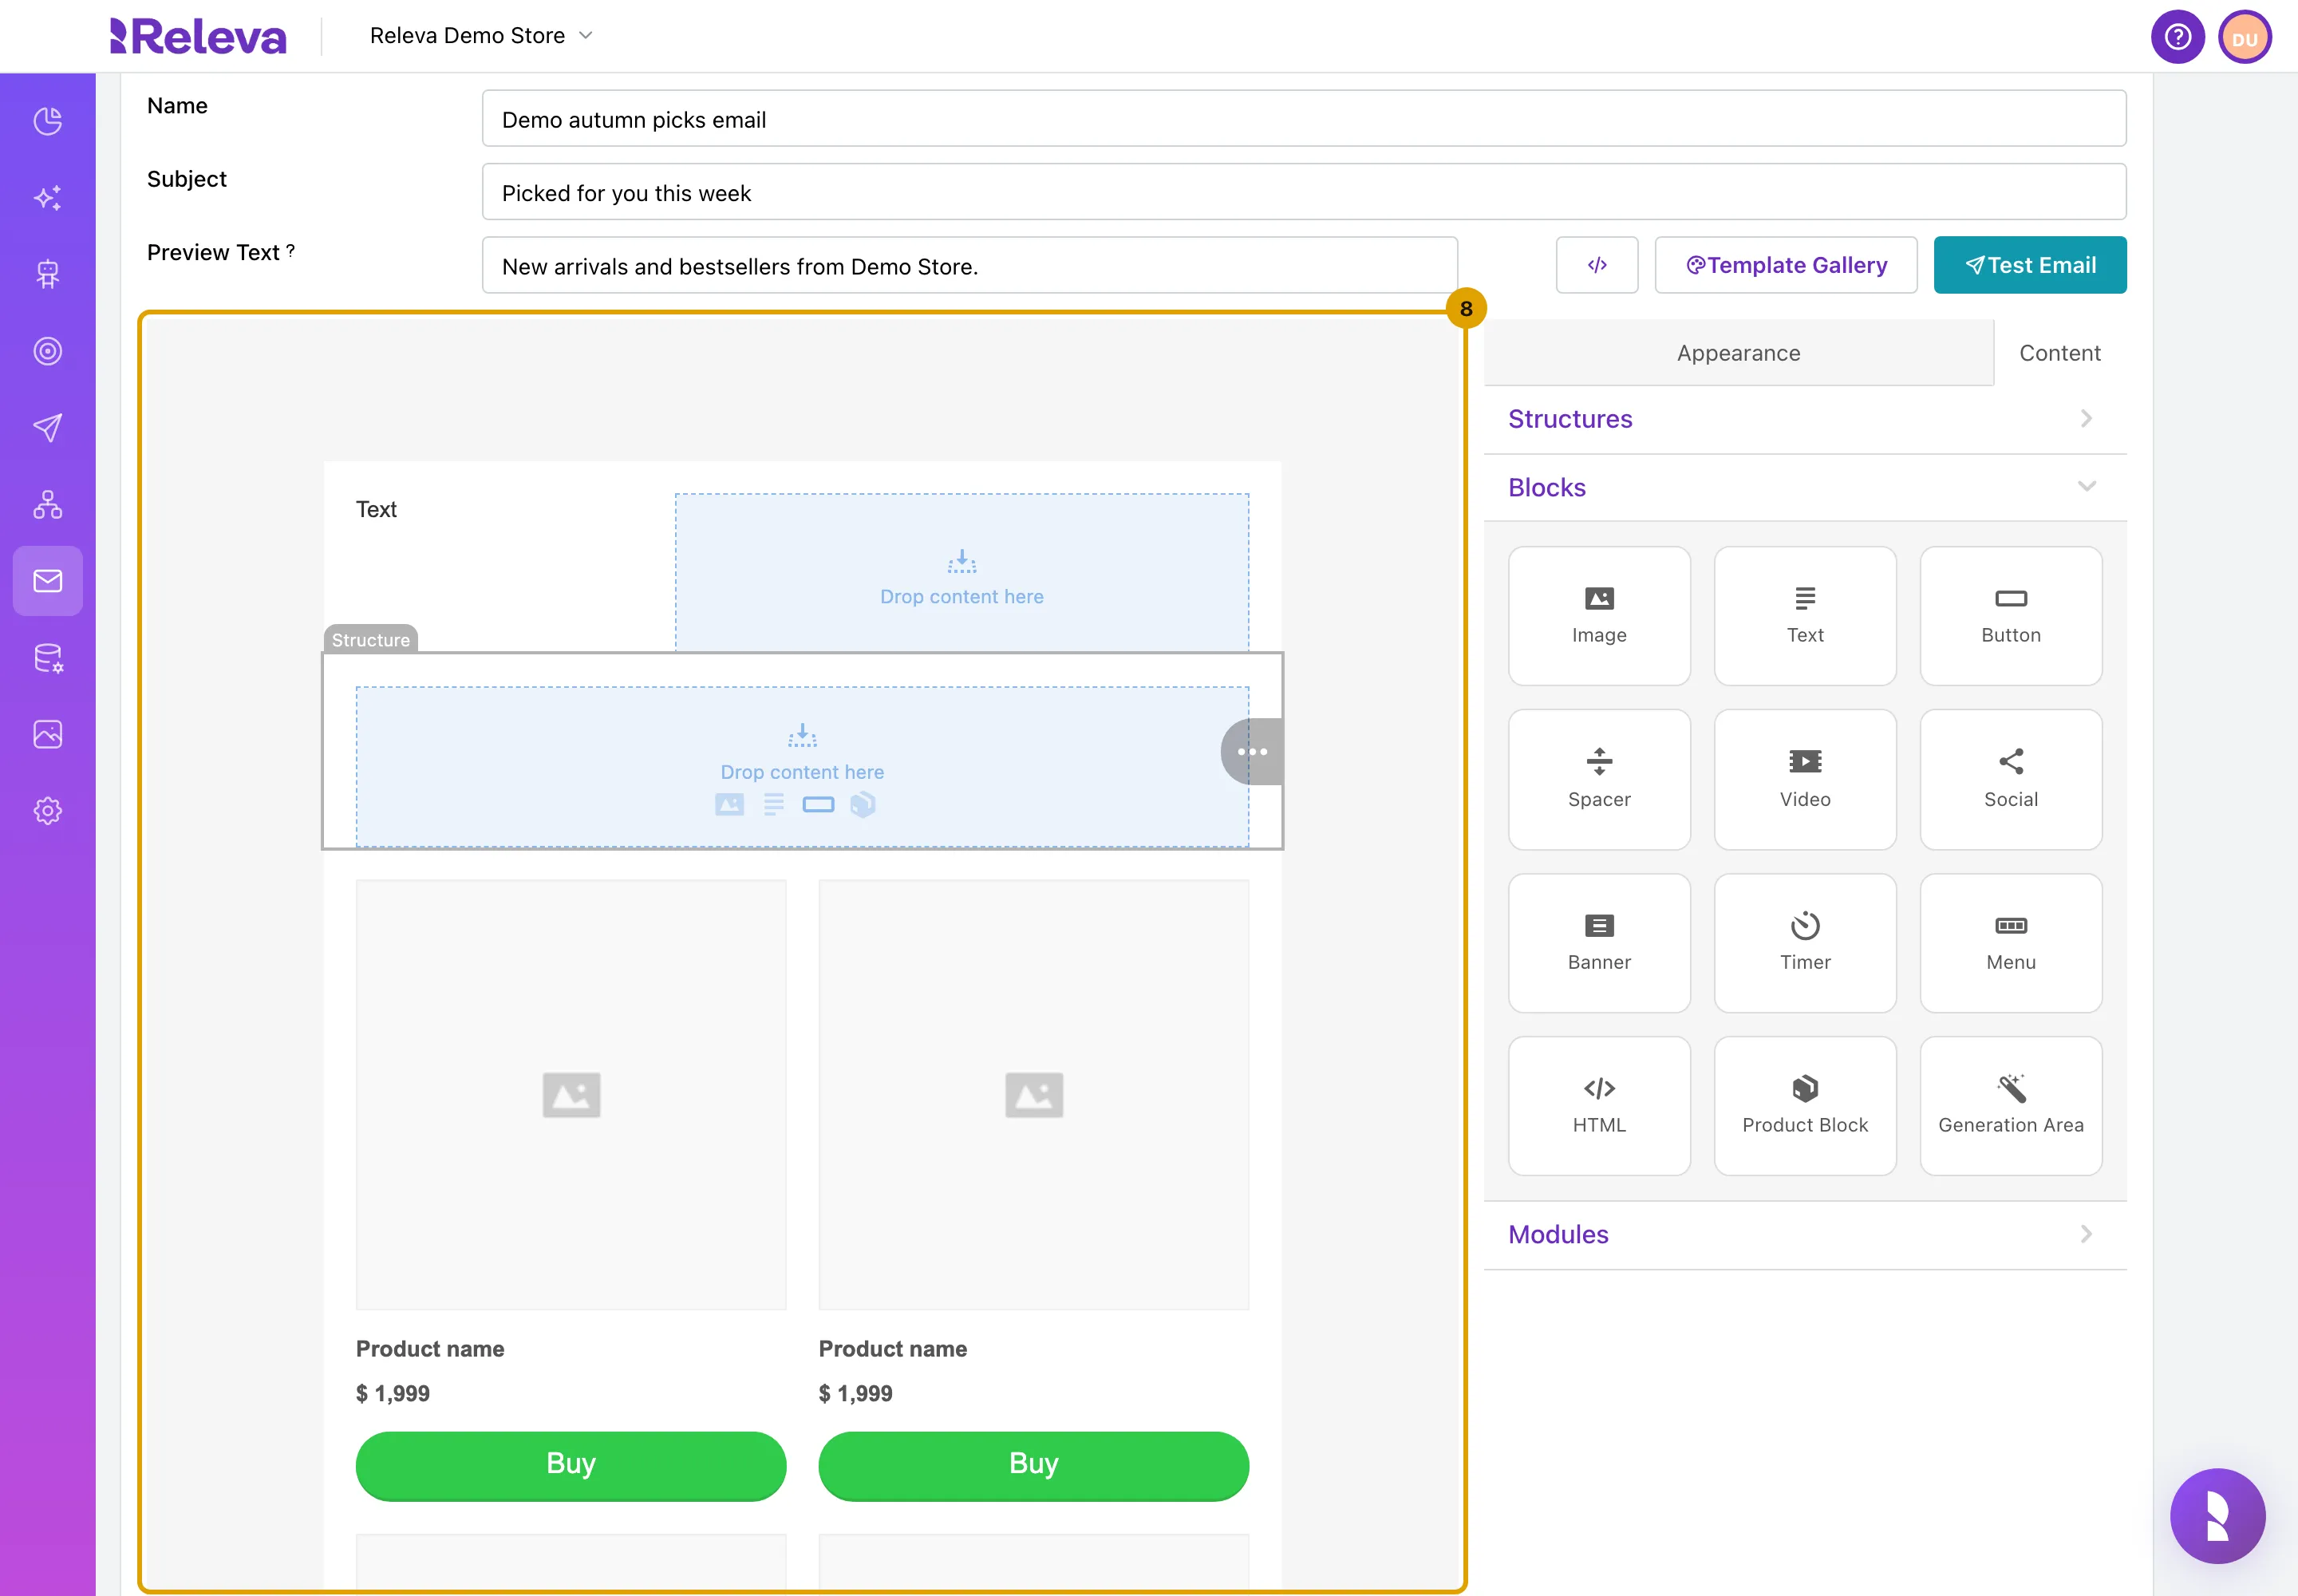
Drag Product Block onto another drop area.
The block is a placeholder. Releva fills it with products for each recipient when the email is sent.
-
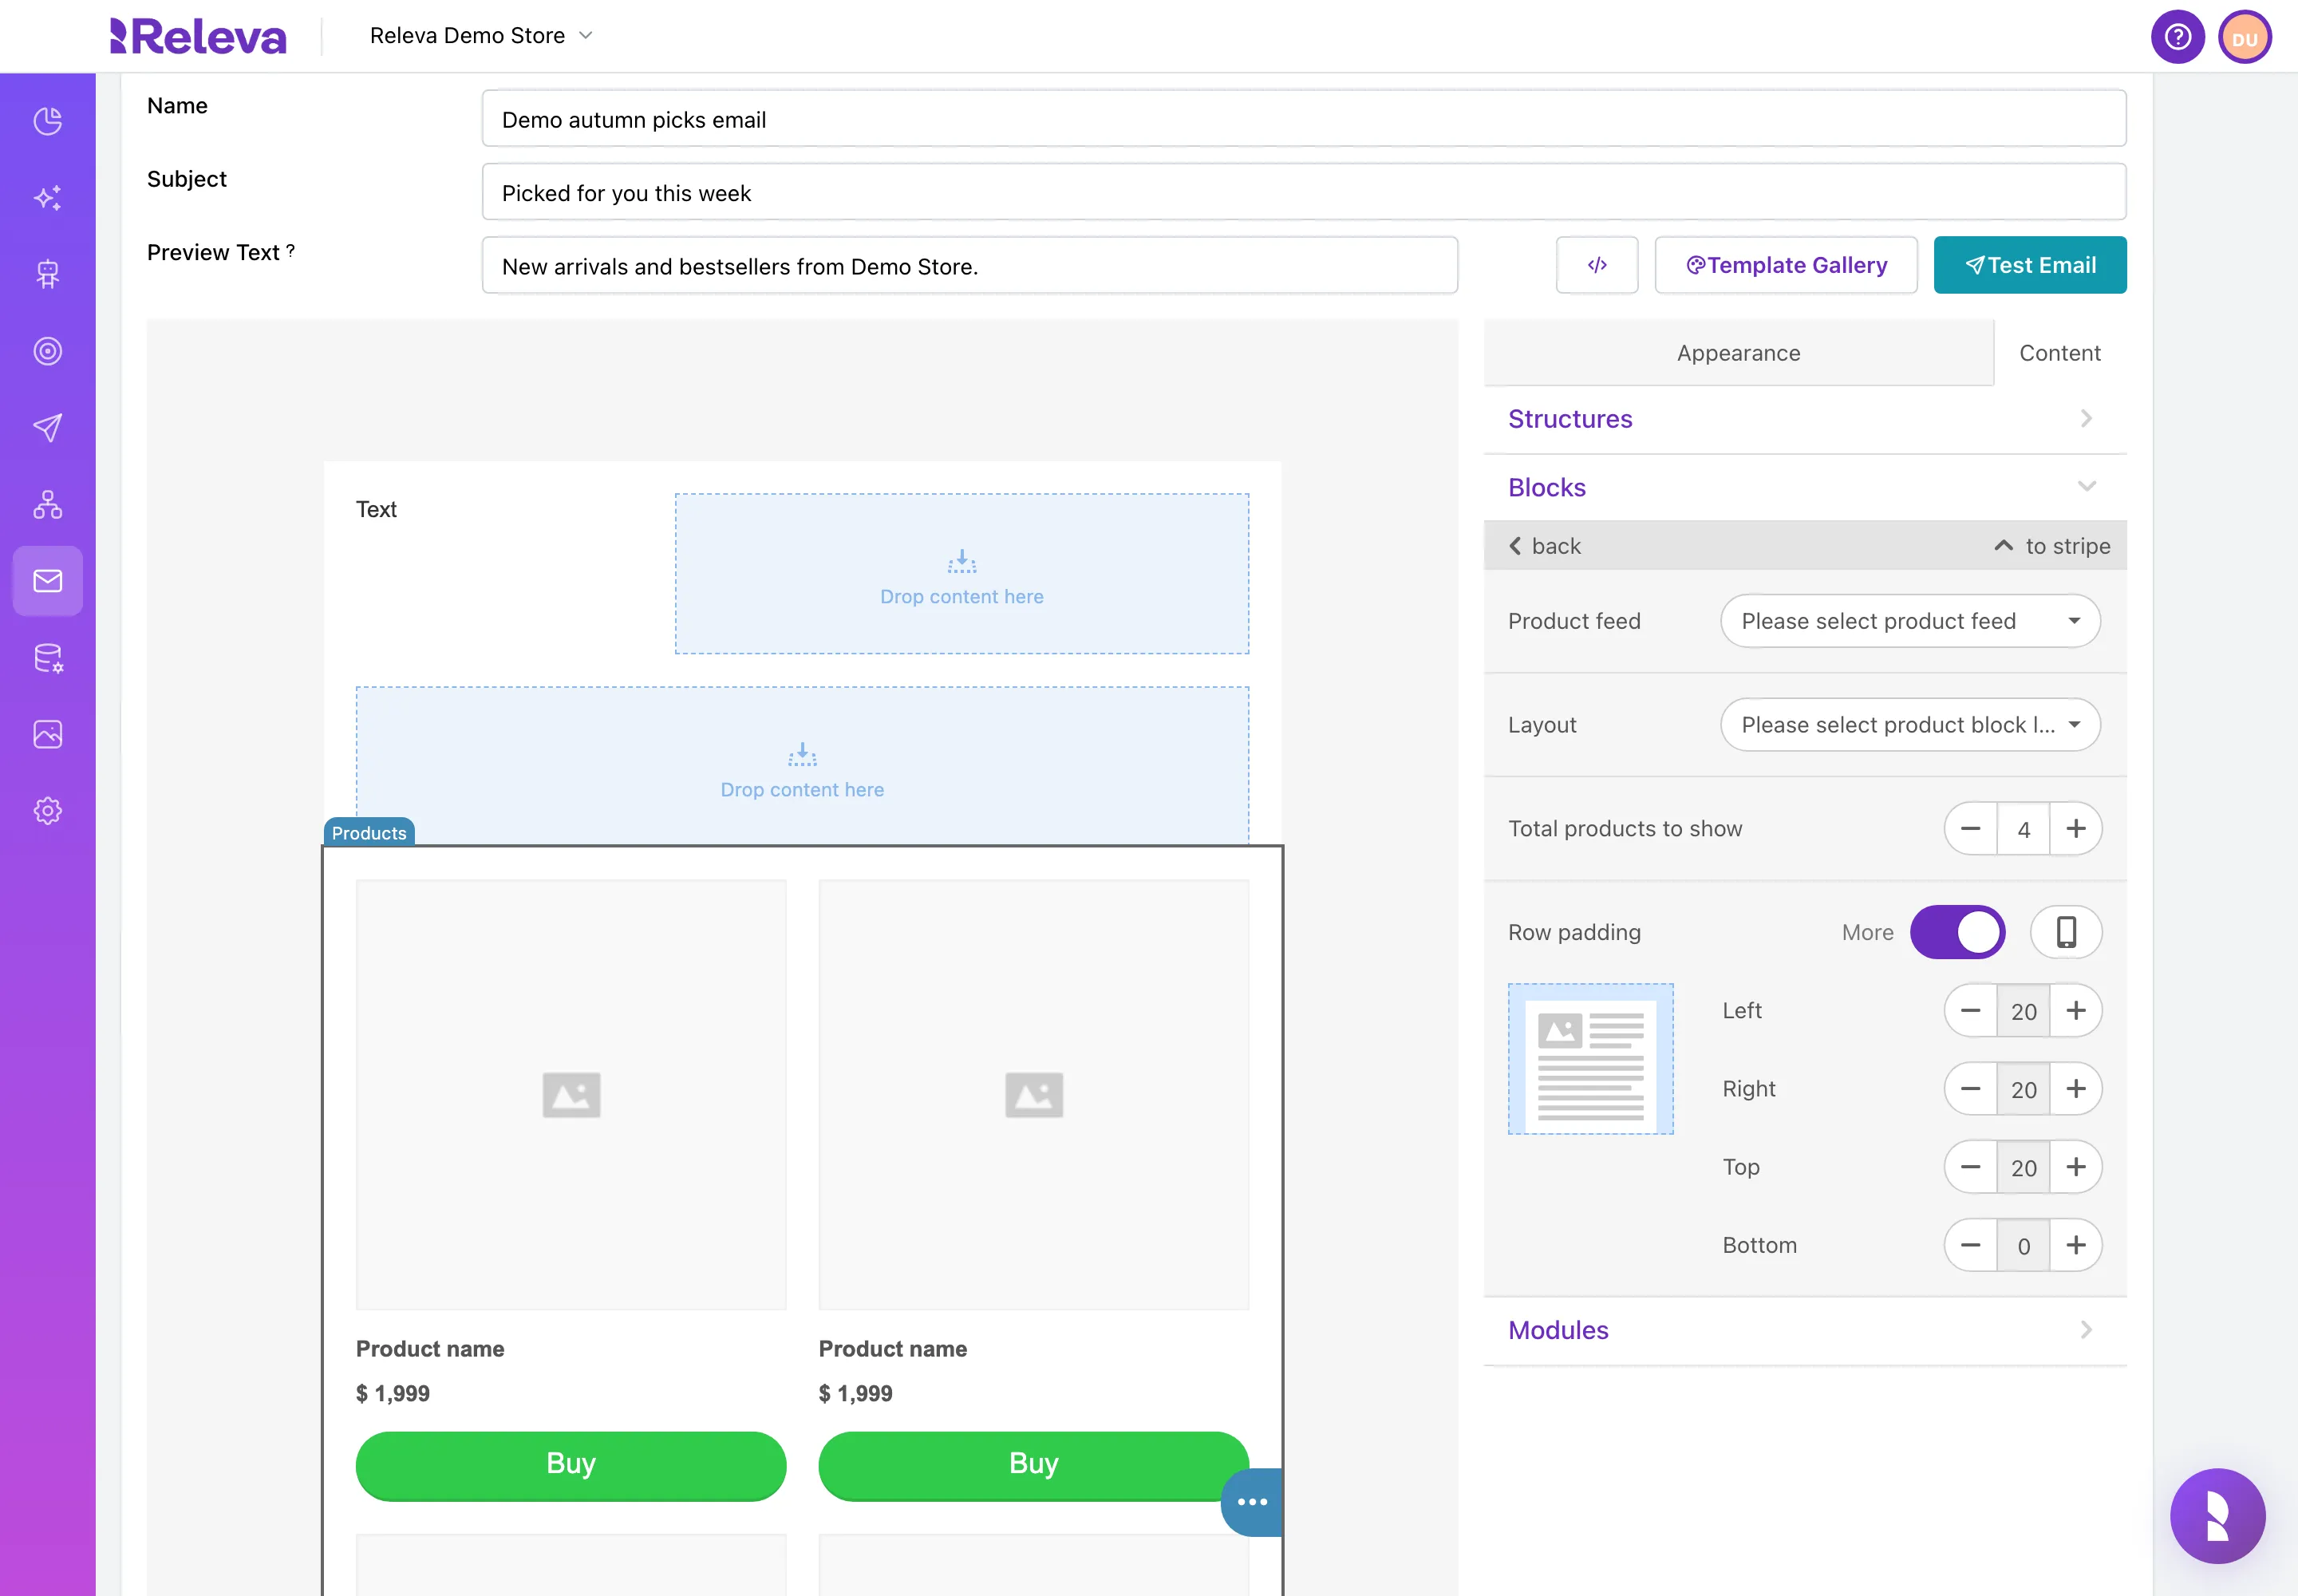
Select the product block. Its settings open on the right.
-
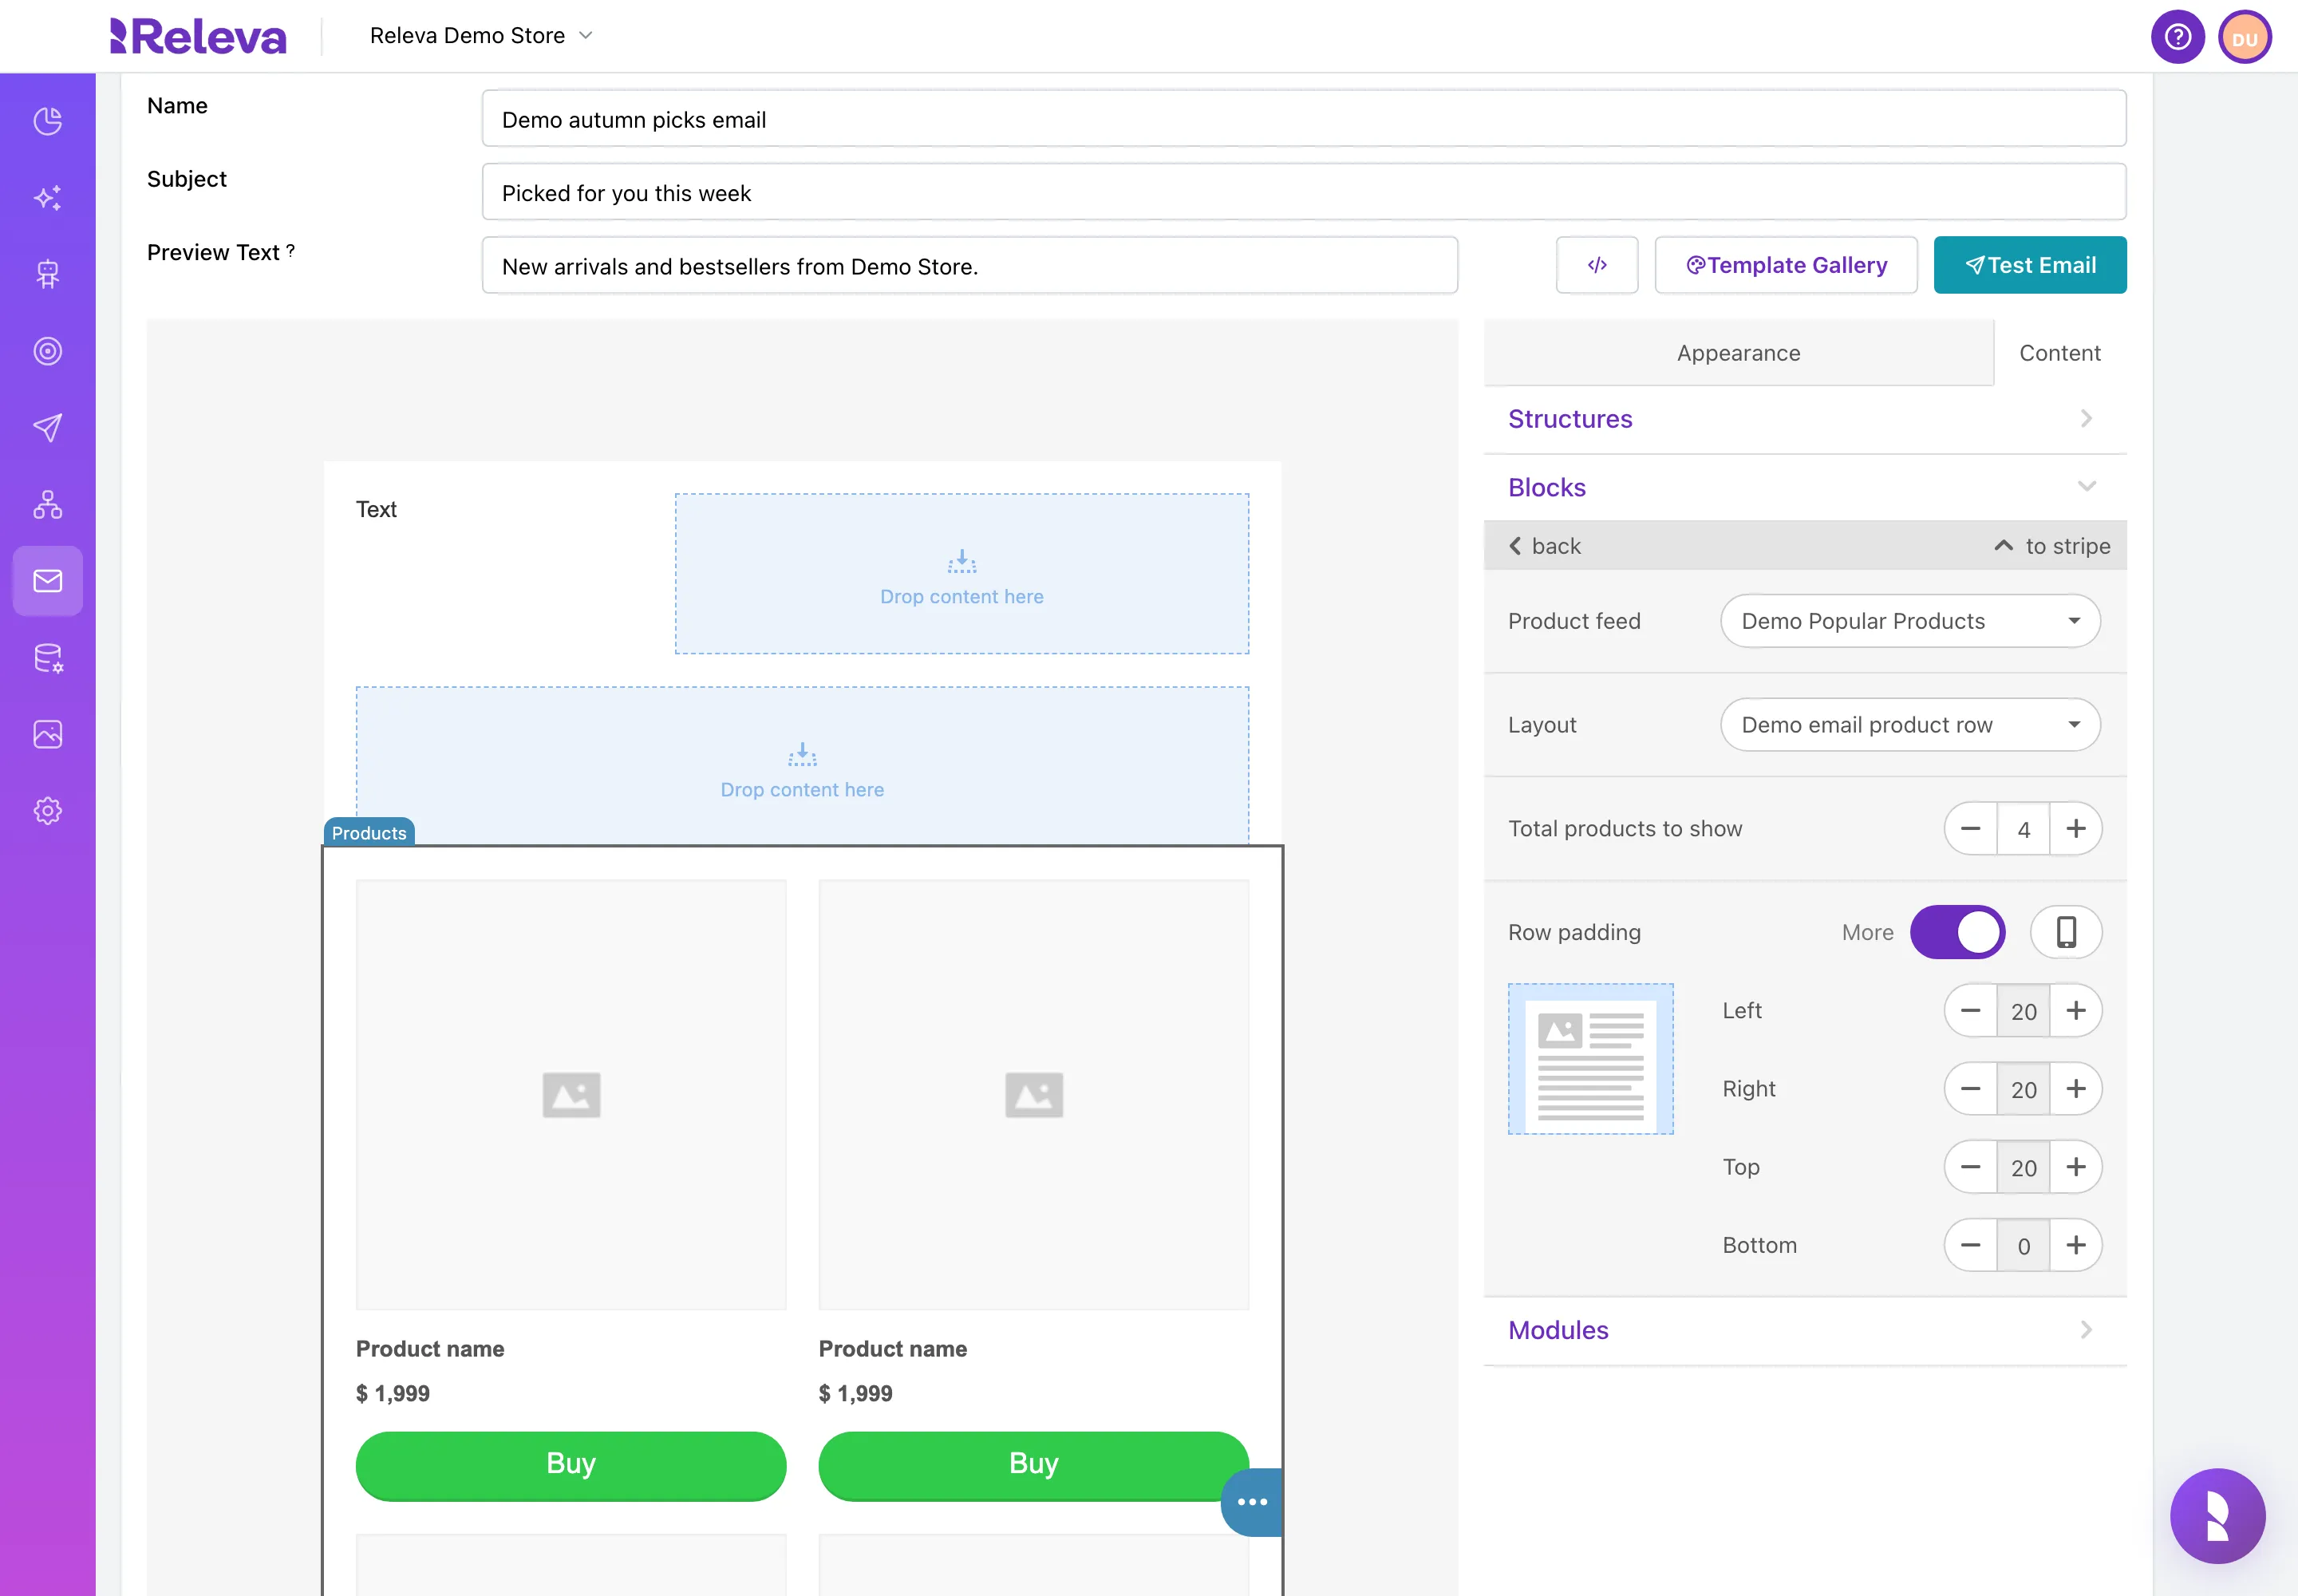
Choose a Product feed and a Layout, and set Total products to show.
Product feed lists feeds with the Marketing Channels scope; Layout lists layouts with the Email scope. Total products to show is 4 by default, from 1 to 24. The editor keeps showing sample cards; the real products are filled in when the email is sent.
-
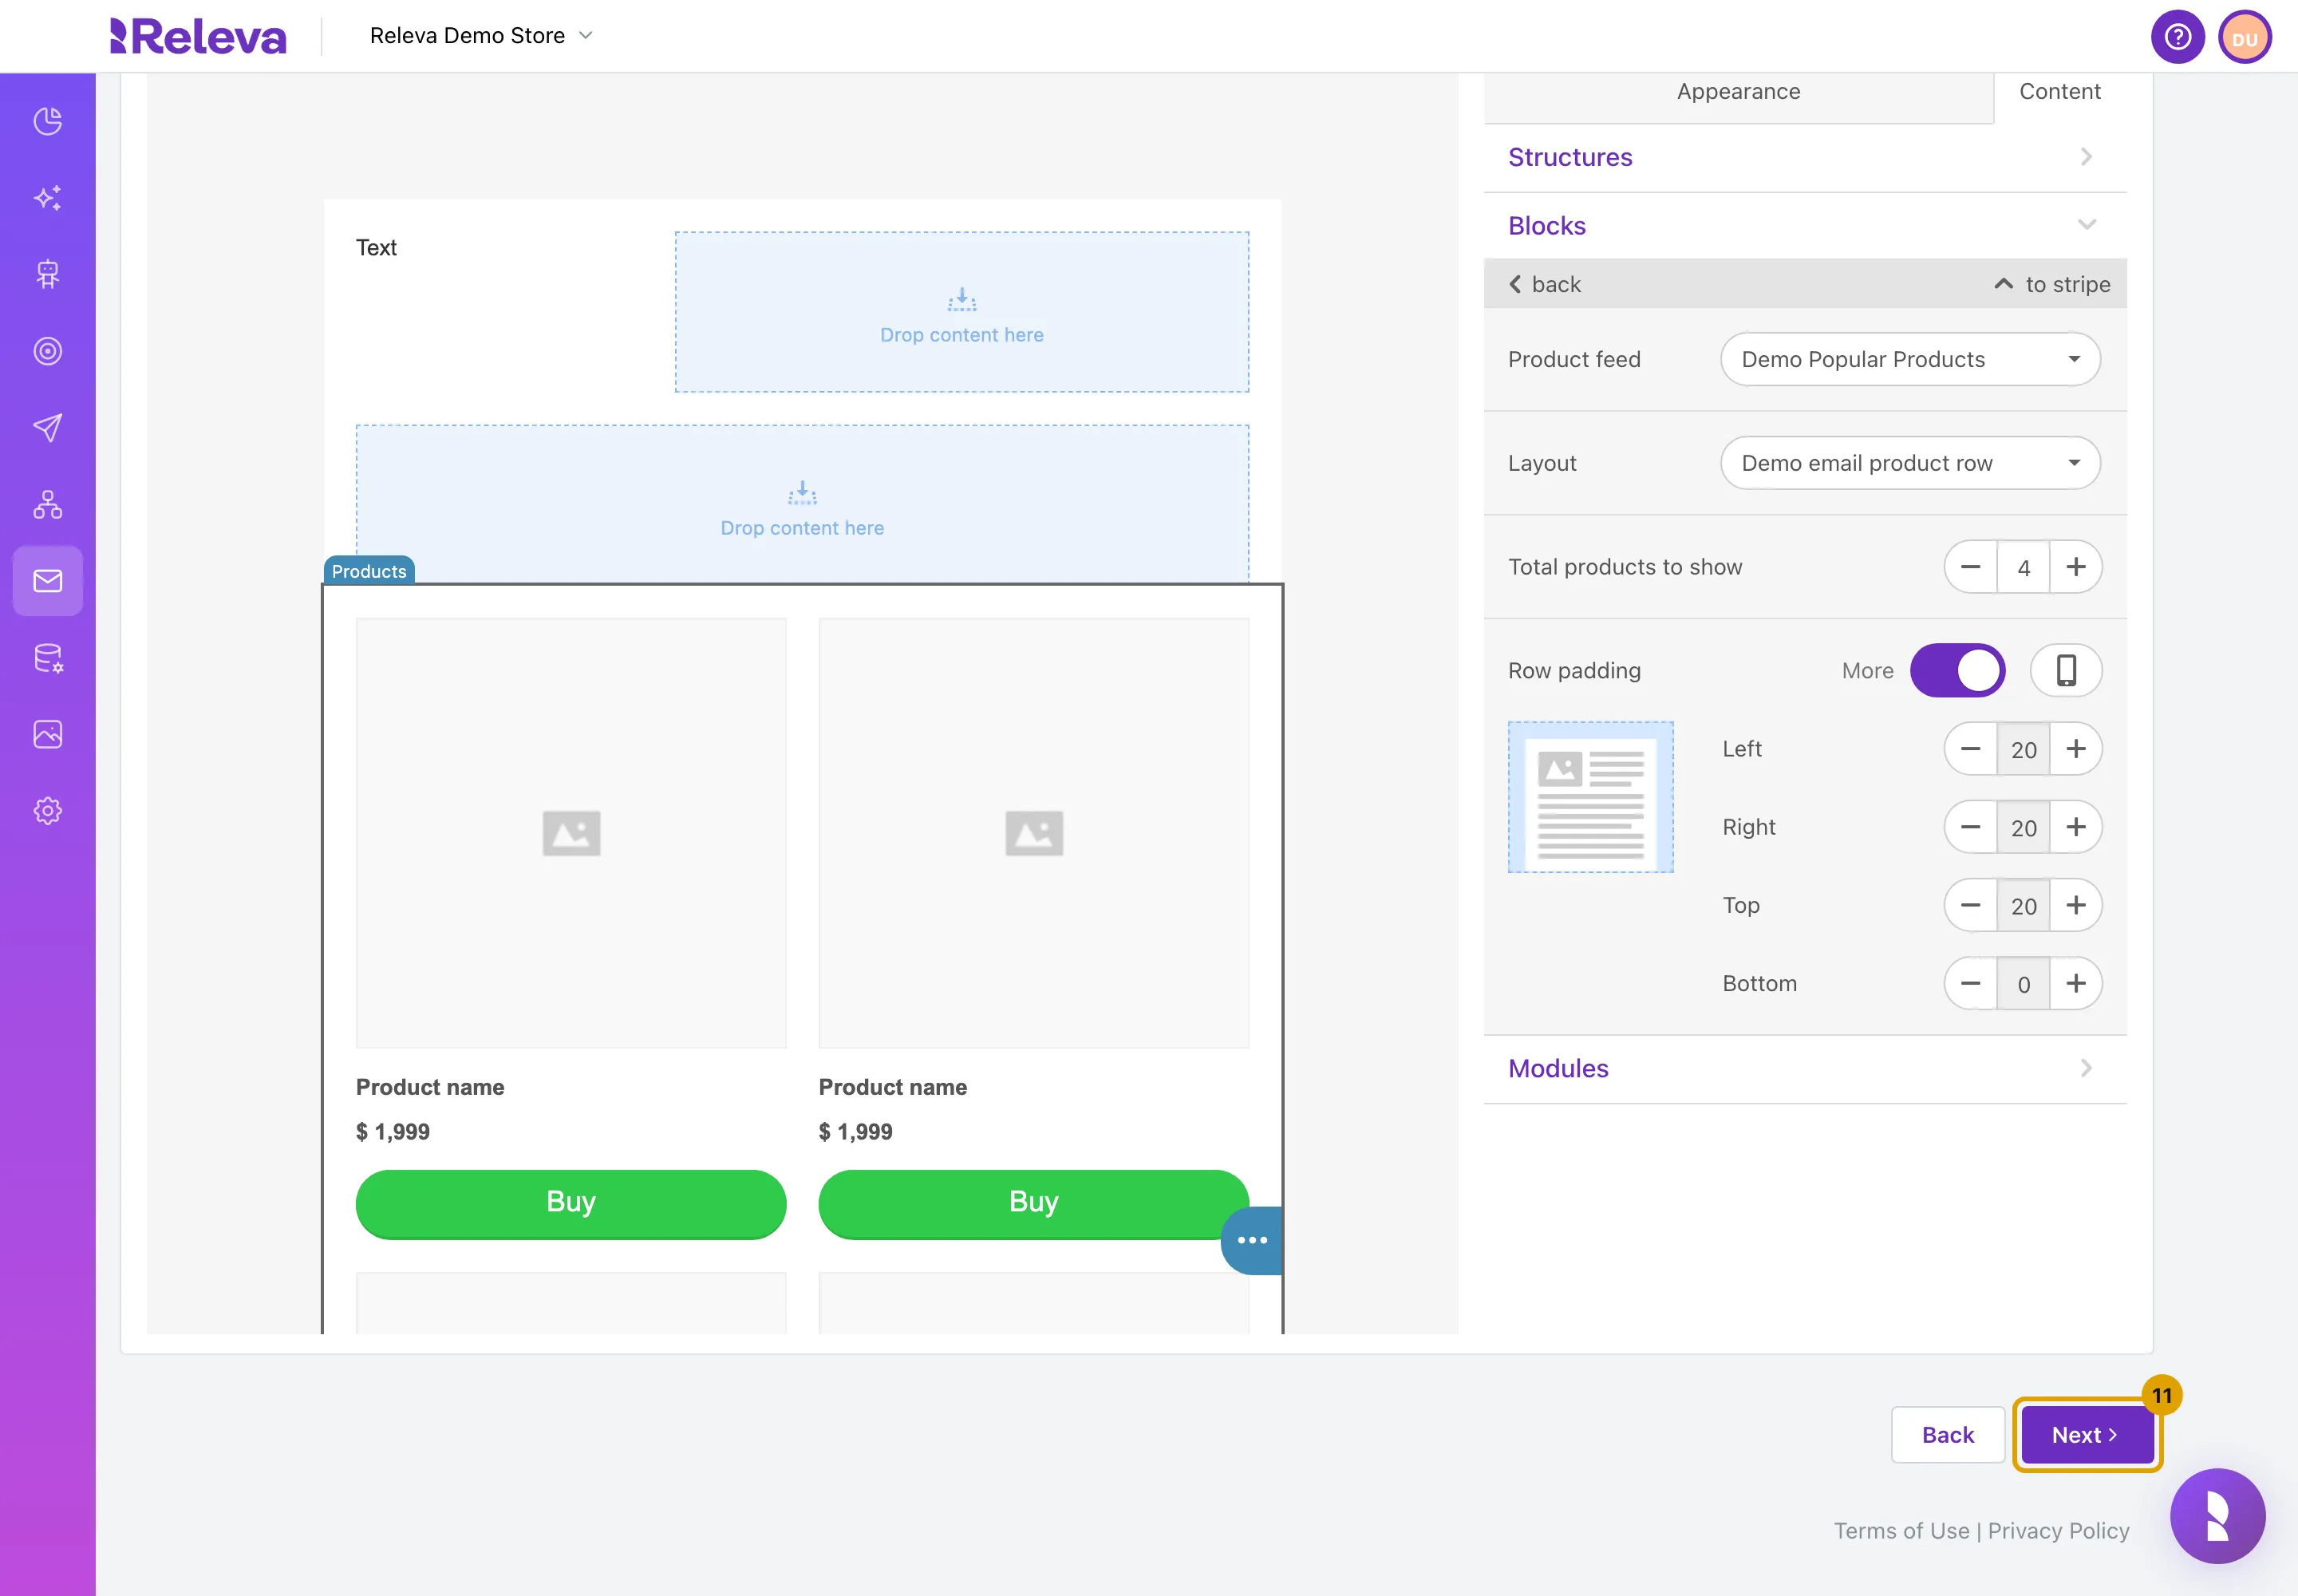
Select Next.
-
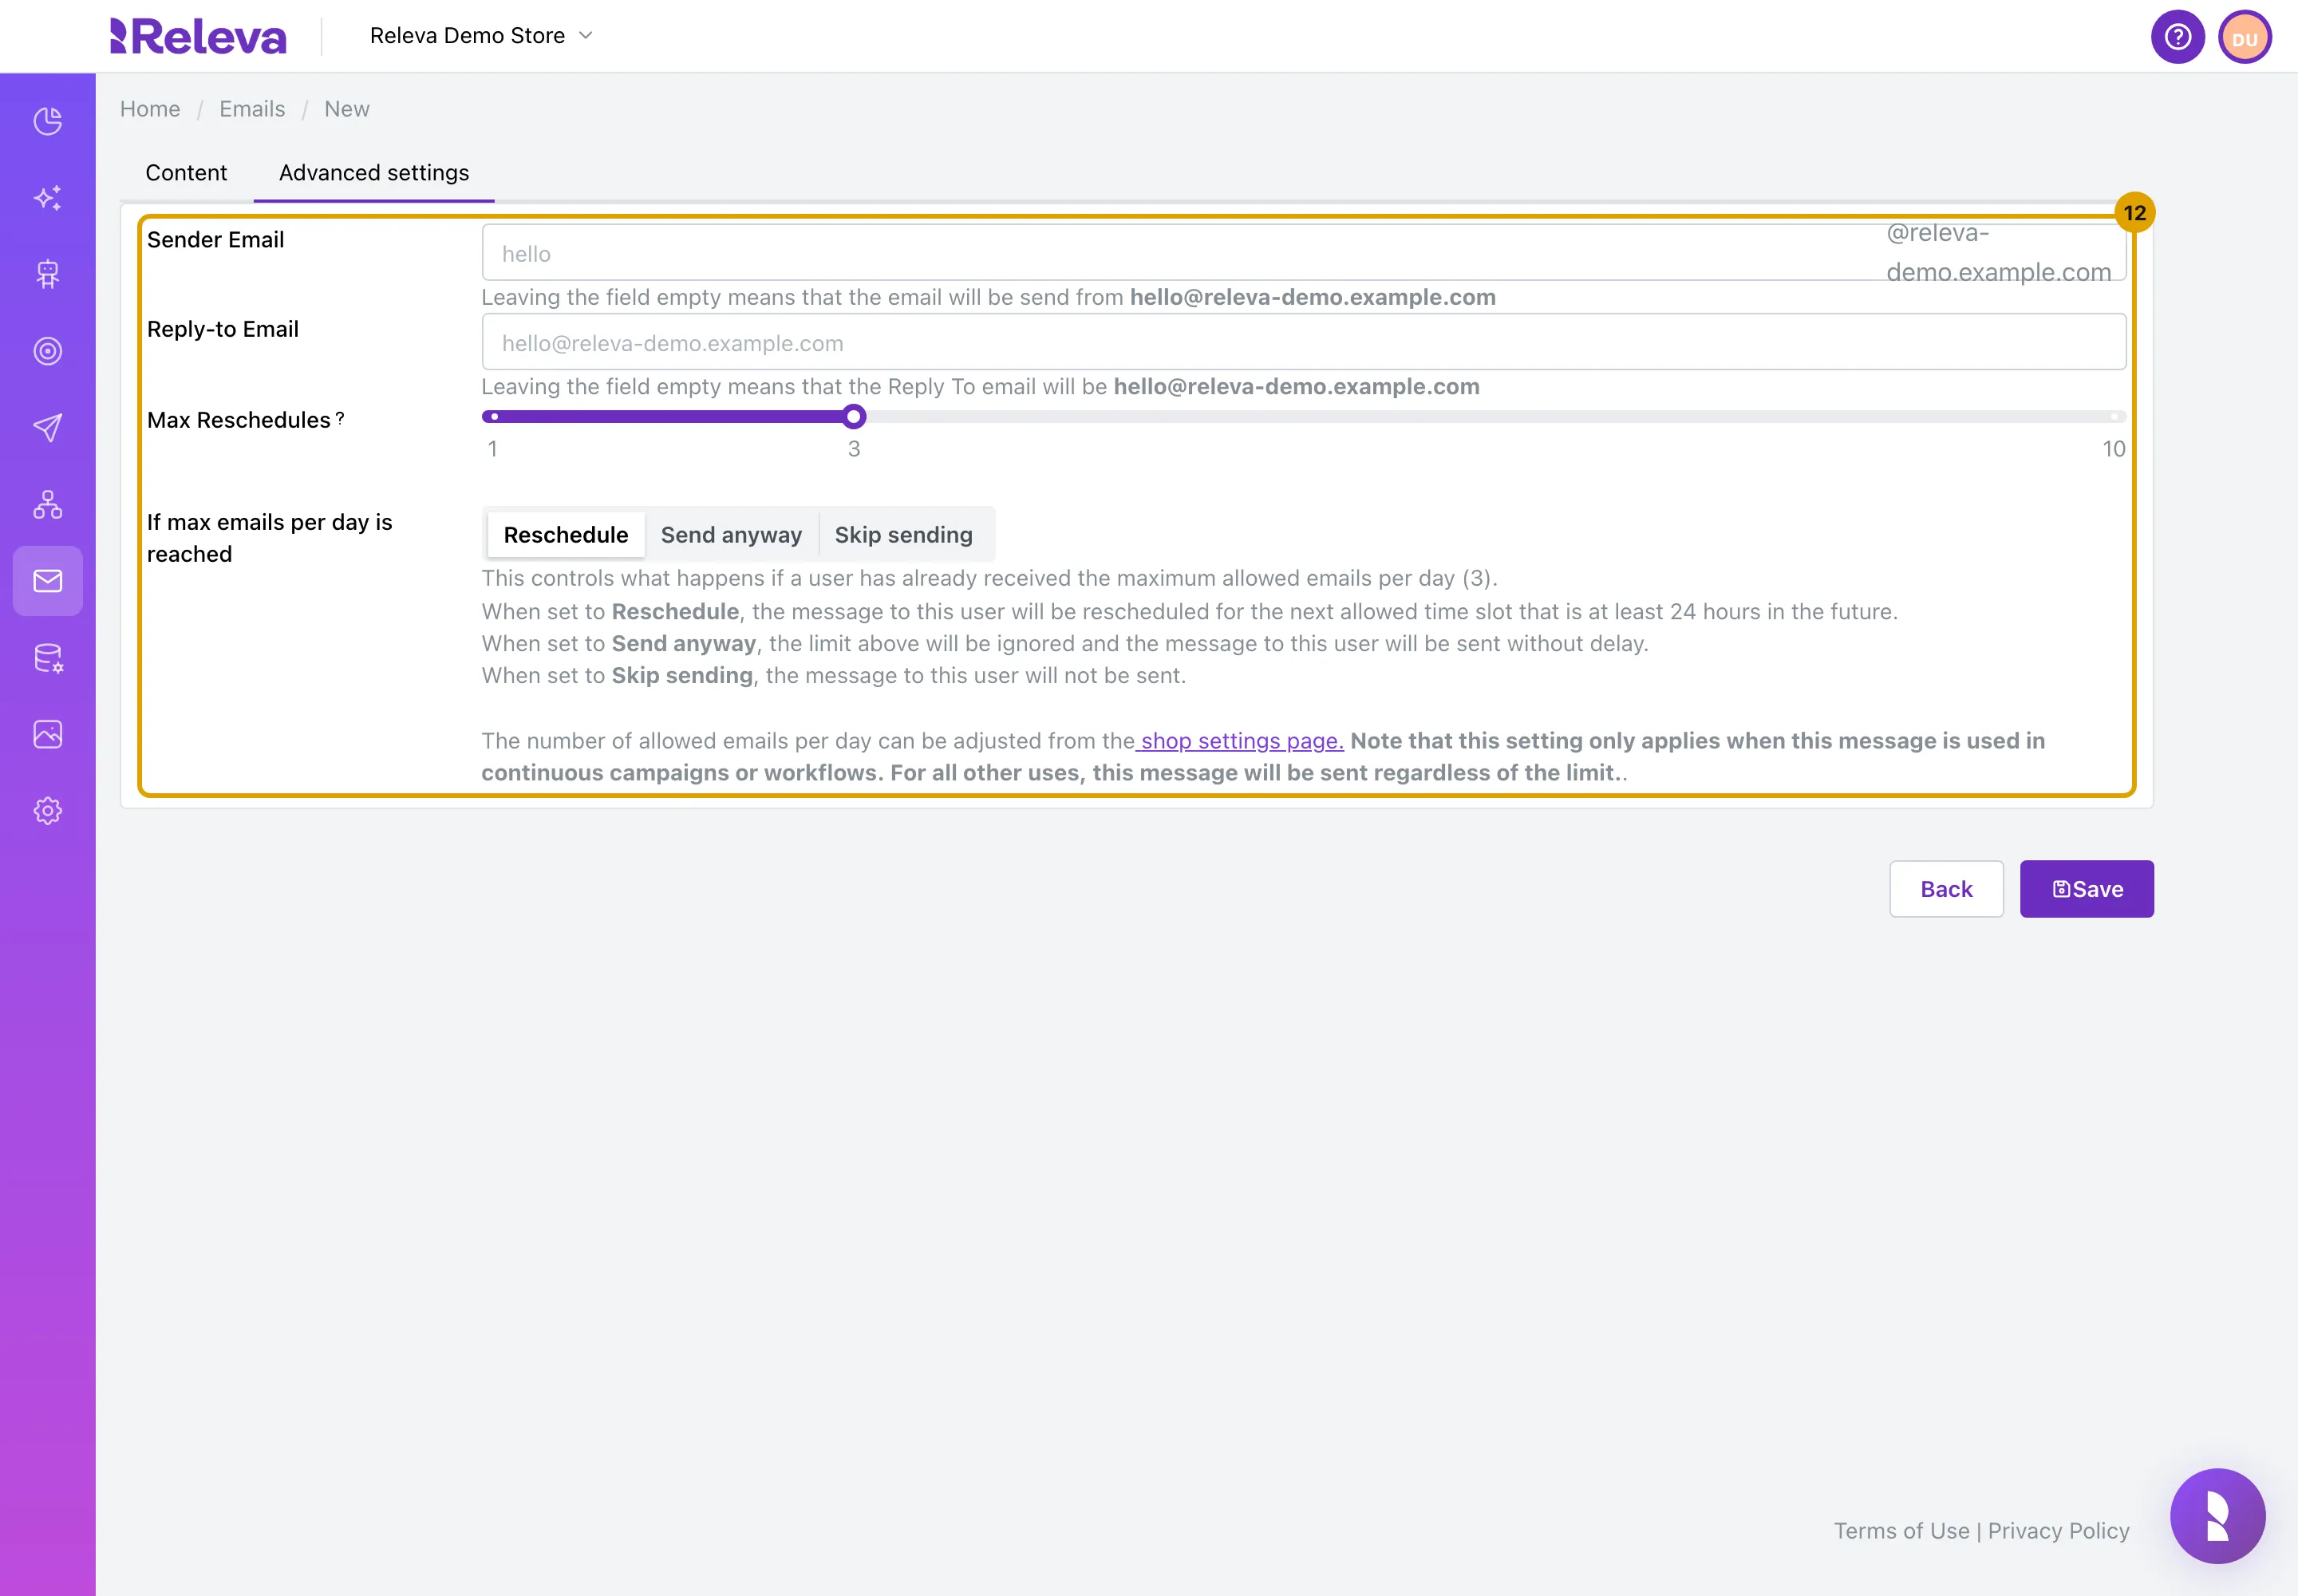
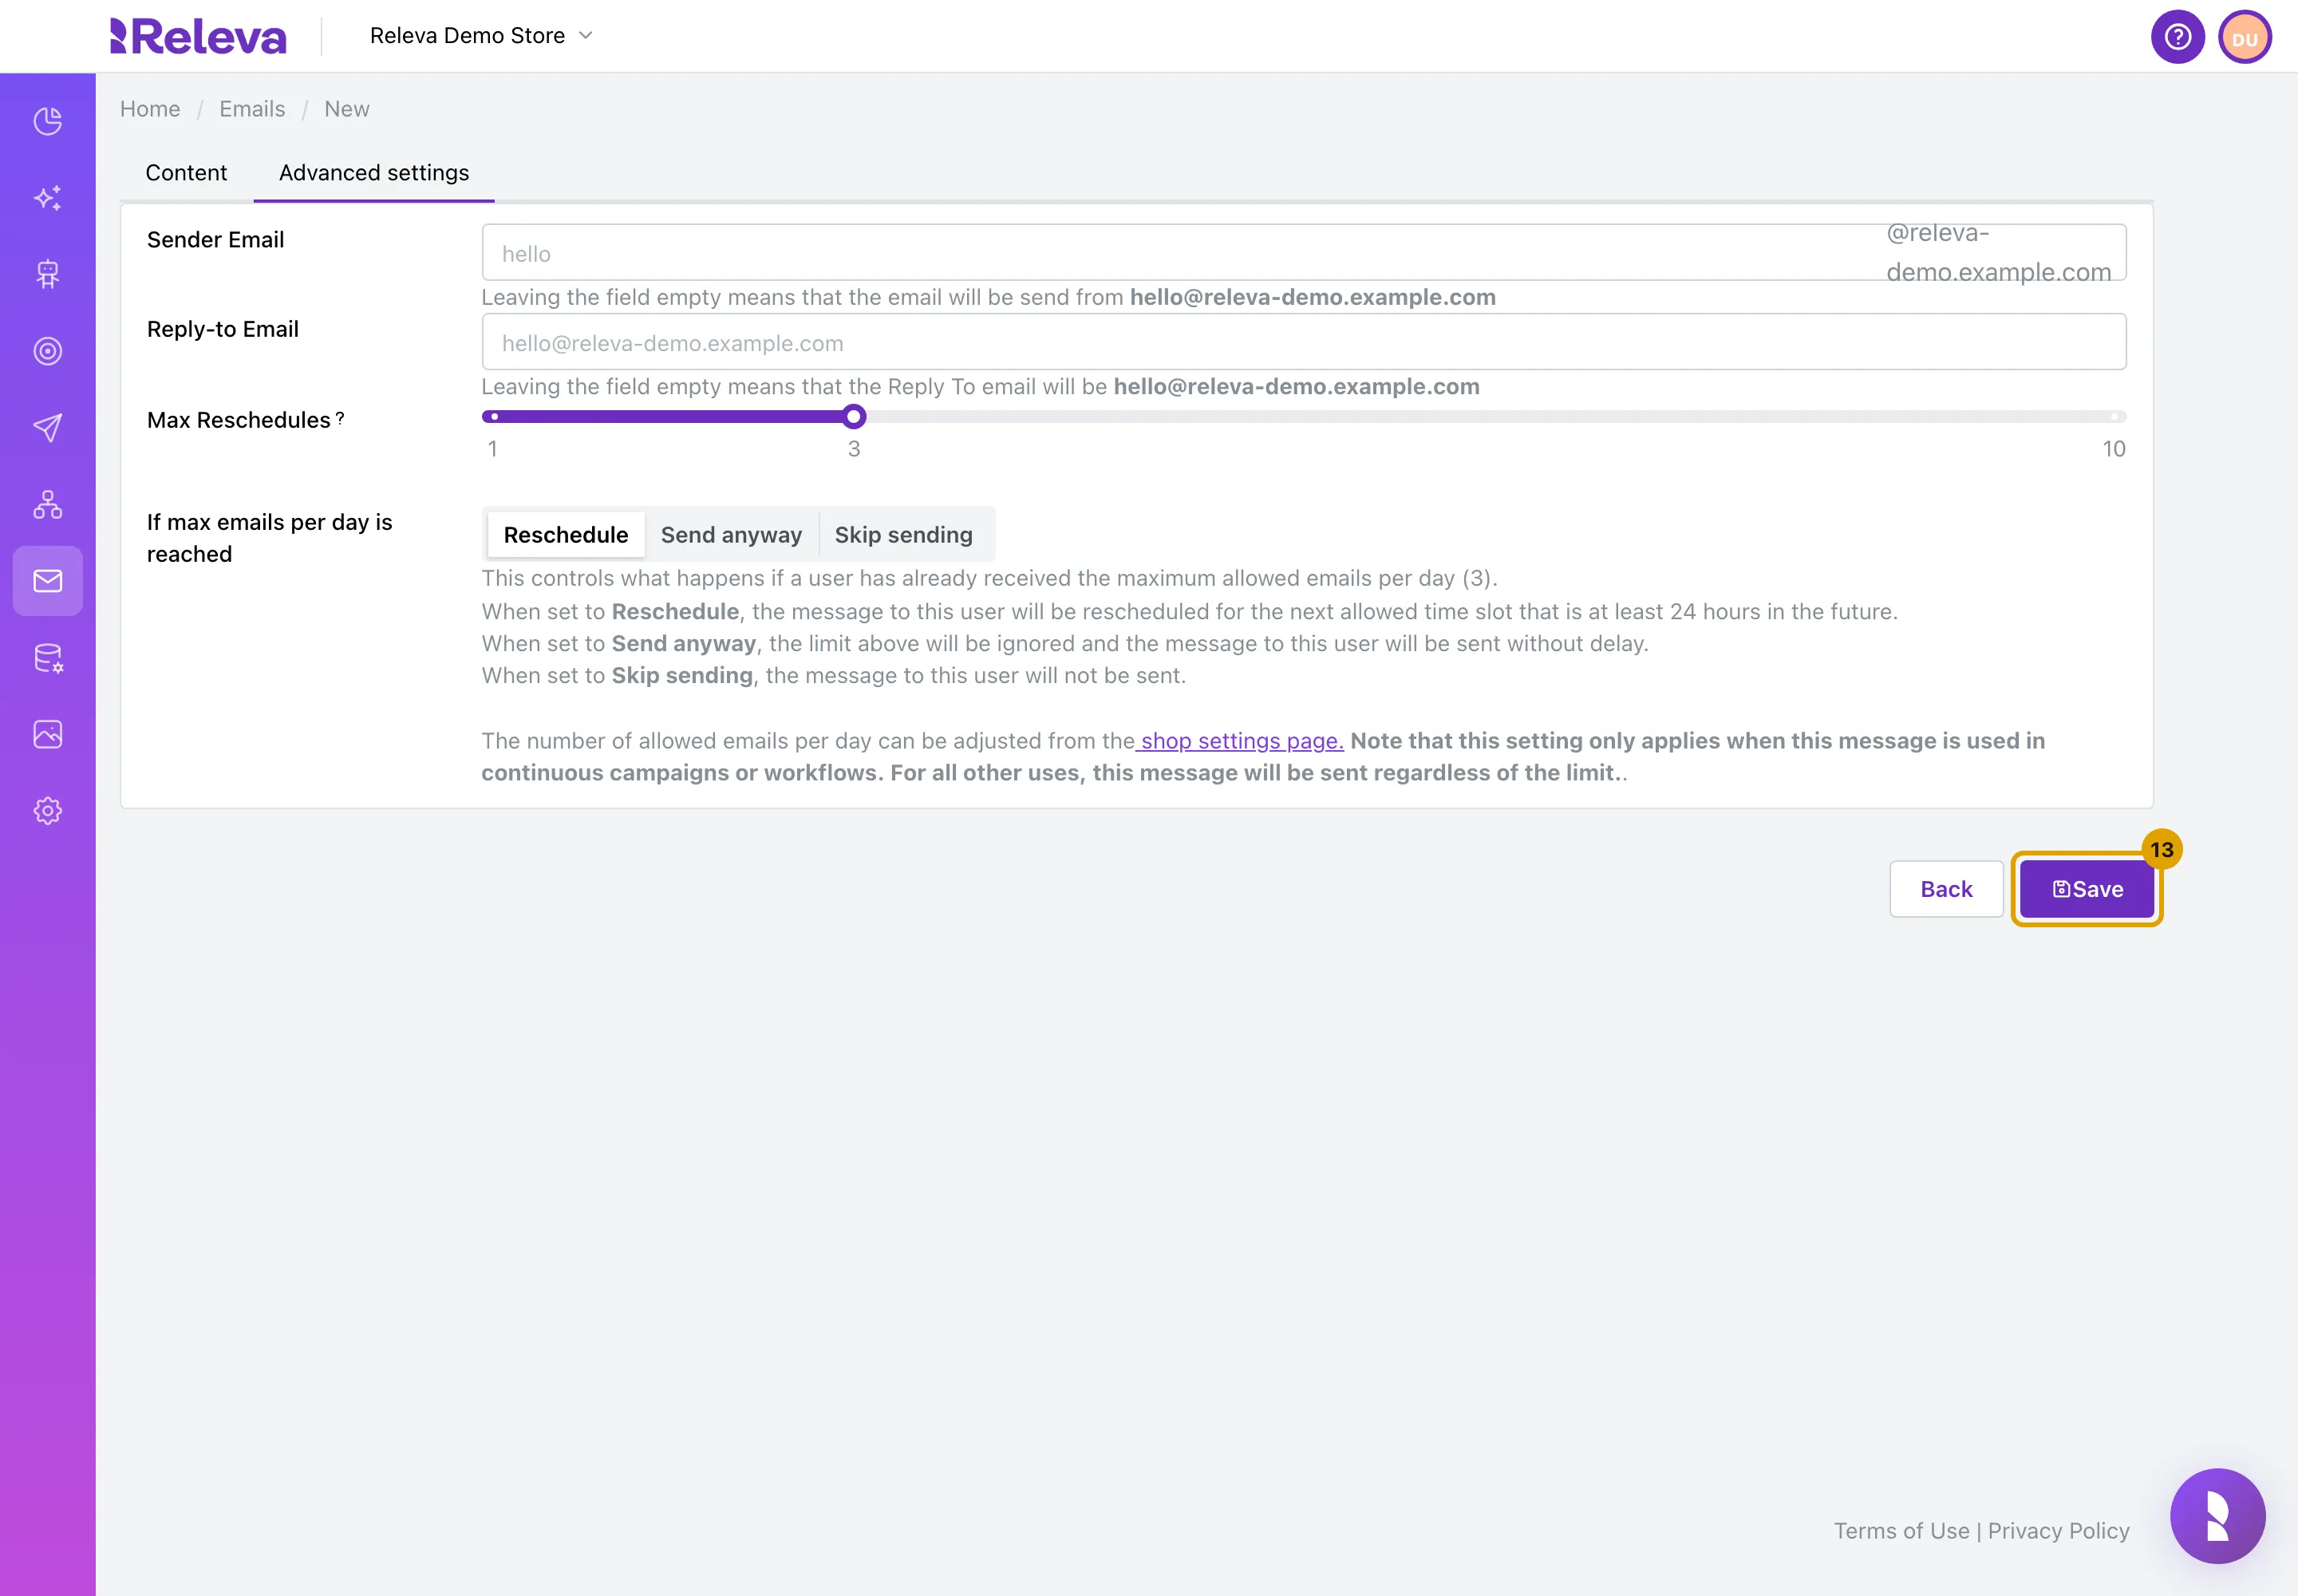
On Advanced settings, leave Sender Email and Reply-to Email empty to use your shop’s defaults, and choose what happens when a profile has already received the maximum number of emails for the day.
If max emails per day is reached offers Reschedule (the default), Send anyway and Skip sending. With Reschedule, Max Reschedules sets how many times Releva tries again.
-
Select Save.
-
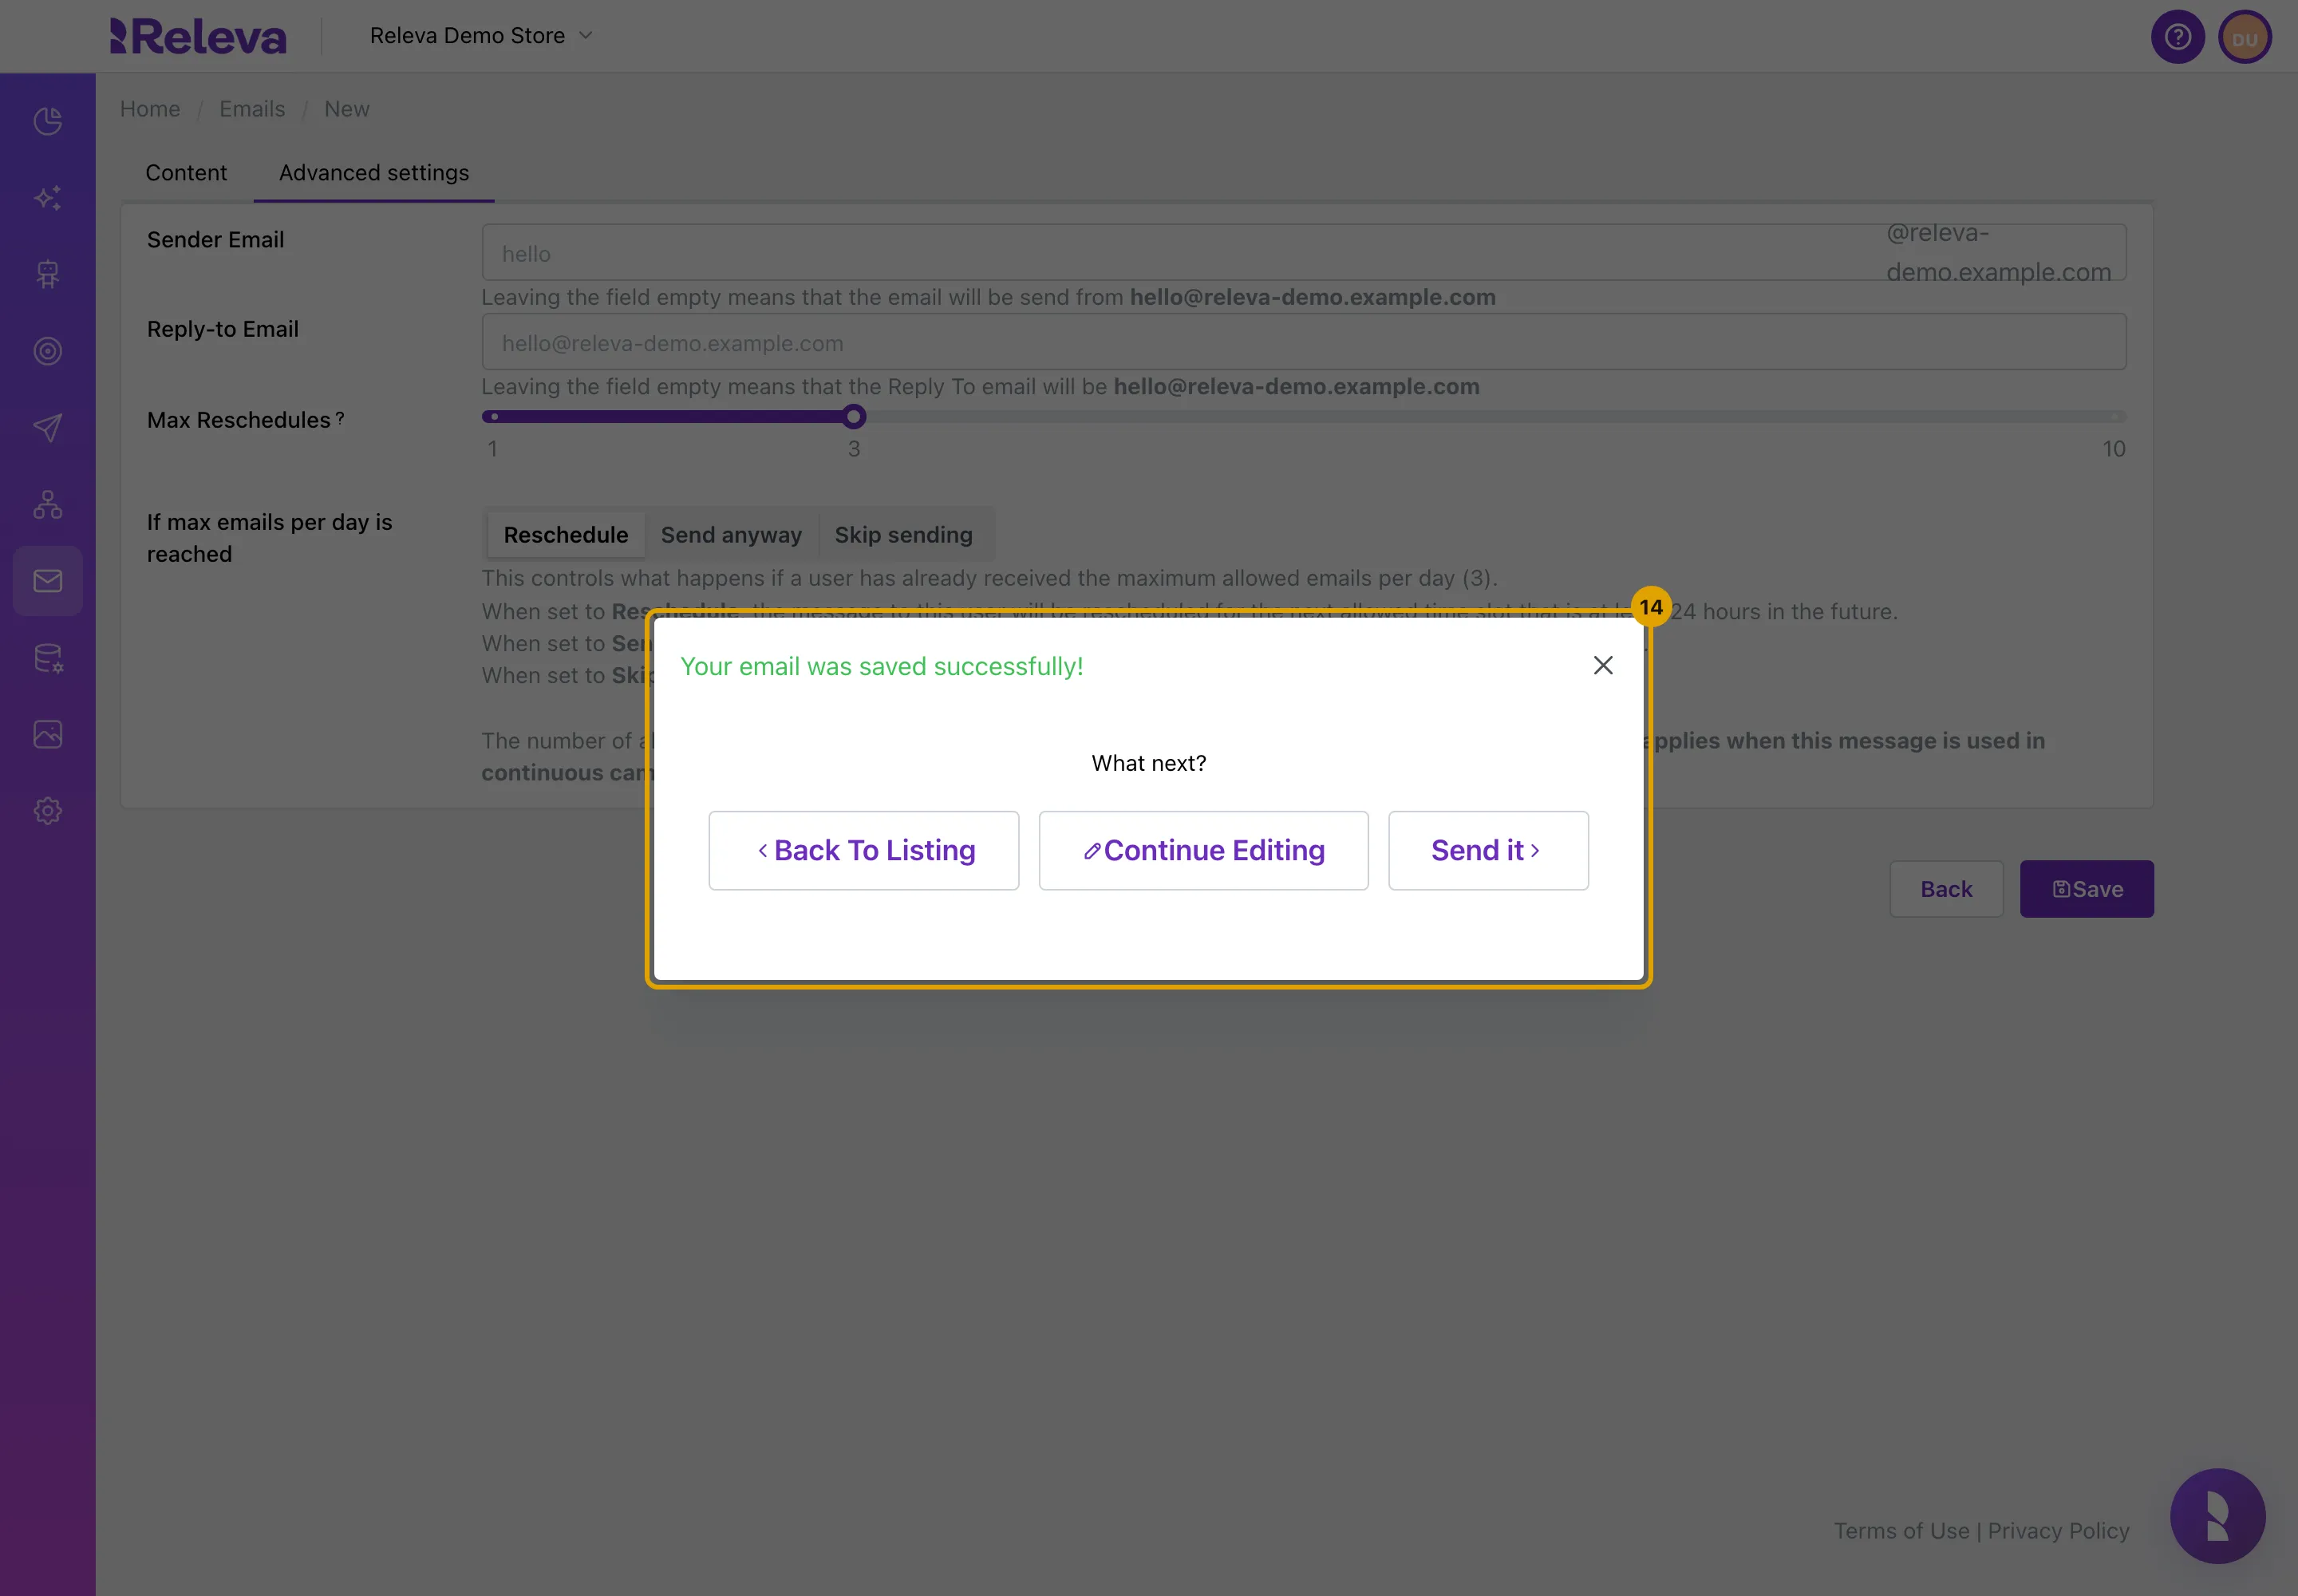
The email is saved. Select Back To Listing, Continue Editing, or Send it to use the email in a campaign or a workflow.
Check it worked
Section titled “Check it worked”- The email is on the Emails list with the badge VISUAL - STRIPO.
- Open it: the editor shows the text block and the product block you added.
- Select Test Email to send yourself a copy. It is available once your sender domain is verified.
Troubleshooting
Section titled “Troubleshooting”Email name must be unique! Another email in this shop has the same name. Change Name.
Save is disabled. Name or Subject is empty, the editor is still loading, Sender Email on Advanced settings is not valid, or a merge tag in the subject, preview text or sender name is broken.
Invalid Product Blocks Detected. A product block has no product feed or layout, or one that no longer exists. Select the block and choose both again.
The feed or layout I want is not in the list. Product feed shows only feeds with the Marketing Channels scope, and Layout only layouts with the Email scope.
The editor shows the HTML code instead of blocks. The email’s HTML was not built in the visual editor, so drag and drop is off. Start a new email with Create Blank or from the template gallery.