

Create a banner
A banner is the content a visitor sees on your site, for example a newsletter sign-up form, together with the audience that sees it. This guide builds a sign-up banner in the Releva builder and saves it. A banner shows on your site only when a banner block uses it; Show a banner on your site places it. For how banners and banner blocks fit together, read How banners work.
Before you start
Section titled “Before you start”- You have the Behavior segment that should see the banner. Every banner needs one. See Create a segment.
- For a sign-up form, decide how sign-ups are confirmed. See Choose how Releva manages subscriptions.
- Your plan includes banners. If New banner shows a lock, ask your account owner.
-
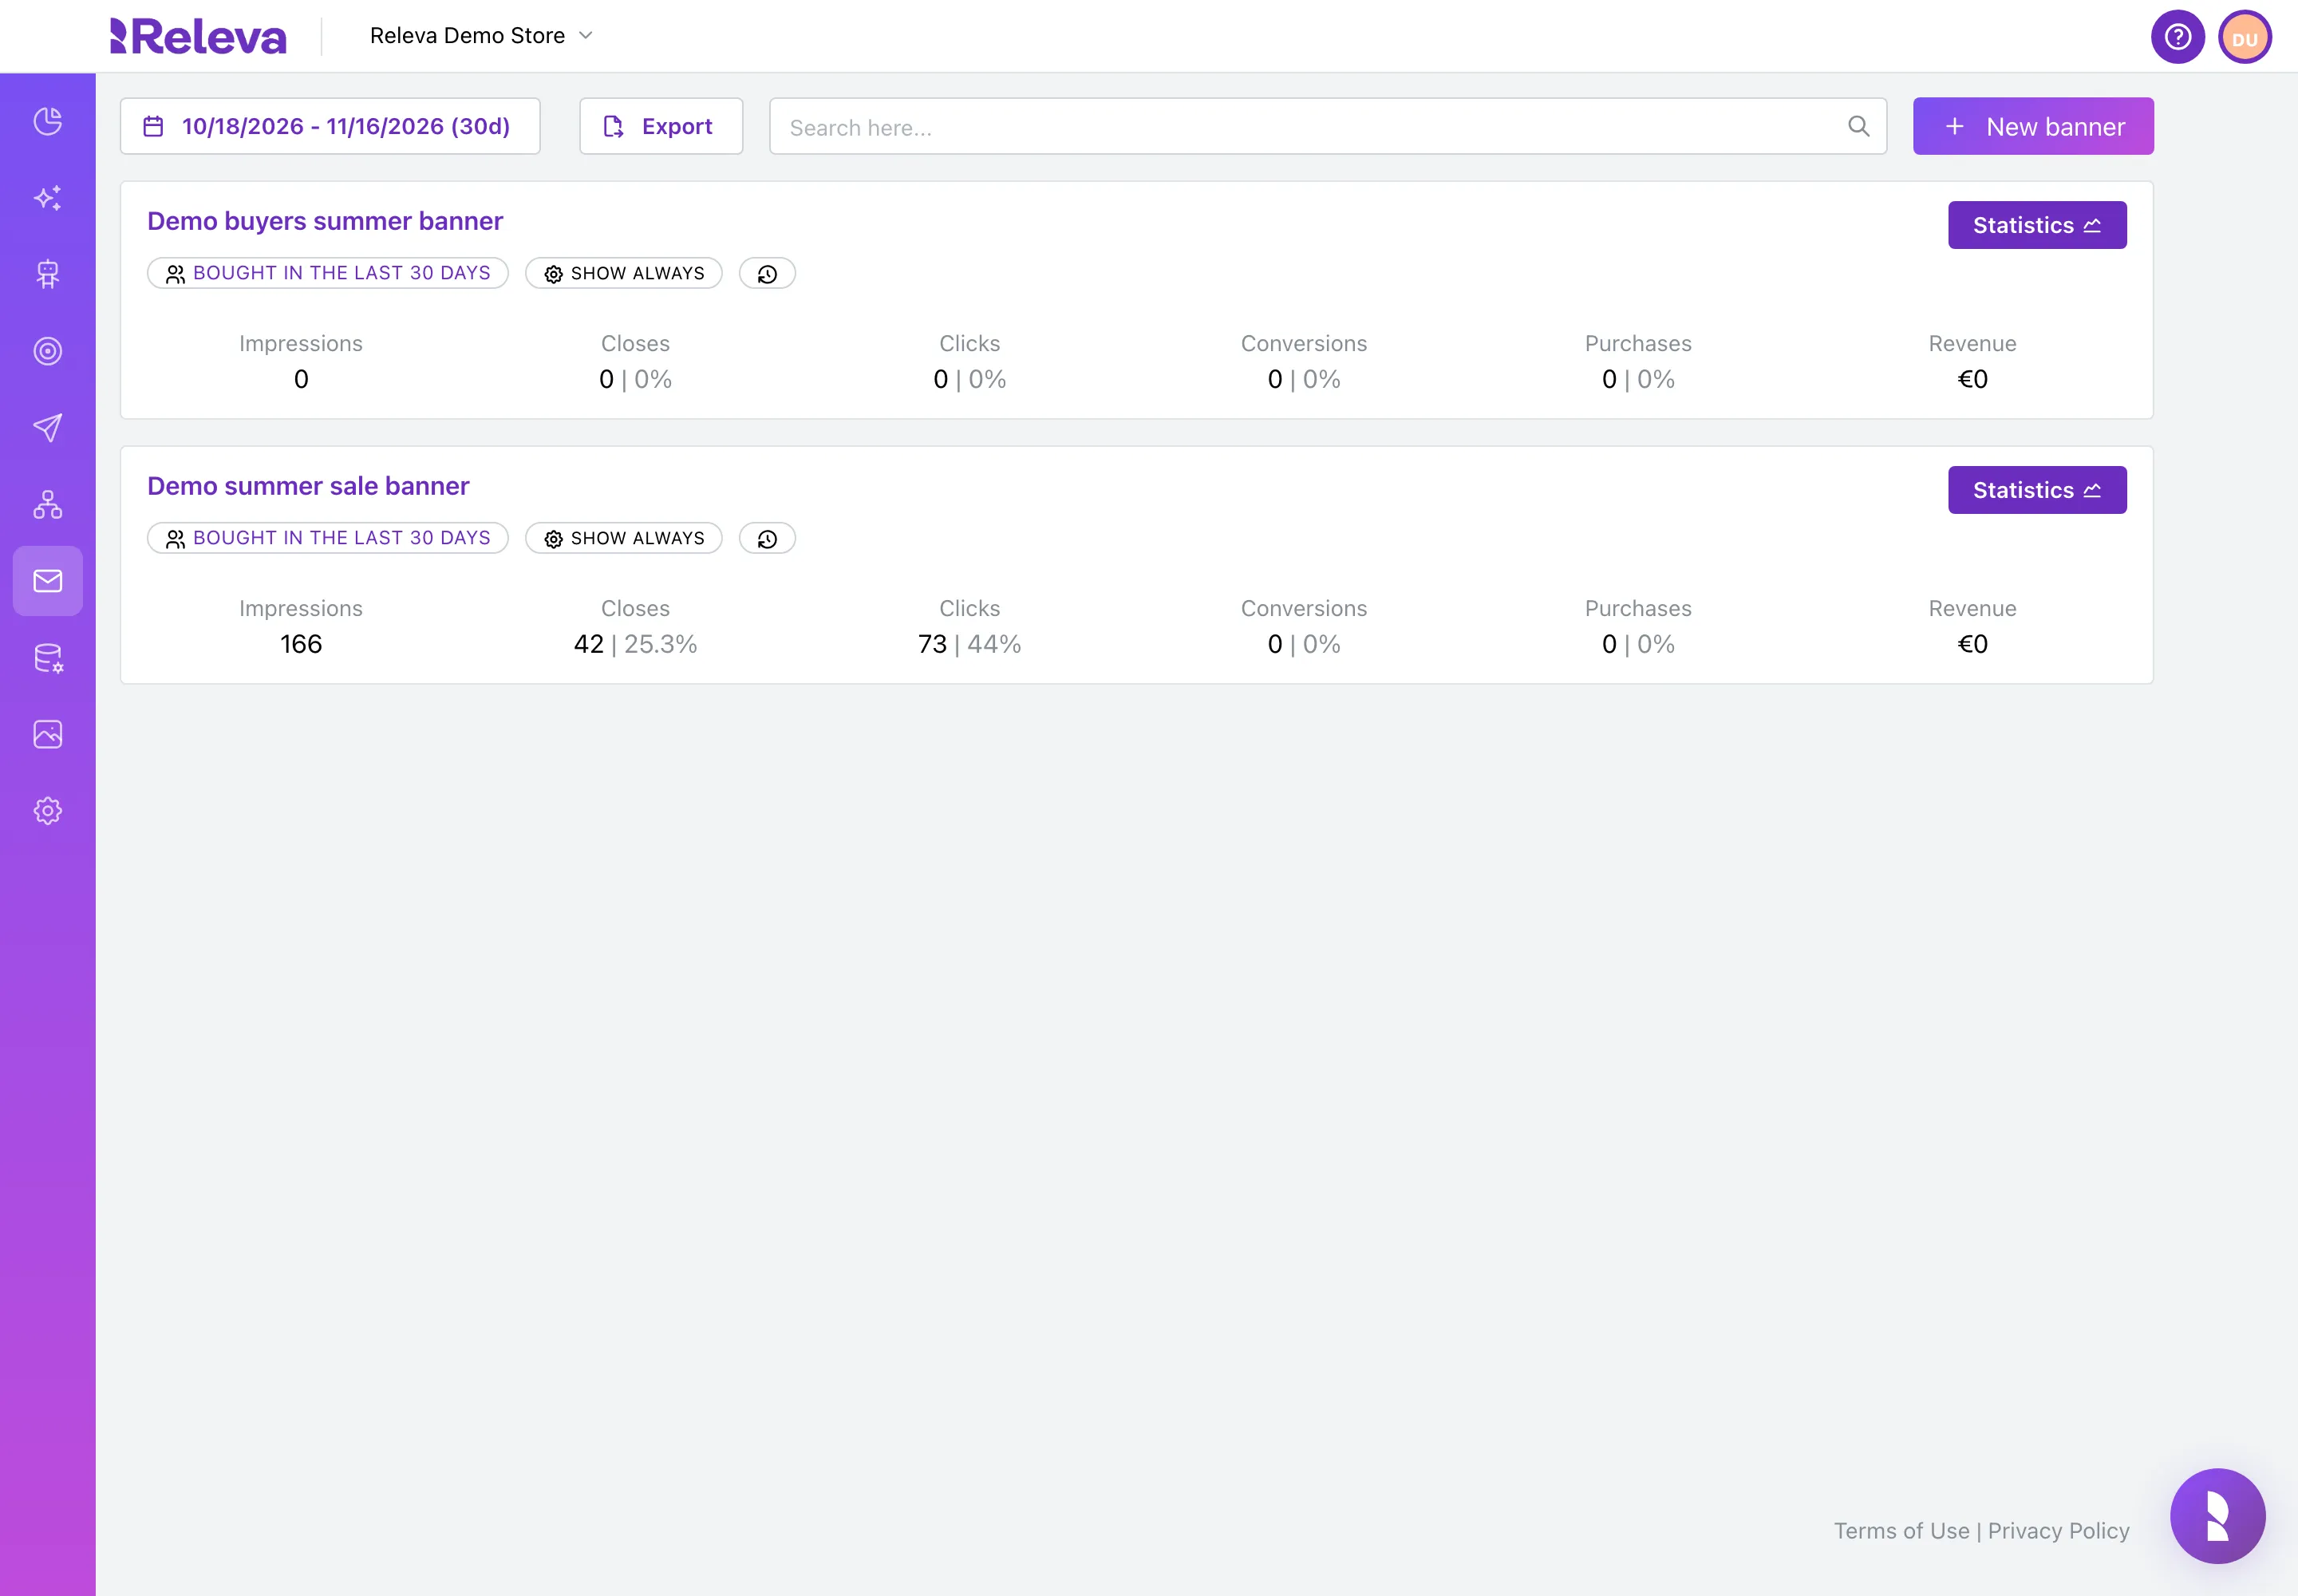
Go to Marketing Channels › Banners.
-
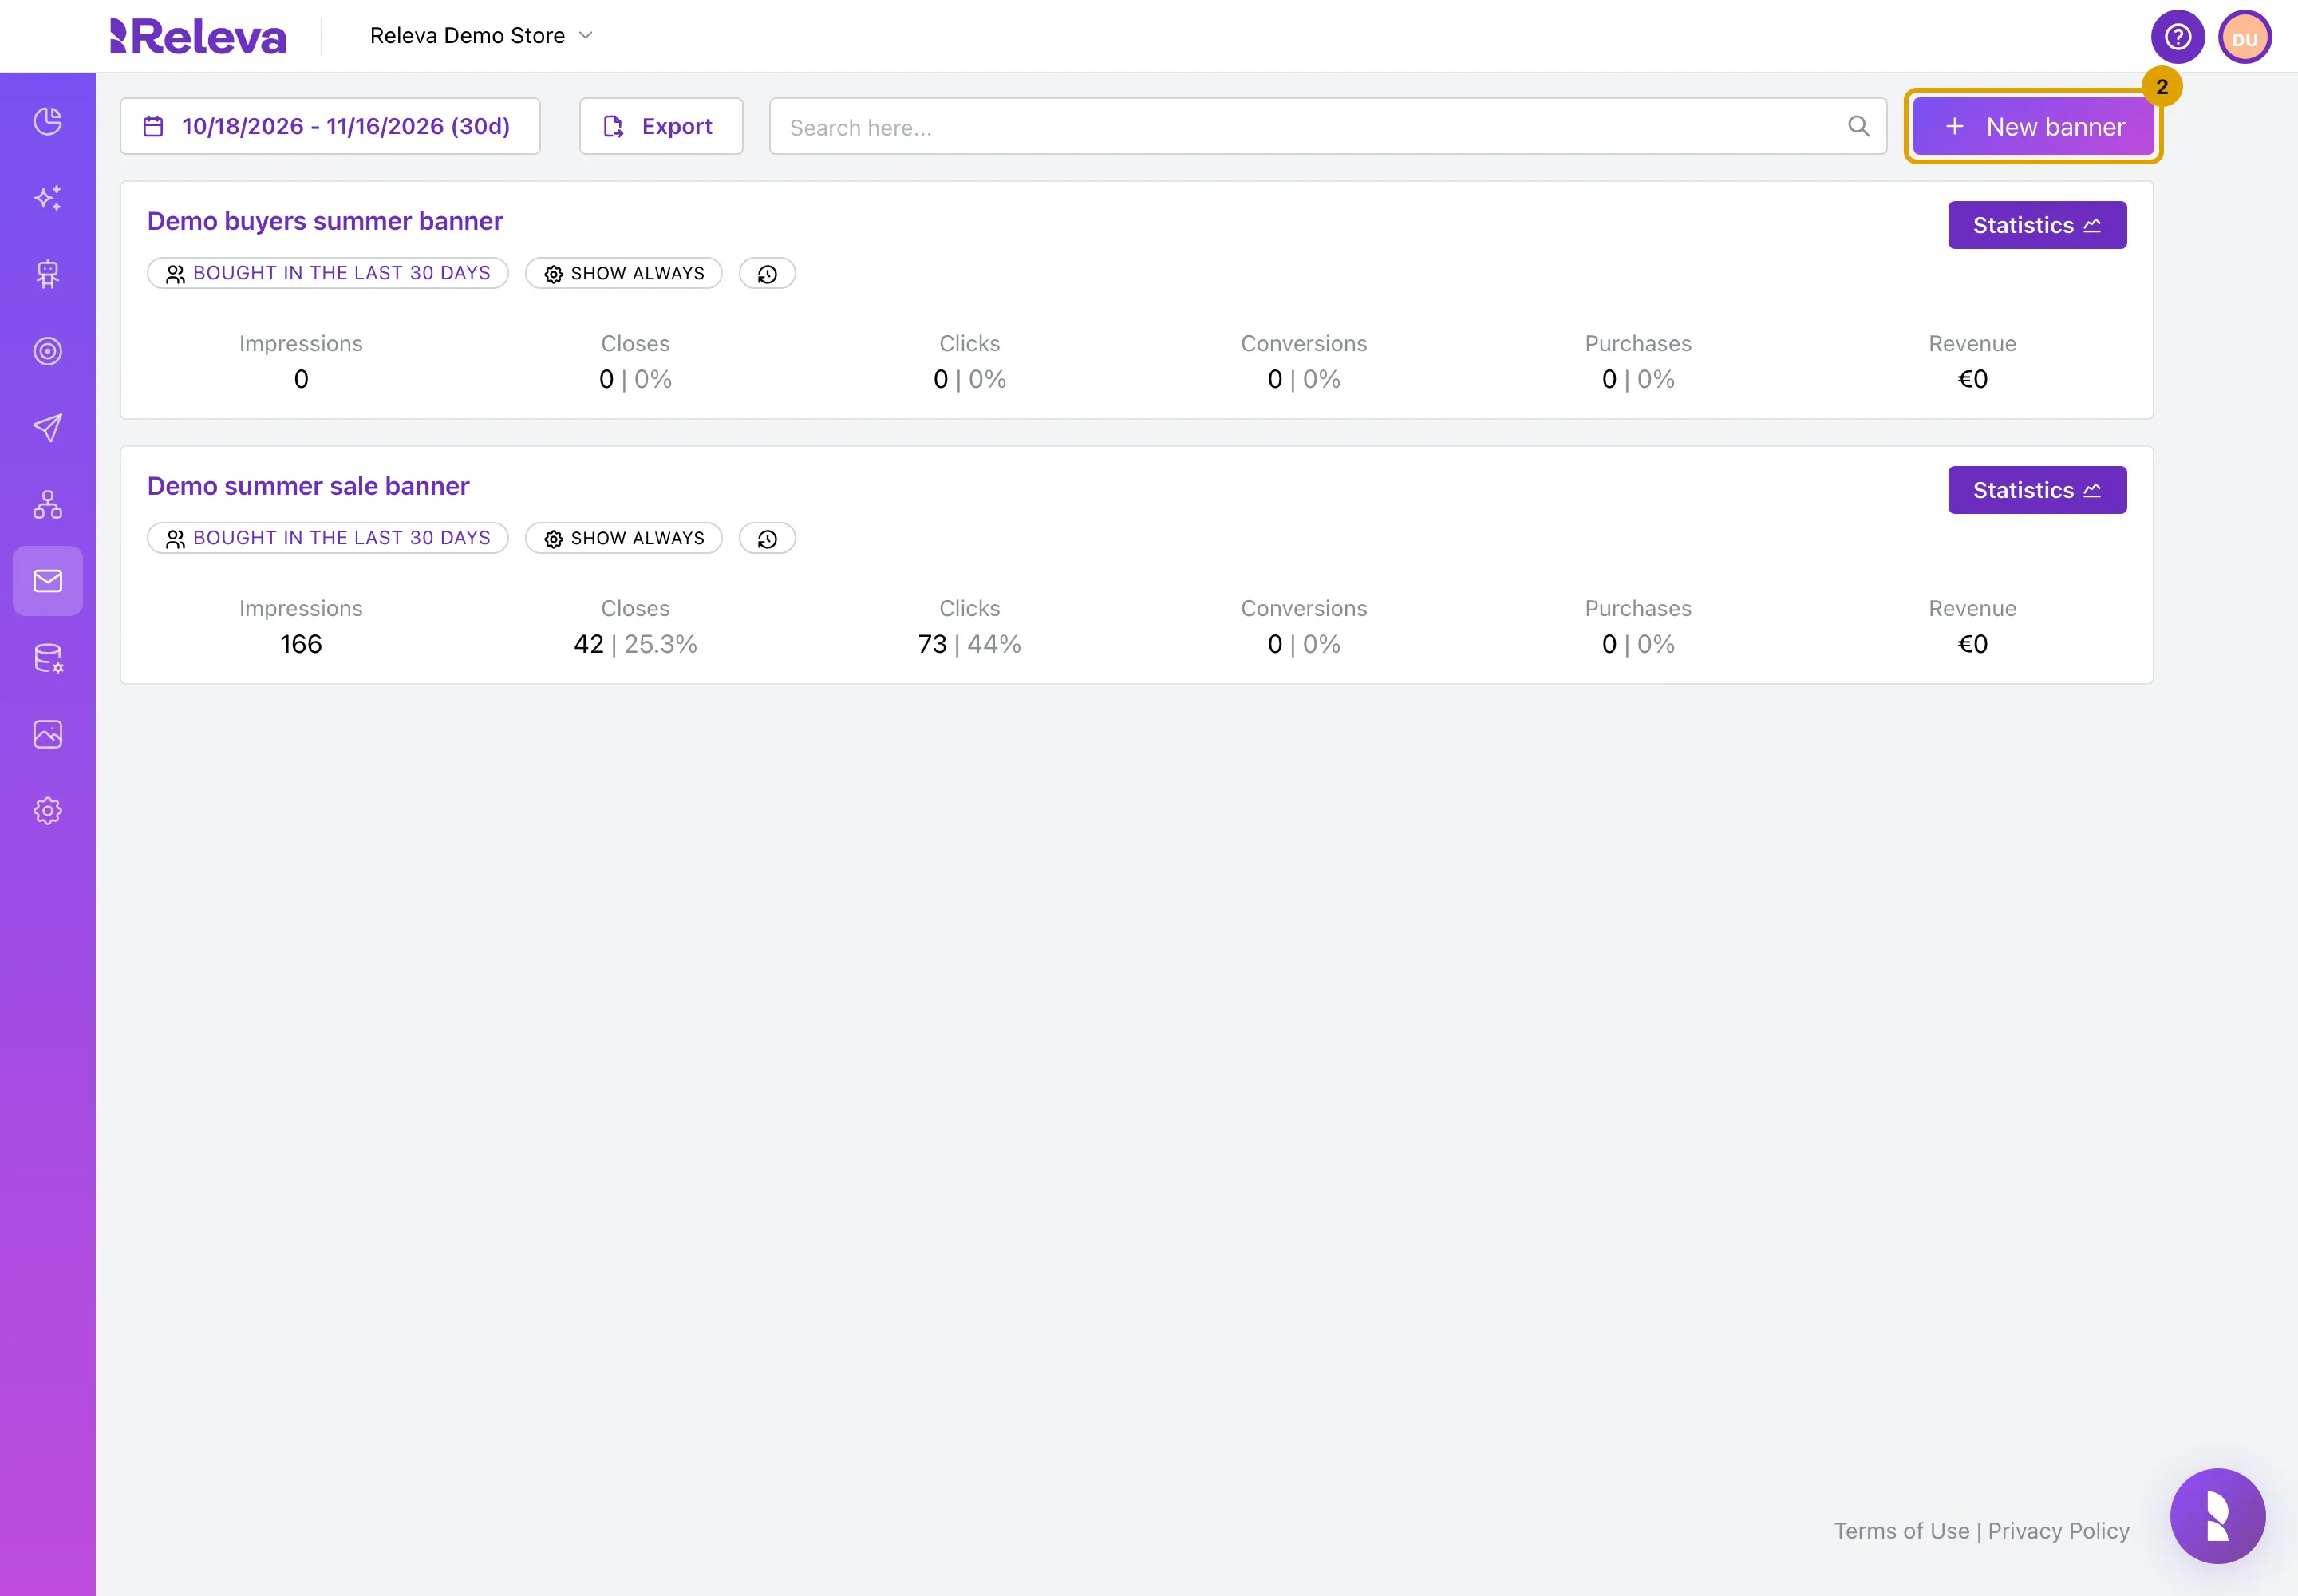
Select New banner.
-
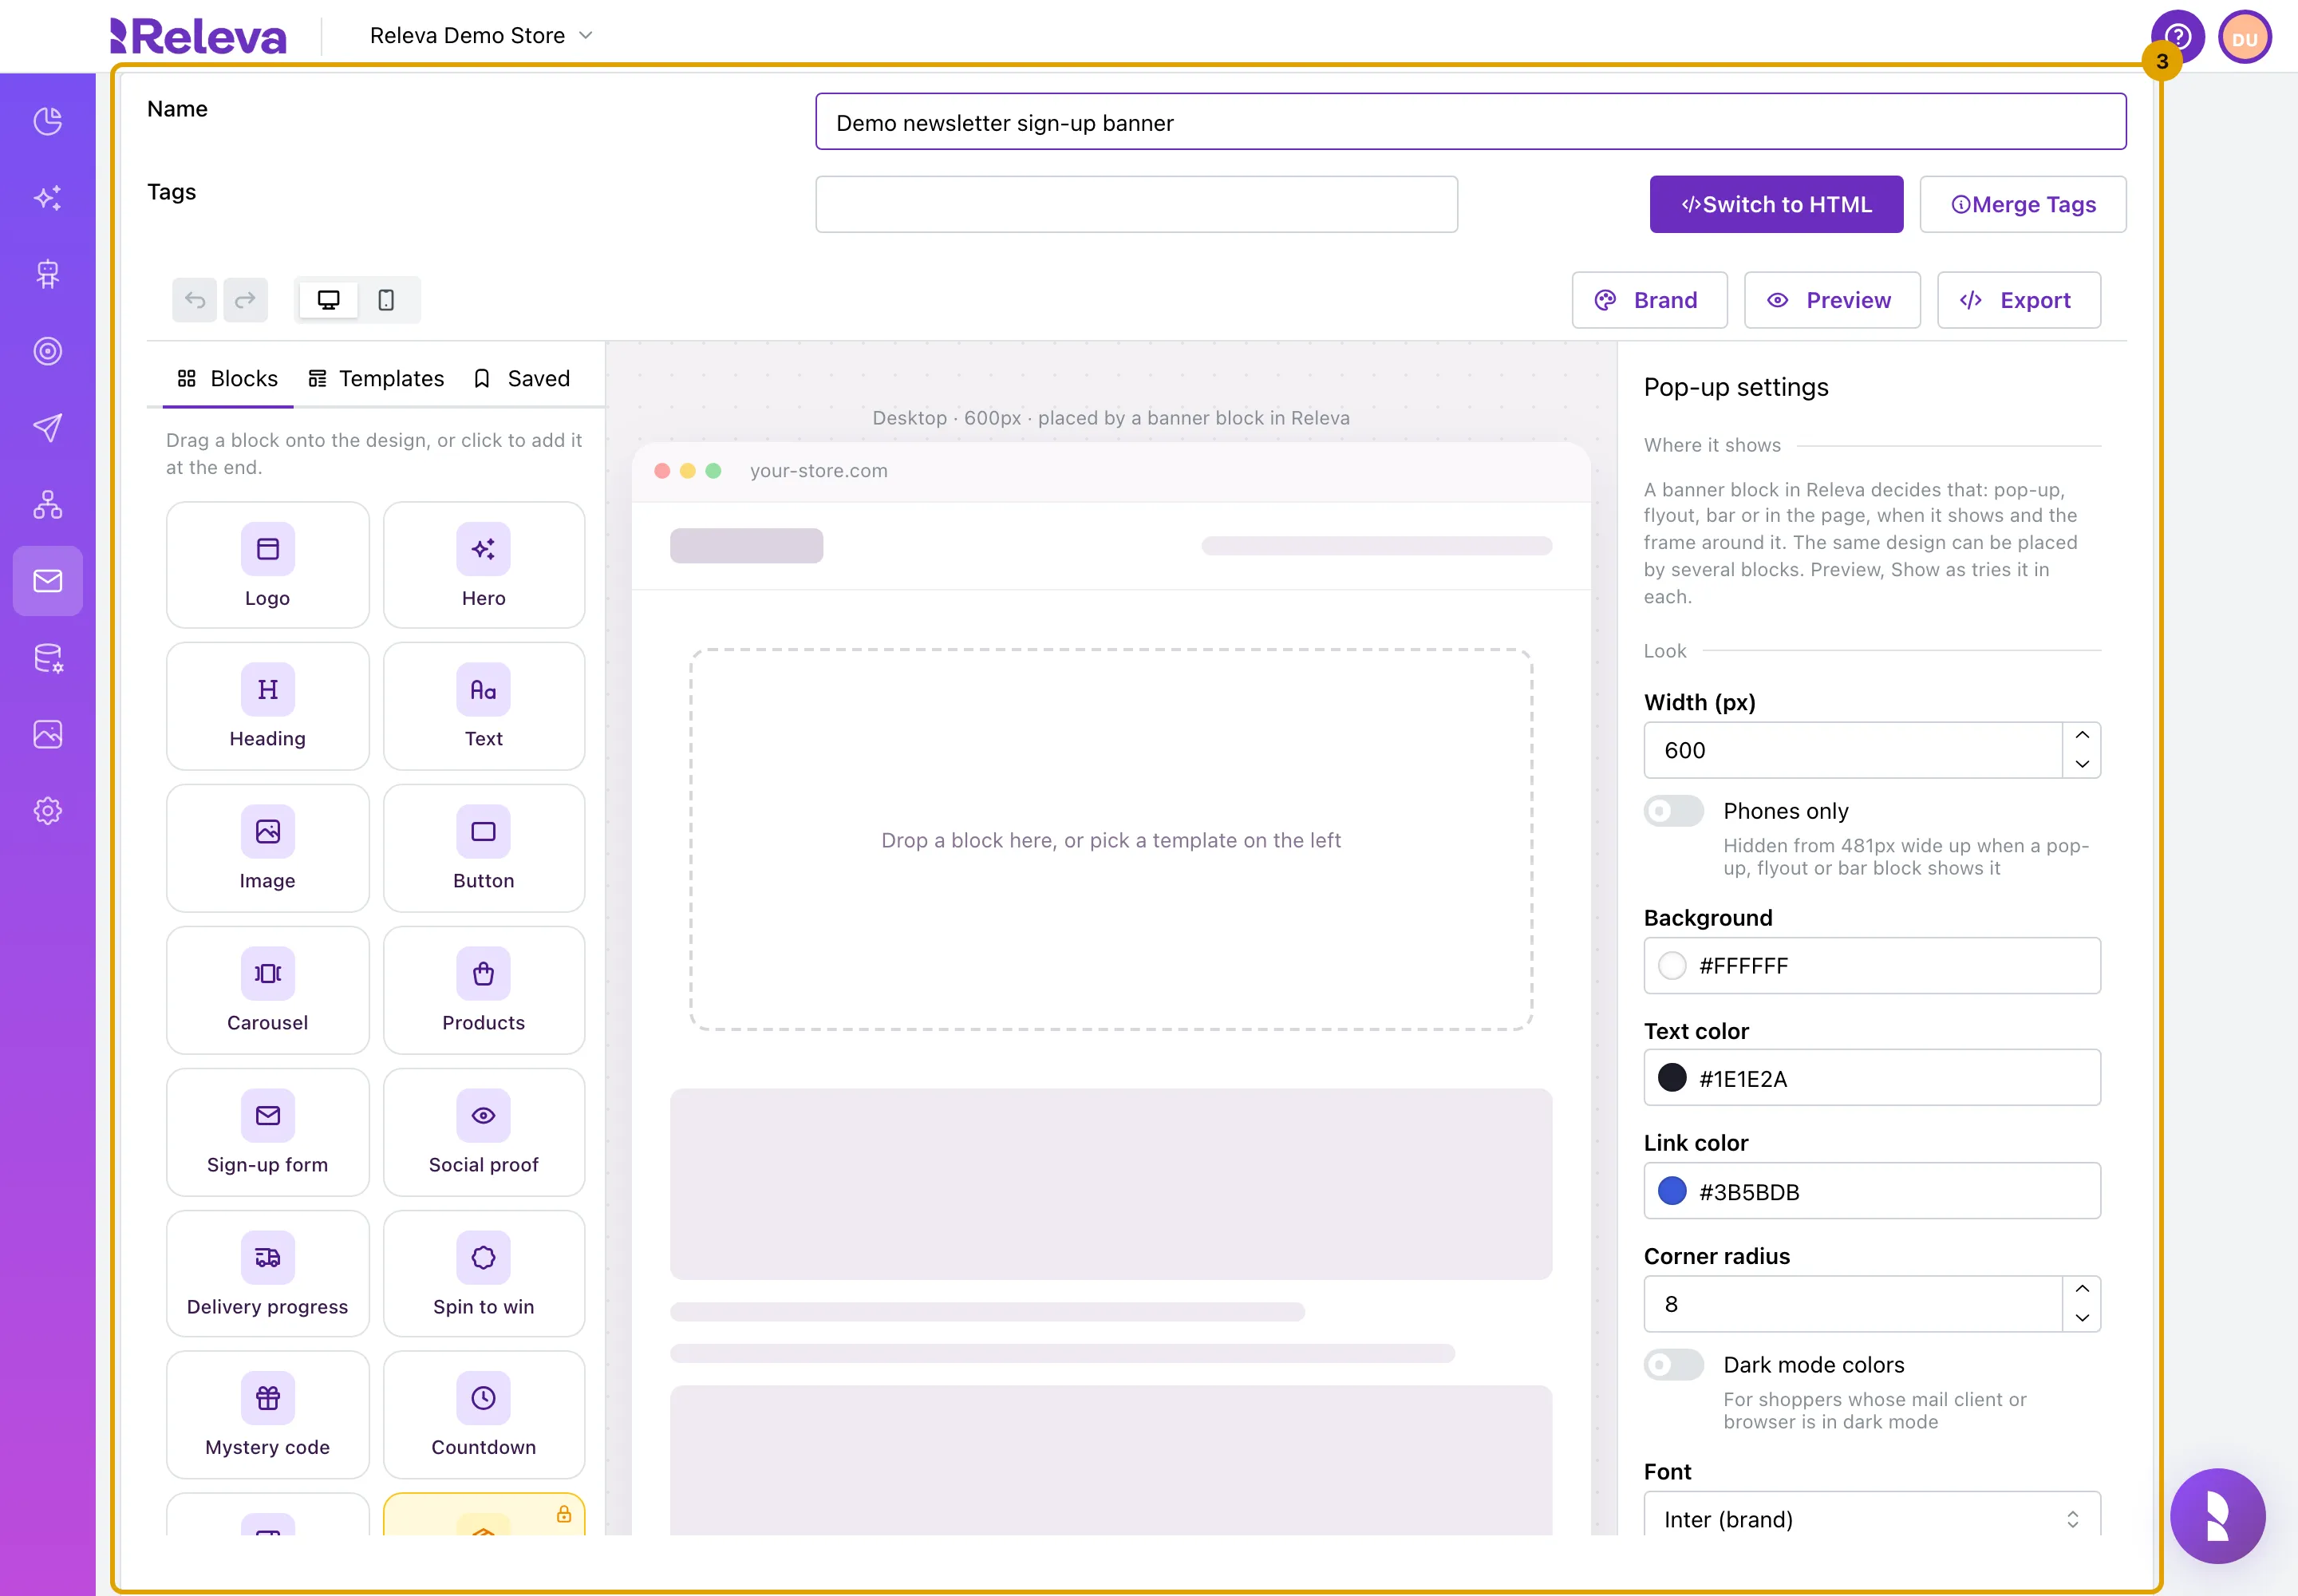
Enter a Name.
The builder opens below the name. Blocks are on the left, the banner is in the middle, and its settings are on the right. With no block selected, the right panel shows Pop-up settings: the width, colours, corner radius and font of the banner. Tags are optional labels. Merge Tags lists the tags you can use to personalise the text.
-
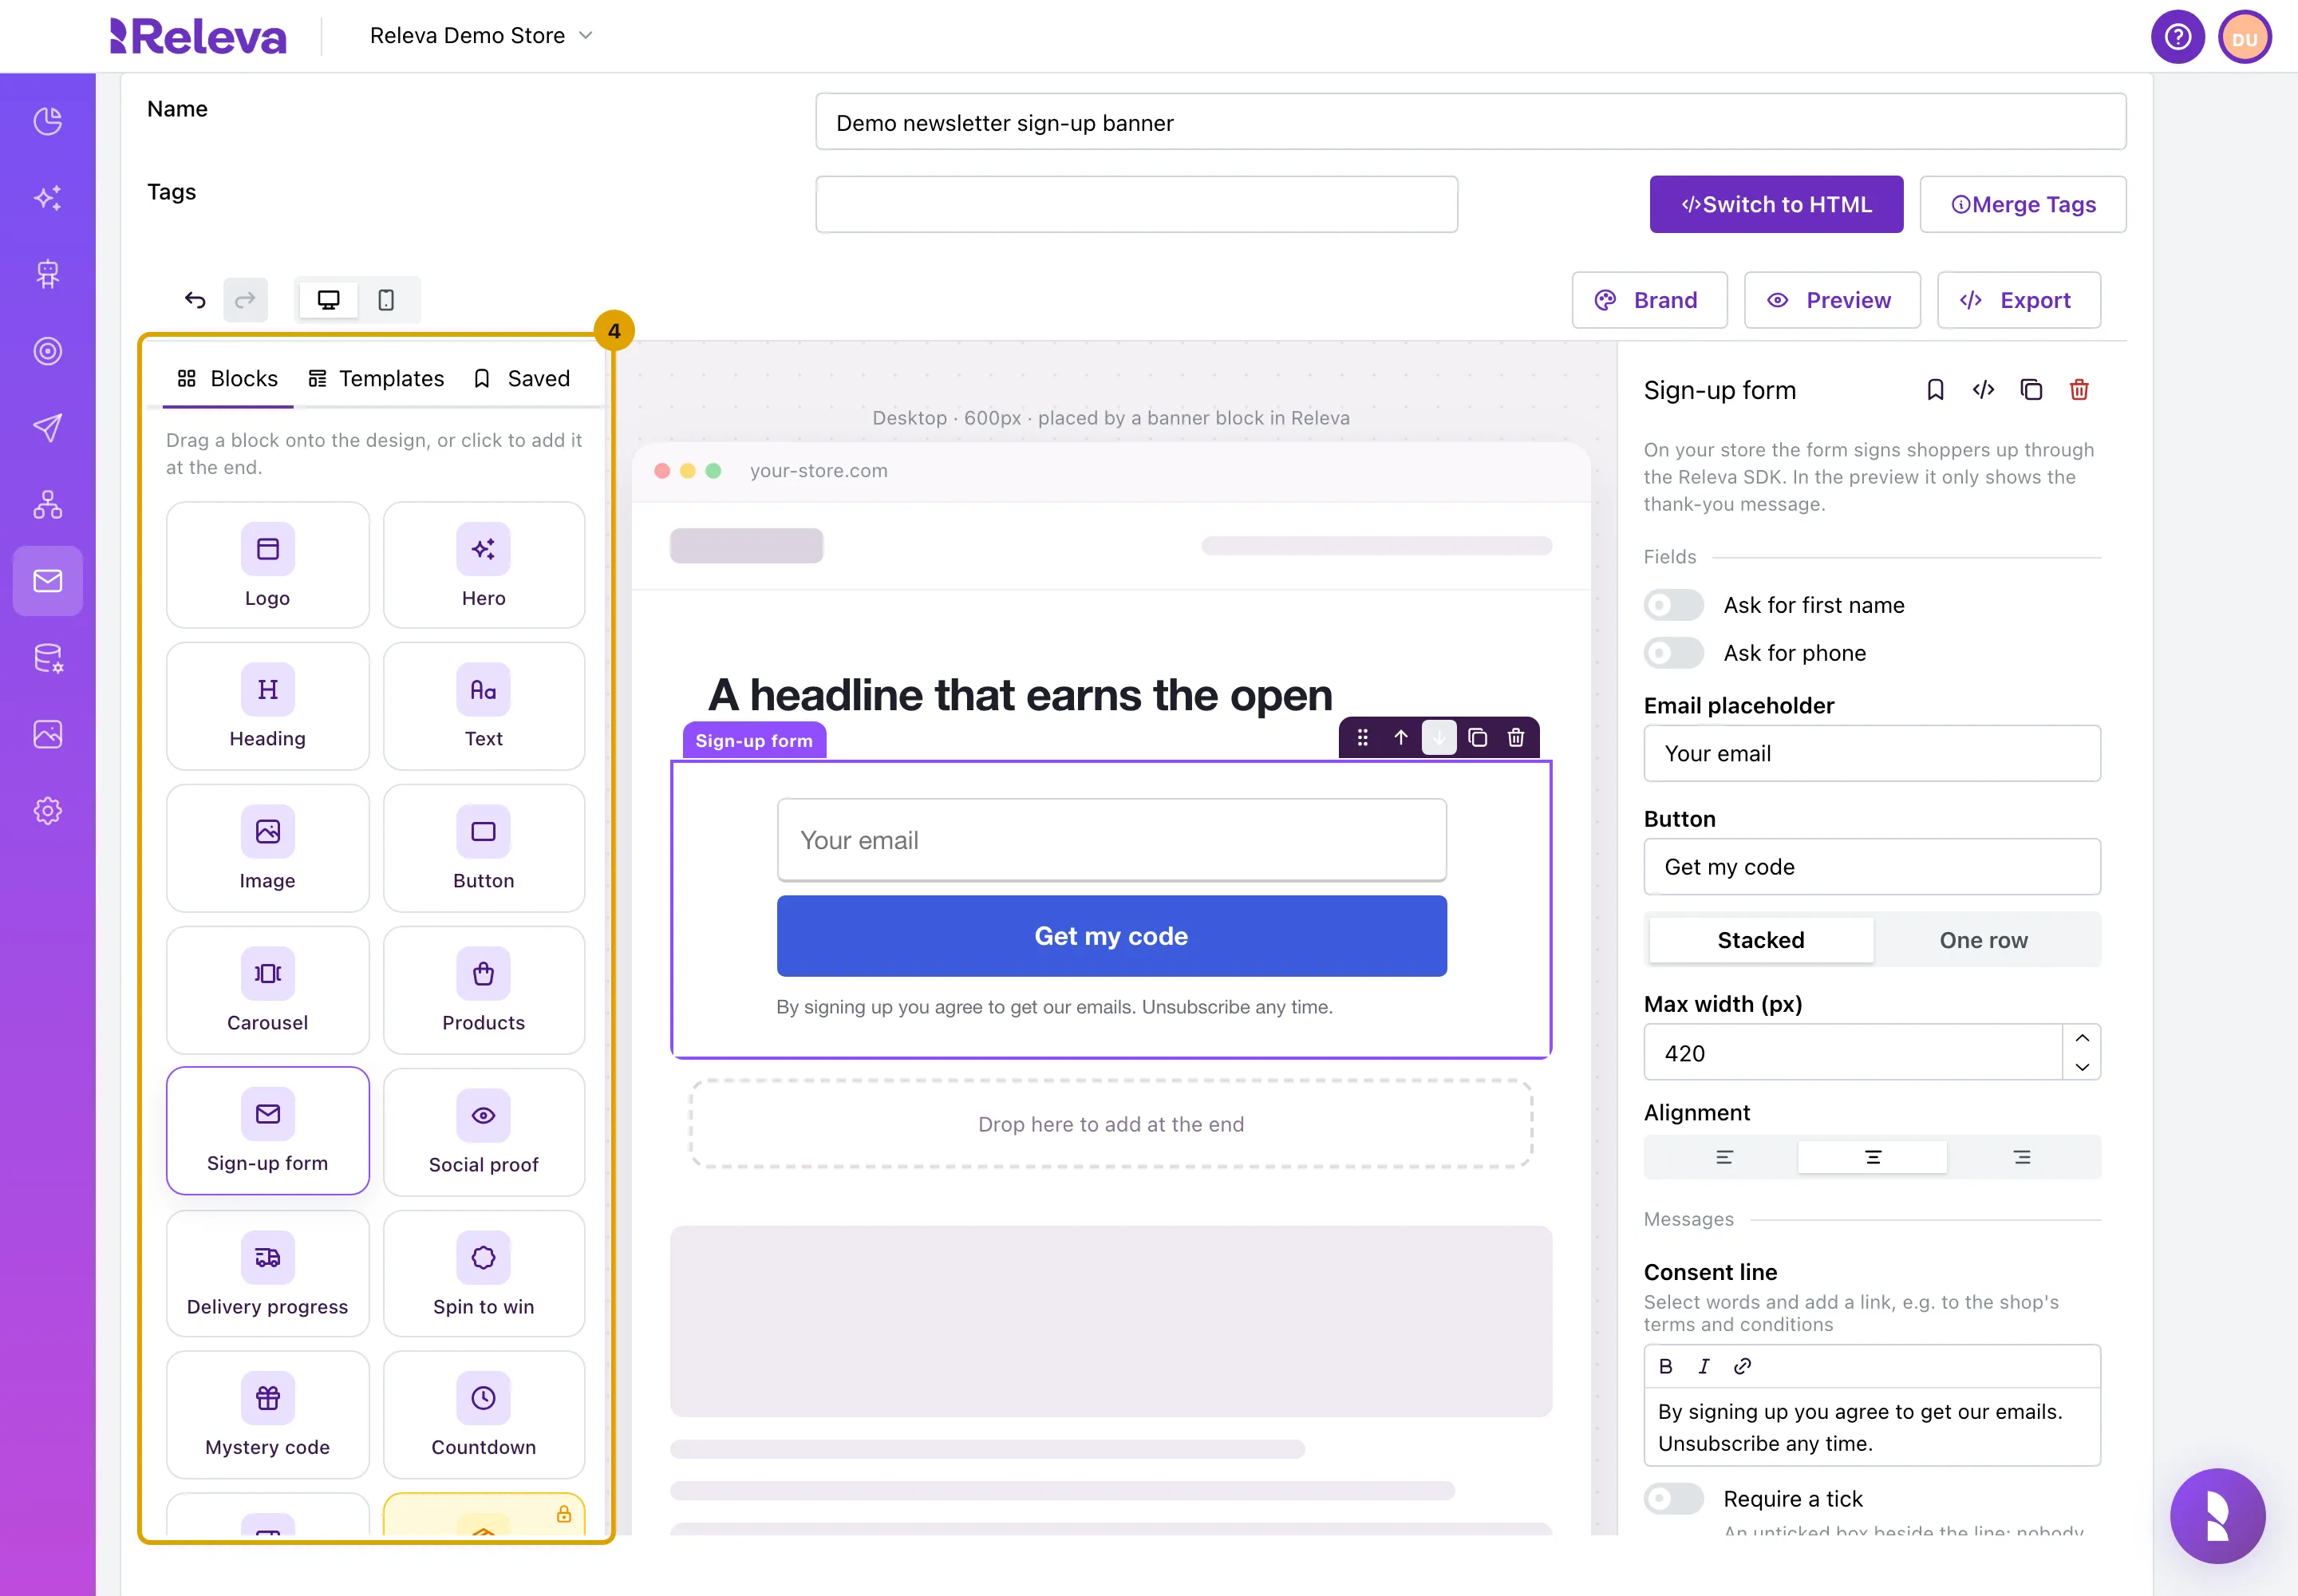
Under Blocks, drag a Heading and a Sign-up form onto the banner. You can also select a block to add it at the end.
The other blocks are Logo, Hero, Text, Image, Button, Carousel, Products, Social proof, Delivery progress, Spin to win, Mystery code, Countdown, Coupon, Order status, Numbers, Columns, Menu, Divider, Spacer, Social links and HTML. Select a heading or text on the banner to type in place. Templates loads a ready-made design in place of the current one; undo brings yours back. Saved holds the blocks you kept with Save block.
-
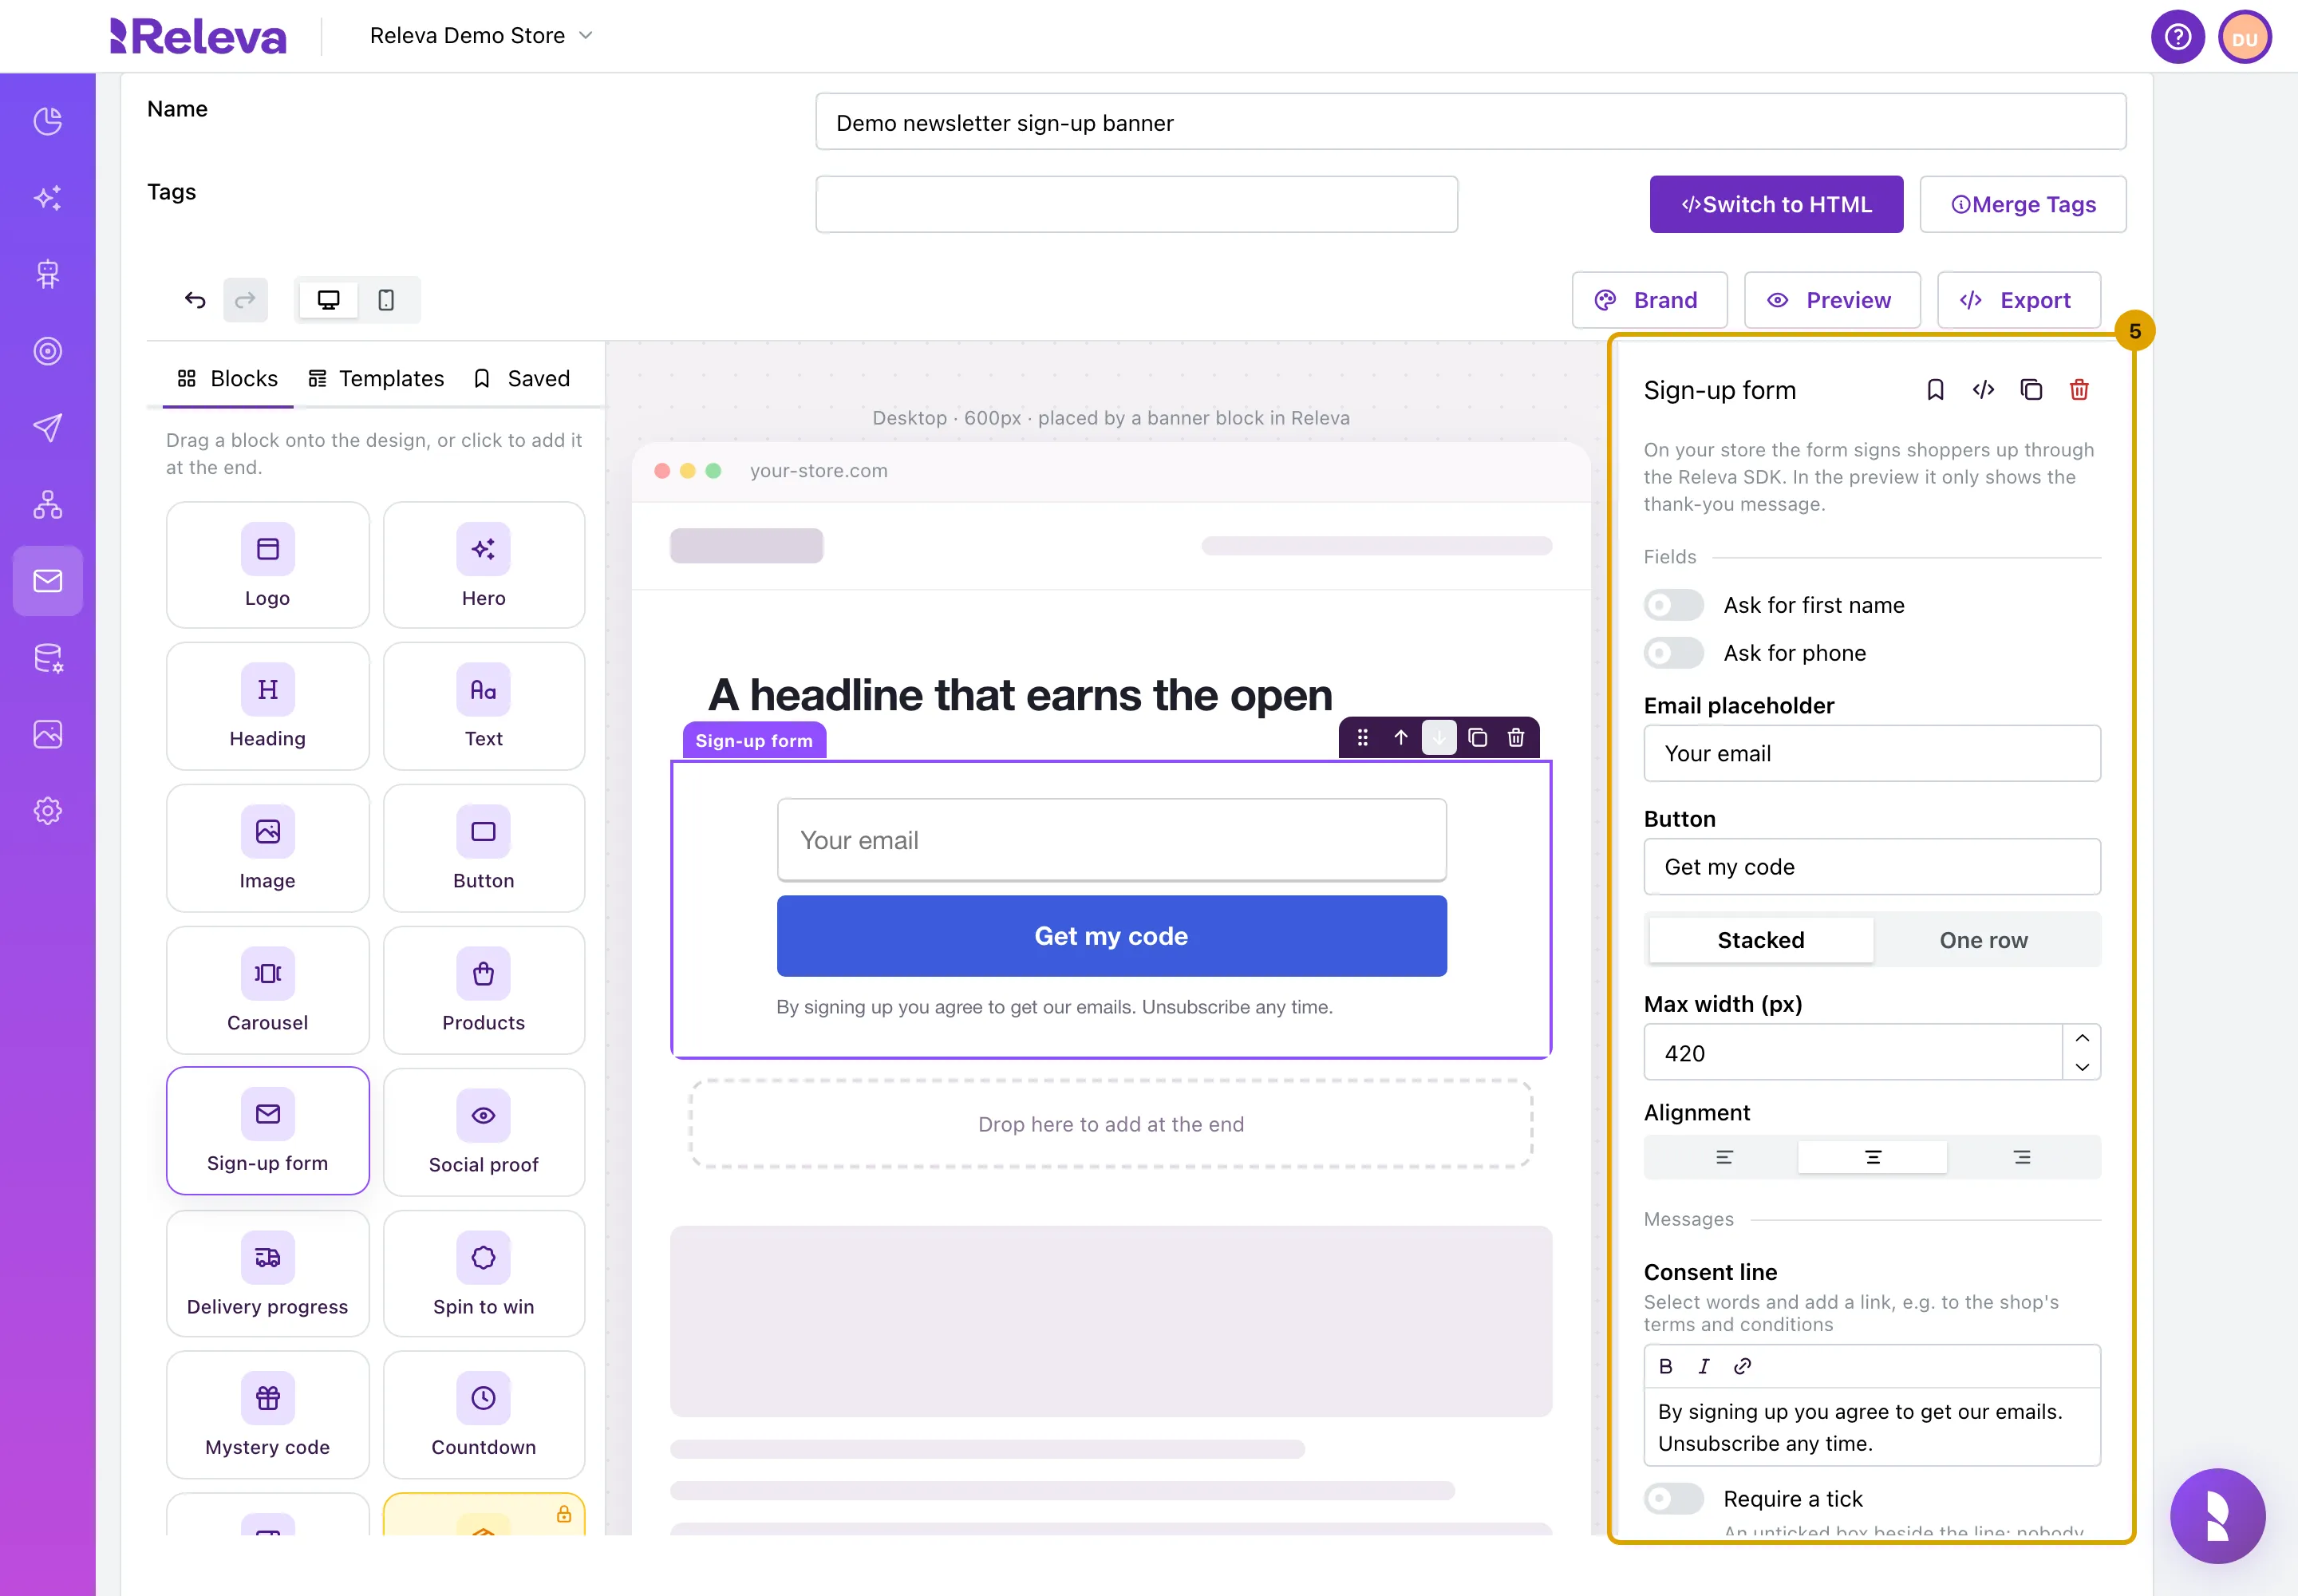
Select the sign-up form on the banner. Its settings open on the right.
- Fields: Ask for first name, Ask for phone, the placeholders, the Button label, and Stacked or One row. The email field is always there.
- Messages: the Consent line and, with Require a tick, a box that must be ticked before anyone is signed up. If it fails is the error text.
- After signing up: the Thank-you text and an optional Picture that replace the form. Show the thank-you shows it on the banner while you edit.
- Releva: Subscription lists, separated by commas. Releva adds them to the visitor’s lists and never removes the lists the visitor already has. Block already subscribed emails tells a returning subscriber so and does not sign them up again.
- Style: the field and button styles and colours.
When a visitor submits the form, Releva receives a subscription request with the details they entered. With Internal subscription management, the setting Subscription Request Behavaior decides what happens next: with Subscribe right away, the visitor is subscribed at once; with Wait for confirmation, Releva records the request and your confirmation email does the rest. See How consent works in Releva.
-
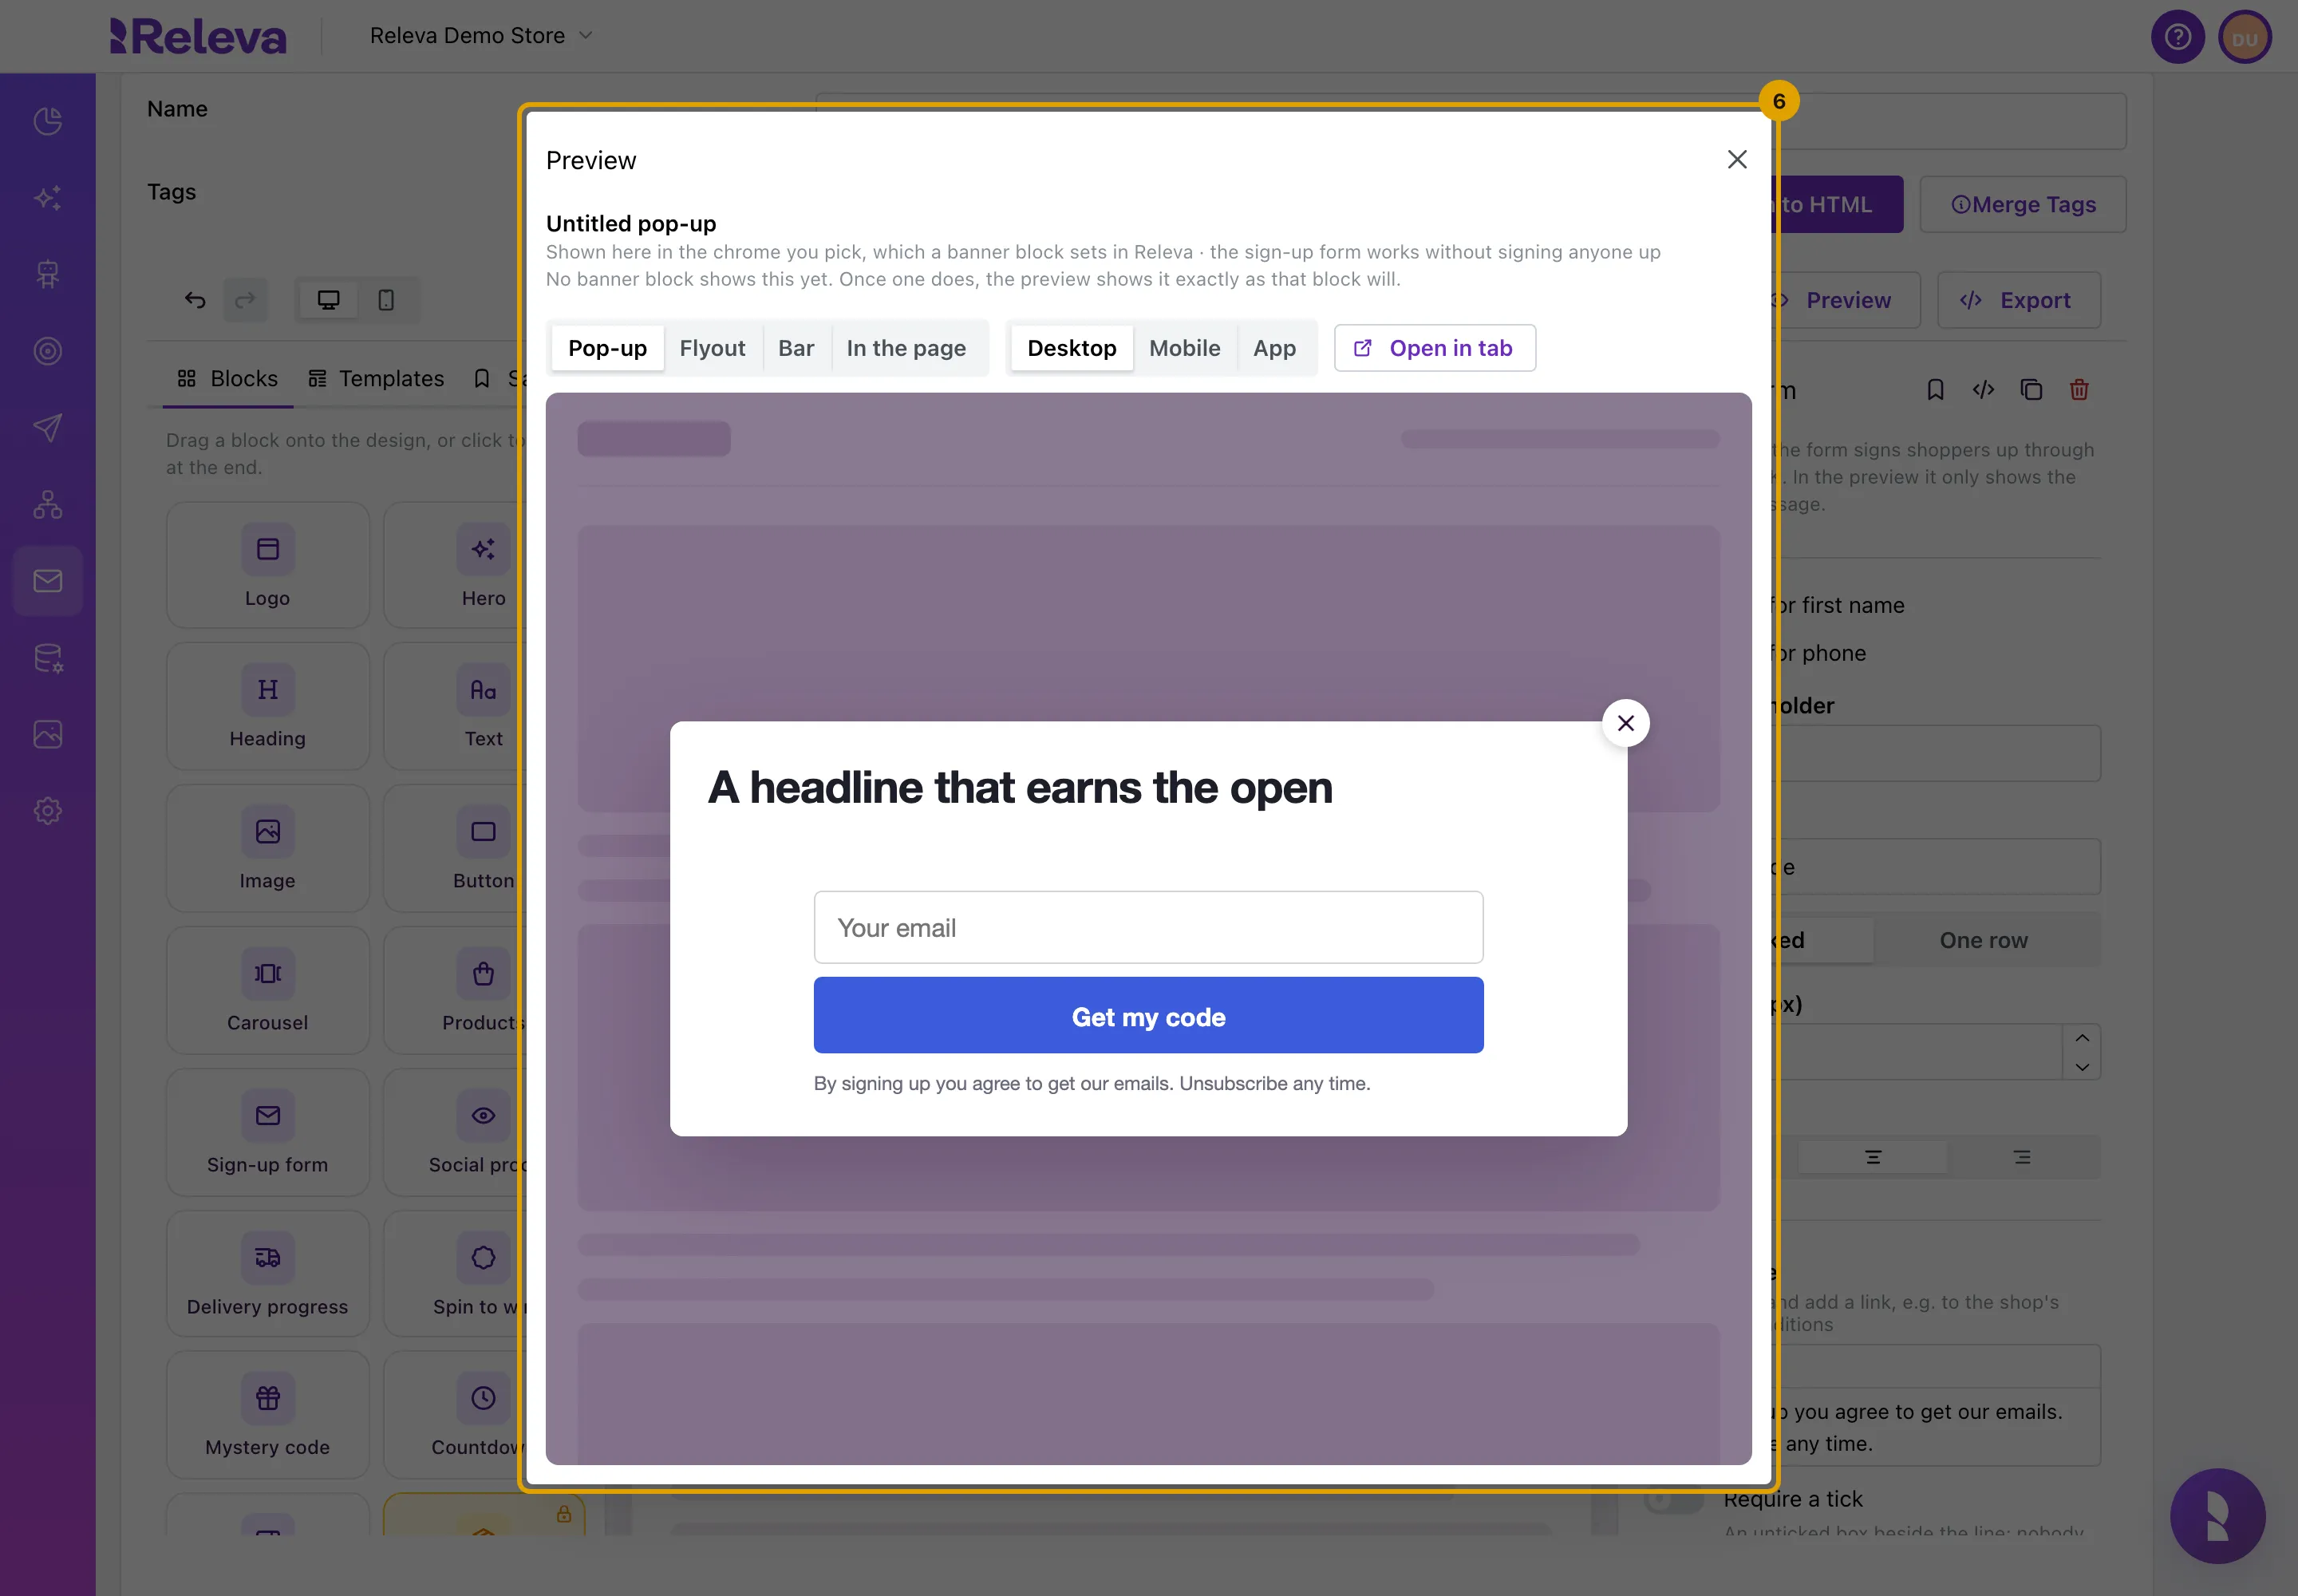
Select Preview to see the banner as a Pop-up, Flyout, Bar or In the page, on Desktop, Mobile or App. Close the preview when you are done.
The banner block decides which of these your visitors see. Once a banner block uses the banner, the preview shows it exactly as that block will. App shows the banner as the Releva mobile SDKs draw it and lists any blocks the apps do not show under Not shown in the apps. Open in tab opens the preview in a new browser tab. The sign-up form in the preview does not sign anyone up.
-
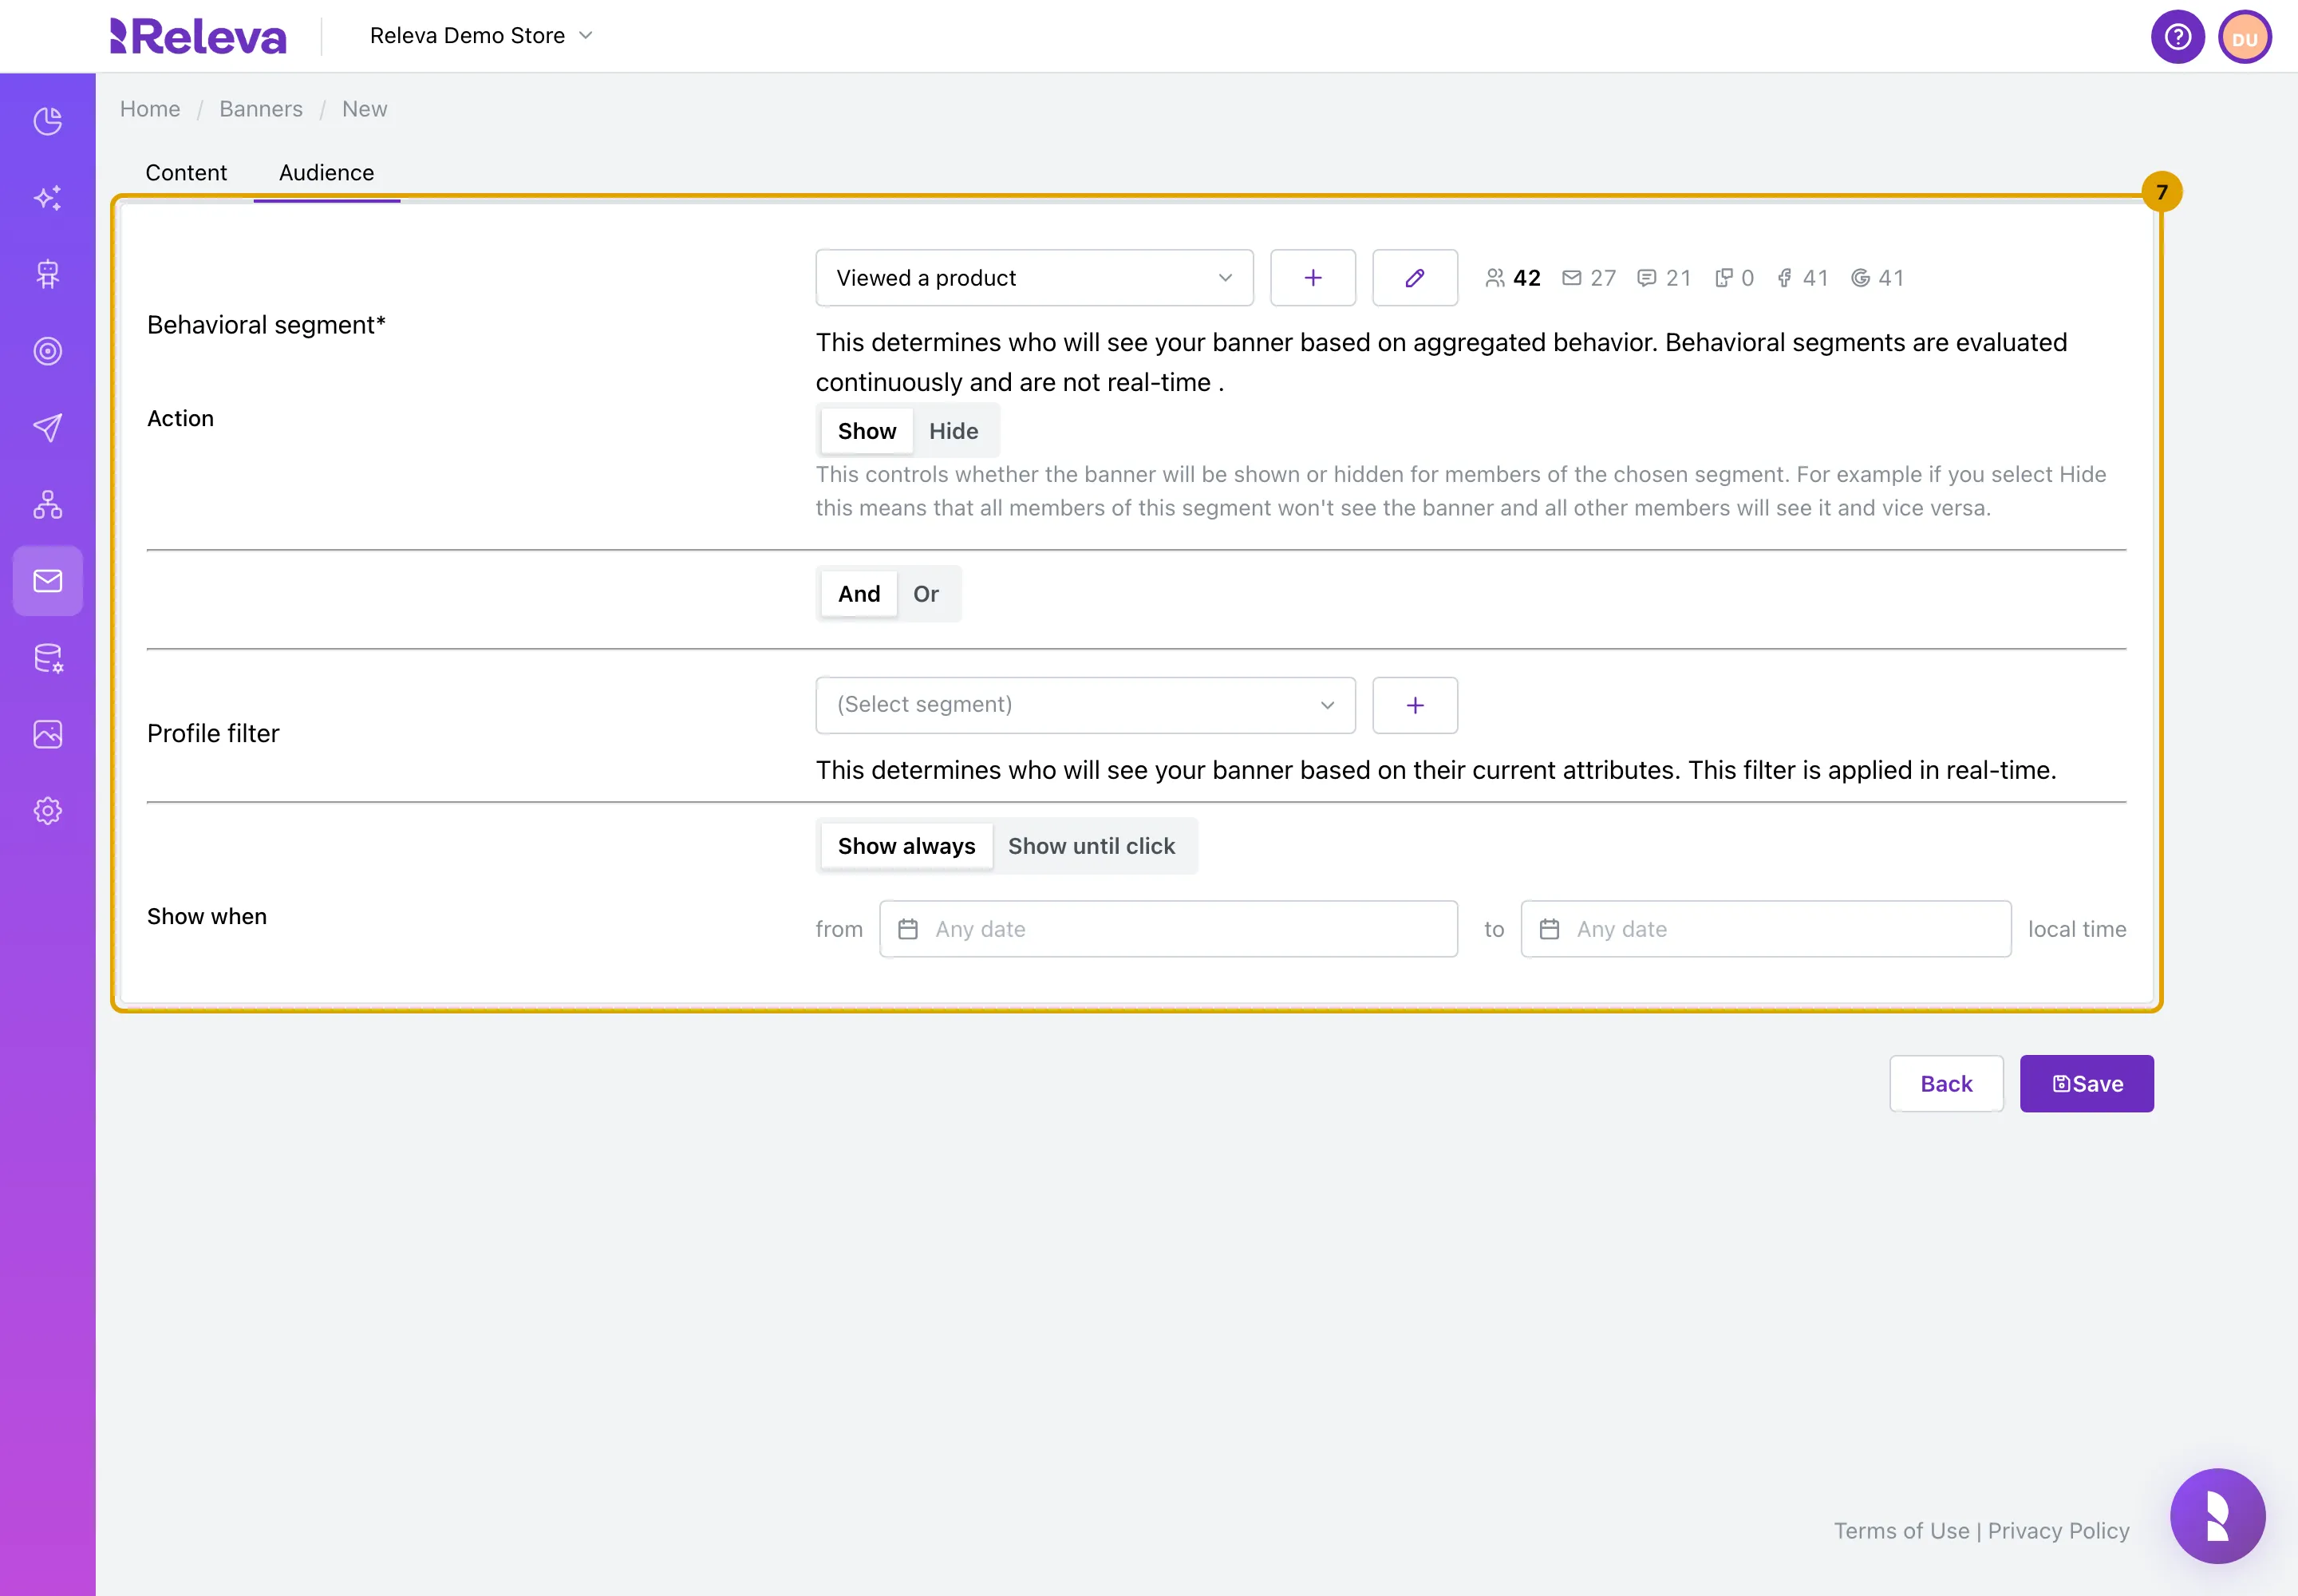
Select the Audience tab and choose the Behavioral segment that sees the banner.
Save stays disabled until you choose one. Action shows the banner to the segment (Show) or to everyone except it (Hide). Show always and Show until click decide whether the banner comes back after a visitor clicks or closes it; see Choose who sees a banner.
-
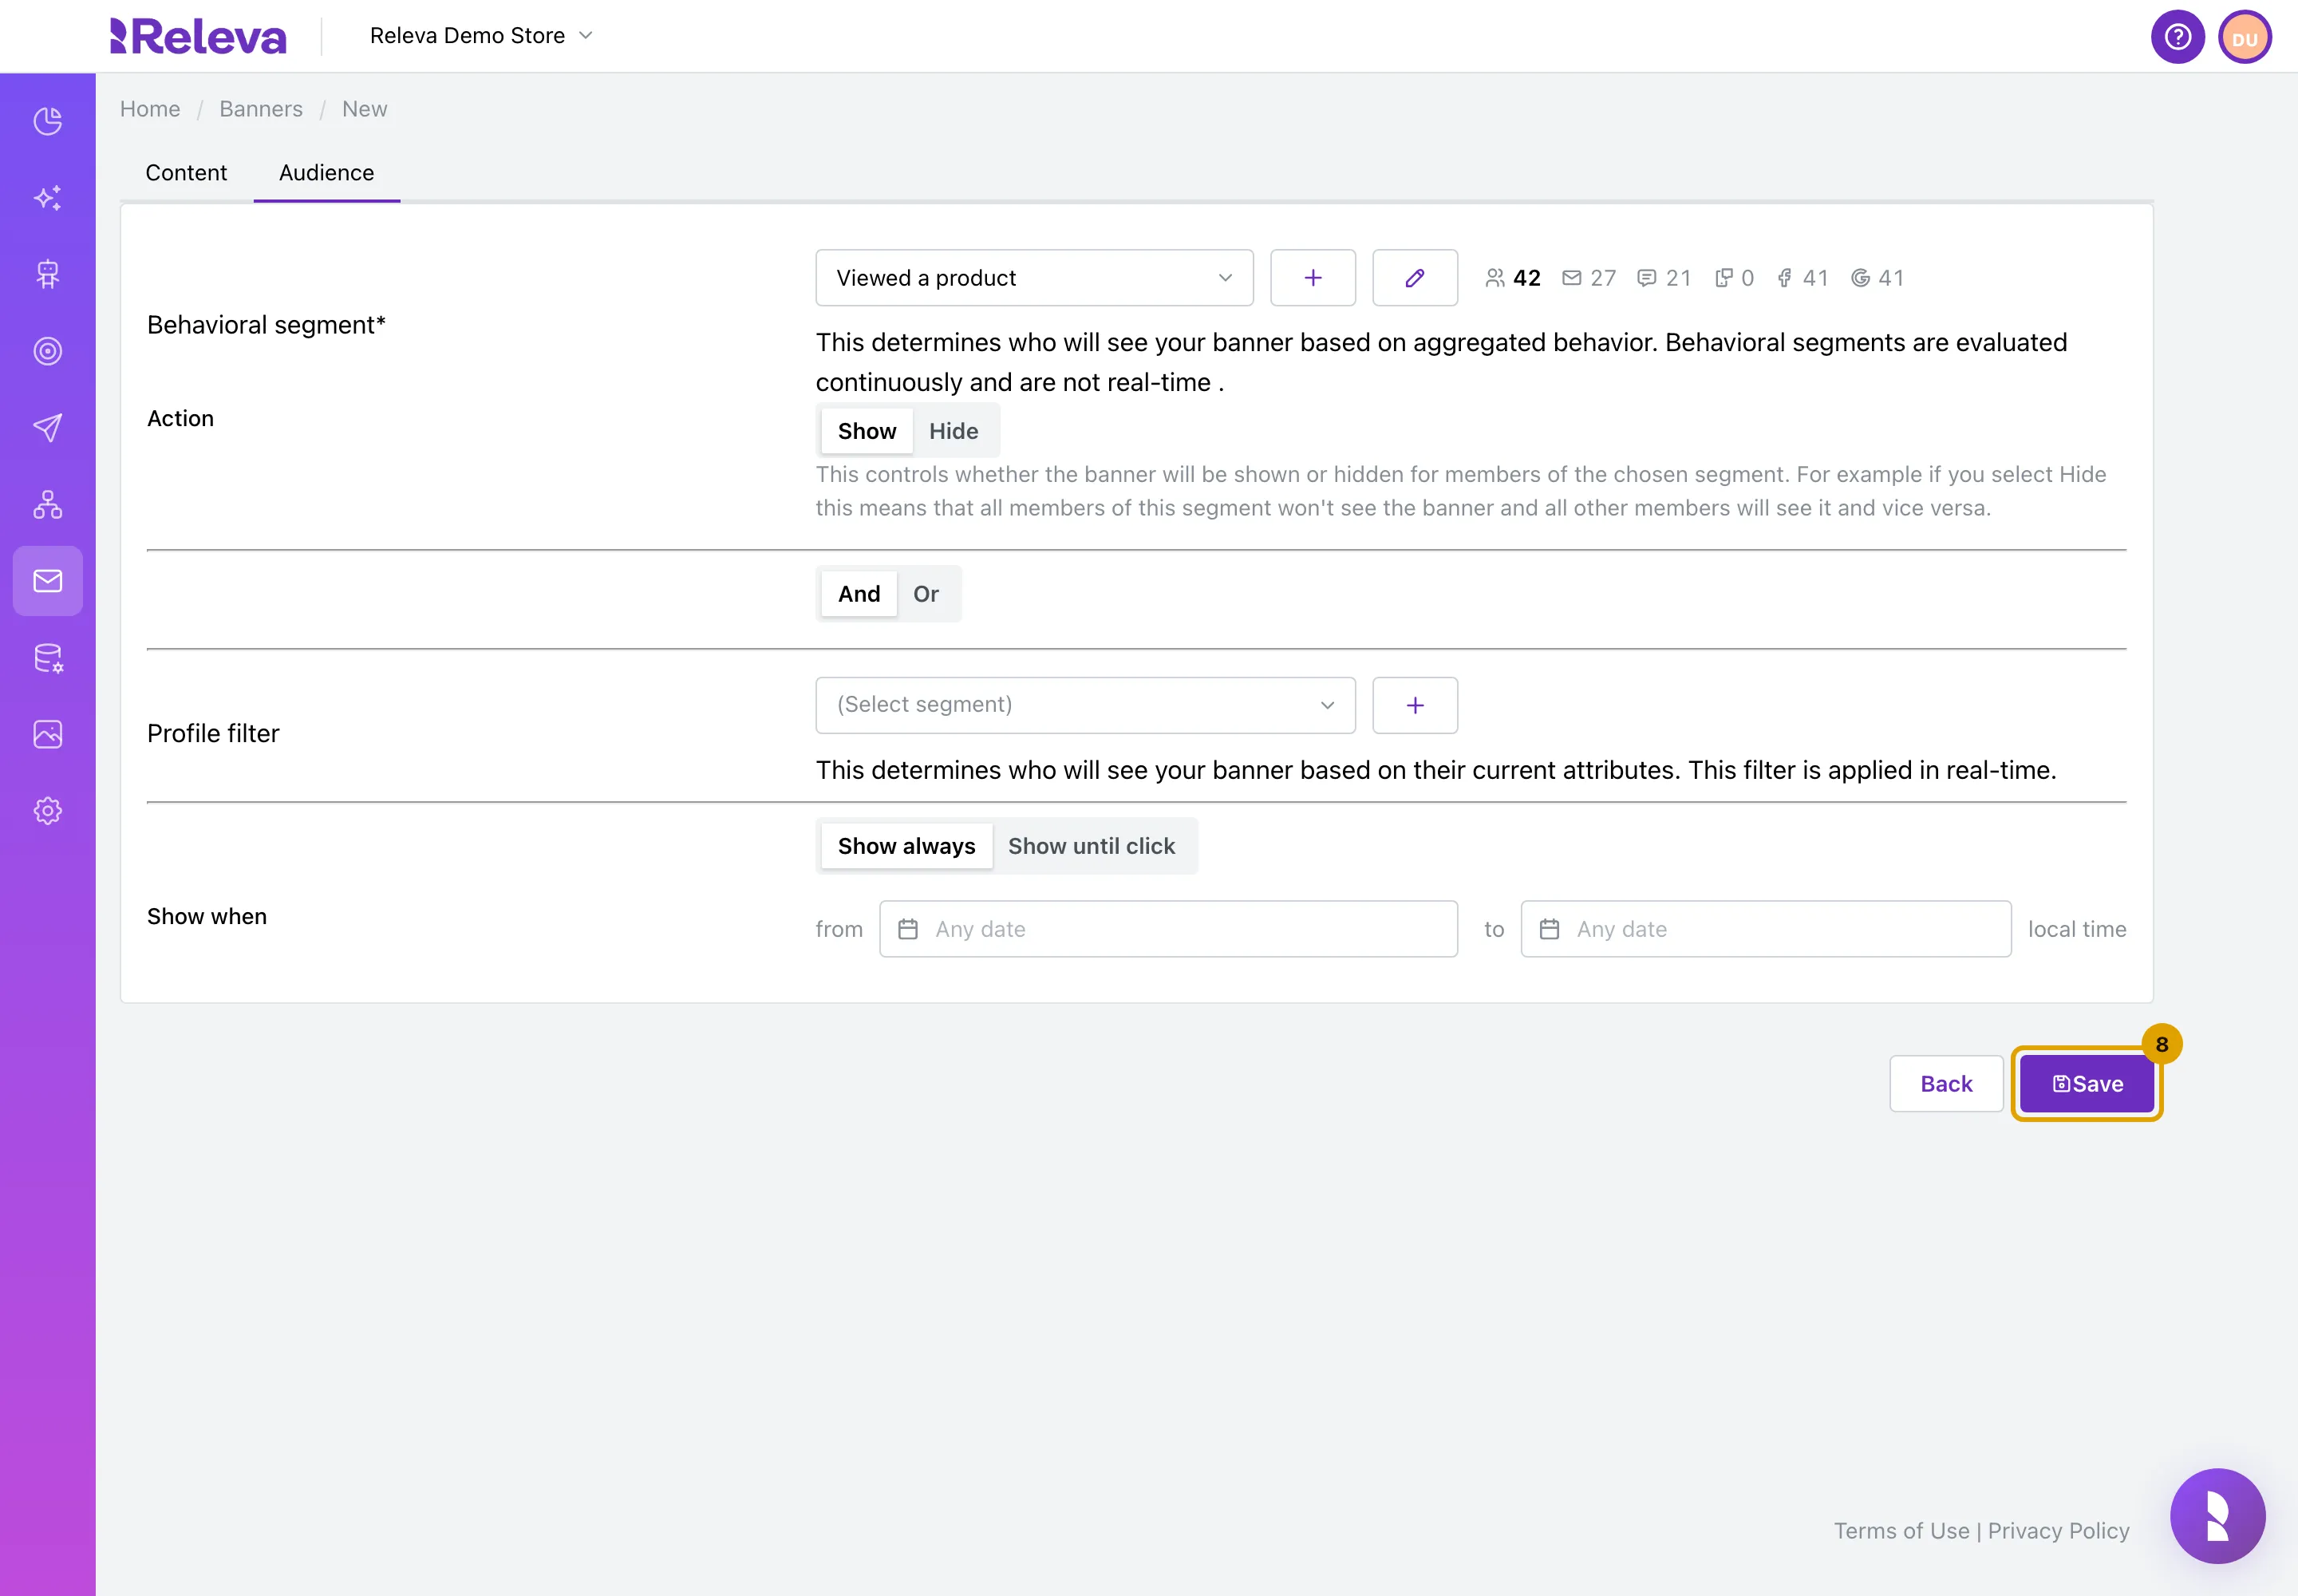
Select Save.
-
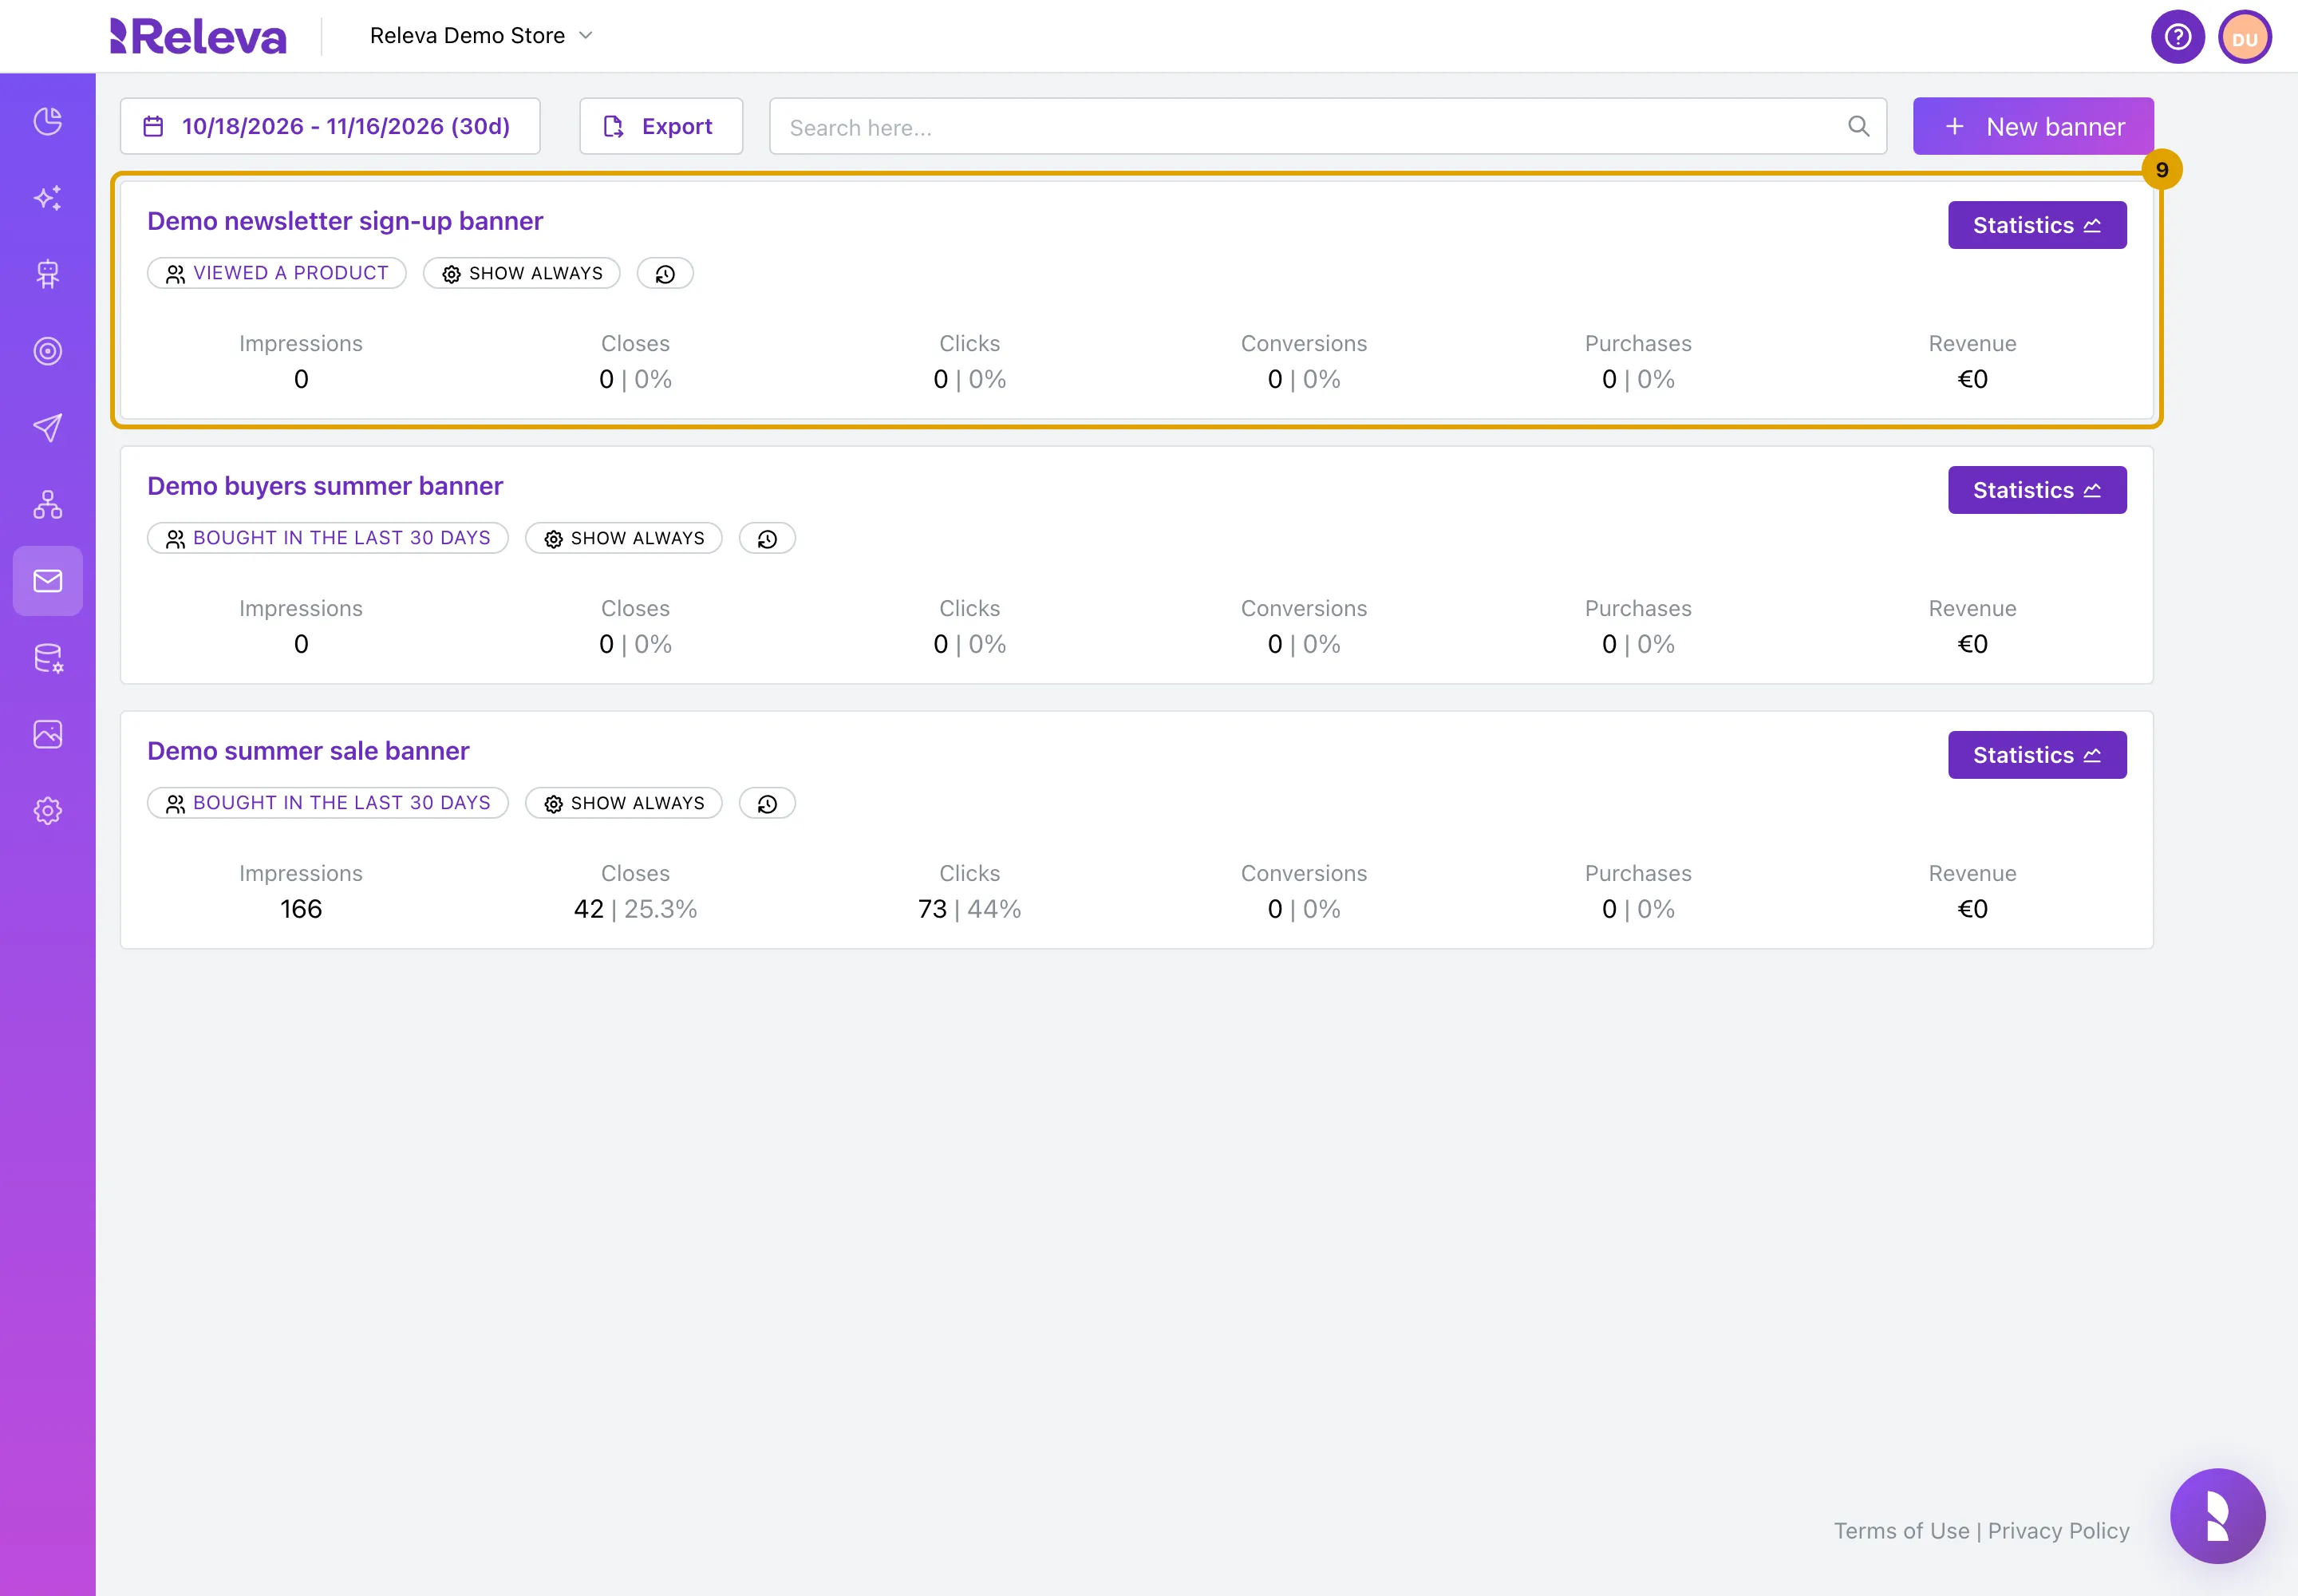
The banner is listed under Banners. It appears on your site only once a banner block uses it.
Check it worked
Section titled “Check it worked”- The banner is a card on Marketing Channels › Banners with its segment and SHOW ALWAYS or SHOW UNTIL CLICK.
- Add it to a banner block and switch the block on, then open the page on your site as a visitor in the segment. See Show a banner on your site.
Troubleshooting
Section titled “Troubleshooting”Save is disabled. The name is empty or no Behavioral segment is chosen.
Saving shows “Add the missing codes before saving”. A Spin to win, Mystery code or Coupon block has a prize without a code. Select the block and enter a code that works at your checkout. Spin to win and Mystery code can also draw from a Releva coupon.
A block in the list shows a lock. Releva cannot fill it for your store yet. Select the locked block to see what is missing. Order status needs a shipment provider, its access token and your order status page, and a plan that includes post-purchase banners. A banner with an Order status block is saved as a post-purchase banner, for your order status page.
An older banner opens in a different editor. Banners made before the Releva builder keep their editor. Select Convert to Releva builder to move one over. Releva lists anything the builder cannot show before you confirm, and nothing changes on your site until you select Save.
I switched to HTML and cannot go back. Switch to HTML is one way: the banner keeps the HTML editor. Create a new banner to use the builder again.
The form does not subscribe anyone when I try it while impersonating a profile. Subscribing is turned off in an impersonation preview. Test the form on your site as a normal visitor.