

Create a mobile app push notification
An app push notification shows on the lock screen of phones that have your Android or iOS app installed. Releva sends it through Firebase Cloud Messaging. Saving one sends nothing: it is a draft until a workflow or campaign uses it. This guide creates a notification of type Message for Android and IOS with an image, and sets what opens when someone taps it. For a browser notification, see Create a web push notification.
Before you start
Section titled “Before you start”-
Your app uses a Releva mobile SDK and registers push tokens. See Mobile SDKs overview and Check that your mobile app is connected.
-
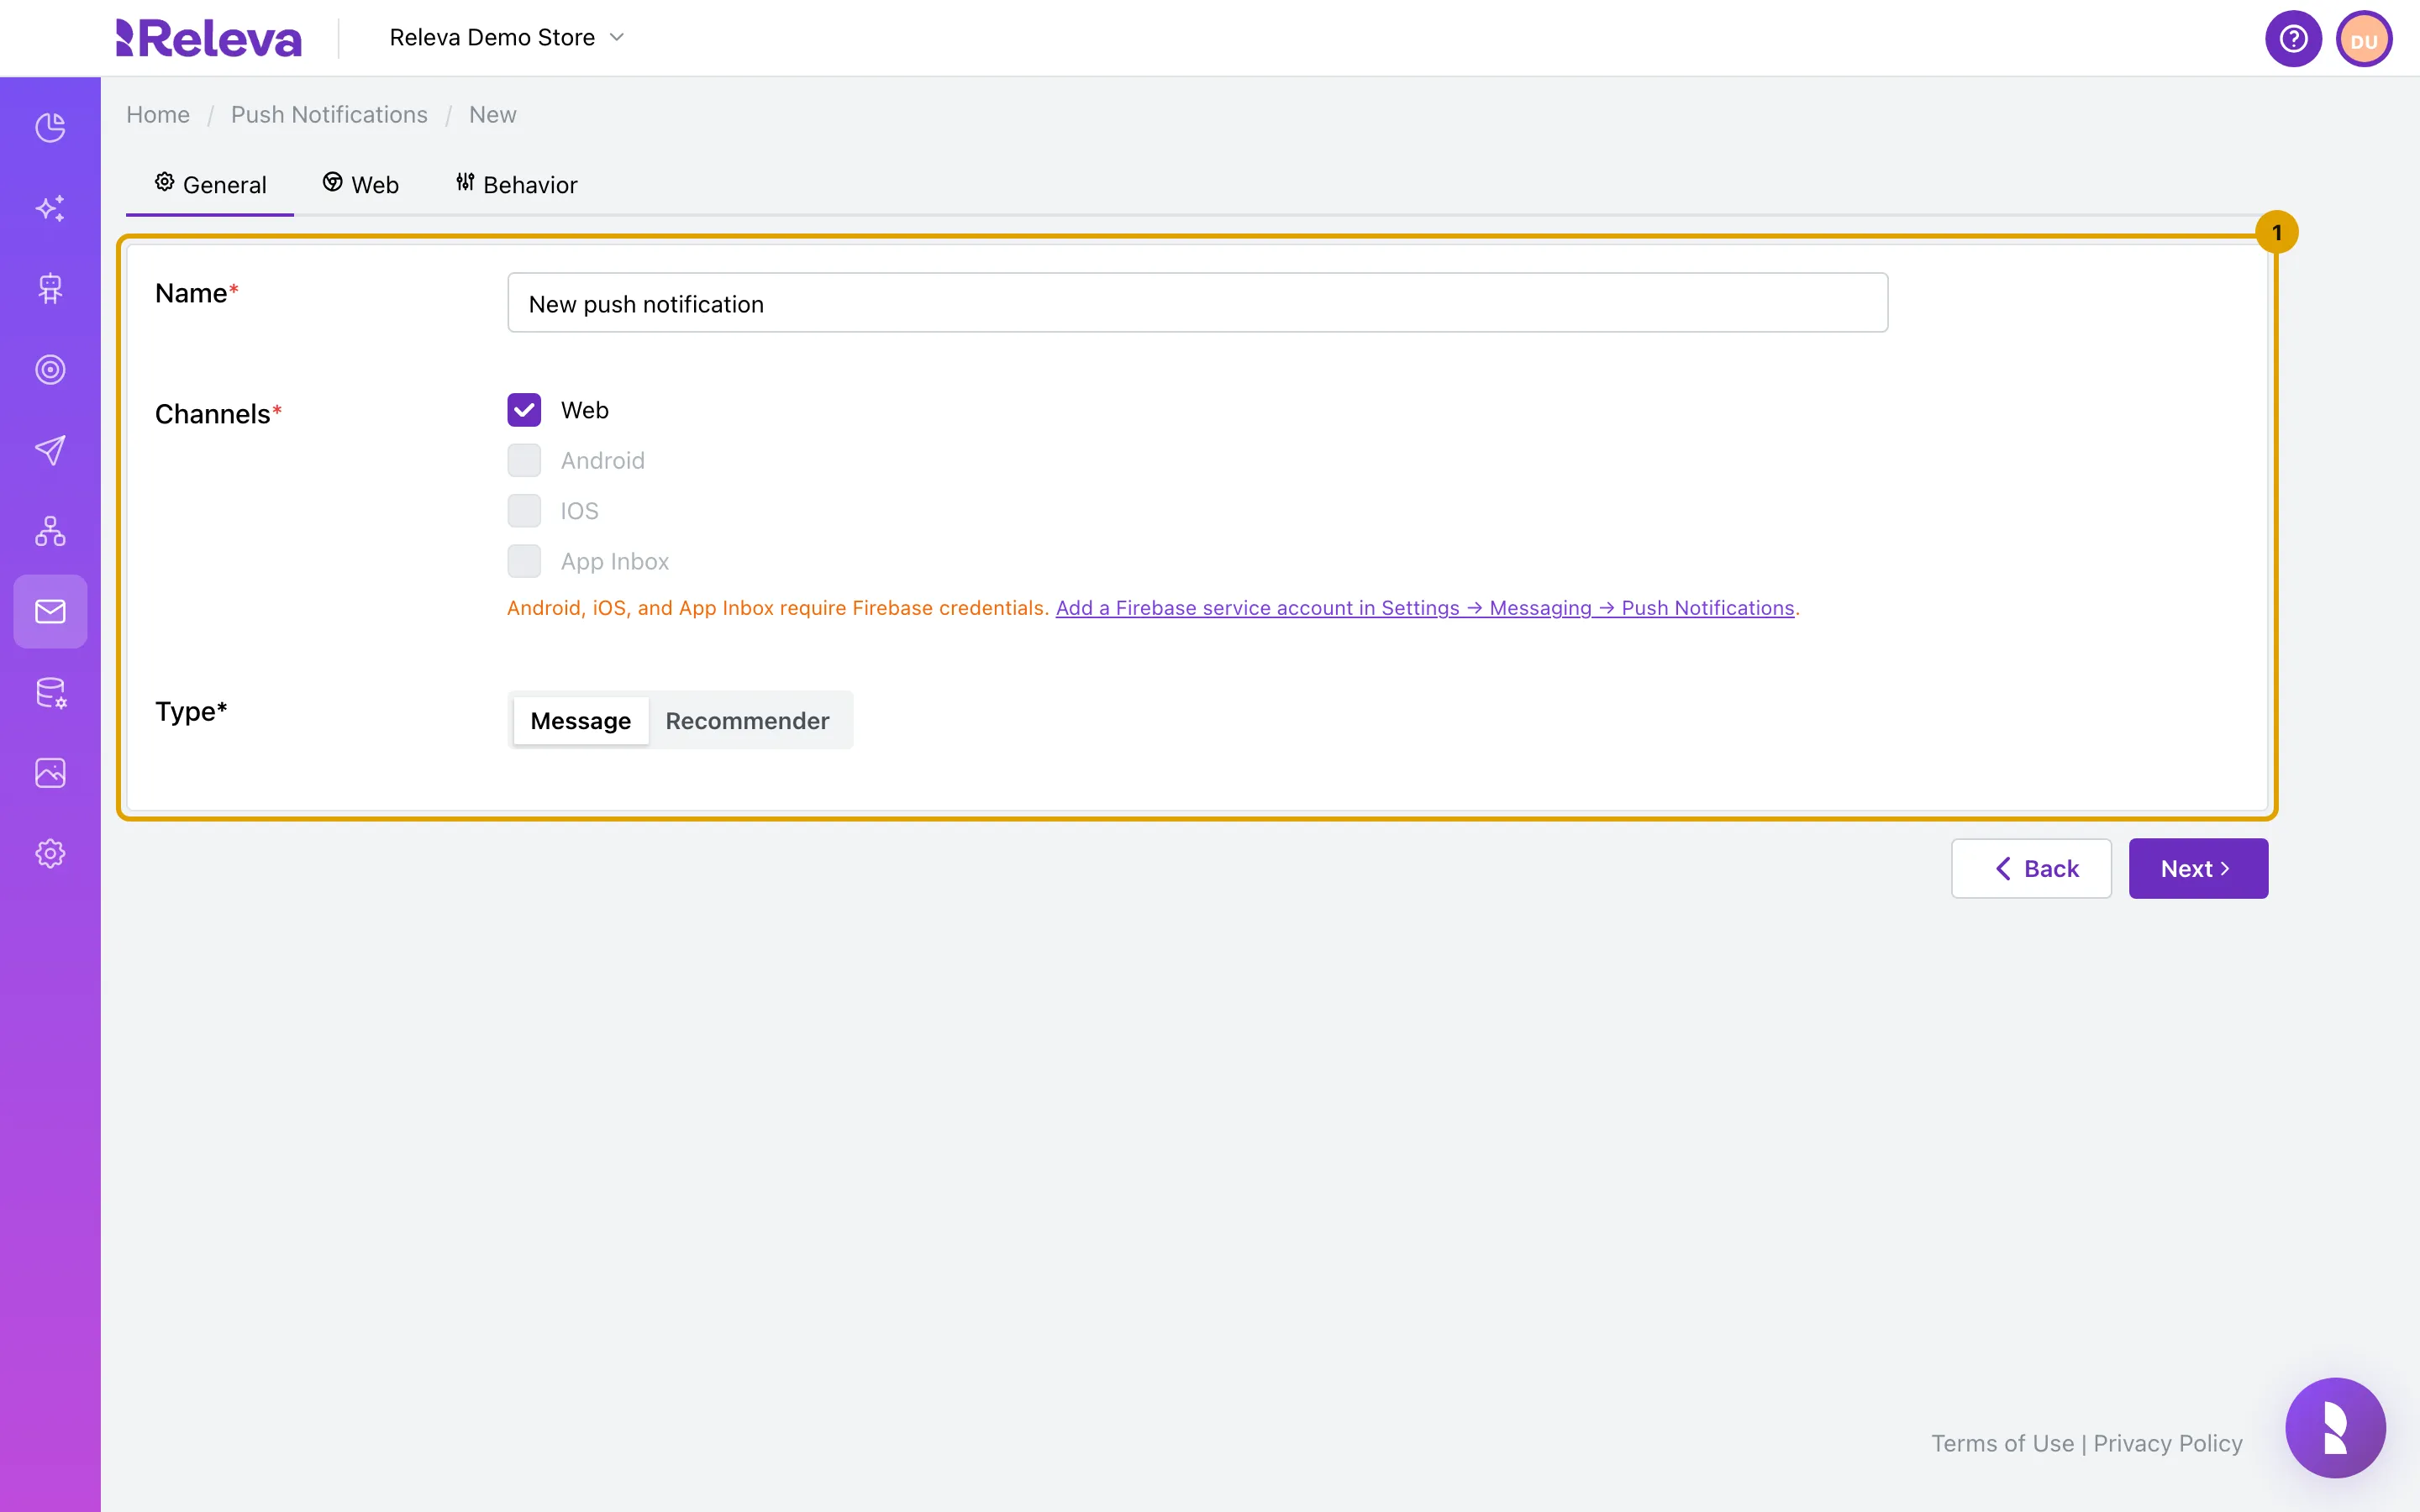
A developer added the Firebase service account of your app under Settings › Messaging › Push Notifications: one file with Unified, or one per platform with Separate. See Add your Firebase credentials for app push. Without it, Android, IOS and App Inbox are greyed out and an orange note links to the settings page:
-
Your plan includes creating push notifications. If New push Notification shows a lock, ask your account owner to unlock it.
-
You have the subject, the text and what the tap should open: the app’s main screen, a screen of the app or a URL.
-
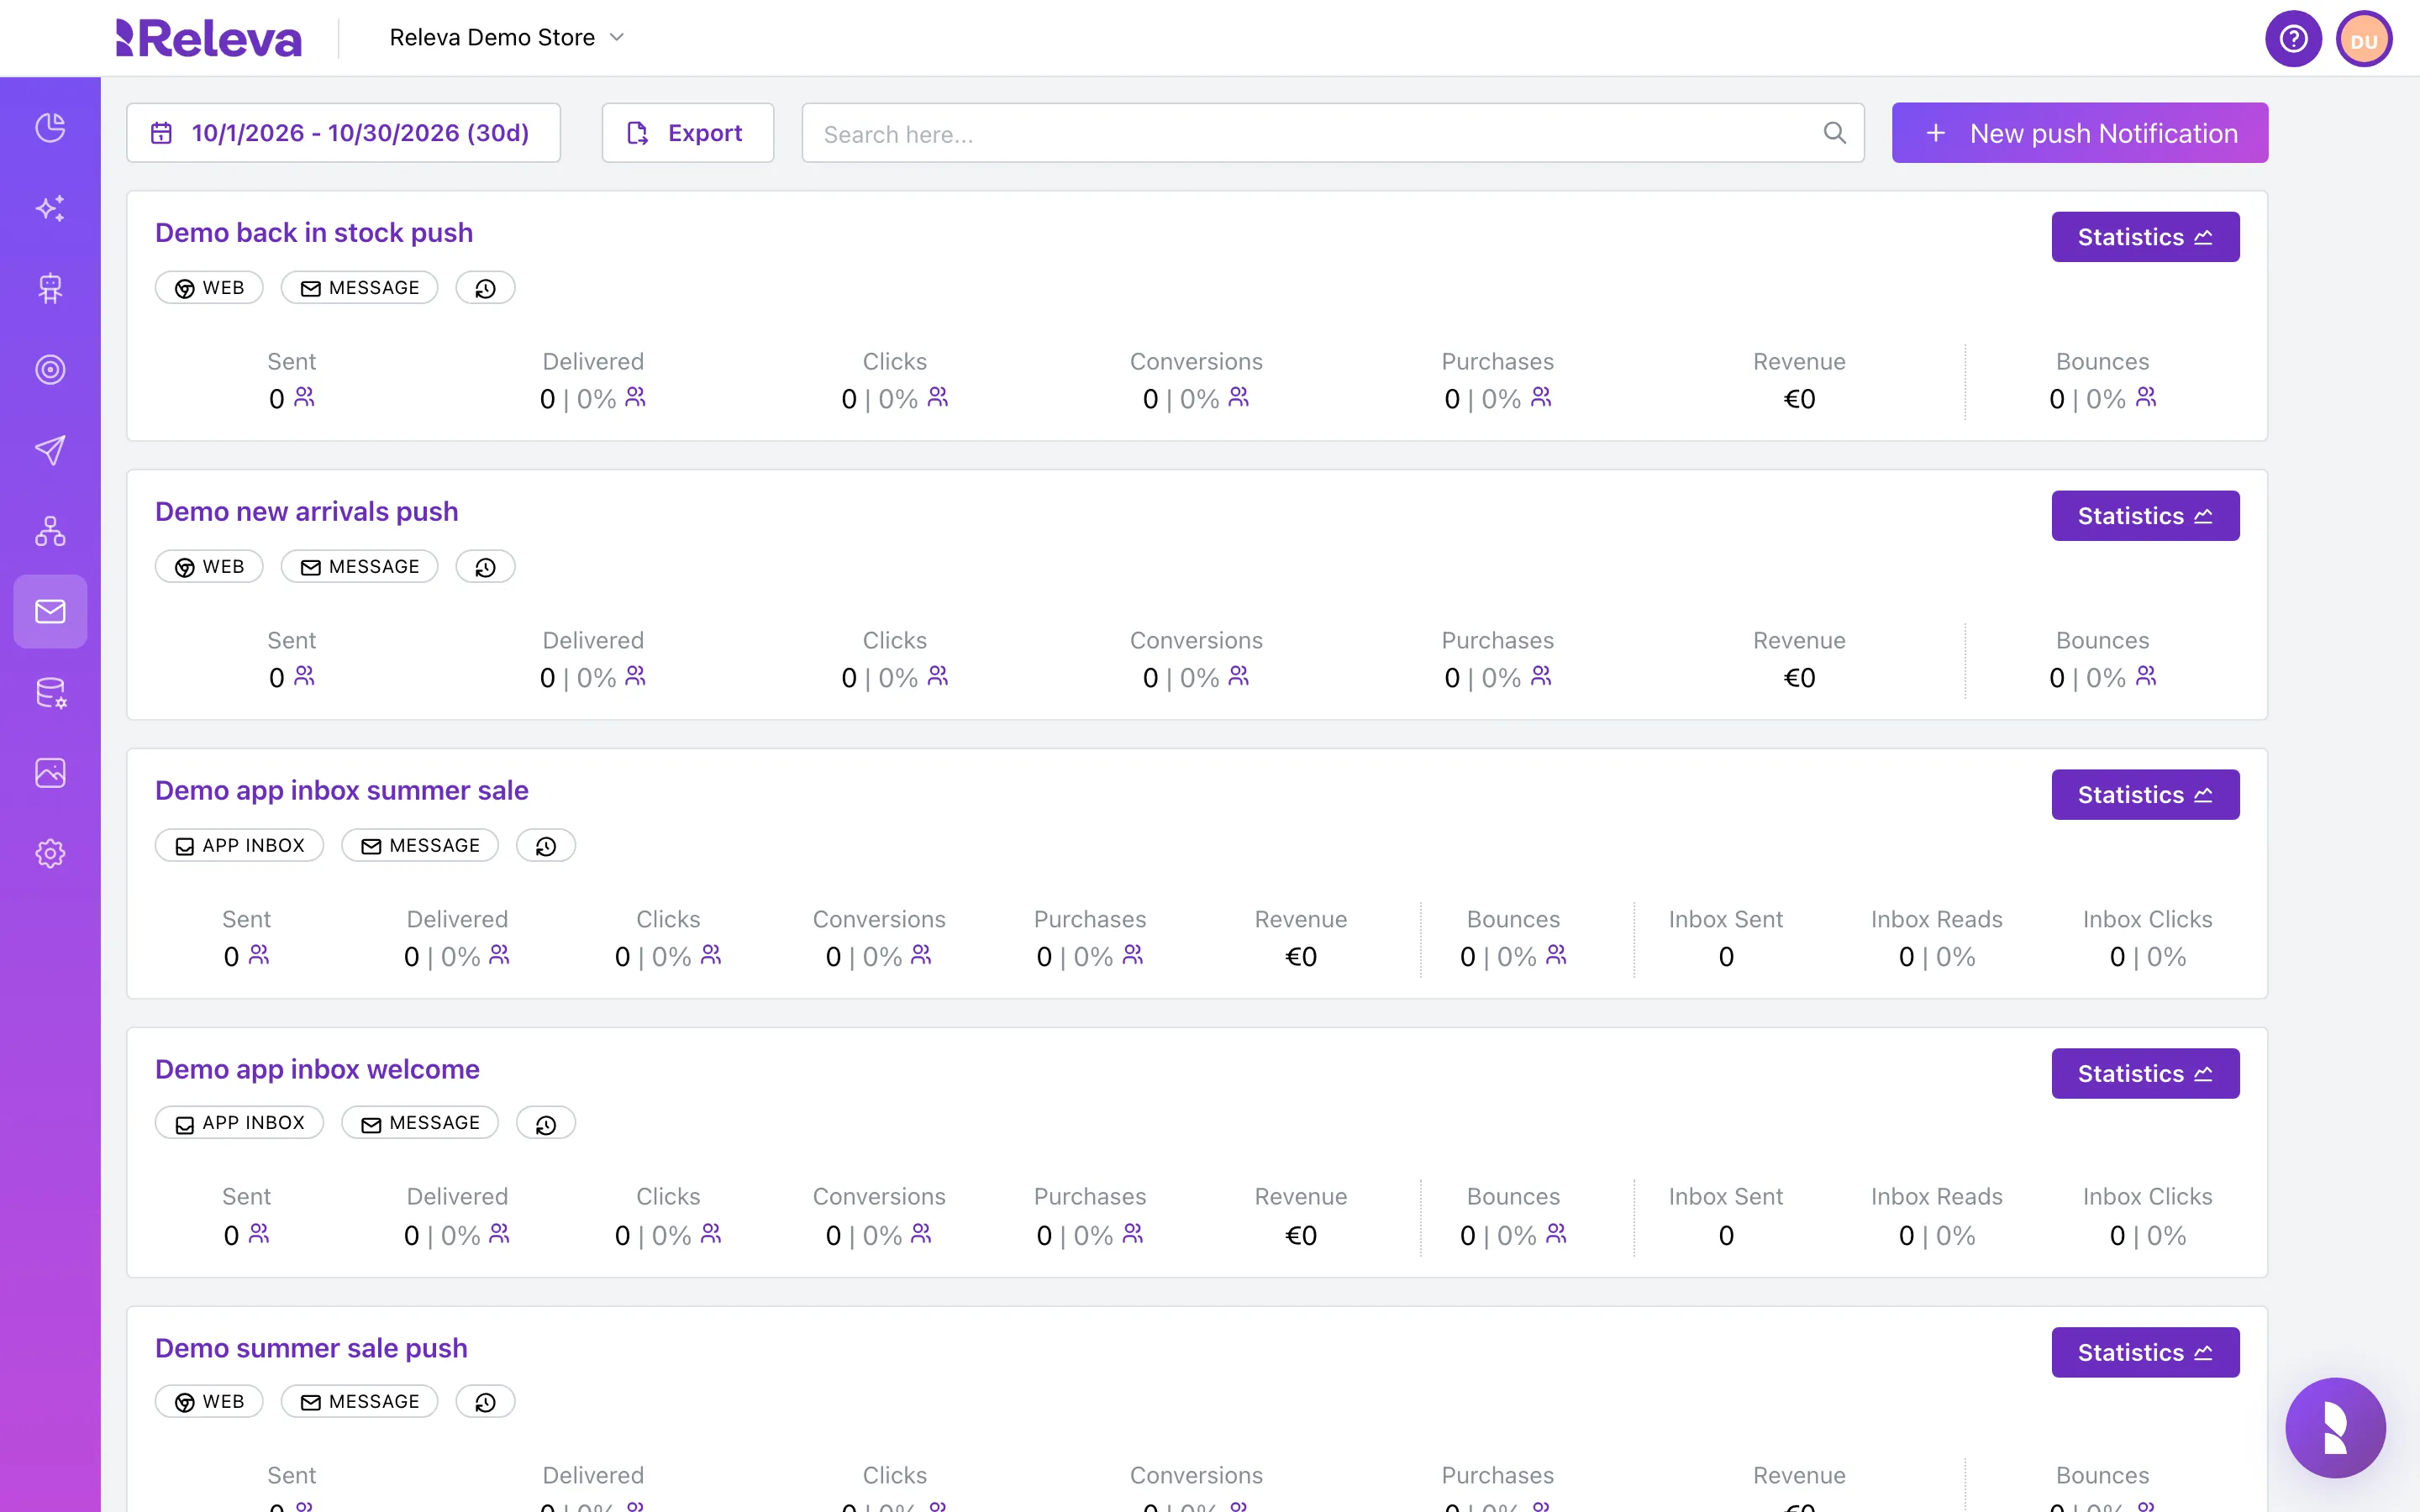
Go to Marketing Channels › Push Notifications
-
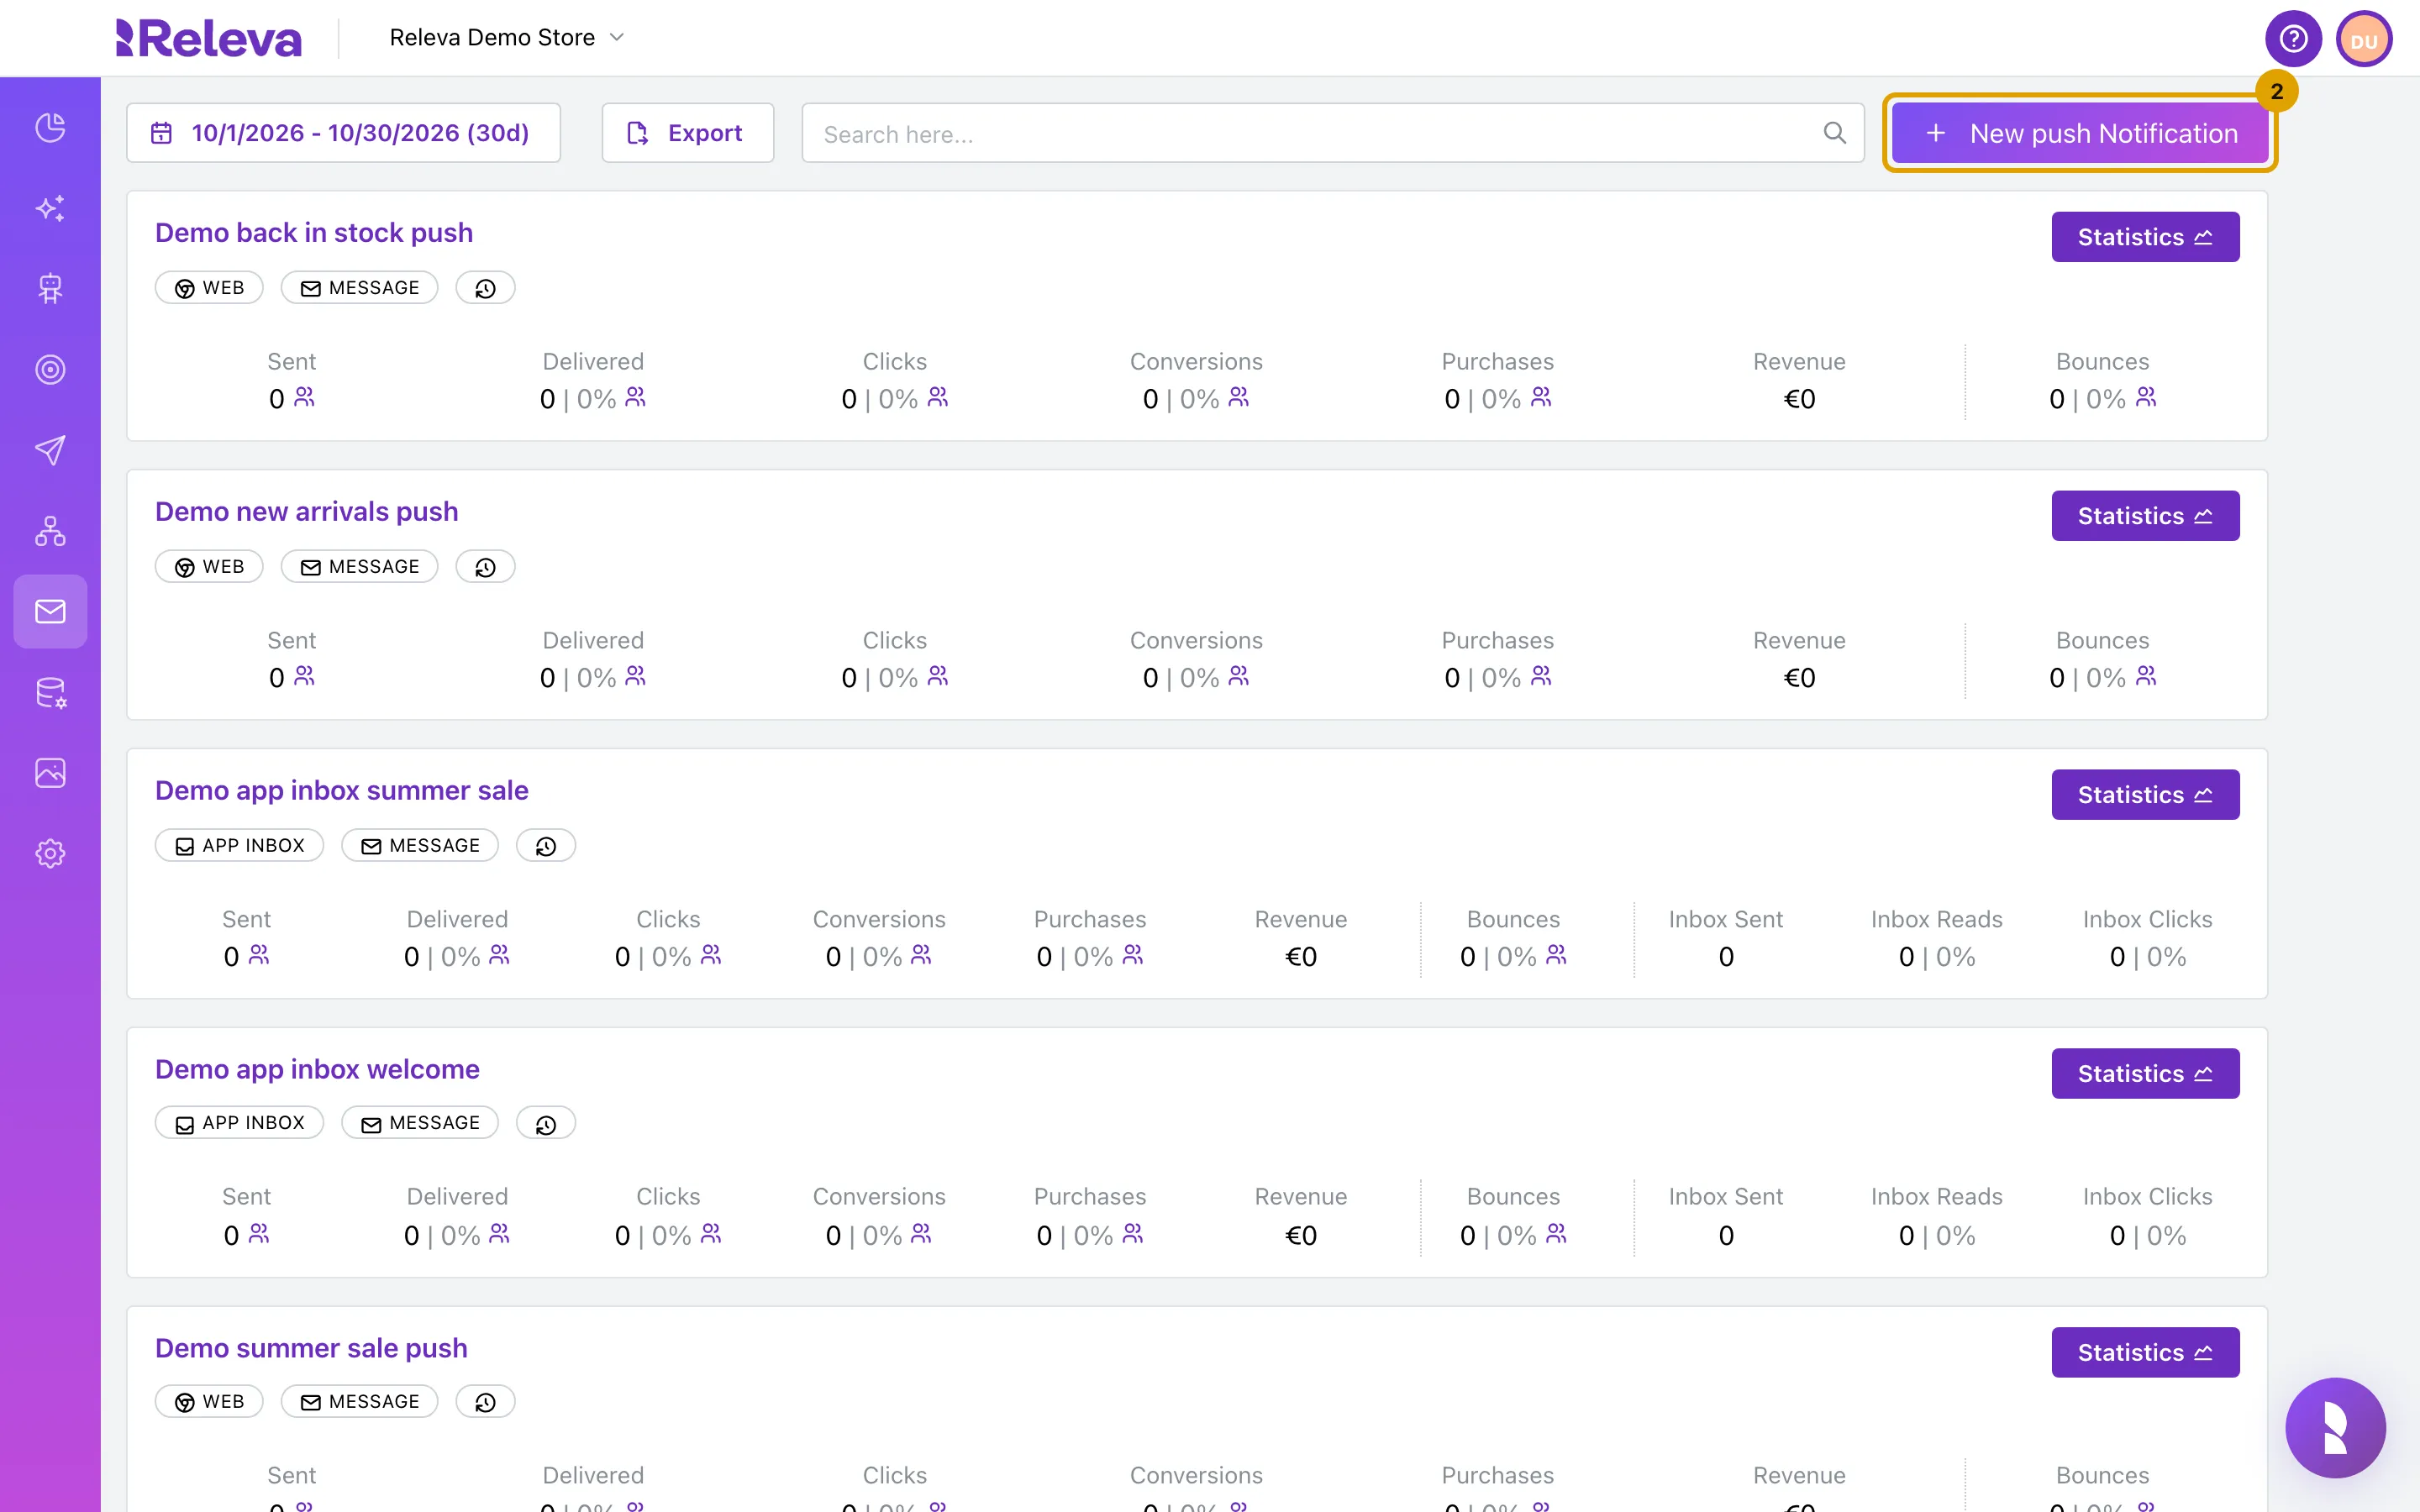
Select New push Notification
-
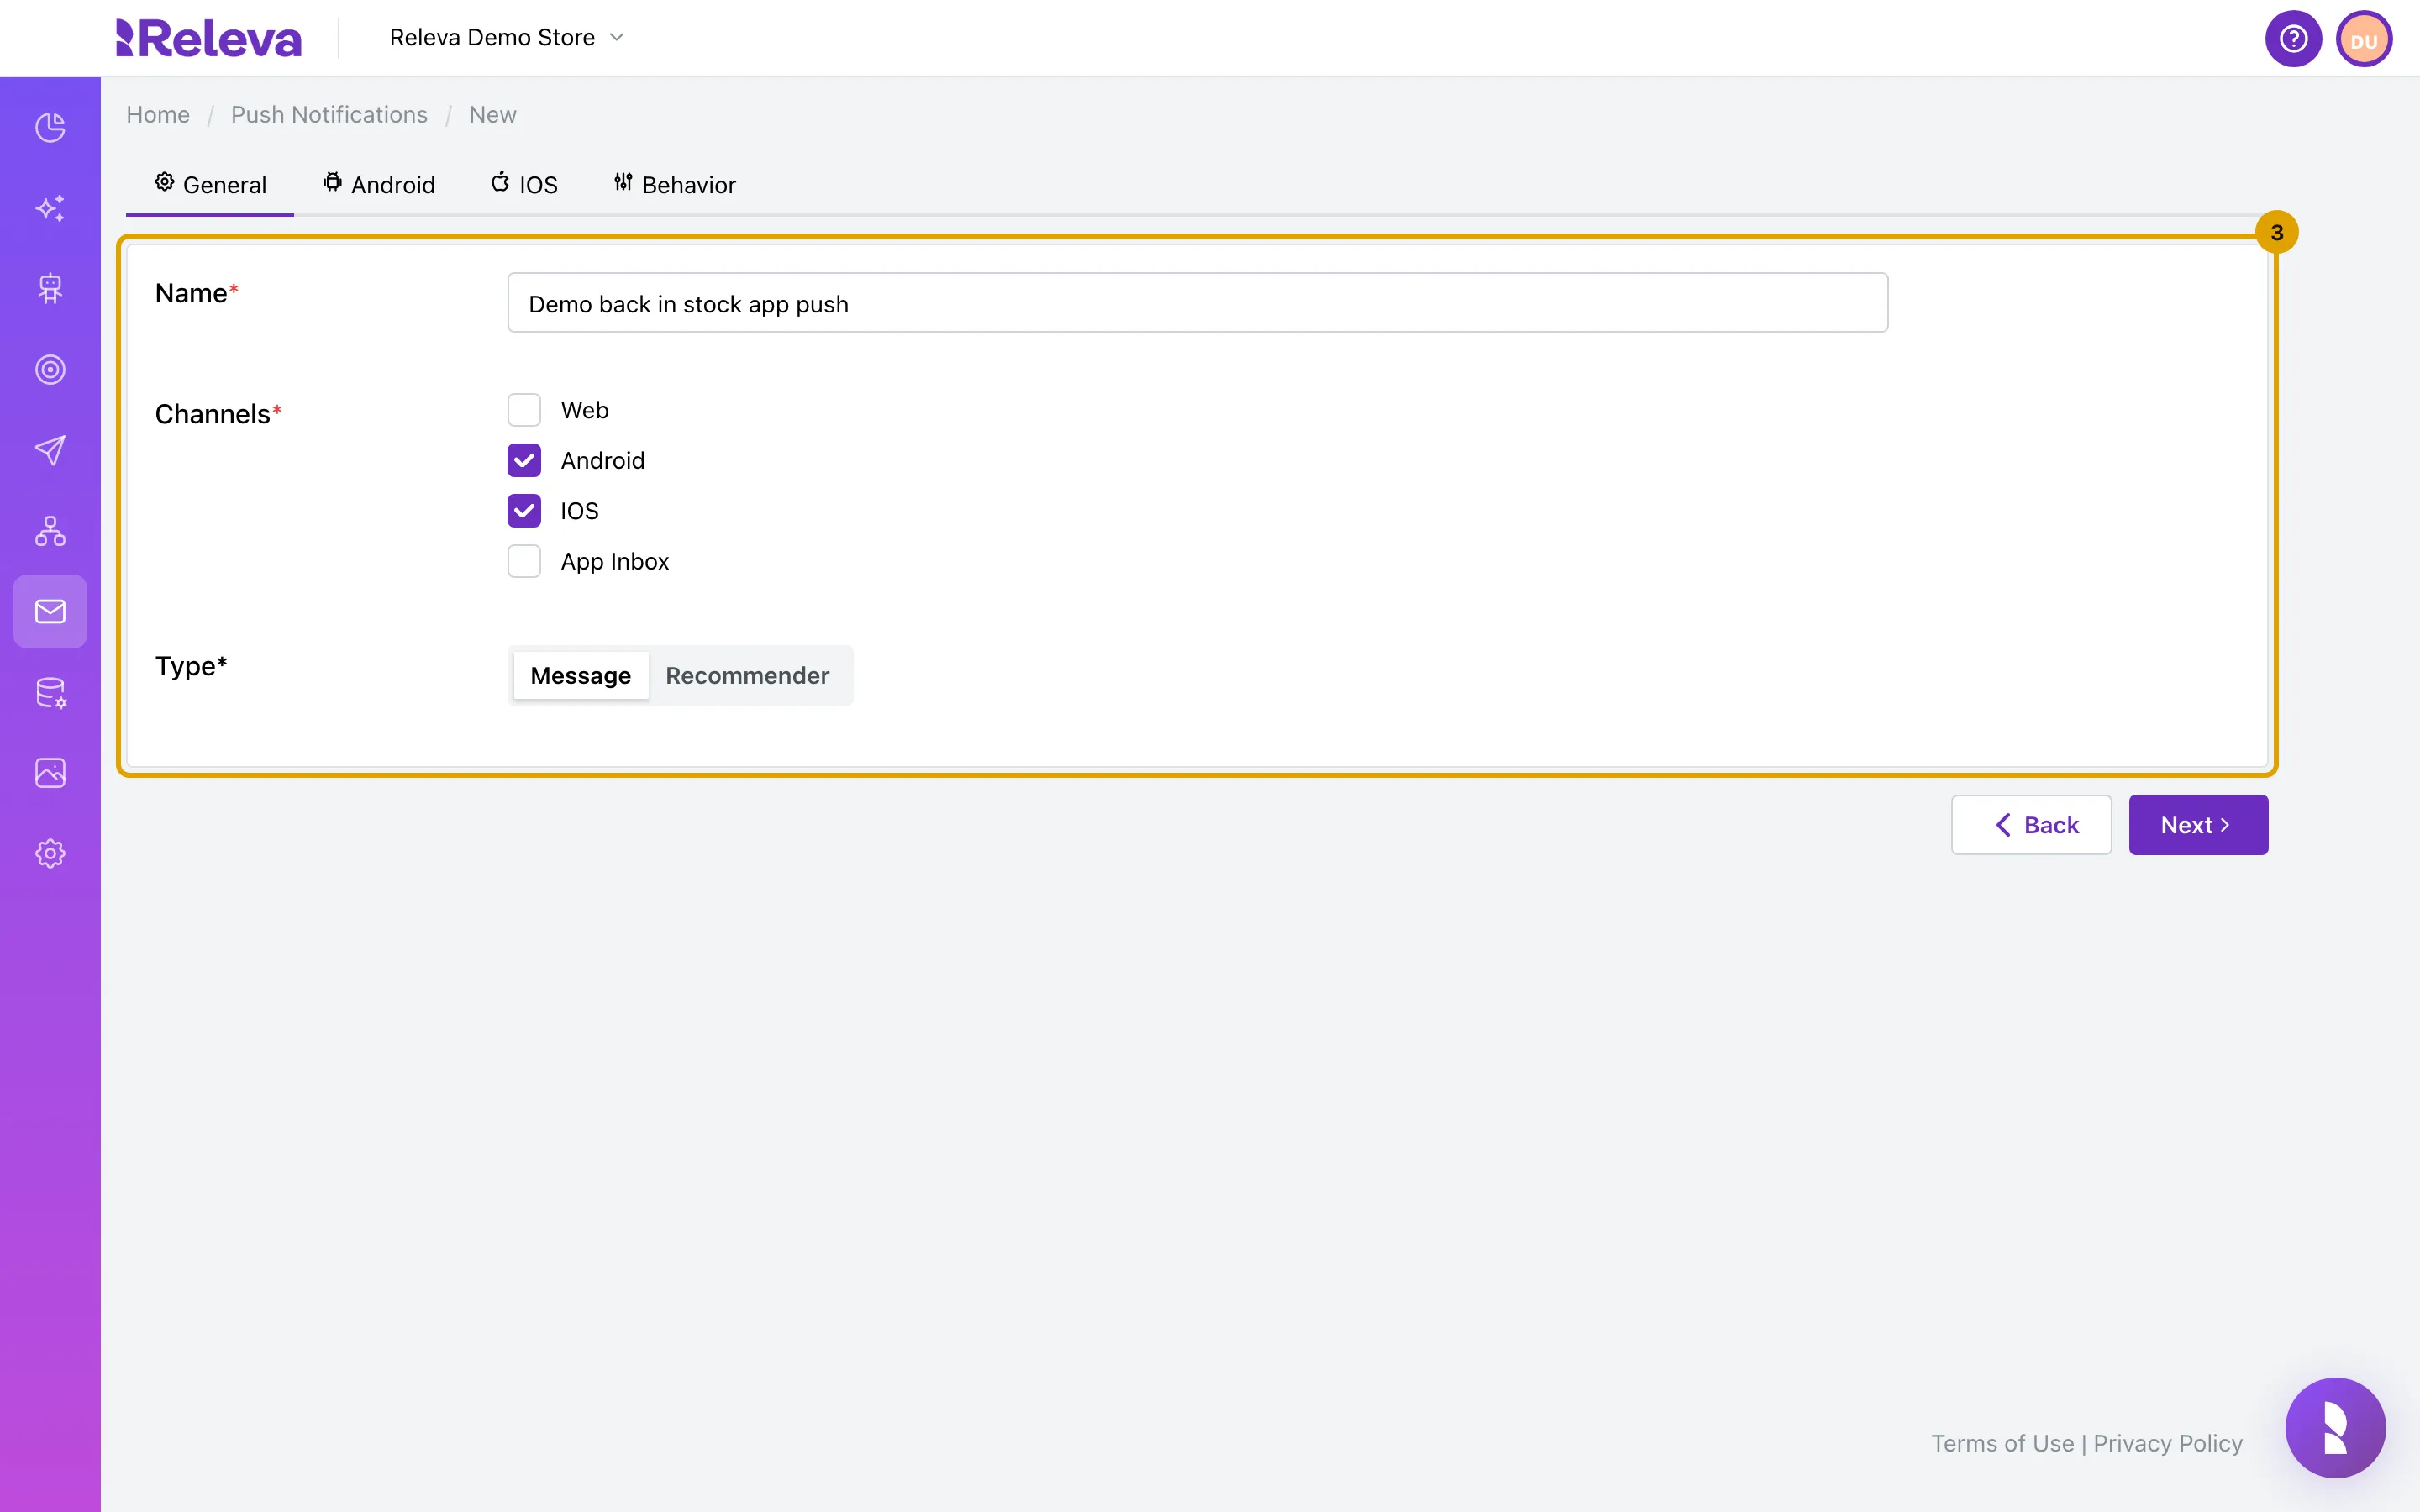
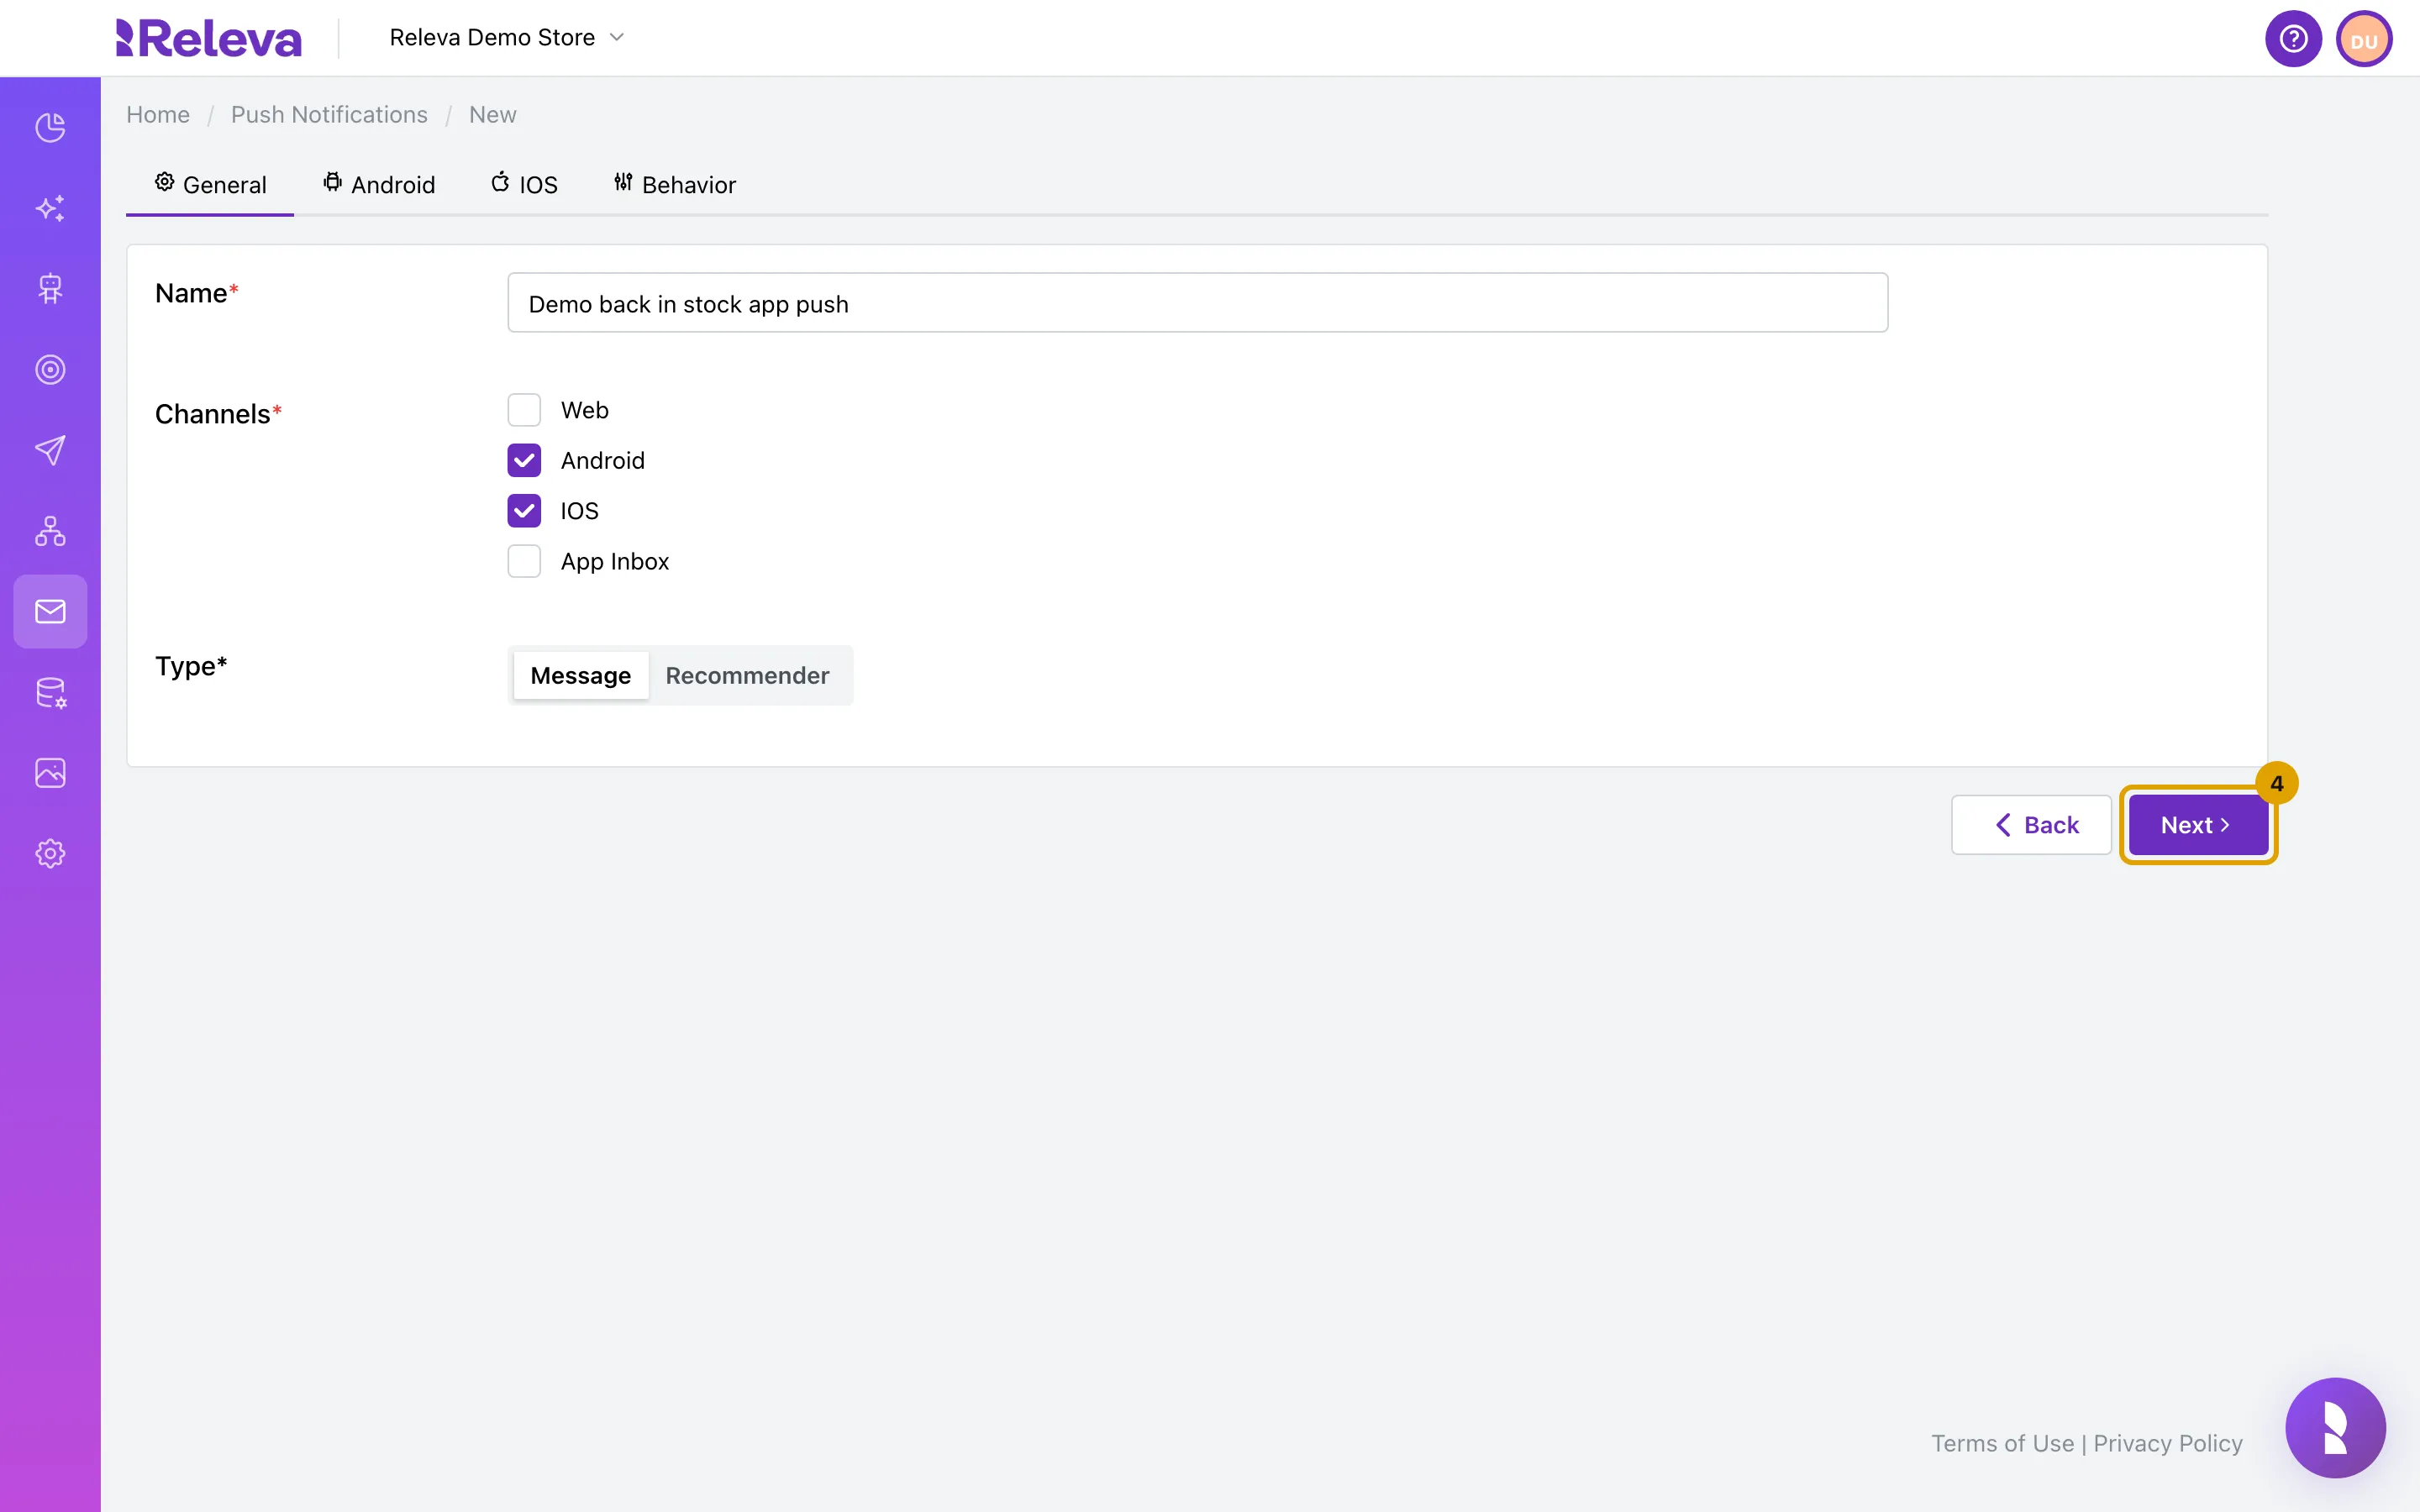
Enter a Name. Under Channels, clear Web and check Android and IOS. Leave Message selected under Type
A tab appears for each checked channel: Android and IOS between General and Behavior. You can keep Web checked to send the same notification to browsers too; it then gets its own Web tab. The name is only shown in Releva.
-
Select Next
-
On the Android tab, enter the Subject and the Body. Next to Image URL, select Browse and pick an image. The phone preview shows the notification
In the Pick Image window, select a file; its link goes into Image URL. The image shows below the text. App notifications have no Icon URL: the app’s own icon is used. Button Text adds one action button; leave it empty for no button. Merge Tags lists the profile fields you can insert, such as
{{firstName}}. To give each recipient their own coupon code, open Merge Tags, find the Dynamic coupon: … entry of your coupon list and copy its pattern, for example{{dynamicCoupons.welcome_10}}, into the Body. See How dynamic coupons work.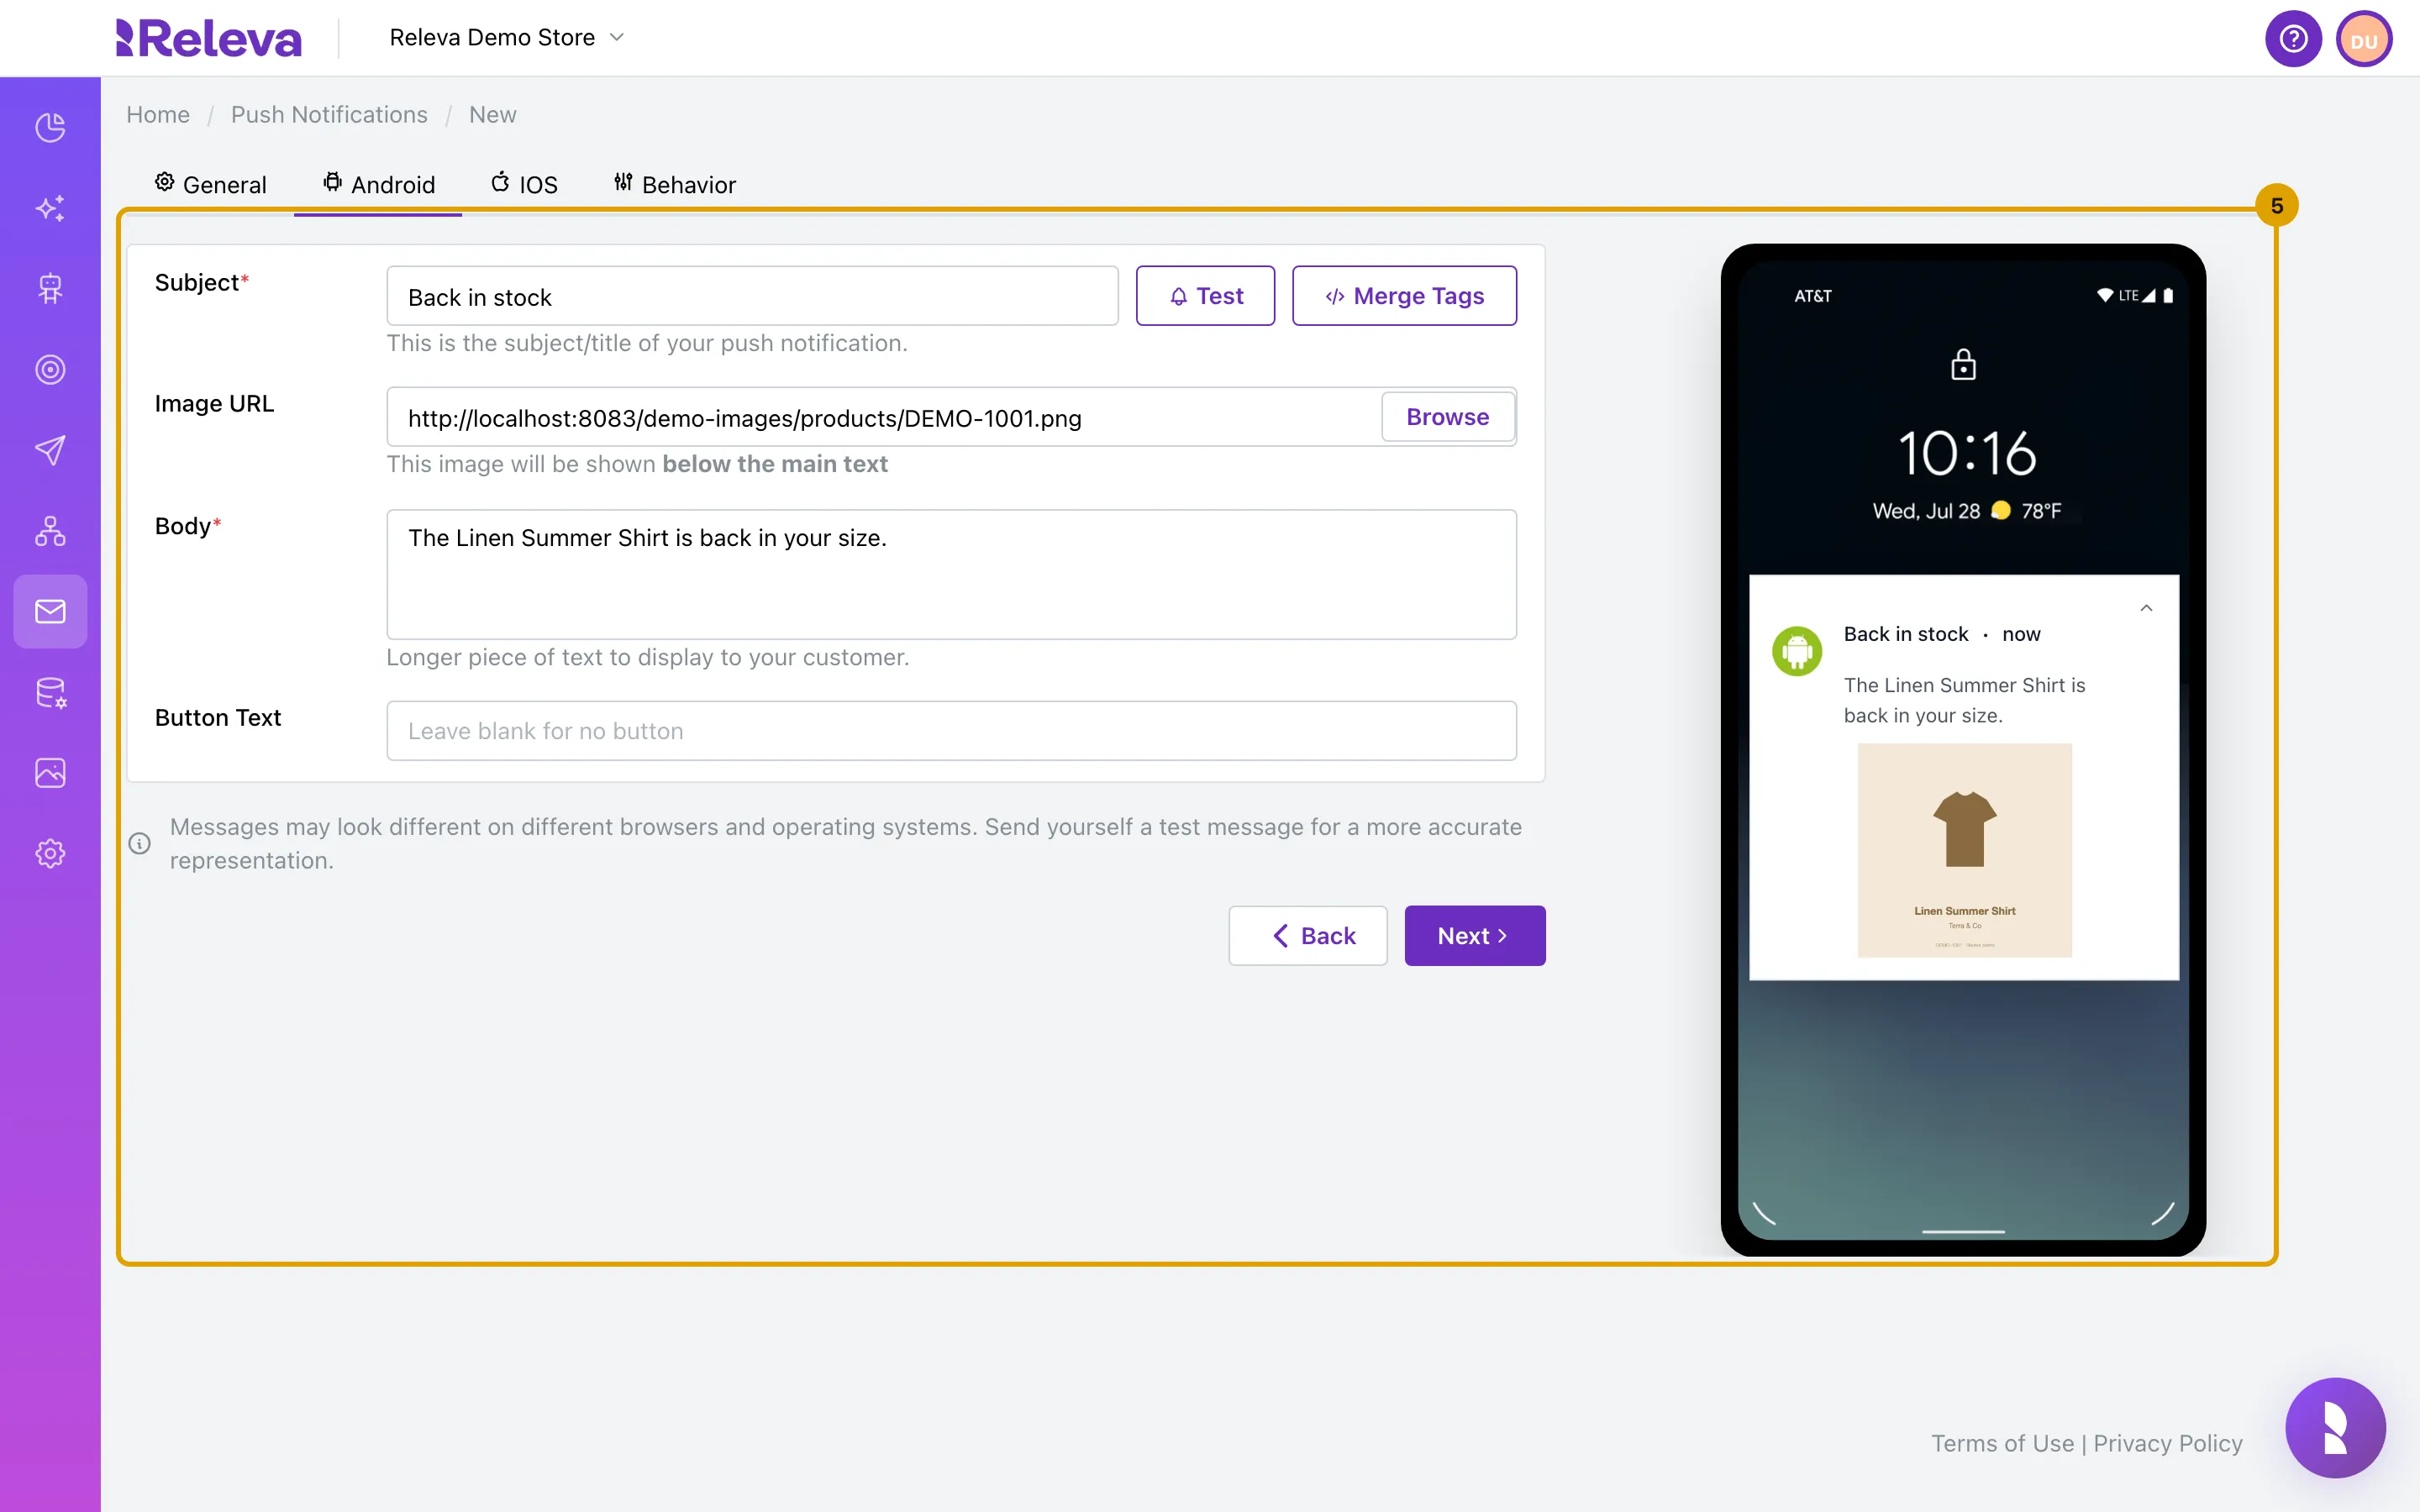
-
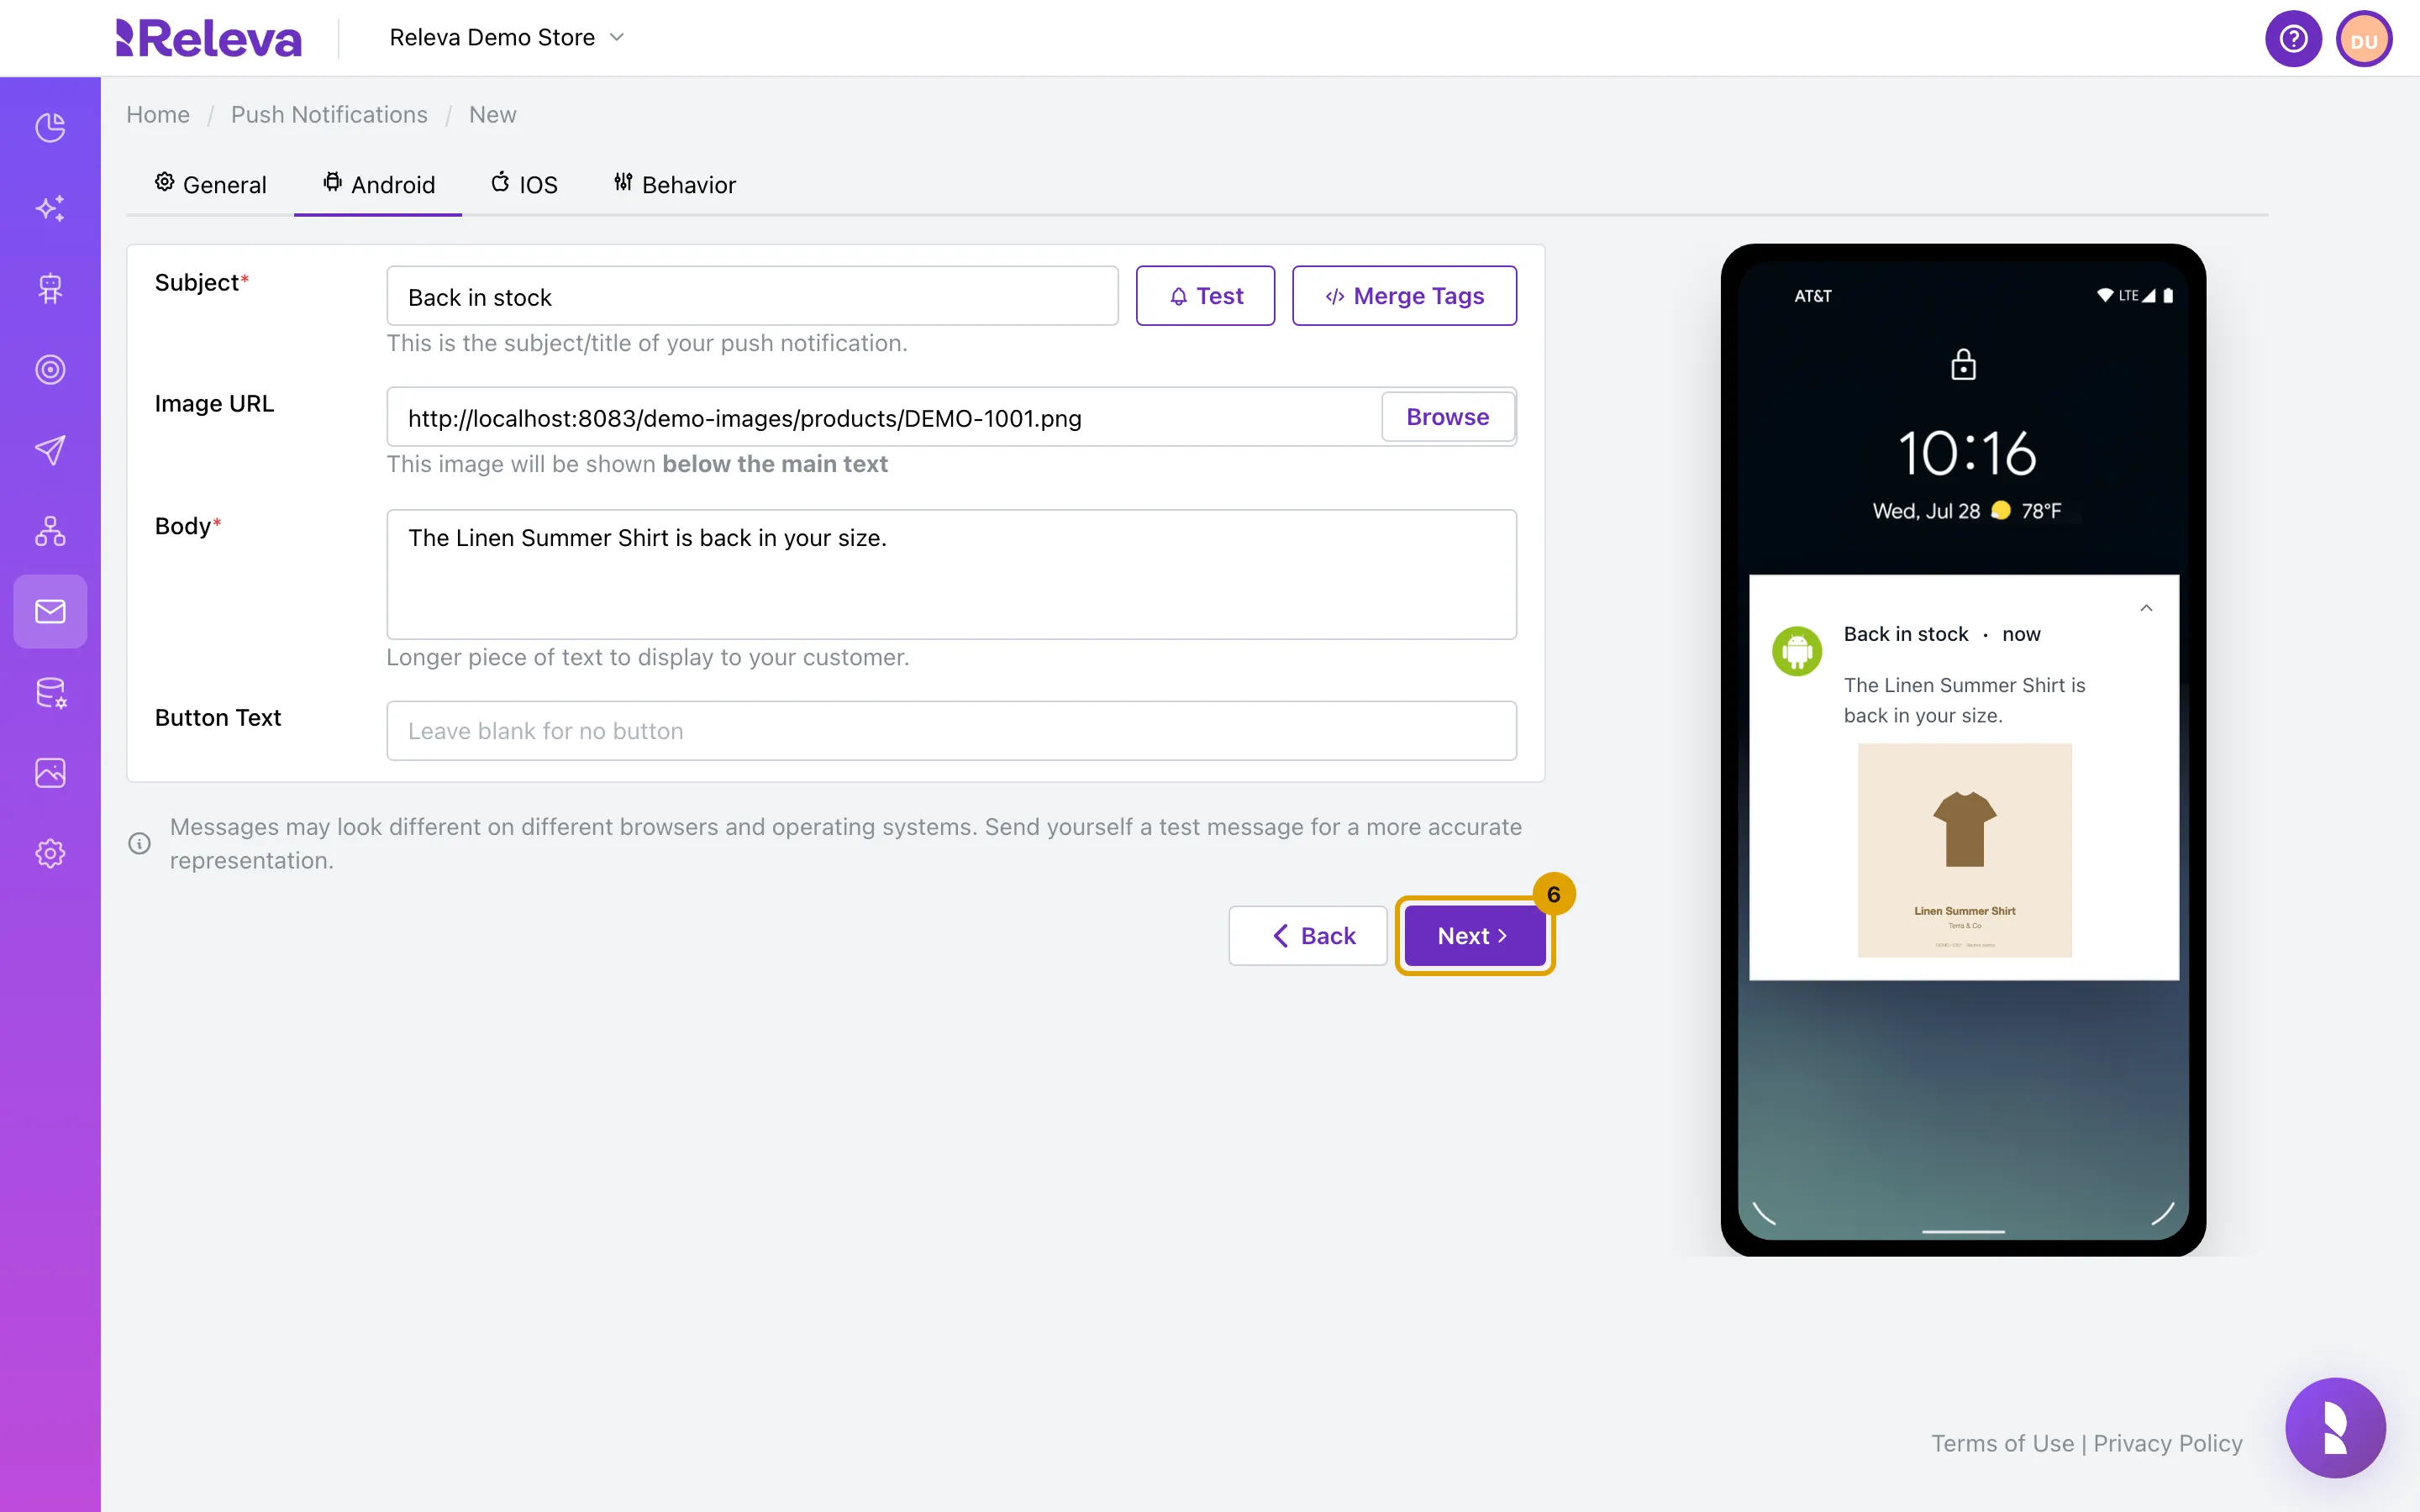
Select Next
-
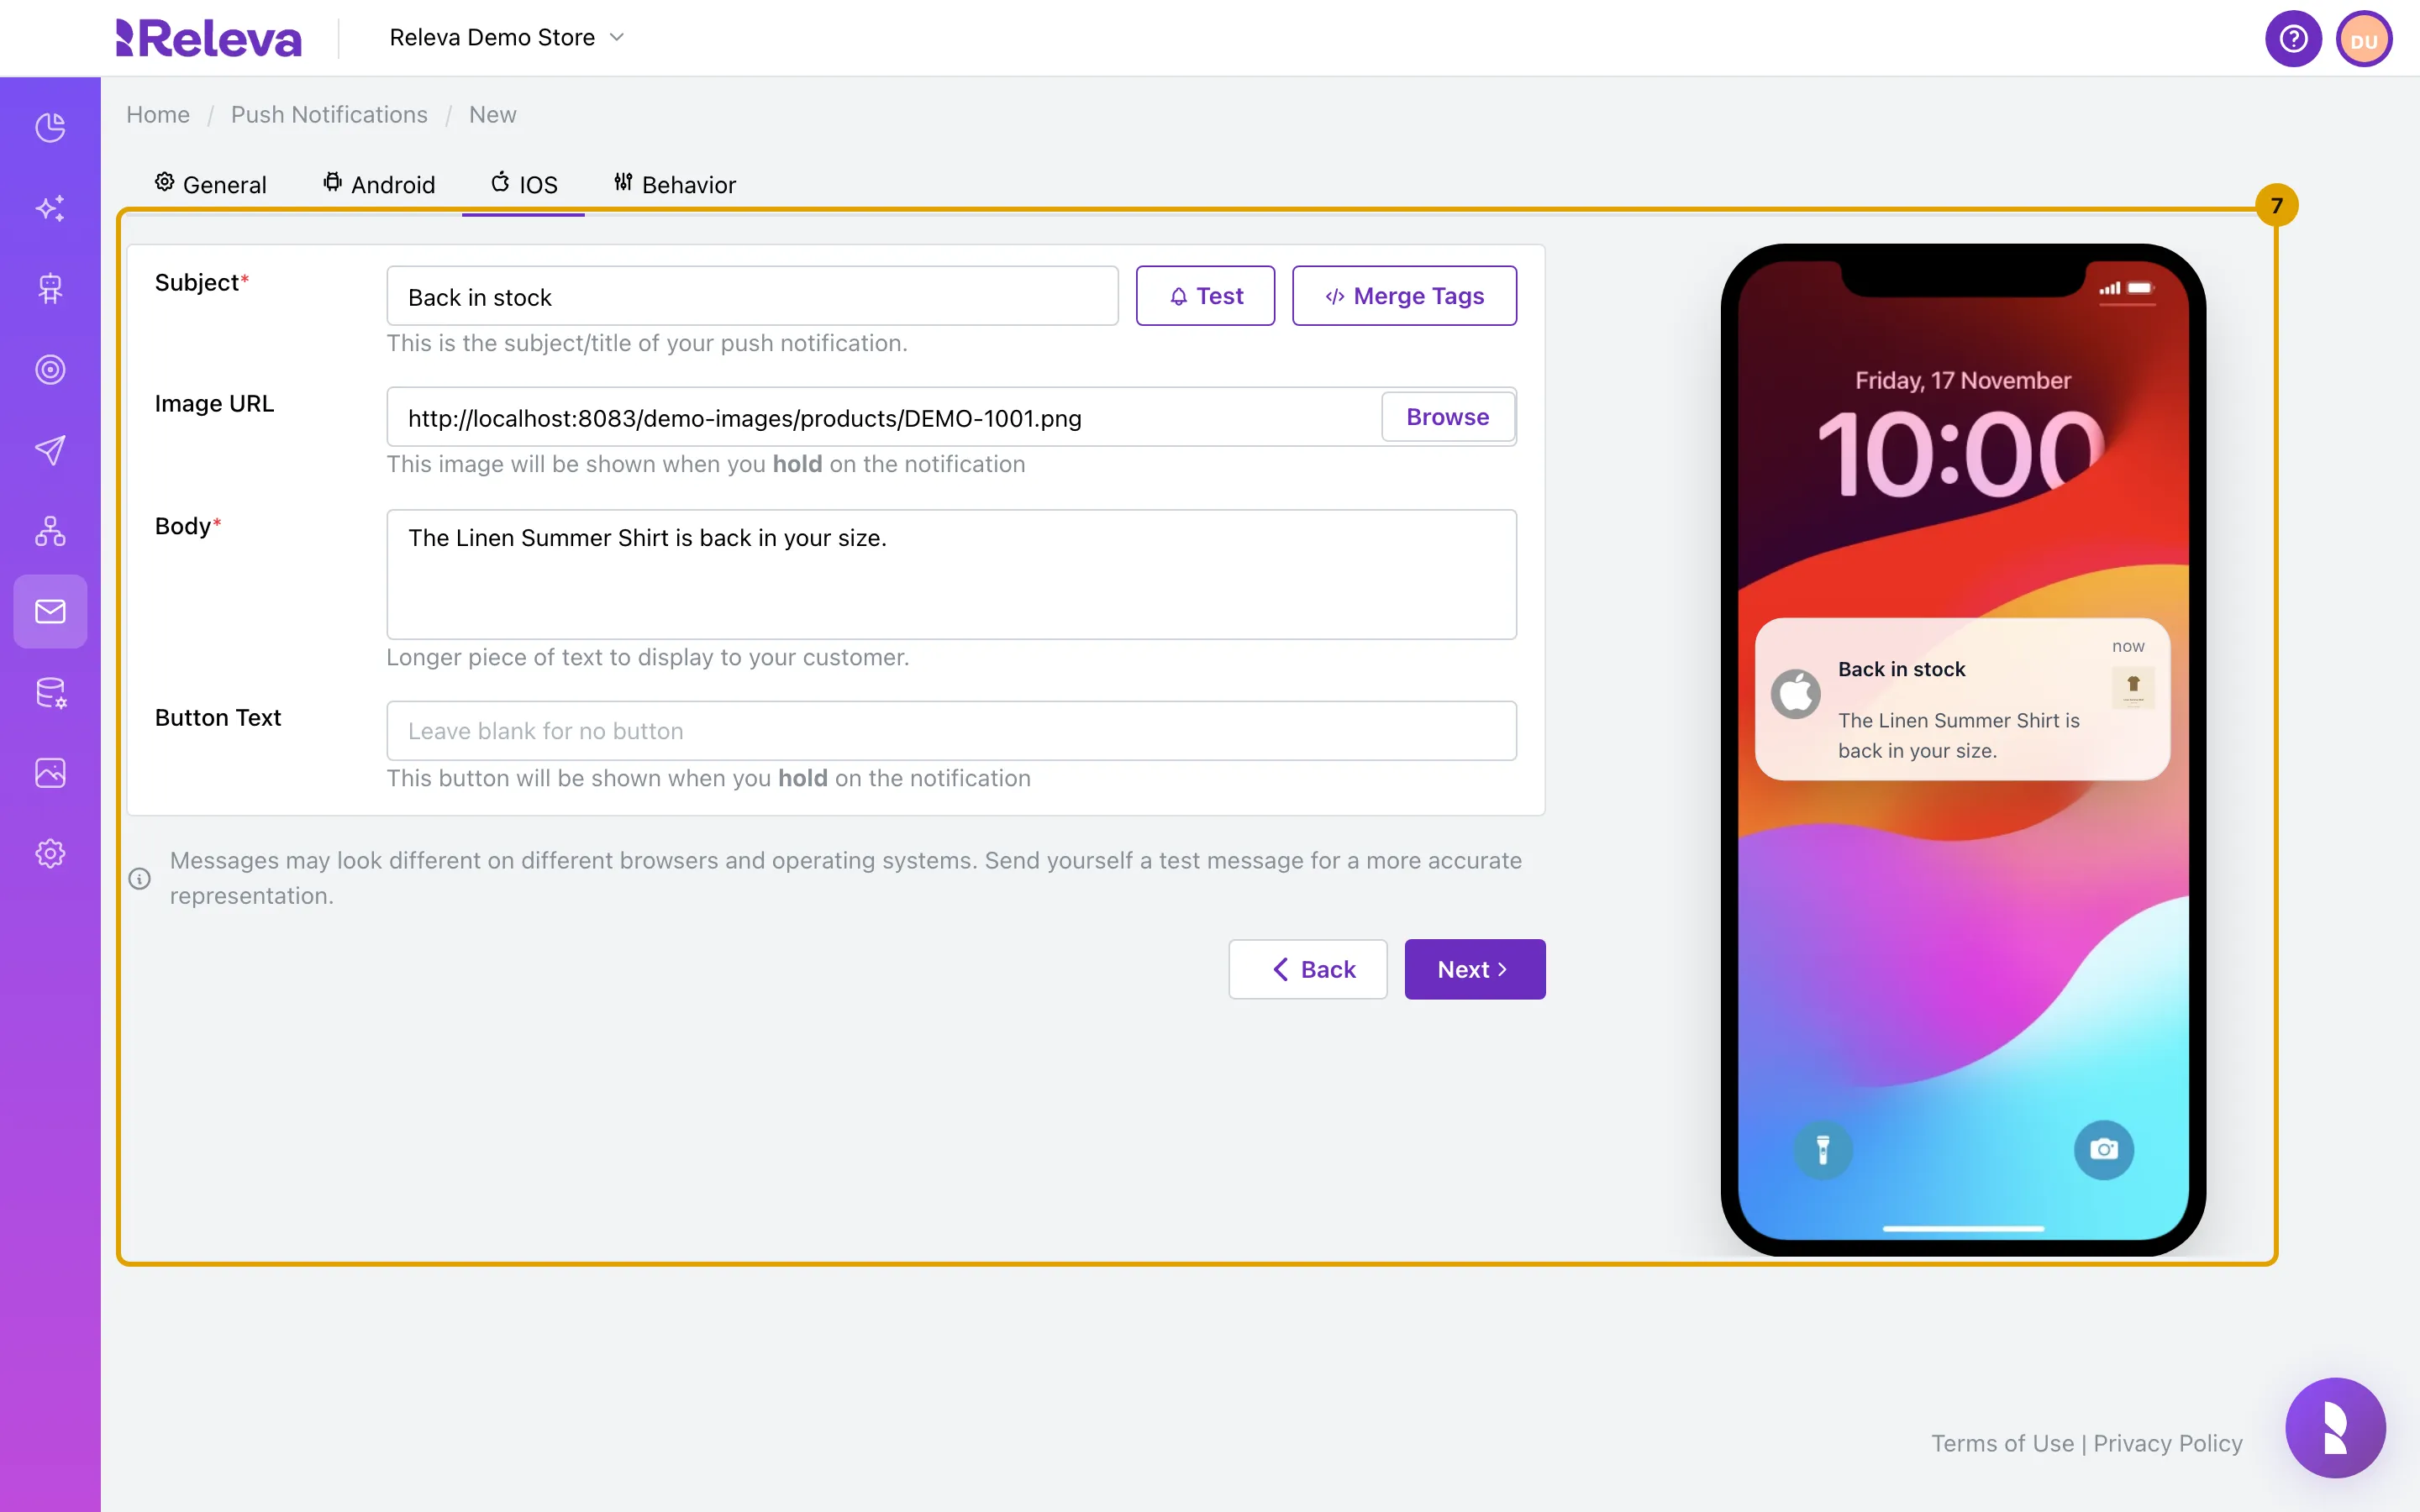
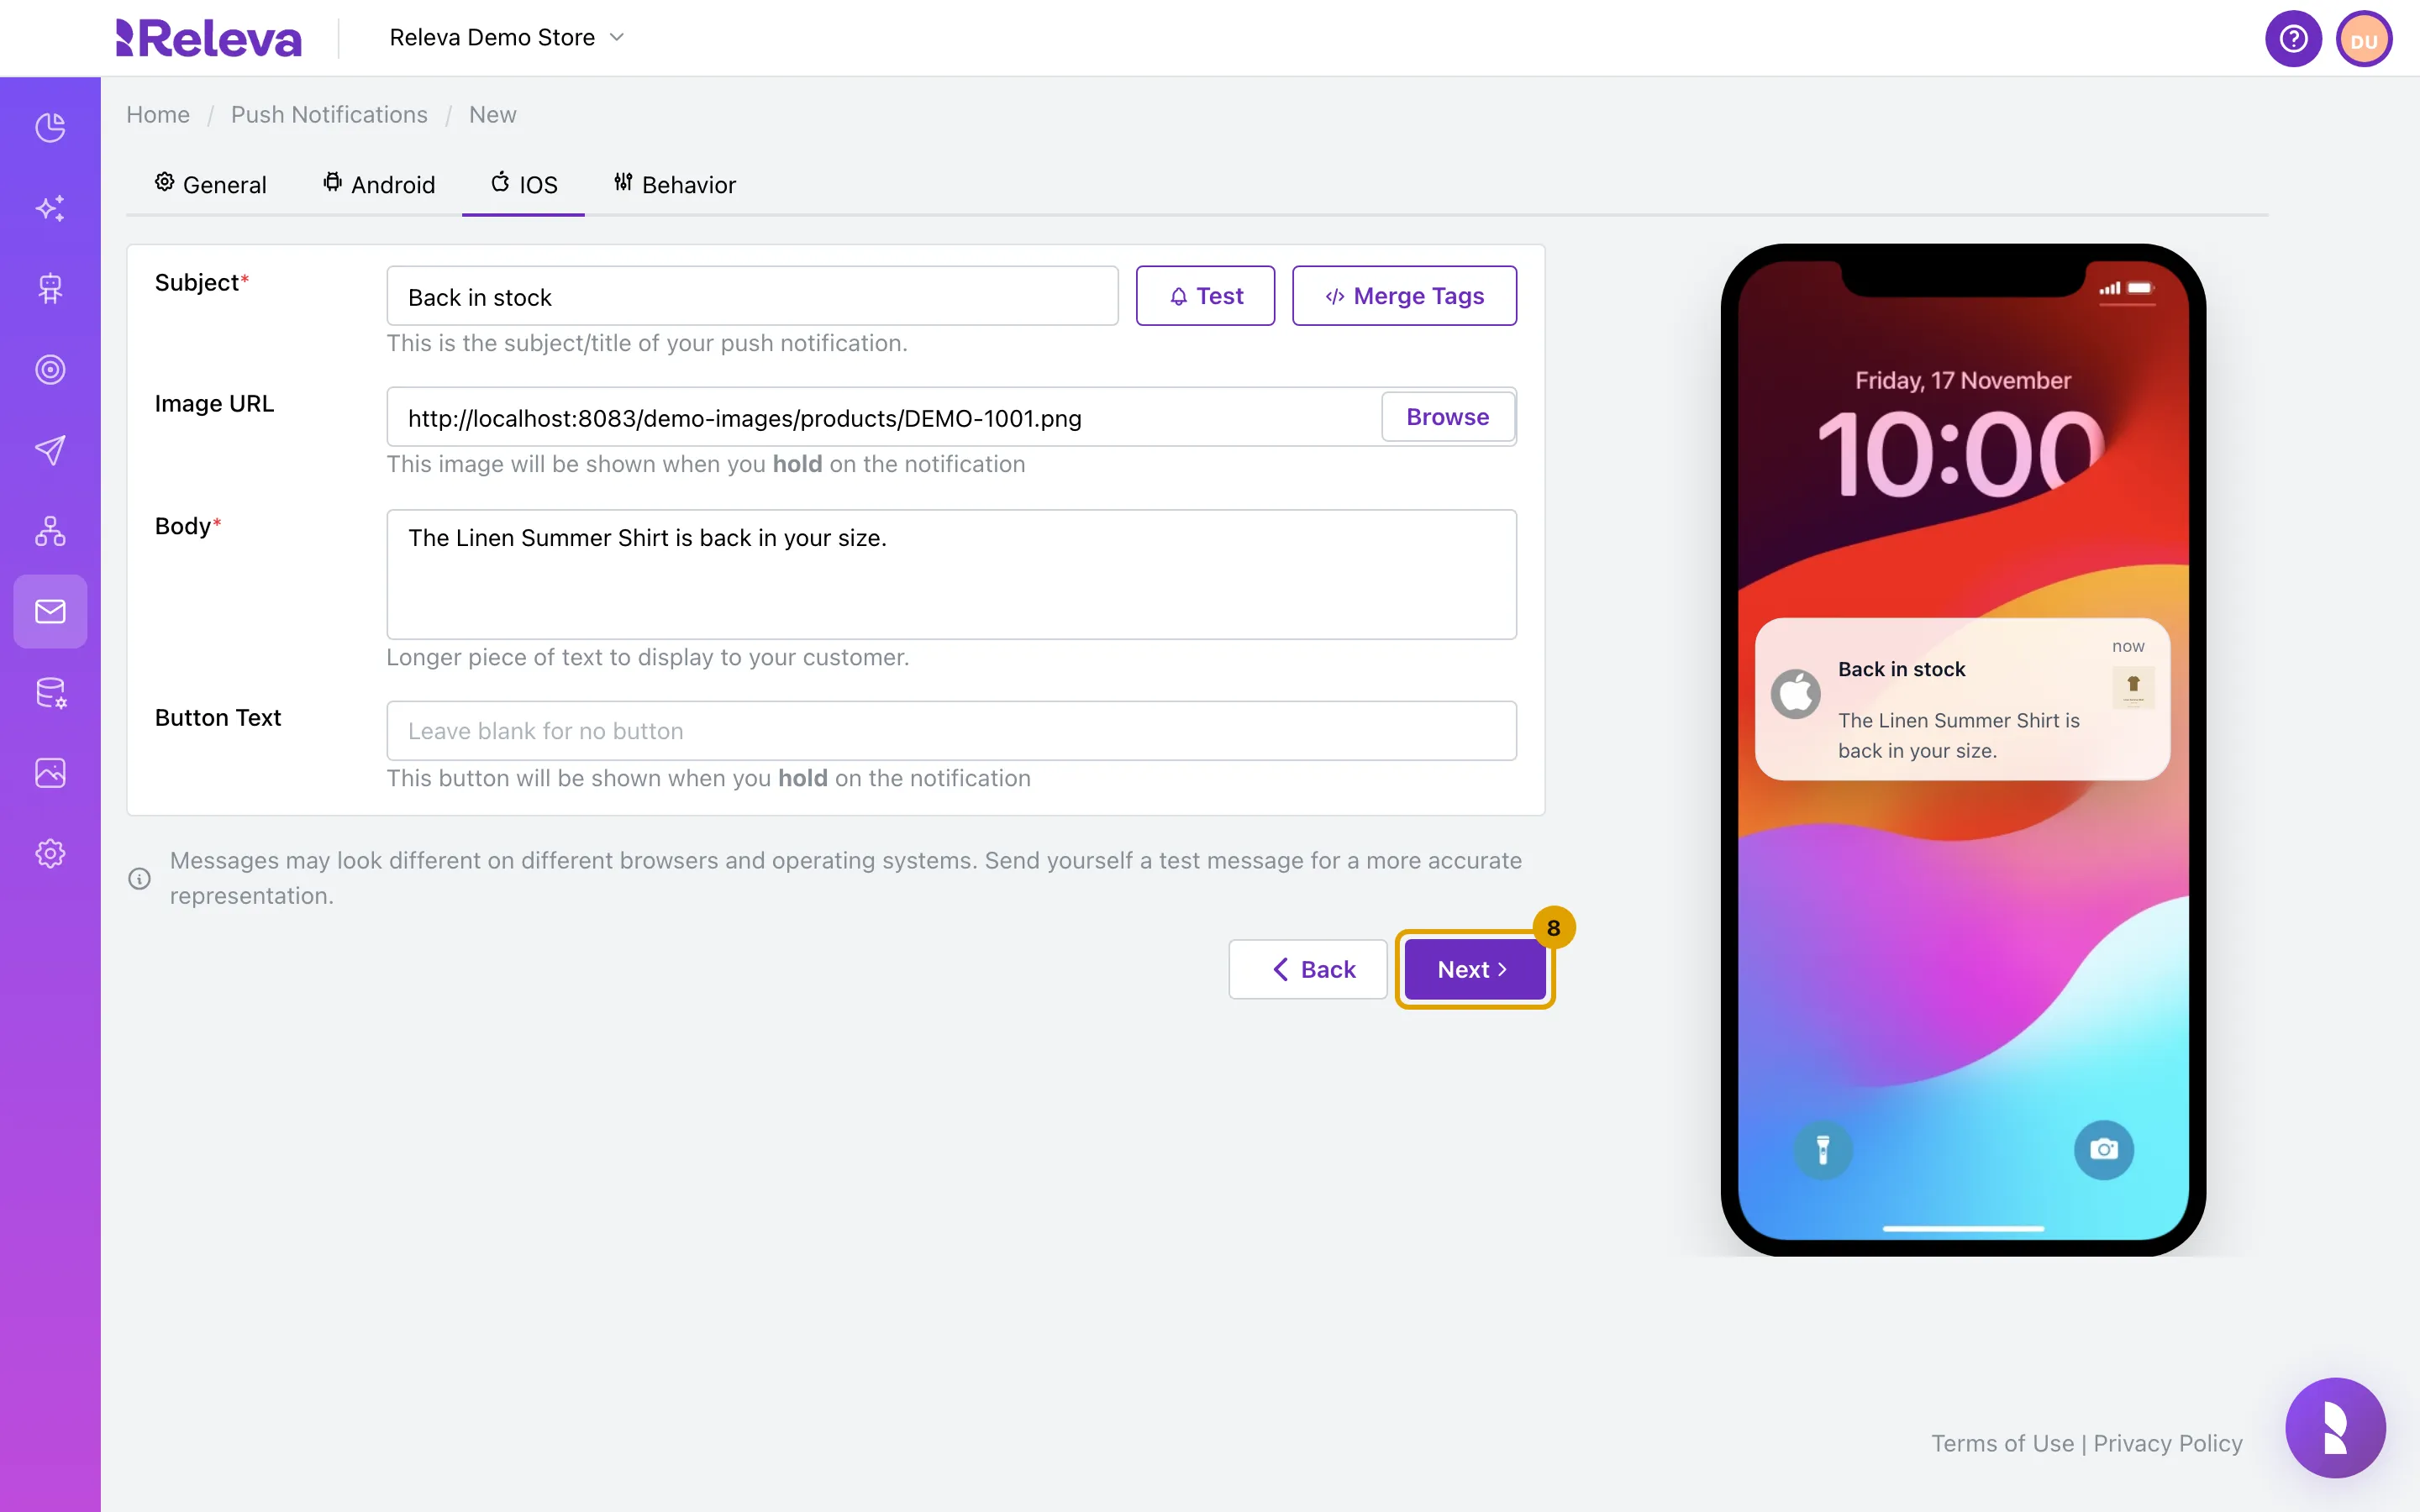
On the IOS tab, enter the Subject, the Body and the Image URL for iPhones
Each platform has its own text, so you can write a shorter version for one of them. On iOS the image and the button show “when you hold on the notification”; before that, the image is a small thumbnail.
-
Select Next
-
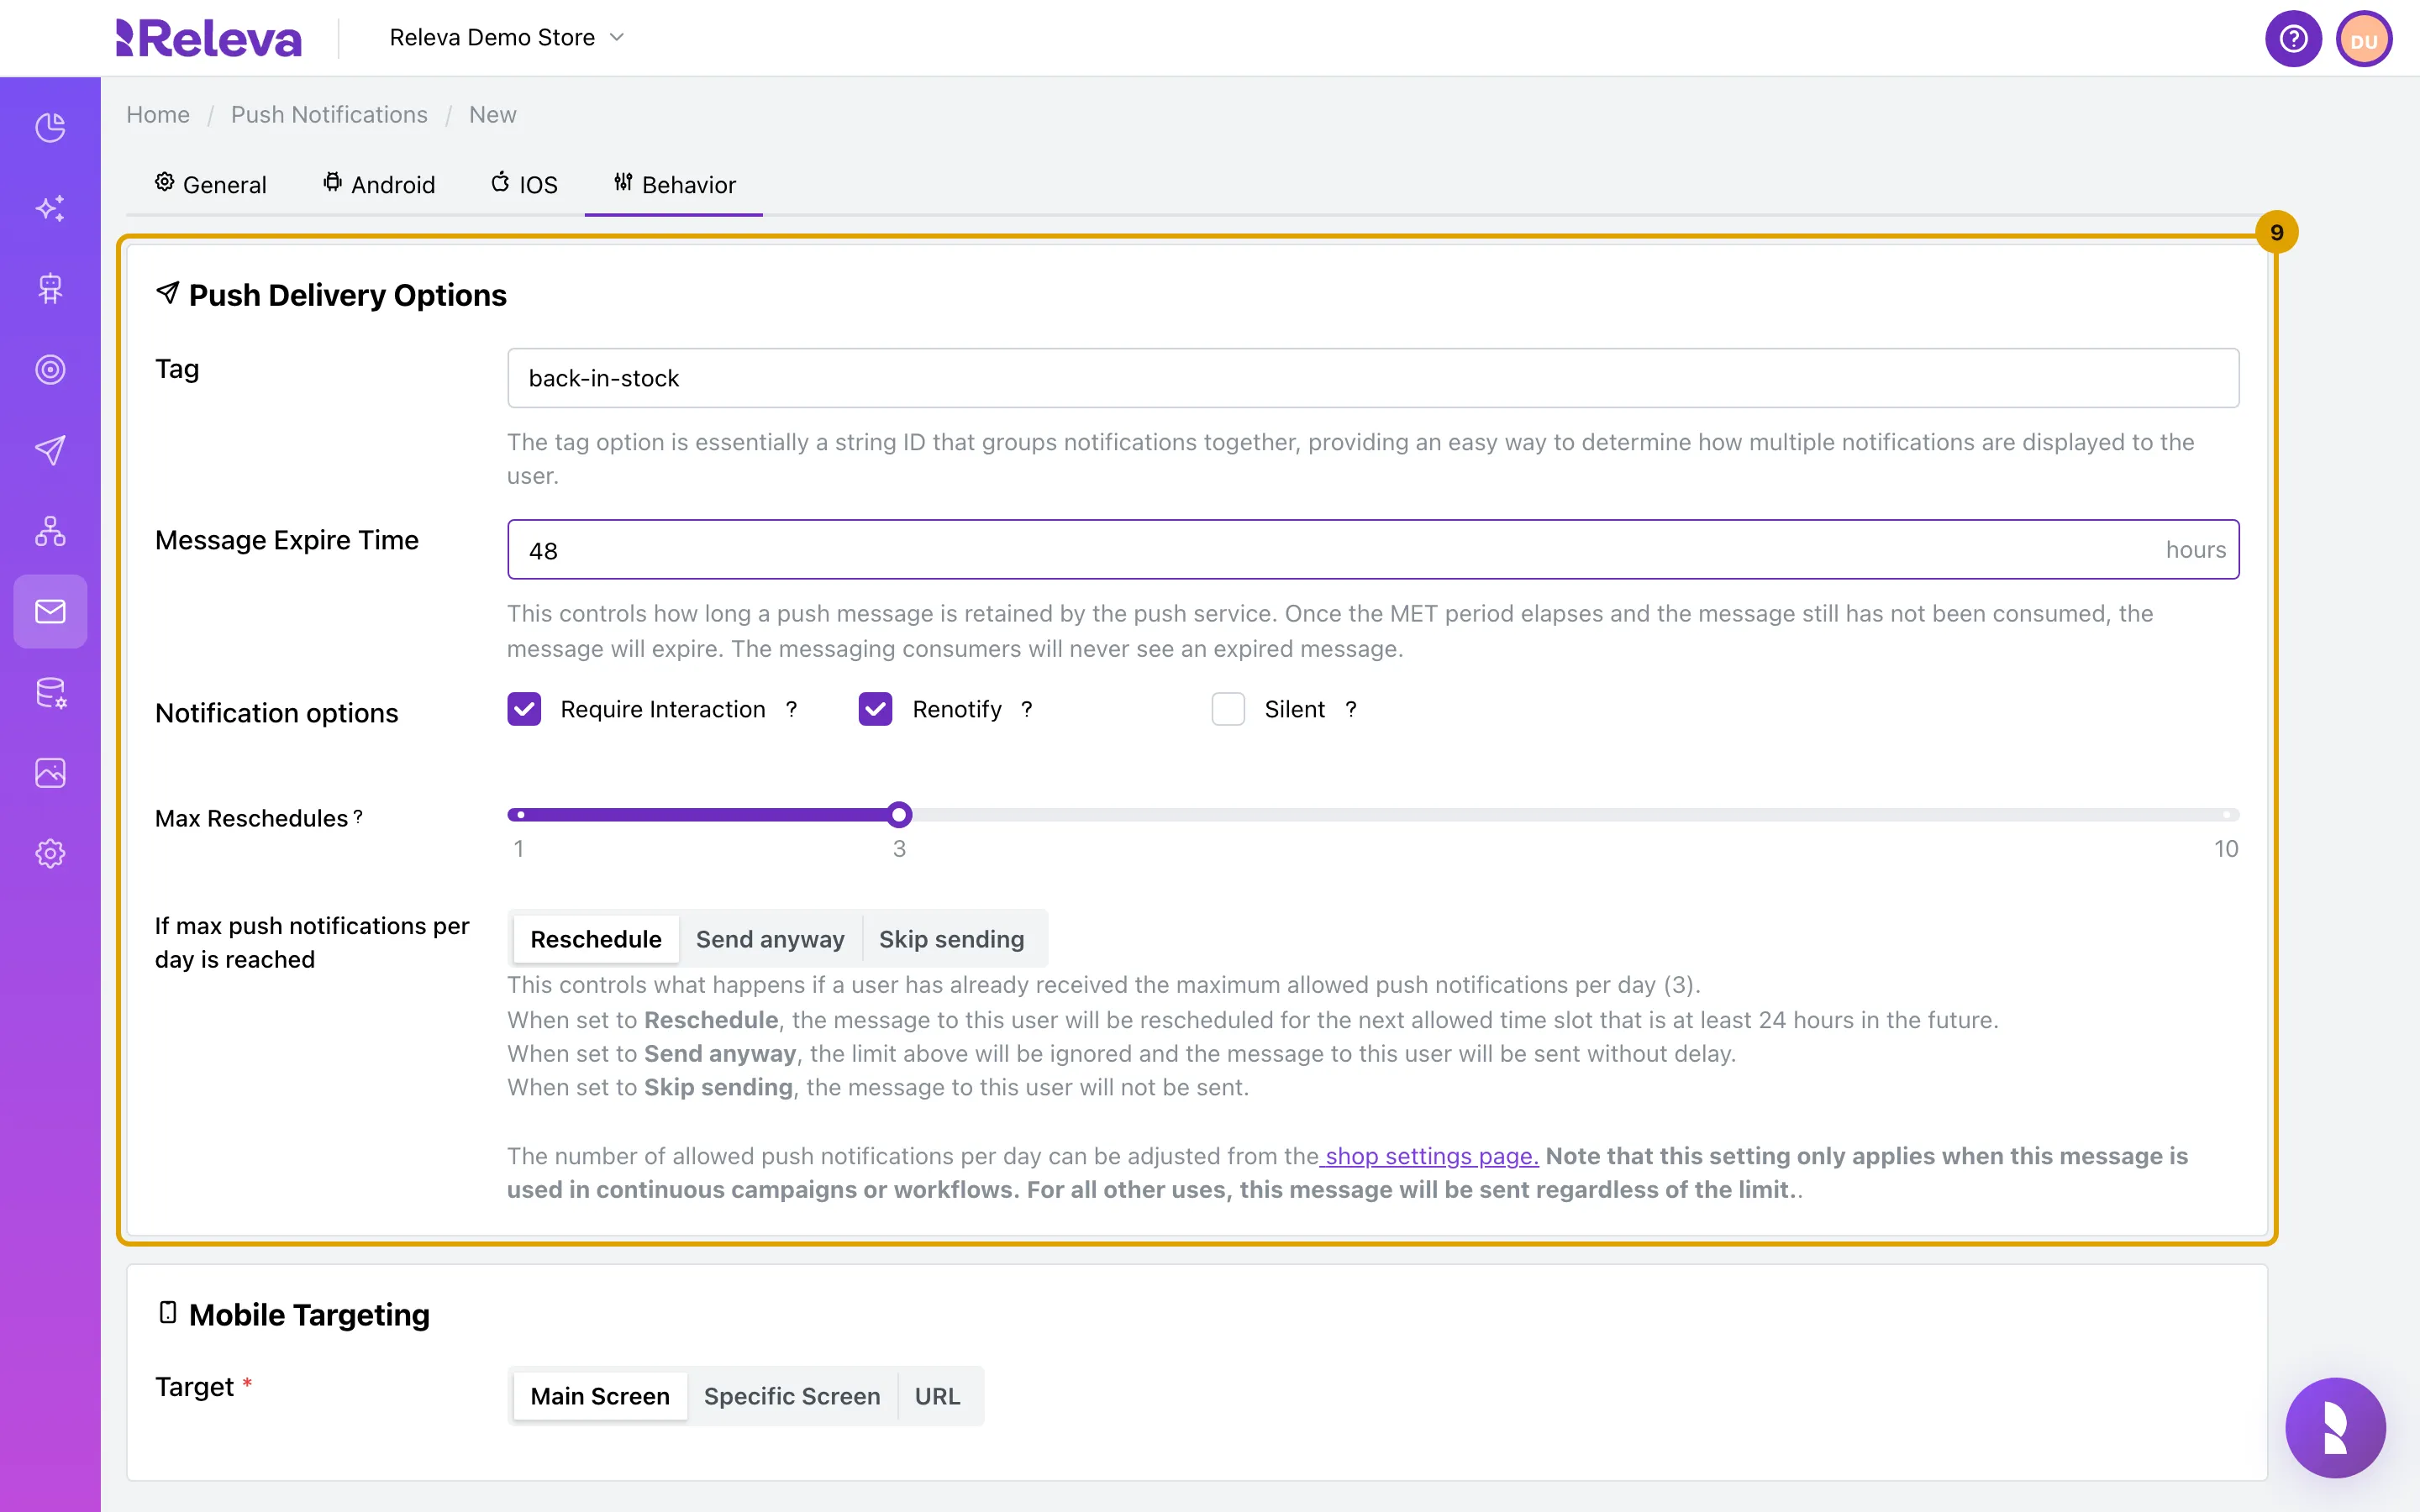
Under Push Delivery Options, enter a Tag and set Message Expire Time in hours
The tag groups notifications: a new notification with the same tag replaces the one still on screen. Message Expire Time is how long Firebase keeps the message for a phone that is offline; the default is 168 hours (one week) and the minimum is 1. Leave Require Interaction, Renotify, Silent and the daily-limit options as they are unless you need them; see How push notifications work.
-
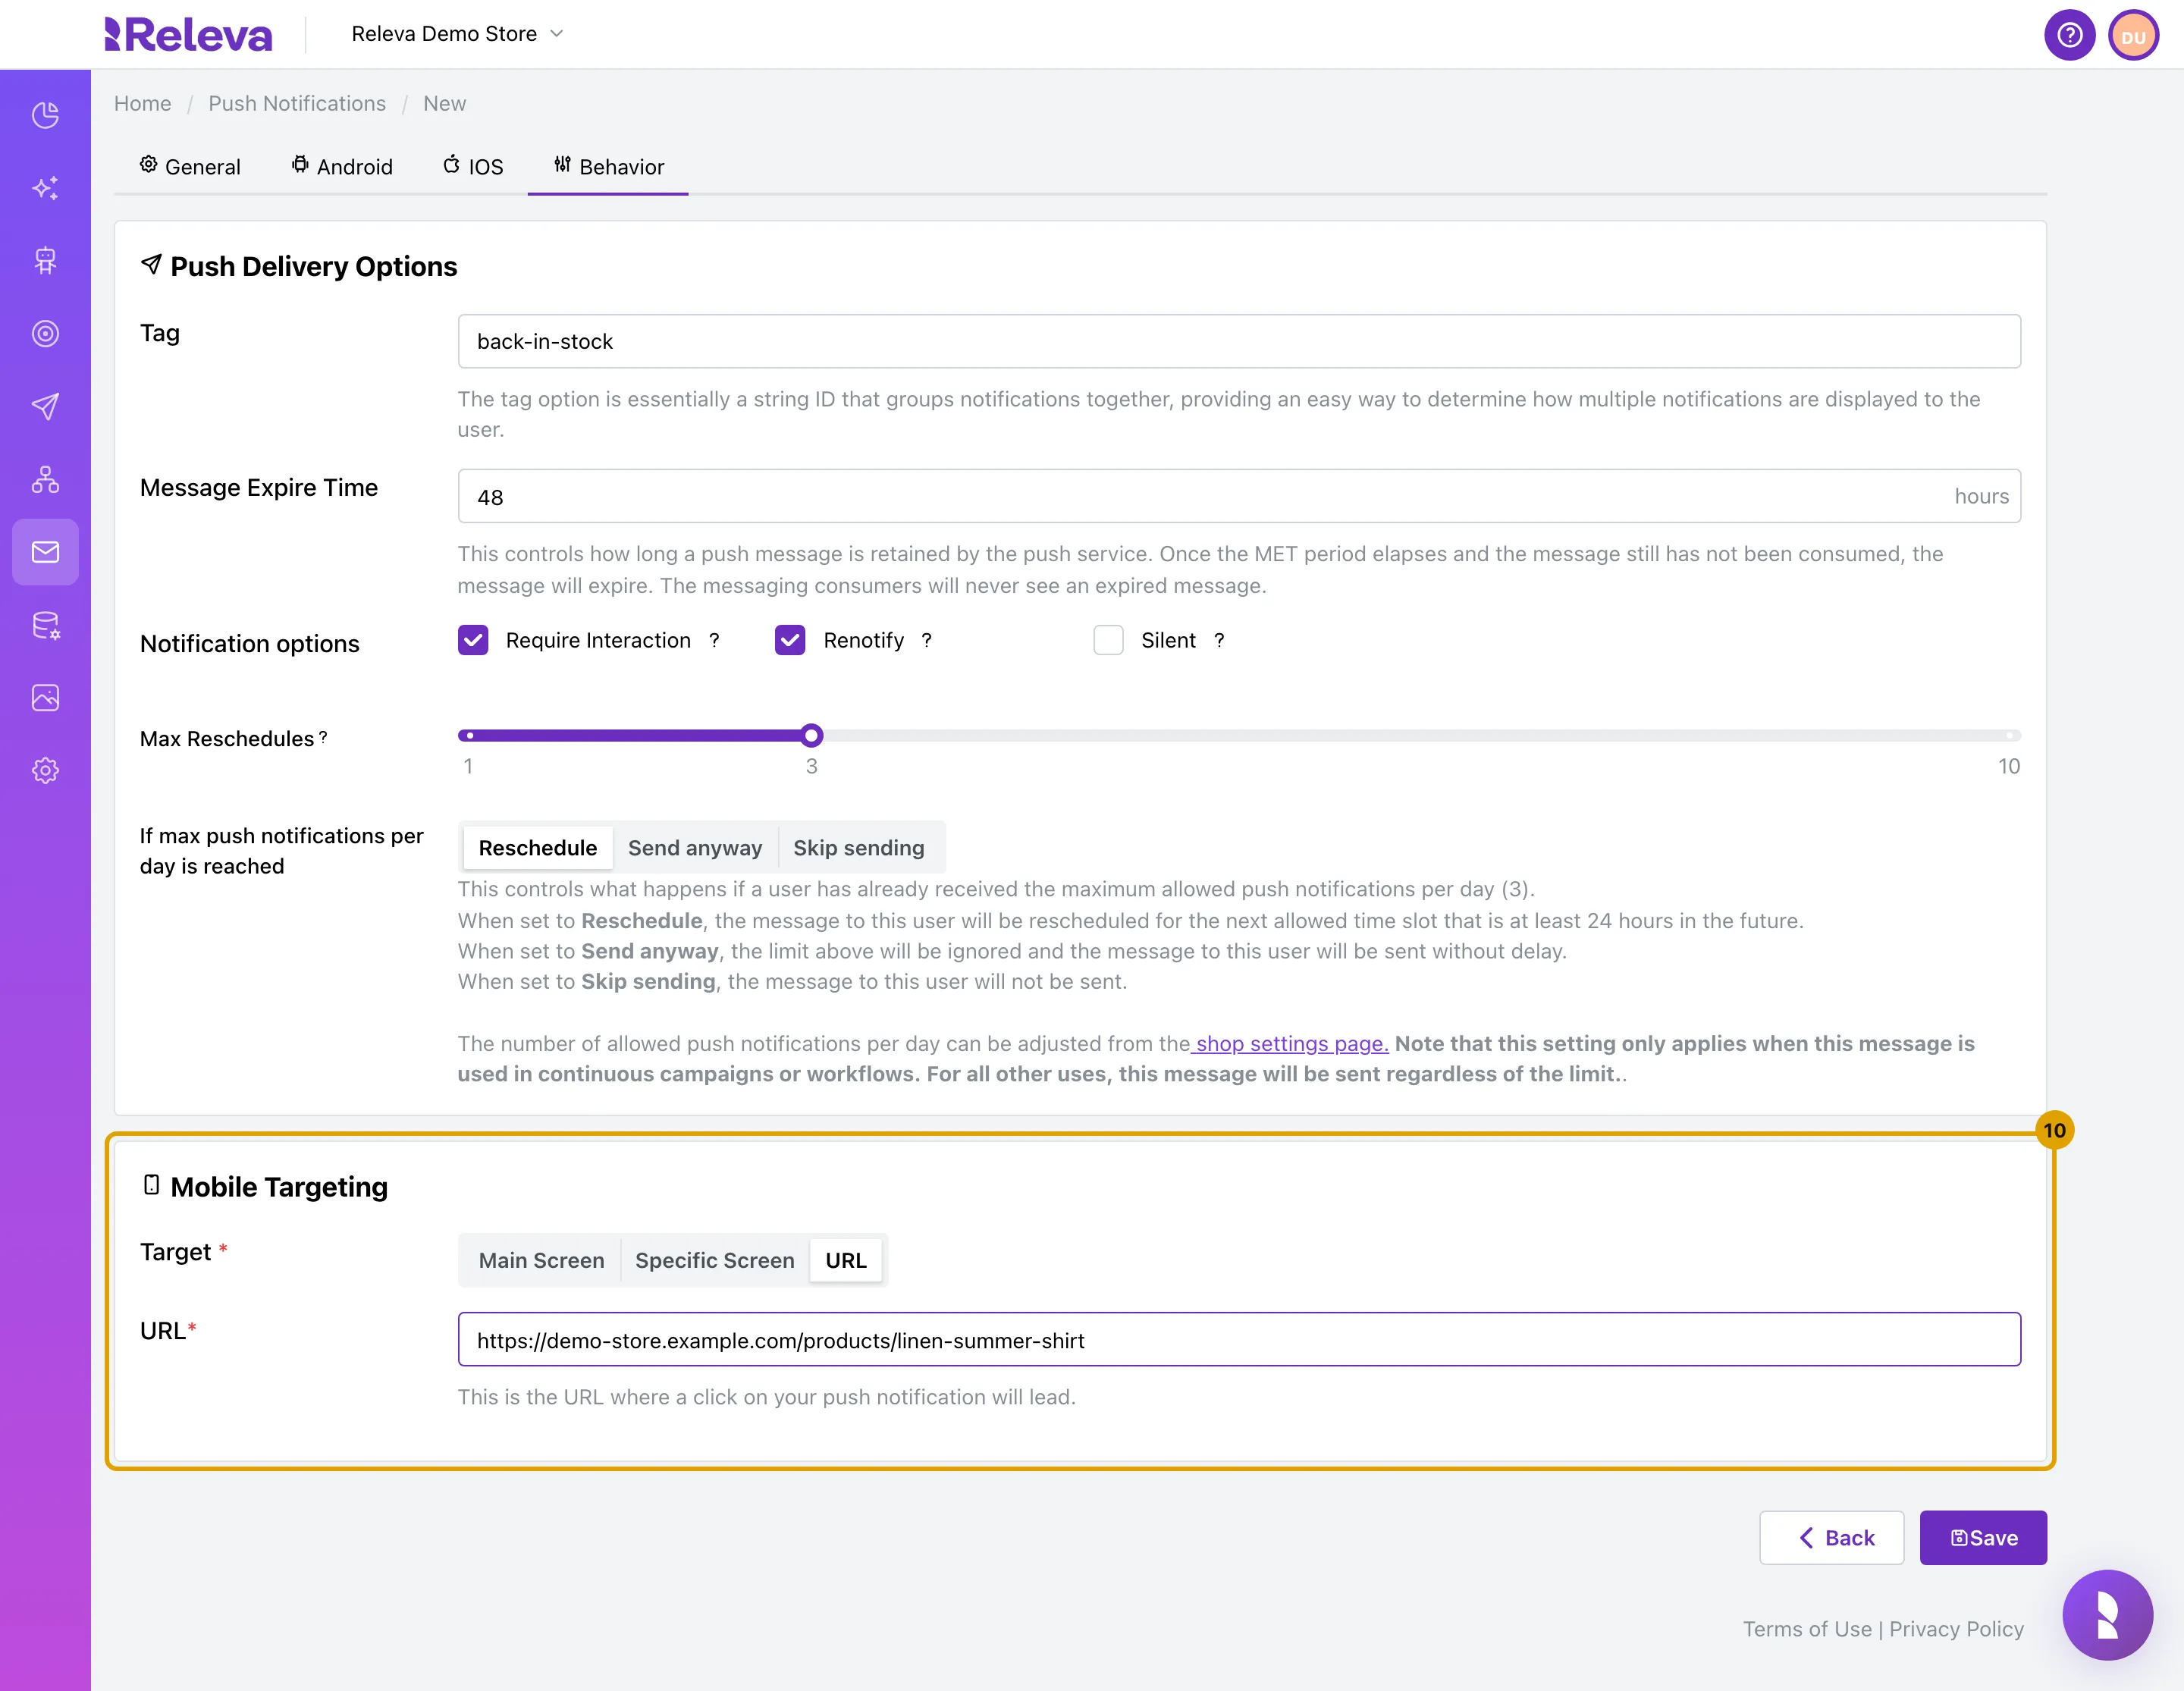
Under Mobile Targeting, choose the Target that opens when someone taps the notification. Select URL and enter the link, or keep Main Screen
- Main Screen opens the app’s start screen.
- Specific Screen opens one screen of the app. Enter its name in Screen, for example
com.app.activities.MainActivityon Android or/homeon iPhone, and add parameters for that screen under KV Pairs with Add Variable. Ask your app developer for the screen names. - URL opens a web page or an app link, for example
https://demo-store.example.com/saleormyapp://consumer.app/home.
Open Inbox appears only when App Inbox is checked; see Add an App Inbox message to a push notification.
-
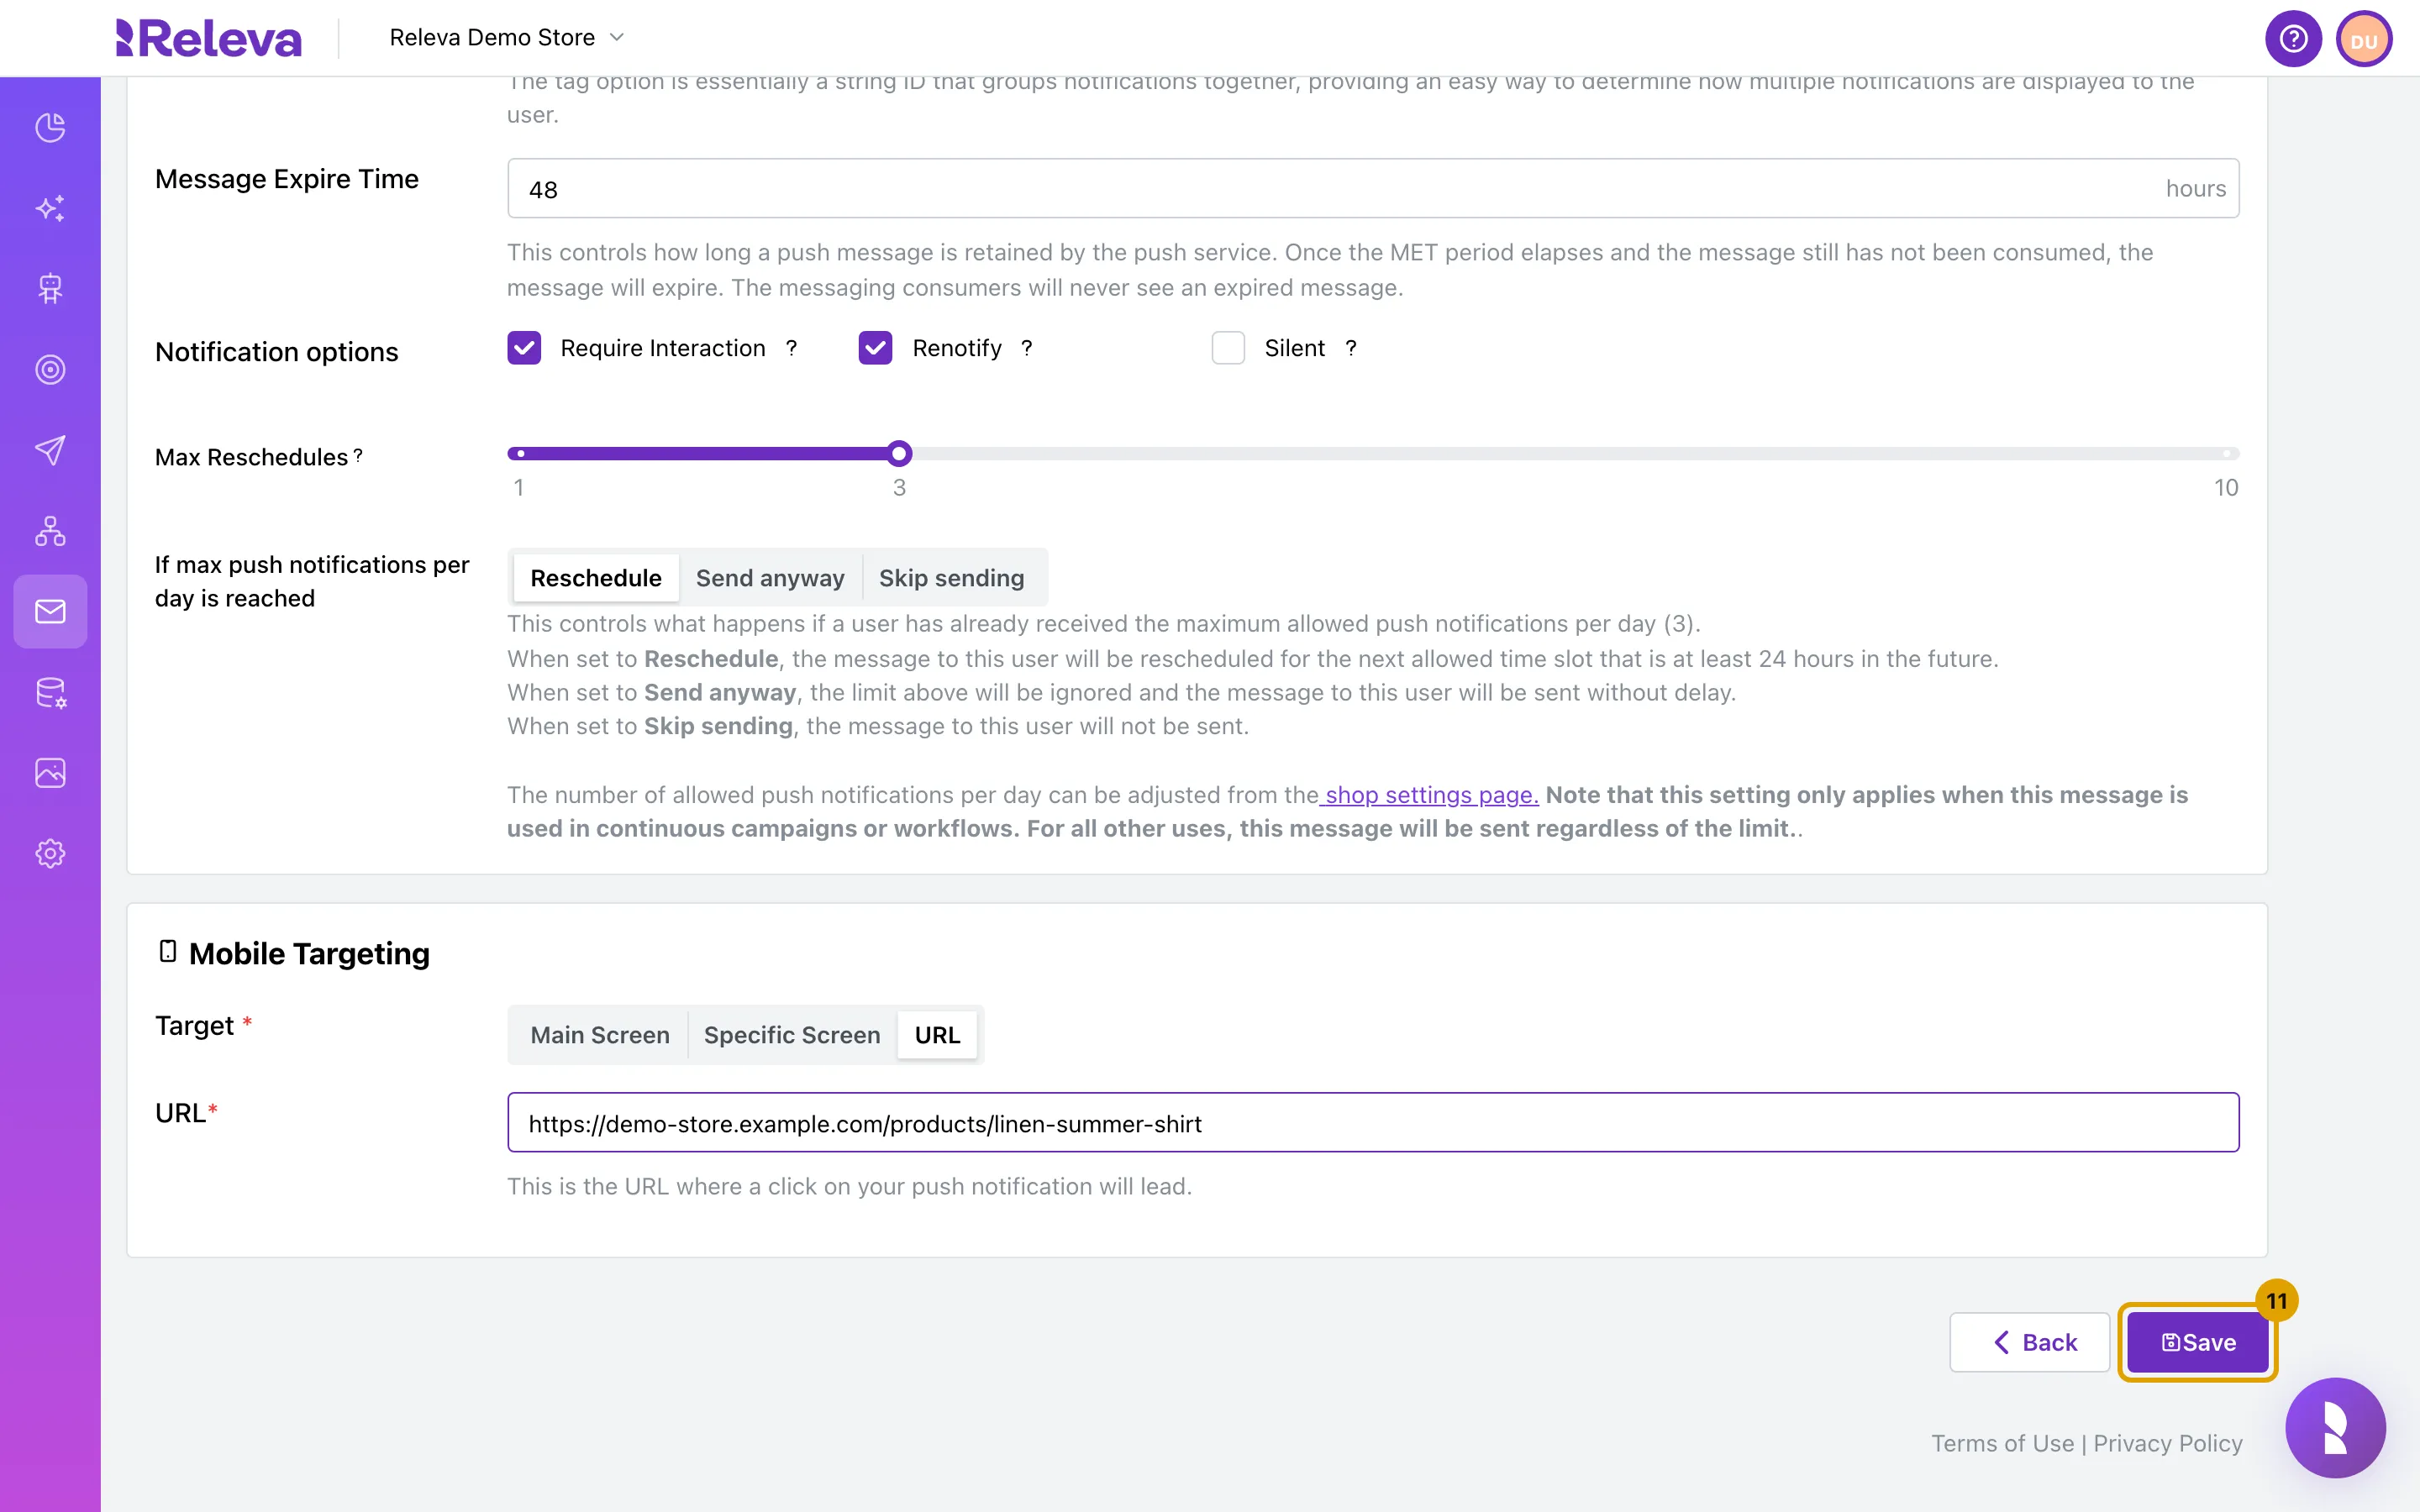
Select Save
Save stays disabled until every checked platform has a Subject and a Body, Tag and Message Expire Time are set, the URL or Screen is filled for those targets, and no merge tag is broken.
-
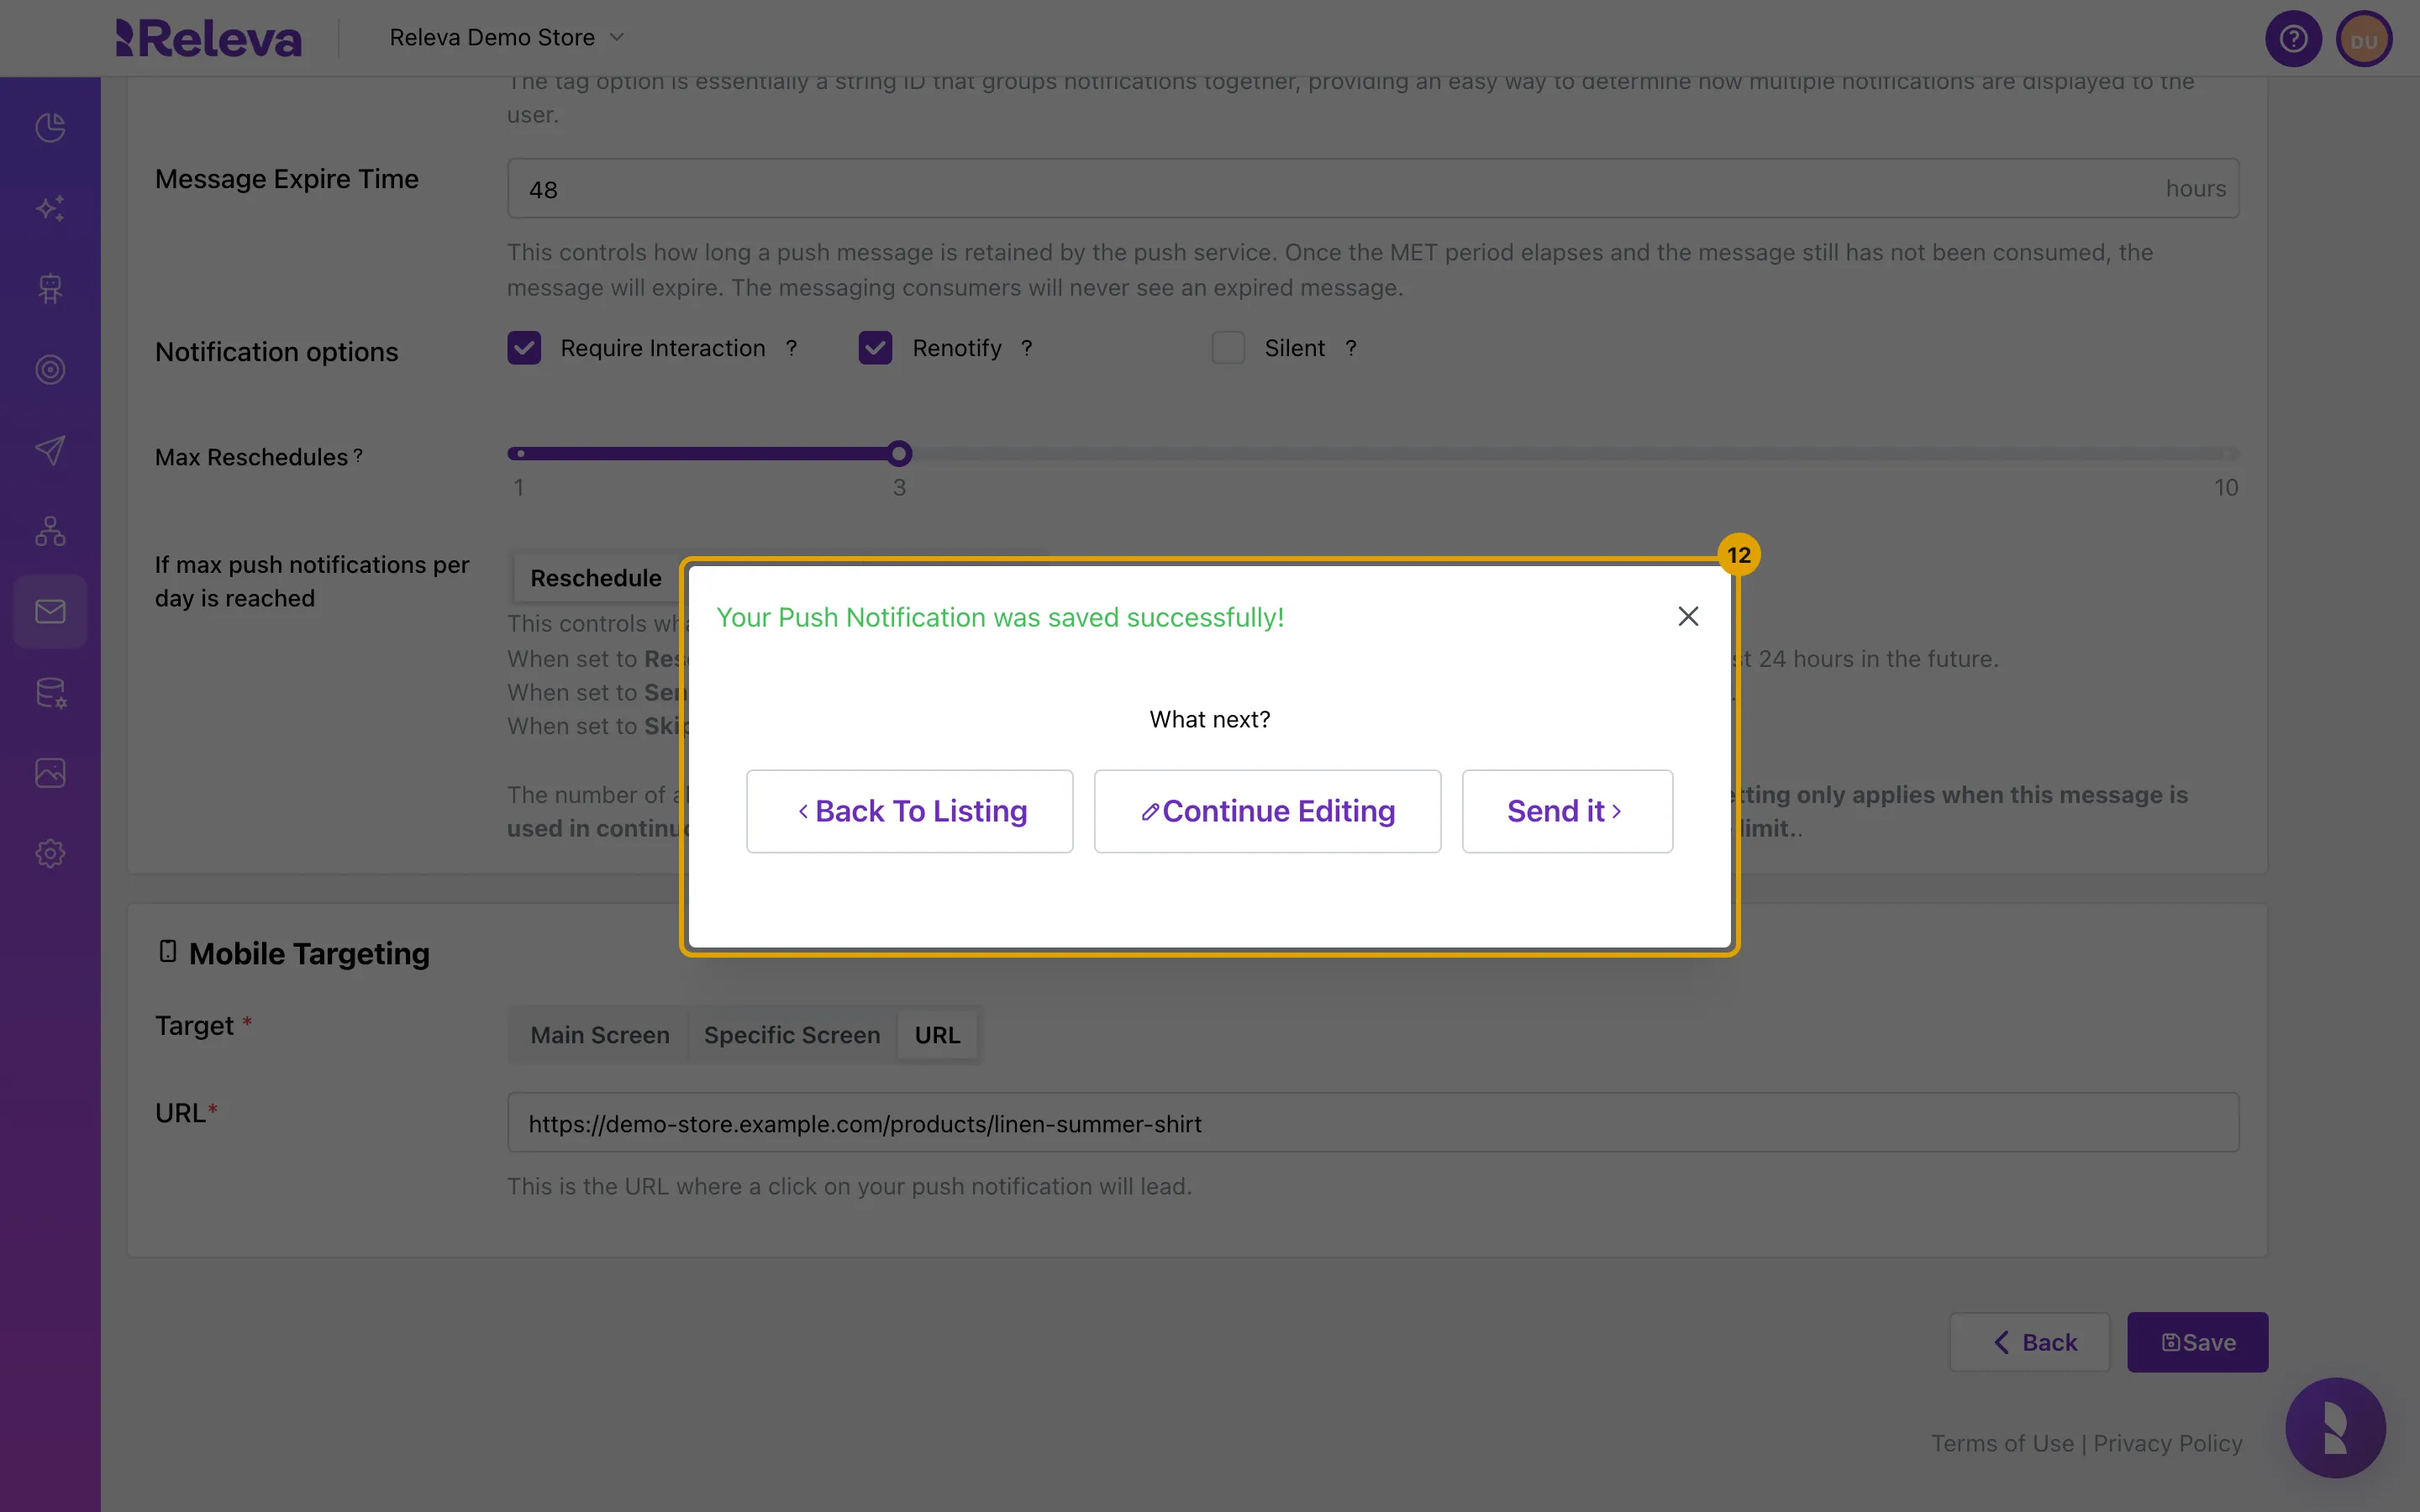
Releva confirms that the push notification was saved. It is a draft until you send it with a workflow
Choose Back To Listing, Continue Editing or Send it. Send it opens the same workflow options as the Send button; see Send a push notification with a workflow.
Check it worked
Section titled “Check it worked”- The notification is the first card on the Push Notifications list with the badges ANDROID, IOS and MESSAGE. New notifications are listed first.
- Its Sent, Delivered and Clicks counters are all 0: nothing has been sent yet.
- To see it on a real phone, open the notification, go to the Android or IOS tab and select Test › Send to a Real User with a profile that has your app installed. This sends a real push to that person’s devices, so use your own test profile.
Troubleshooting
Section titled “Troubleshooting”Android or IOS is greyed out. The shop has no Firebase credentials for that platform. With Separate credentials and only one file uploaded, the form says “Android is disabled — no Firebase credentials found for this platform.” (or iOS). Add the missing file; see Add your Firebase credentials for app push.
Save or Next is disabled. A required field is empty: a Subject or Body on one of the platform tabs, the Tag, the Message Expire Time, or the URL or Screen of the chosen Target.
Please enter a valid URL. The URL under Mobile Targeting must have a scheme, such as https:// or your app’s own scheme (myapp://), and at most 2000 characters. A value with a merge tag such as {{product.url}} is always accepted.
Invalid merge tag: Parse error on line 1. A merge tag is not closed, for example {{firstName without }}. Fix it or pick the tag from Merge Tags.
The image does not show on the phone. Image URL must be a public https:// link to an image. On iPhones the large image shows only when someone holds the notification.
The tap opens the wrong place. Specific Screen works only with screen names your app knows. Check the name with your app developer, or use URL with an app link.